
When you want to add a drop shadow in Photoshop, it’s not immediately obvious how to do it. That’s because drop shadow effects are hidden within the layer style settings.
There are various effects you can create, such as a simple black shadow or a custom-colored shadow. In this tutorial, you’ll gain an in-depth look at the step-by-step process of creating drop shadows, along with some helpful tips to make your shadows look exactly as you envision!
Video Tutorial
How To Add A Drop Shadow In Photoshop
Step 1: Select The Layer And Go To Layer Styles > Drop Shadow
Before you create a drop shadow, you need to select the correct layer. By clicking on your text or image layer, Photoshop will know exactly where you want the drop shadow to be applied.
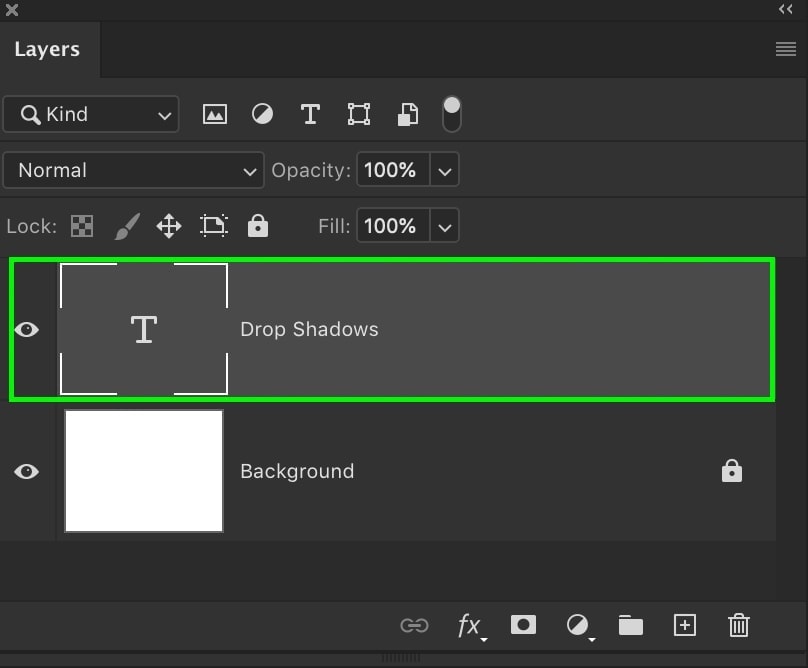
Note: In this example, I’ll be adding a drop shadow to text, but the same steps apply to an image layer.
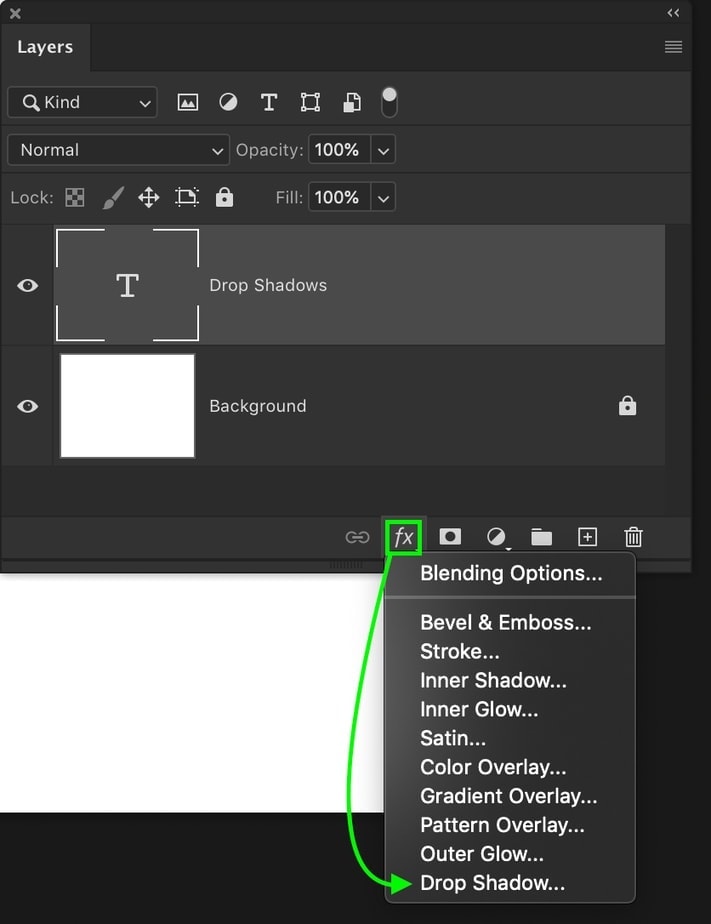
To add a layer effect, click on the fx icon found at the bottom of your Layers Panel. Then, click on Drop Shadow from the list of options.
The drop shadow will be applied to your selected text or image layer, but there are still some additional settings left to adjust!

Step 2: Adjust The Drop Shadow Position
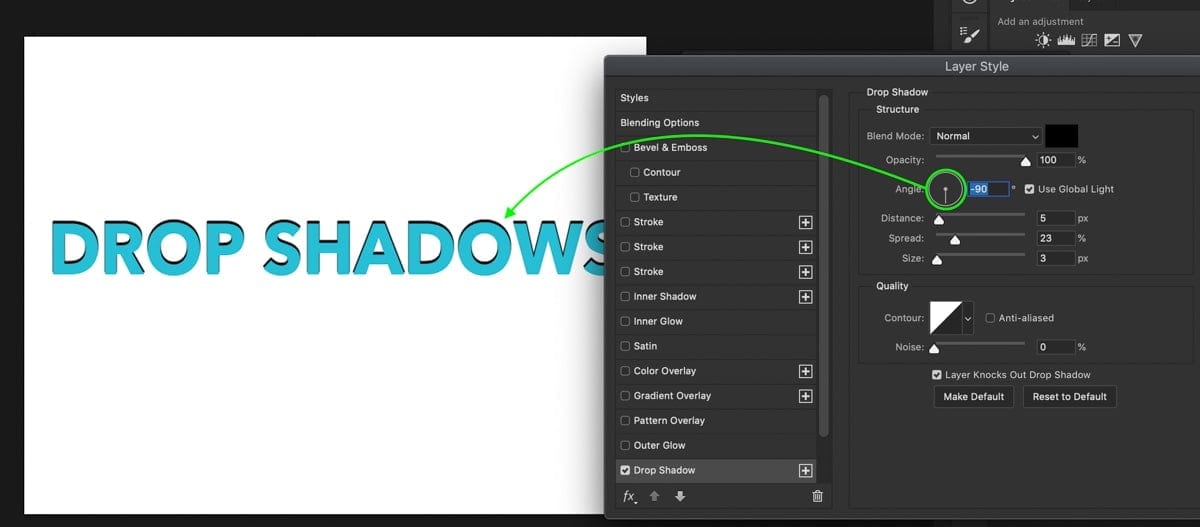
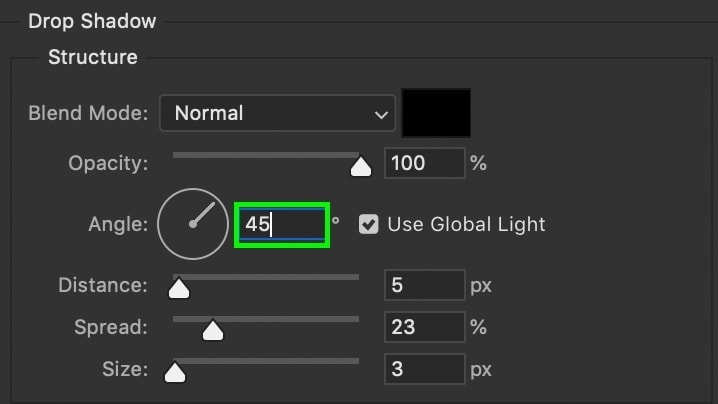
After selecting the drop shadow option, the layer styles dialogue box will open to reveal your shadow settings. First, adjust the shadow’s angle.

To adjust the angle, click anywhere within the light source adjustment. This setting alters which direction the “light” is coming from, therefore positioning the drop shadow on the opposite side of the source.
Alternatively, you can type in the exact angle you want the shadow to be at. By typing in 45°, for example, it will adjust the light angle accordingly.
Step 3: Adjust The Shadow’s Distance, Spread, And Size
Now, it’s time to adjust the look of your drop shadow. Below the angle adjustment are three sliders called Distance, Spread, and Size; let’s break down what each of them does.
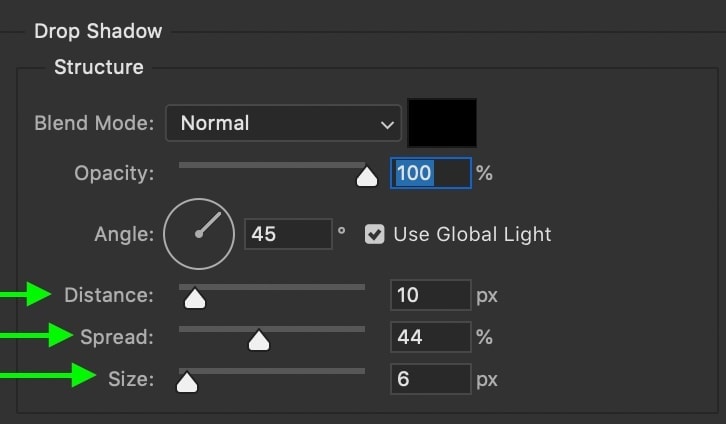
- Distance: This adjustment controls how far your shadow is from your text or image. The greater your distance, the more disconnected the drop shadow and layer will become.
- Spread: This controls how broad your drop shadow is in relation to your layer. With a text layer drop shadow, for example, a larger spread will thicken each letter’s shadow’s look.
- Size: The size setting operates a lot like the feather adjustment of the Brush Tool. With a larger size, the edges of your drop shadow will become increasingly soft.
There is no right or wrong way of adjusting these sliders, so just experiment with each one until you’re happy with the look of the drop shadow.
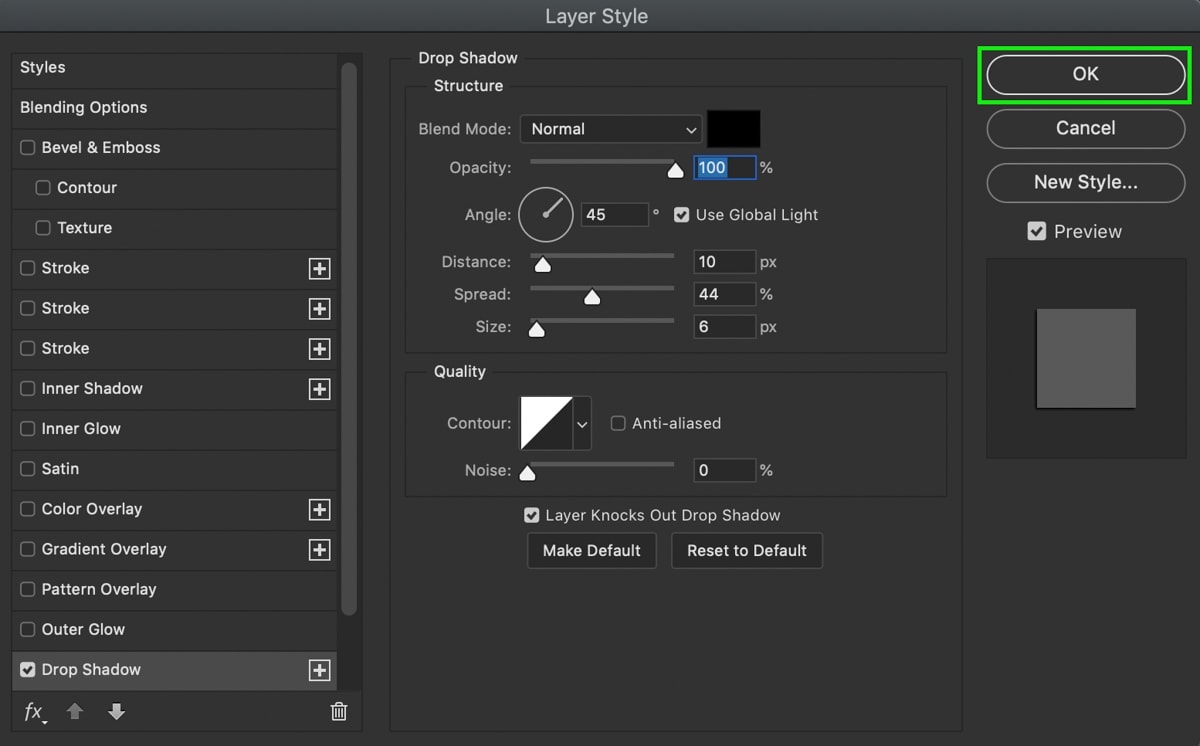
Step 4: Click OK To Commit To Changes
Once you’re happy with the look of your drop shadow, click OK in the Layer Styles dialogue box to exit the settings and go back to the Layers Panel.

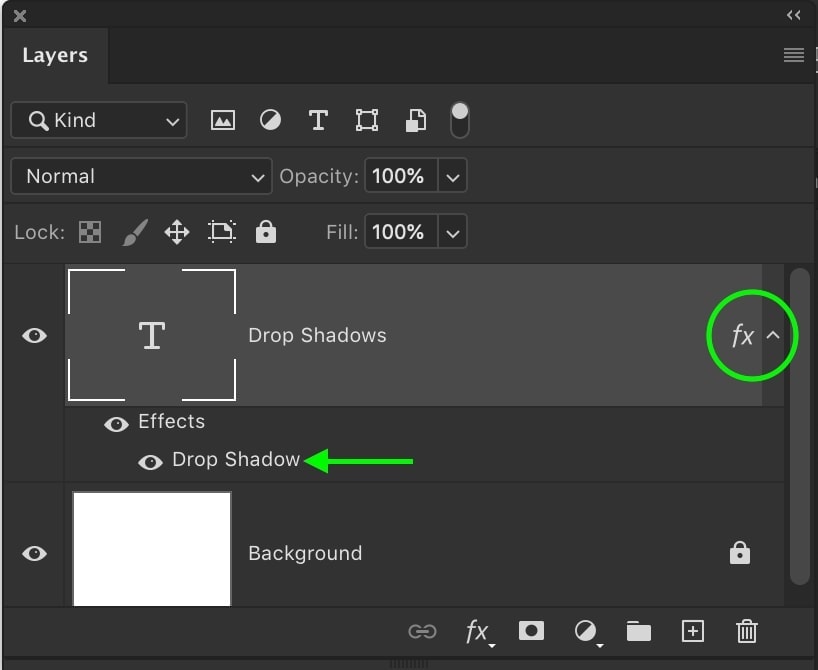
Now, your layer will have an fx icon beside it with the drop shadow listed underneath. If you want to go back and adjust the drop shadow later on, simply double-click on the words “drop shadow” to reopen the layer styles dialogue box.
How To Create Long Drop Shadows In Photoshop
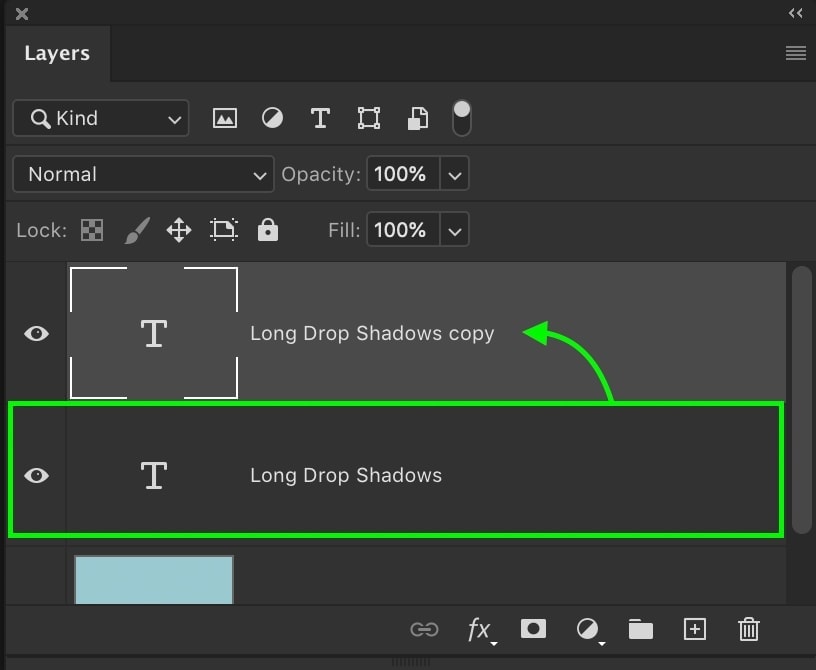
Step 1: Duplicate Your Text Layer
With your text layer highlighted, press Control + J (Win) or Command + J (Mac) to duplicate the layer.
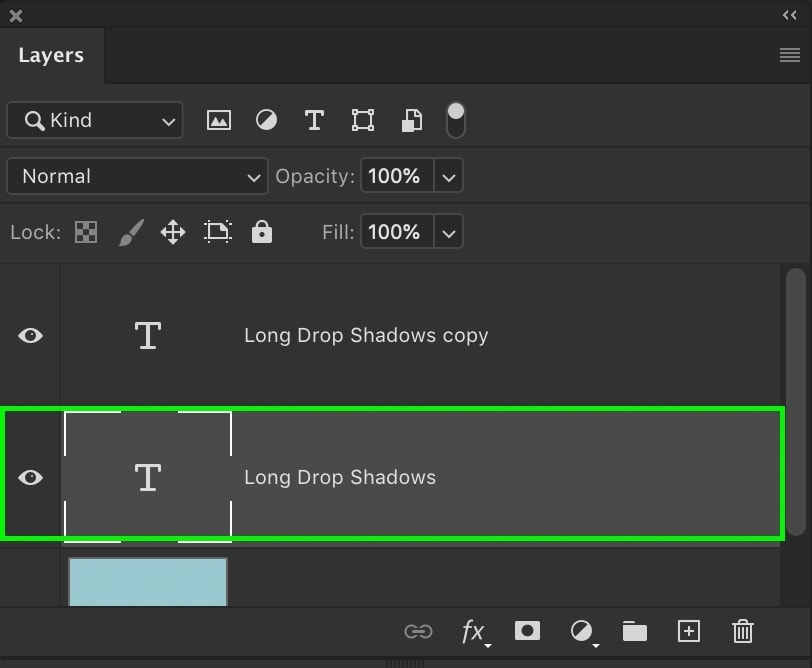
Step 2: Change The Color Of The Bottom Layer
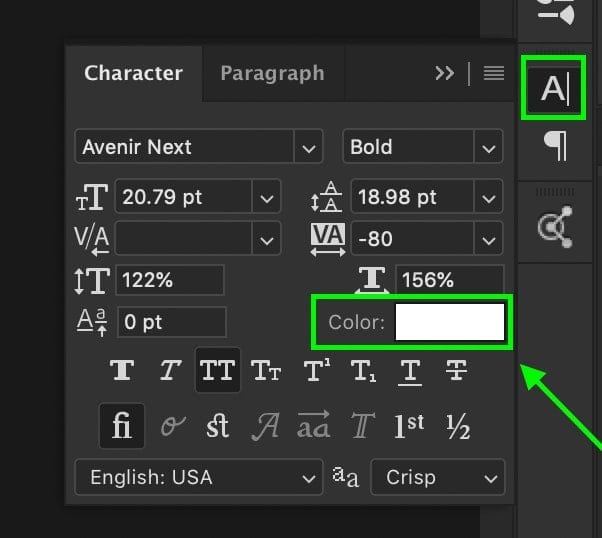
Before you create the long drop shadow, let’s pick a color for the shadow. To do this, select the text layer, open the Character Panel, and pick a new text color.
Note: With an image, you’ll need to fill the image with a solid color. First, create a selection around the image, select a foreground color, then press Alt/Option + Delete to fill the selection, and then Control/Command + D to deselect the image.
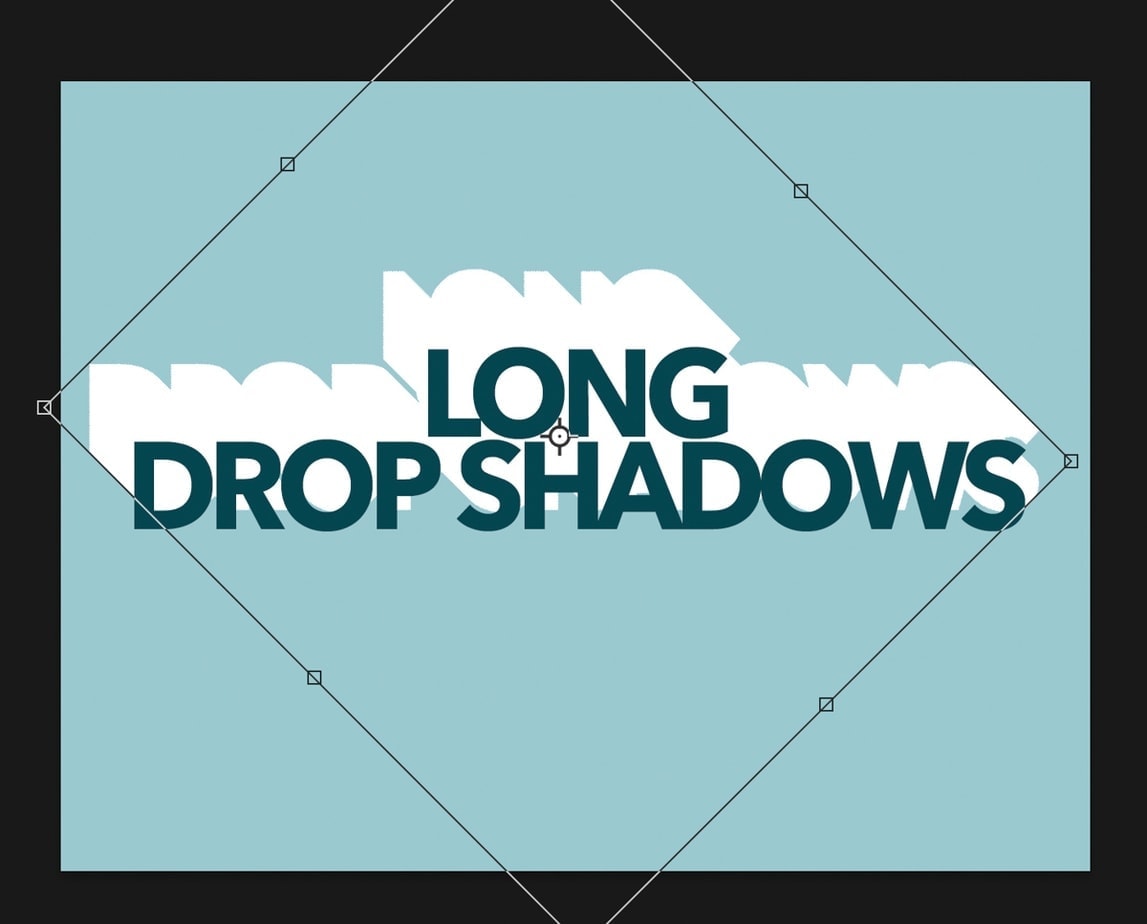
Step 3: Adjust The Angle Of Your Text
With the underlying layer selected, press Control + T (Win) or Command + T (Mac) to access the Transform Tool. In the Options Bar, you will see a rotate setting. Click in this box and type in the angle you want your long shadow to be. In this example, I’ll type in 45°.

Since you are working with the underlying layer, you should see the angled layer beneath your duplicated layer.
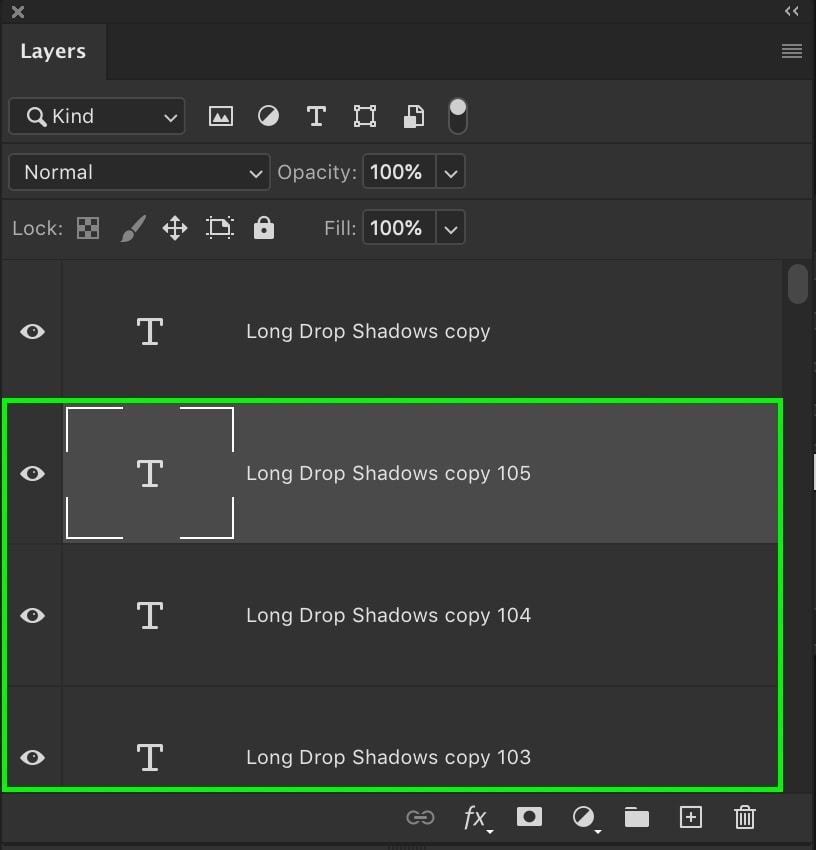
Step 4: Duplicate The Angled Layer 100 Times
This might seem like a lot, but there is an easy keyboard shortcut you can use to do this in seconds. Select the underlying layer and activate the Move Tool (V). Now, press and hold Alt + Up Arrow Key (Win) or Option + Up Arrow Key (Mac) to duplicate and move your layer continuously.
By holding this shortcut, Photoshop will continue to duplicate and move your layer to eventually create a long shadow. After about 100 copies, you’re left with enough to work with for this effect.
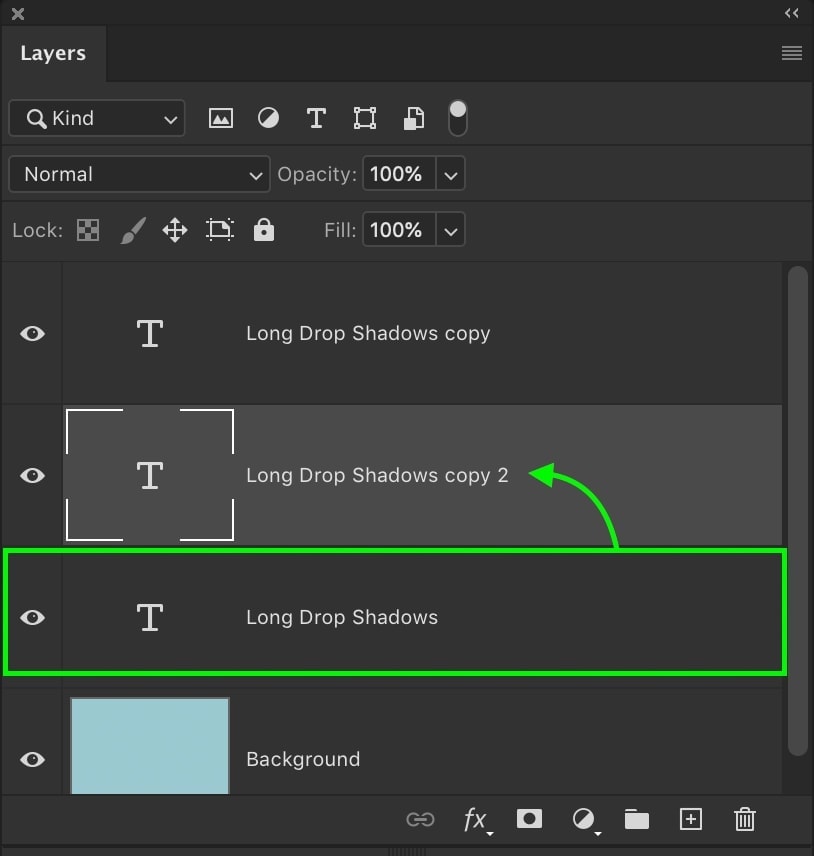
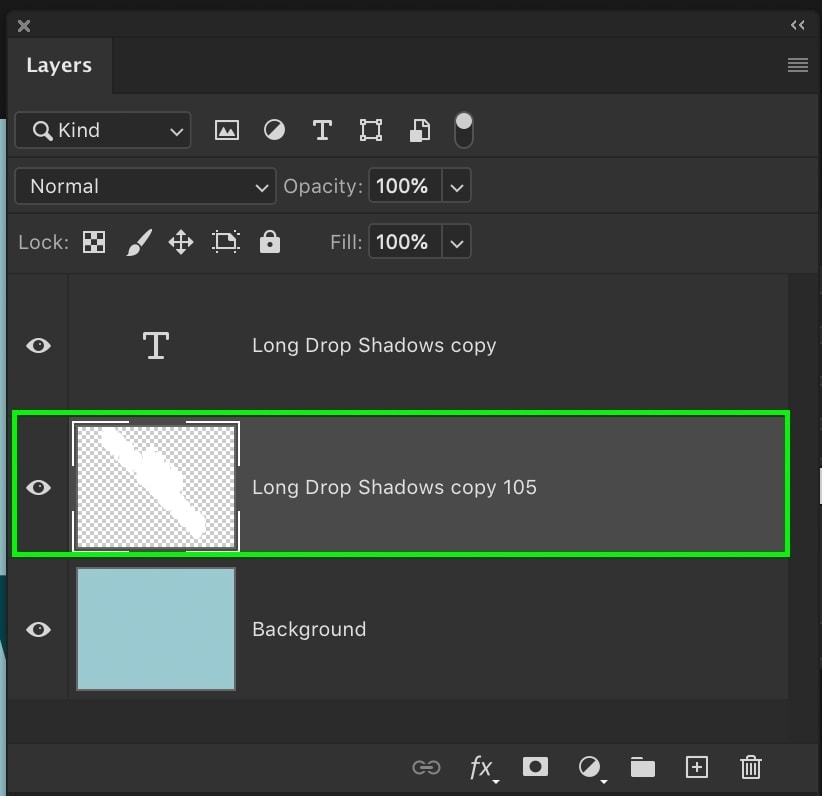
Step 5: Merge The Duplicated Layers
Click on the top of the duplicated layers, scroll down to the bottom one, and Shift-click it to highlight all the layers. Now press Control + E (Win) or Command + E (Mac) to merge all 100+ layers onto a single layer.
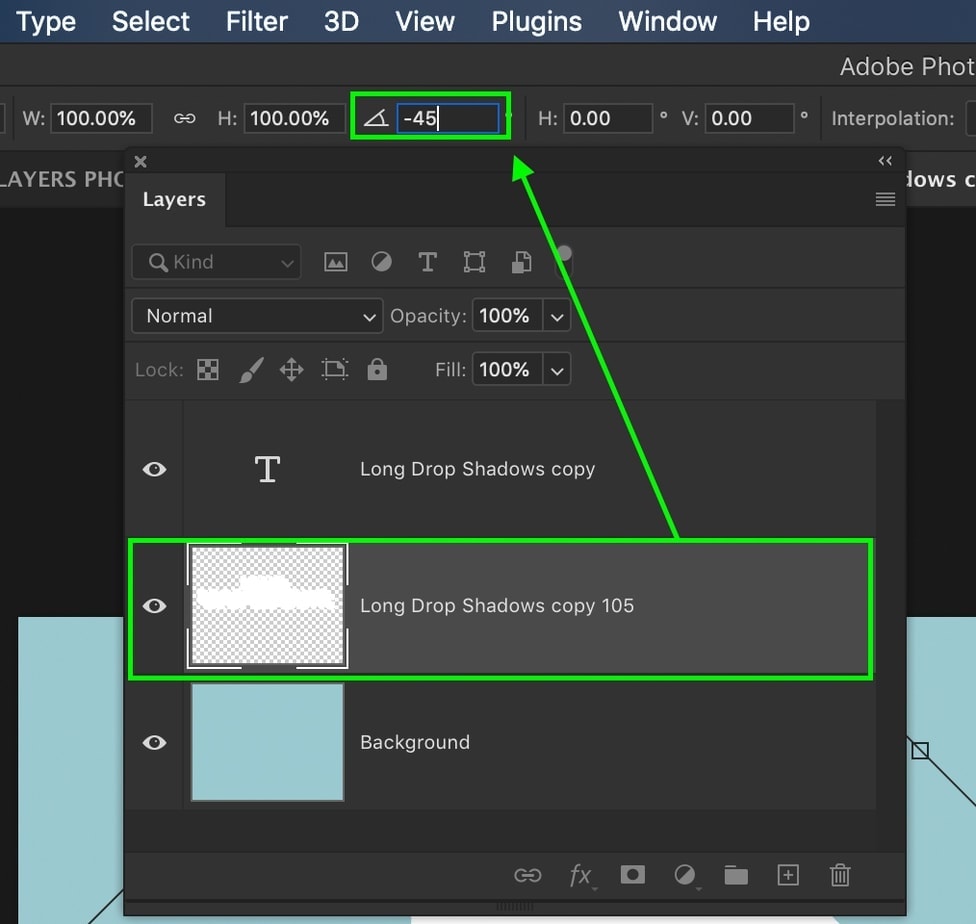
Step 6: Correct The Angle Of The Long Shadow
Now, you have a long shadow, but it doesn’t match up with your text or image. Press Control + T (Win) or Command + T (Mac), go back to the rotate setting, and enter your original input’s negative value. Since I set the rotation angle to 45° previously, I’ll now set it to -45° to correct it.
Step 7: Reposition The Long Shadow
Your long drop shadow may be a bit off from your text or image, so reposition it by selecting the Move Tool (V) and dragging it into place.

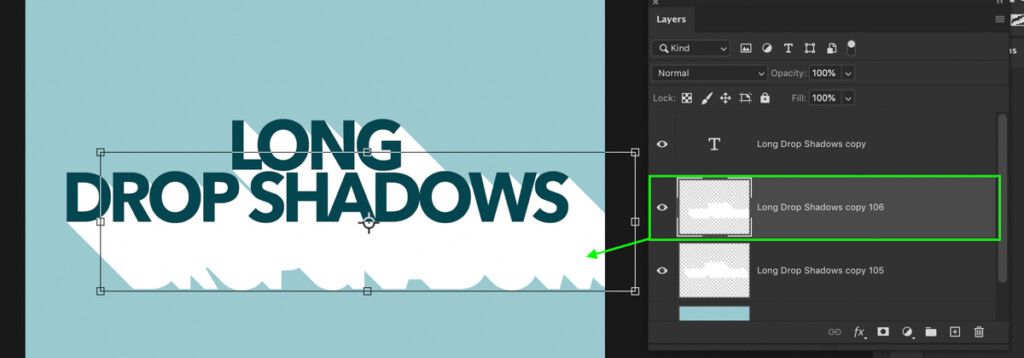
Step 8: Duplicate & Extend The Long Shadow (Optional)
If you are happy with the size of your long shadow, then your work is done. However, you can further extend the shadow by duplicating and moving the layer.
With the long shadow layer selected, press Control + J (Win) or Command + J (Mac) to duplicate it. Then, use the Move Tool (V) to reposition the duplicated long shadow to extend off the previous one.
Rinse and repeat these steps, duplicating and repositioning, until the long shadow is extended as much as you want.
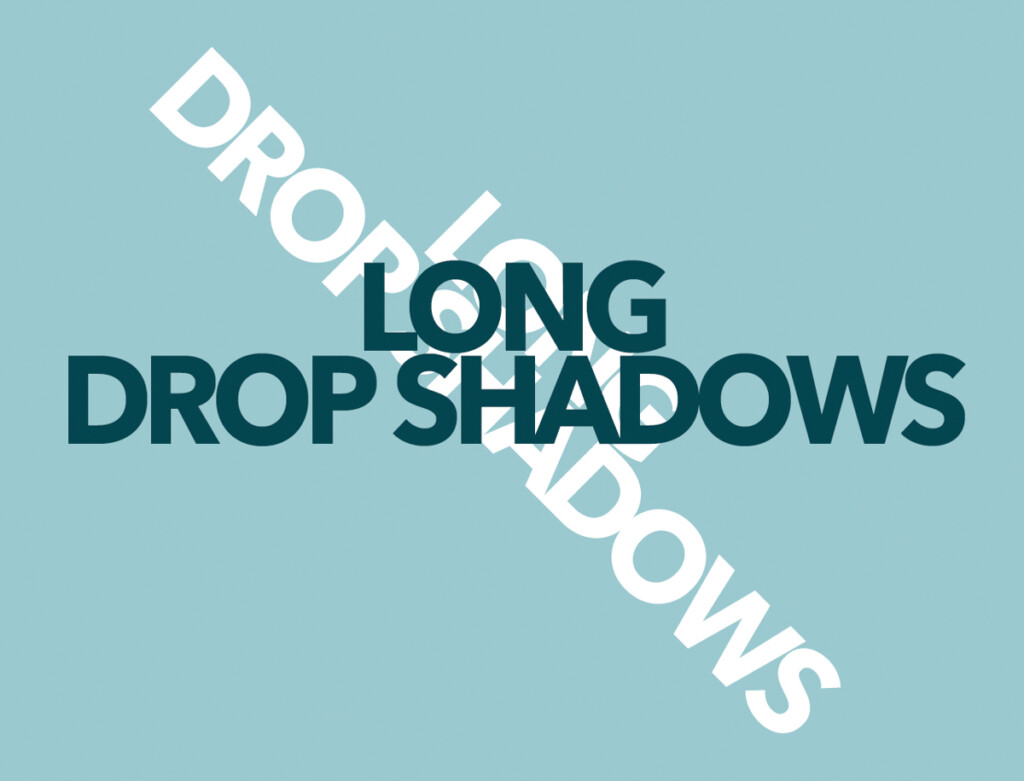
Now, you’ve successfully created a long drop shadow in Photoshop on a text layer! From here, you can further stylize your graphic by changing the background color or even adding a gradient!


How To Change The Color Of A Drop Shadow In Photoshop
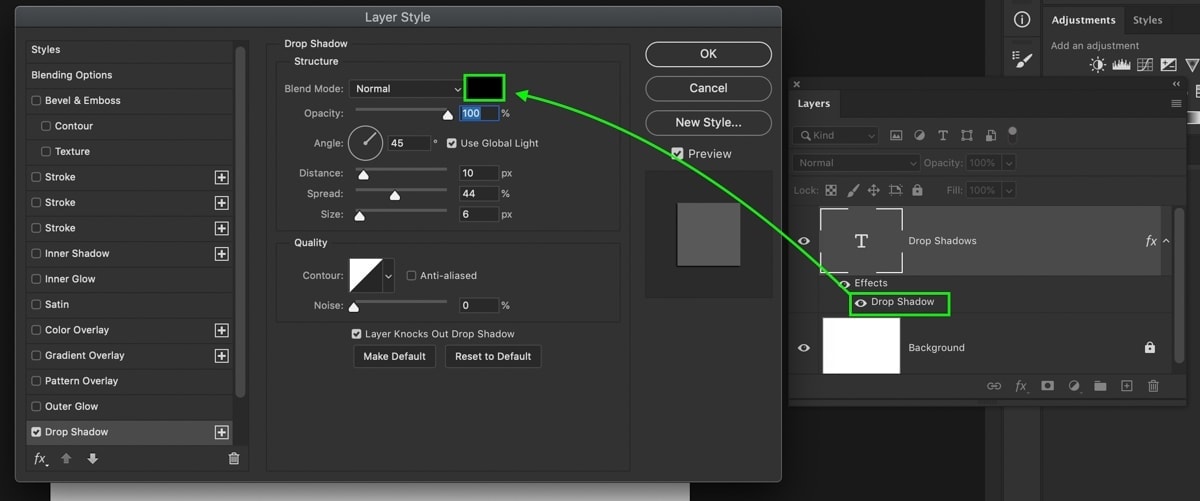
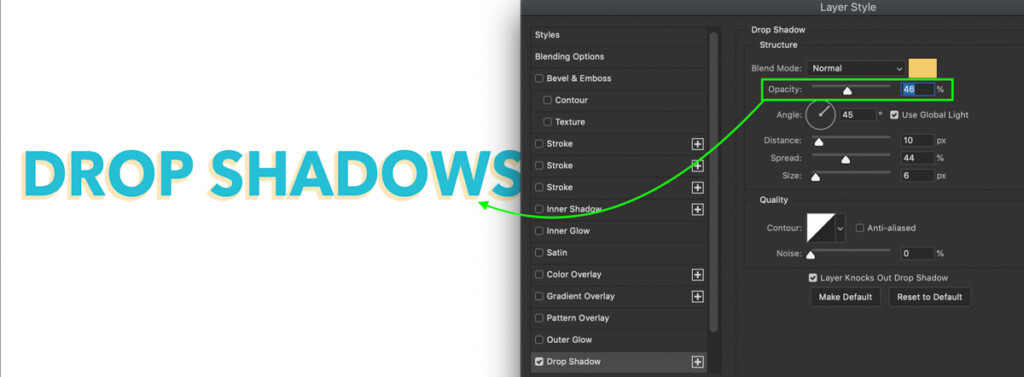
After double-clicking on your layer thumbnail or the Layer Style icon, select the “Drop Shadow” option from the left side of the dialogue box. Here, at the top of the drop shadow settings, is a colored box beside the blend mode option. Click on this colored box to open the color palette and select a new color for the drop shadow.


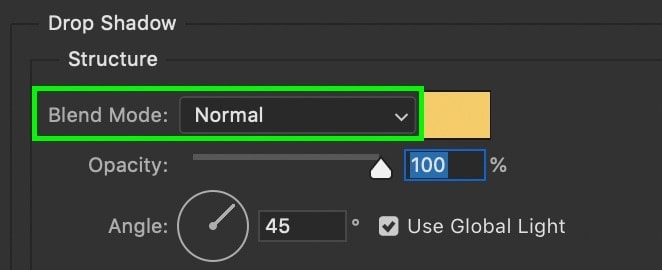
There are additional ways to adjust the look of the color with the Blending Mode or Opacity. In most cases, it’s best to leave the blending mode set to Normal.
As for opacity, you can change the drop shadow’s transparency by bringing this up or down. With 0% opacity, the drop shadow will be completely invisible, while at 100% opacity, it will be fully visible.
If you are going for a subtle drop shadow, try lowering the opacity to quickly soften the intensity of the drop shadow.
Once happy with your adjustments, click OK to exit the layer styles dialogue box.
With the tips outlined here, you’re equipped to create any drop shadow effect with ease. Drop shadows are a great way to stylize your graphics but also make them pop from the background. Another worthy option for making things stand out from the background is by outlining your text, images, or cutouts. You can learn exactly how to outline your images in this next tutorial!
Happy Editing,
Brendan 🙂


