
Extending the background of an image in Photoshop can help you change a portrait image to a landscape. This technique can also help if you have taken the perfect shot, only to discover your subject is too close to the edge of your frame. By extending the background you can easily improve your composition and change the aspect ratio of a photo.
To extend a background in Photoshop, select the Crop Tool and check “Content-Aware” in the upper bar. Next, set the crop aspect ratio to “ratio” and leave the ratio values blank. Now click and drag out to the desired crop to extend the background and content-aware fill the new area automatically
Extending the background of your image does have limitations and will work well on simple or blurred backgrounds. If your background is detailed and in focus with plenty of different shapes and objects, you may not be able to successfully extend the background.
But I’ll touch more on the caveats to each method throughout this post.
So let’s get into two of the best ways to extend backgrounds, and what to do if things aren’t working correctly!
How To Extend Backgrounds Using Content-Aware Cropping
As long as your background is filled with repeatable patterns and textures, you can quickly and effectively extend your background using content-aware cropping. This method is only a few steps and will help you change a portrait image to a landscape.

What Is Content-Aware Cropping?
Content-aware cropping works by filling in edges and extra space added to the image with content based on what is already in the image. Photoshop will replicate the content as accurately as possible to extend the image.
When using content-aware cropping, Photoshop will use the edges of your image to duplicate the content around those areas. If your subject is closer to the center, it won’t be affected. This method stretches the sides of the image to extend the background.

If your image has a complex or detailed background, this method may end up causing distinct inconsistencies in your image. The repeated content will not look intentional and may not create a realistic look.
Complex backgrounds are a lot more difficult to extend, and this method is not recommended if you have these backgrounds. The example below shows some problems with non-repeatable patterns overlapping in the background.

How To Use Content-Aware Cropping On Your Image
To extend your background using content-aware cropping, select the crop tool (C) from the toolbar.

Once the crop frame is visible around your image, make sure the Content-Aware box is selected on your top options bar. There will be a tick inside the box when it is selected.

To only extend the image horizontally, make sure the crop tool is set to Ratio. The two boxes next to the Ratio menu should be empty. This will allow you to only extend one side of the image without affecting the rest of it.

Click anywhere on the side of the crop box to drag it out in the direction you would like to extend the image.
Once you have dragged the box as wide as you would like to extend the image, press the checkmark on the top options bar to make the crop. You can also press Enter on your keyboard as a shortcut.

Photoshop will take some time to process the crop as it fills in the extra information to the image. You will see a progress bar appear while the fill is completed.

If you extend the background too much using this method, Photoshop may duplicate the content incorrectly. In this example, you can see the line disappears since the background was extended too much.

To correct this error, you will need to extend the background in sections. Undo the crop by navigating to Edit > Undo Content-Aware Crop or using the shortcut Control + Z (Windows) or Command + Z (Mac).

This time, don’t extend the background as much as before. Create a smaller crop extension and press the checkmark on the top options bar or press Enter on your keyboard.

Repeat this step to extend the background again. Keep extending it in small increments until the image reaches your desired size. This time, the background is correct with the line extending all the way across.
Content-aware cropping is especially useful when straightening an image. This method will allow you to fill in any gaps that may be created after straightening.
When using this method, you can see on the above image how the background information is repeated. On certain images, this repetition may become too obvious and create an unnatural-looking image. That’s why simple backgrounds like the one used in this example work best.
How To Extend Backgrounds Using Content-Aware Scaling
Another method to extend your background is by using content-aware scaling. This method is similar to the cropping method above with a few differences. By using the scaling method, you can see the changes on the image while you are making them.
This method gives you a bit more control and you don’t have to wait each time the image creates the fill. This allows you to pick up errors quicker.
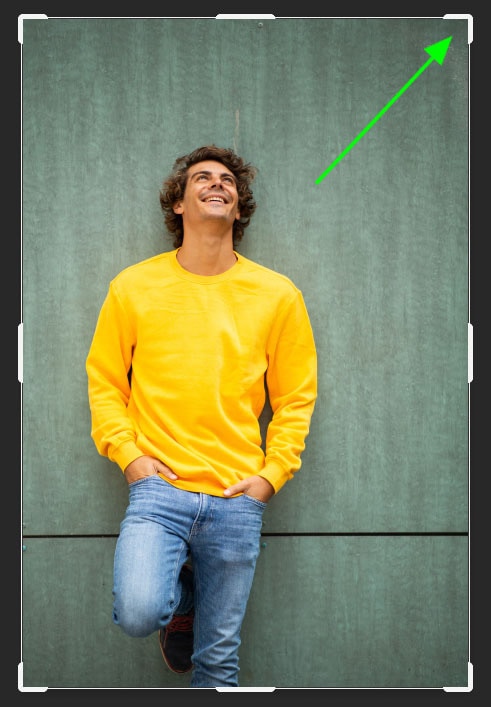
To use the content-aware scaling method, start by selecting the crop tool (C) from the toolbar.
Once the crop tool is selected, make sure the Content-Aware box is unchecked in the top options bar.

Before extending the image, also make sure the crop tool is set to Ratio and the dimension boxes are empty on the top options bar.
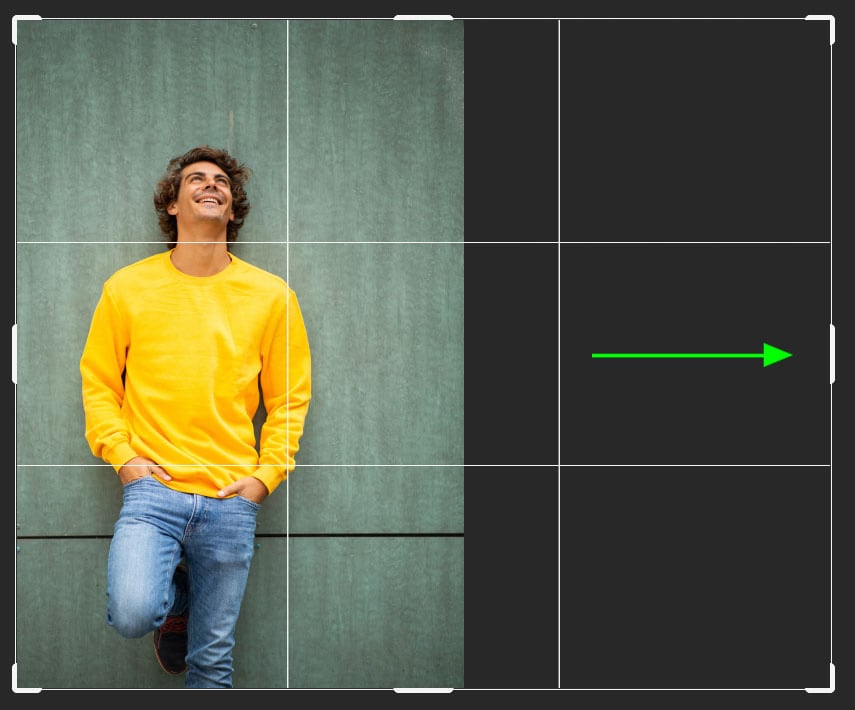
Extend your image to the sides as far as you would like to create a landscape image. Once you have the right size, press the checkmark on the top options bar or hit Enter on your keyboard to make the crop.
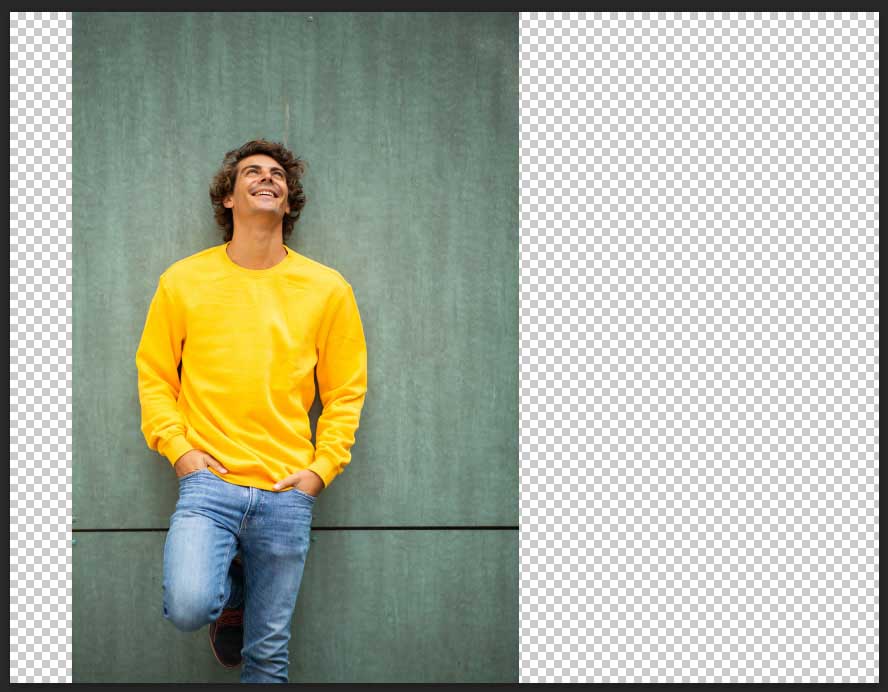
Once the crop is made, your image should have extra, transparent space on the sides.
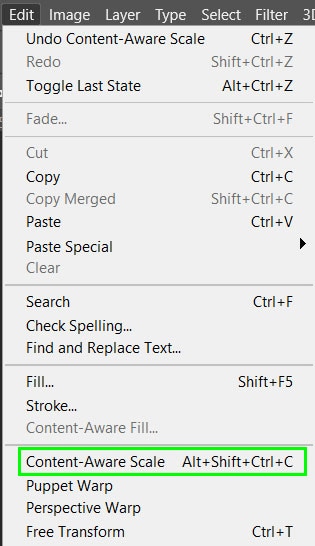
To use the content-aware scale tool, first, make sure that your image layer is selected in the Layers panel. Then navigate to Edit > Content-Aware Scale or use the shortcut Alt + Shift + Control + C (Windows) or Option + Shift + Command + C (Mac).

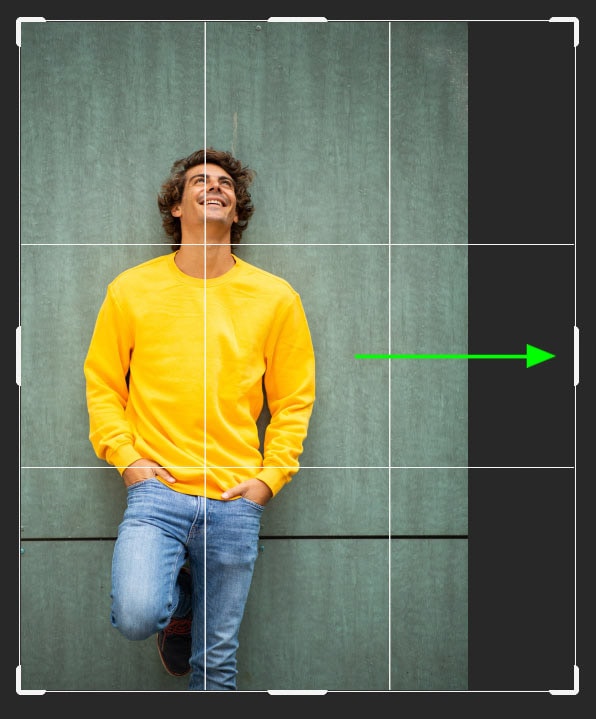
Once the tool is selected, a transform box will appear around your image. You can now select any side anchor point and slowly drag out the image. As you drag the anchor point you will notice the image extending to the side.

Problems With Content-Aware Scaling
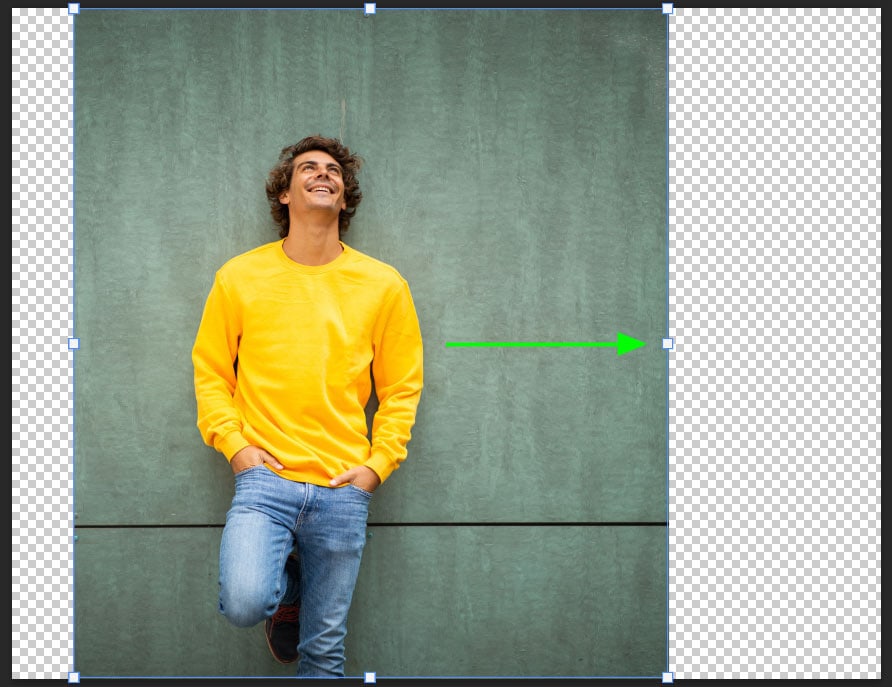
When dragging your image, you need to carefully watch the subject in your image. If you drag the image out too far in one go, the subject in your image will begin to stretch out. You can see the shoulders of the man stretched in the image below.

To prevent your image from stretching, slowly extend the image in stages. Start by extending by a small amount. Right before you notice the subject of your image starts stretching, stop extending your image at this point and press the Enter key to save the changes.

You can then continue extending the image by selecting the content-aware scale tool and dragging out your image. Once the subject stretches again, stop and press Enter.
Continue repeating these steps until you have filled the entire extra space to the right of your image.

If you would like to add space to the left of your image, repeat the steps but drag the image out to the left side instead. You will now have a landscape-orientated image without noticeably distorting your background.
If you want to make your landscape image have a portrait orientation, the same steps would apply, but in a vertical direction instead.

How To Extend Sections Of The Background With The Marquee Tool
When using the content-aware scaling method, you can use the marquee tool to select the areas of the image you want to extend. This will help prevent the subject within the image from being stretched unnecessarily.
This will make it easier to extend the image without needing to stretch the image in increments.
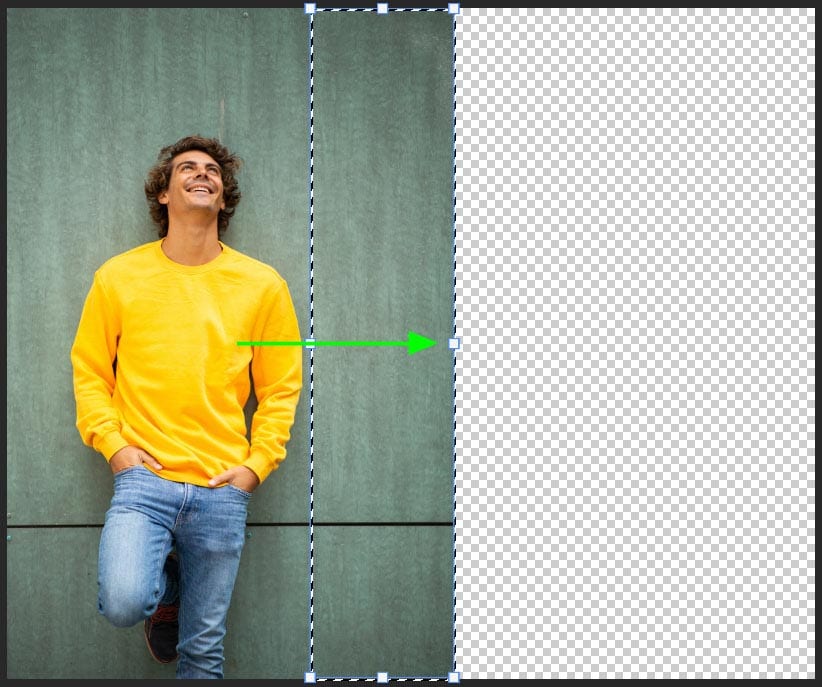
You can use the Marquee Tool once you have cropped the image outwards with the transparent areas around the image. Select the Marquee Tool from your toolbar or press M.

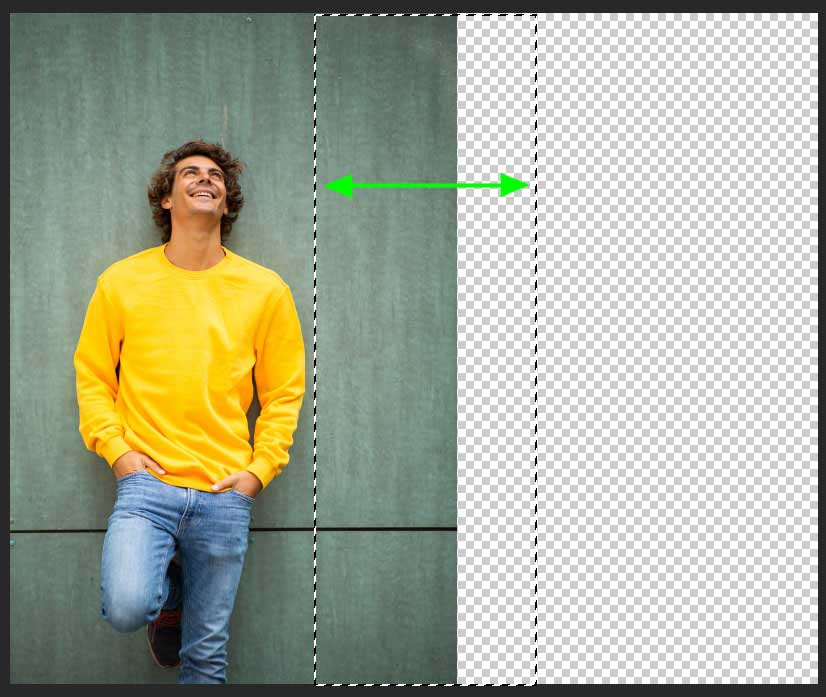
Create a rectangular selection around the area on your image that you want to be extended. Make sure to not include elements of your subject inside this selection. Photoshop will only extend the information that is within the selection.
Once the area is selected, navigate to Edit > Content-Aware Scale or use the shortcut Alt + Shift + Control + C (Windows) or Option + Shift + Command + C (Mac).
You will notice that only visible pixels that are within the selection will be extended. Use the anchor point on the transform box and drag it out to the side of the image.
Once you have dragged the selection to the edge of the new image size, press the checkmark in the top options bar or hit Enter on your keyboard. Remove the selection by navigating to Select > Deselect. You can also use the shortcut Control + D (Windows) or Command + D (Mac).

The background will now have extended outwards without affecting the subject of your image.
The method that is best for you to use will depend on the image you are extending and how detailed the background is. You can use a combination of these methods to get the best results.
How To Touch Up Inconsistencies On Your Extended Background
Once you have extended your background, you may notice slight inconsistencies in your image. If Photoshop incorrectly duplicates information in the image, it can lead to odd spots in your background.
To fix up these areas, select the spot healing tool on your toolbar, then click and drag over the areas of your image that need fixing. This can be done with extra lines, weird blurs, or obviously repeating patterns. This will help to make your background look more realistic without any fake-looking repeating patterns.

With the help of content-aware cropping and content-aware scaling, extending the background of photos is easy. This process works best with simple backgrounds like what I used throughout this tutorial, but blurred-out backgrounds can work as well!
Happy Extending!


