
There are a few methods you can use to stretch an image in Photoshop. Stretching does, in effect, resize the image, whether you want to fit the image to the canvas or simply increase the size to fit your design better.
Here are a few easy ways to stretch images or layers, such as using the Transform Tool and the Image Size window, whether you want to resize the image proportionally or stretch it. You will also learn how to fill out the extra space around an image using Content-Aware Fill.
How To Stretch An Image Or Layer In Photoshop
To stretch an image or layer in Photoshop, select the Move Tool by pressing V and clicking your desired layer in the Layers Panel. Next, click on any of the anchor points surrounding your layer while holding Shift. Now, when you adjust its size, it will be stretched in the direction you drag.
This method with the Move Tool and the Shift key is one of the most basic methods of stretching layers in Photoshop. However, you may want to stretch the image to a particular size or fill out the canvas space with new pixels, which is where these methods come in handy.
Option 1: Use The Transform Tool
The Transform Tool has tons of different uses, from stretching your image to rotating it to distorting it. You can stretch the image with or without distortion using this method.
Step 1: Create A New Document
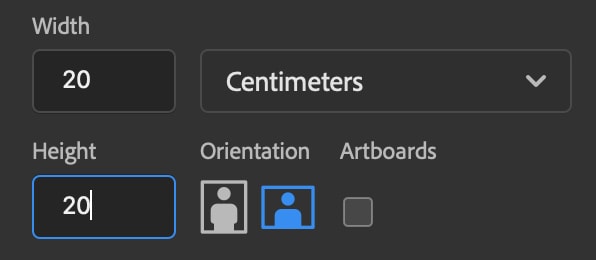
To do this, first, open a new document. In the New Document window, make sure you set the canvas size much larger than your intended image; otherwise, the image will be cropped if you stretch it beyond the canvas.
I’m setting mine to 20×20 centimeters, but feel free to play around with whatever size works best for your image.
Step 2: Add Your Image To The Canvas
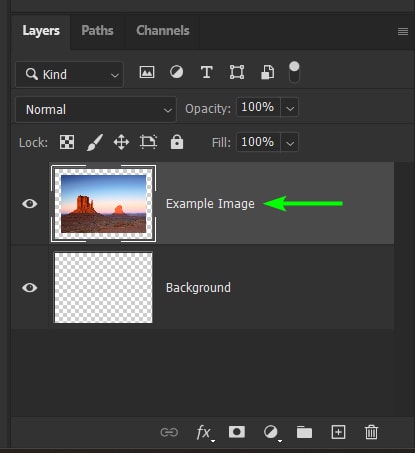
Now, add your photo to the canvas by dragging and dropping the image from your computer. This will add the image as a new layer, as opposed to the background layer. It is important for your image to exist as a separate layer from the background, as you cannot use the Transform tool on a background layer since it is locked.
Although you can unlock the background layer, it’s easier just to add your image to an existing project by dragging and dropping.
With your image imported, make sure it’s selected in the Layers Panel.
Step 3: Activate The Move Tool And Activate Free Transform
Then select the Move Tool (V).

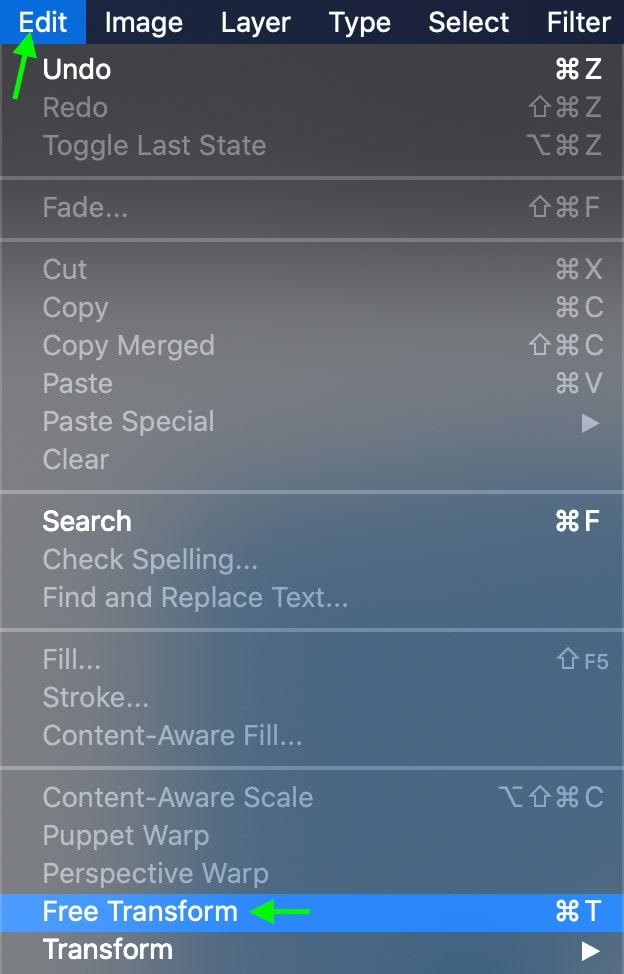
Now, access the Transform Tool by heading to Edit > Free Transform or using the shortcut Control + T (Win) or Command + T (Mac).
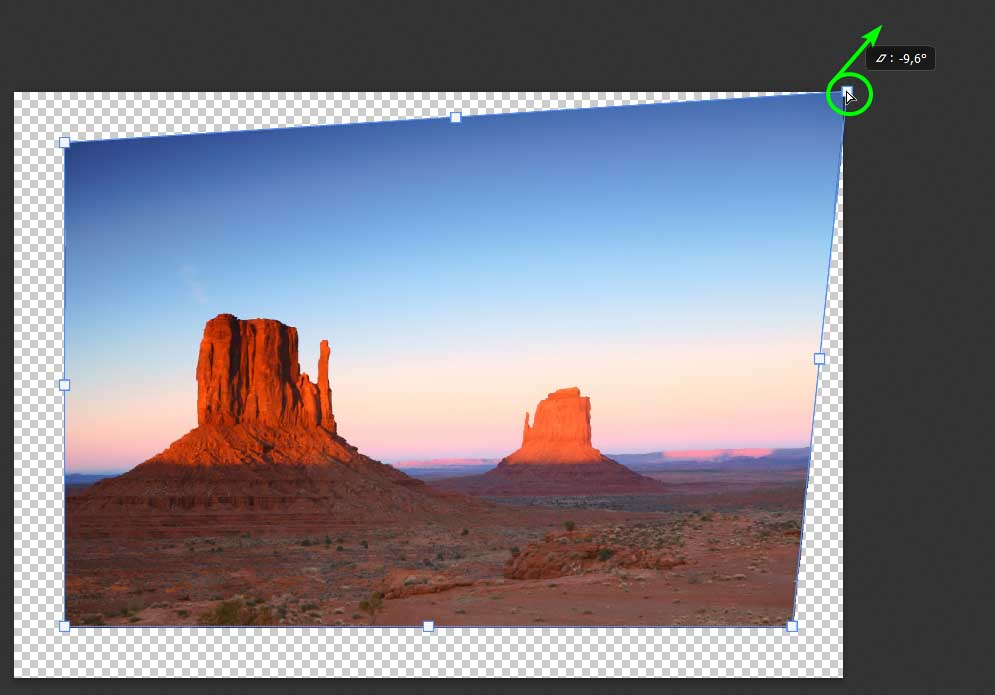
Step 4: Drag The Anchor Points To Stretch The Image
Then click and drag any of the anchor points on the transform box around the image to stretch it in a particular direction. To stretch it without distorting, simply click and drag the anchor point (on newer versions of Photoshop) or hold in Shift while resizing (on older versions of Photoshop).
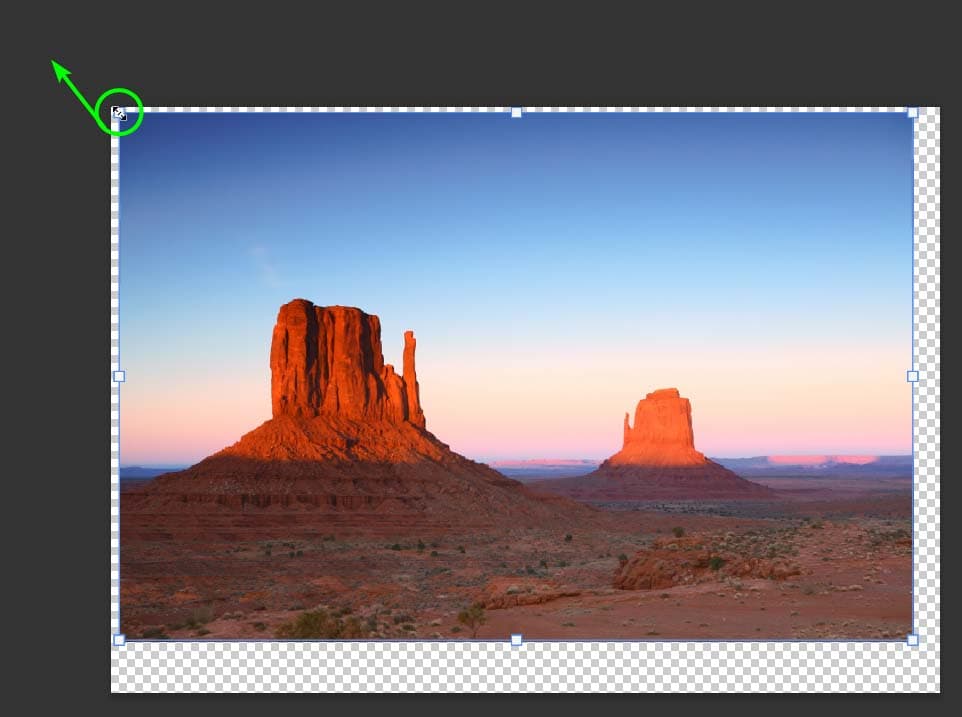
If you want to stretch the image with distortion, you can hold in Shift while stretching the image (newer Photoshop versions) or simply drag and stretch the image (older Photoshop versions).
Stretch the image until it reaches the edges of the canvas. You may need to extend the image beyond the canvas if the dimensions don’t match. Press Enter to confirm the changes.
Step 5: Distort A Separate Side Of The Image (Optional)
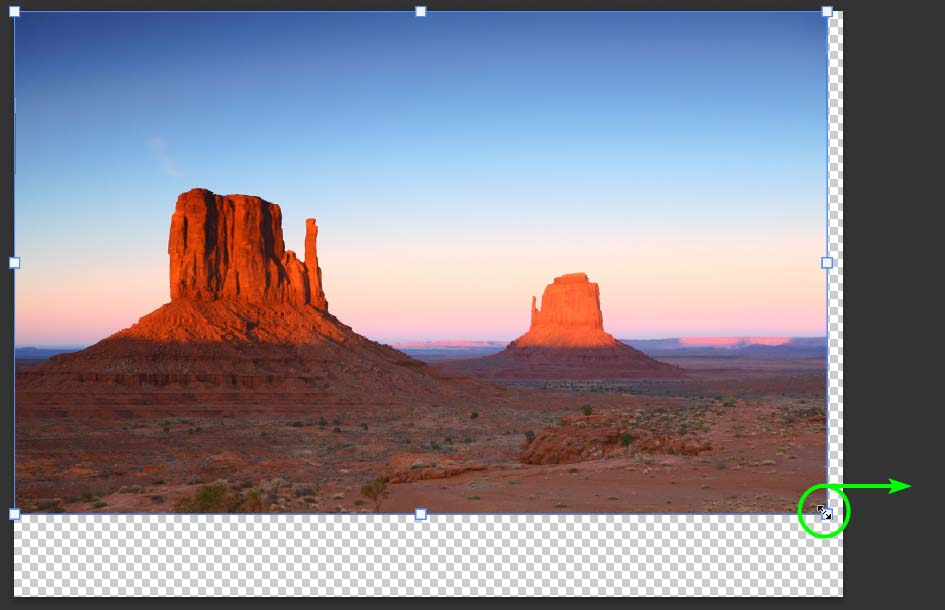
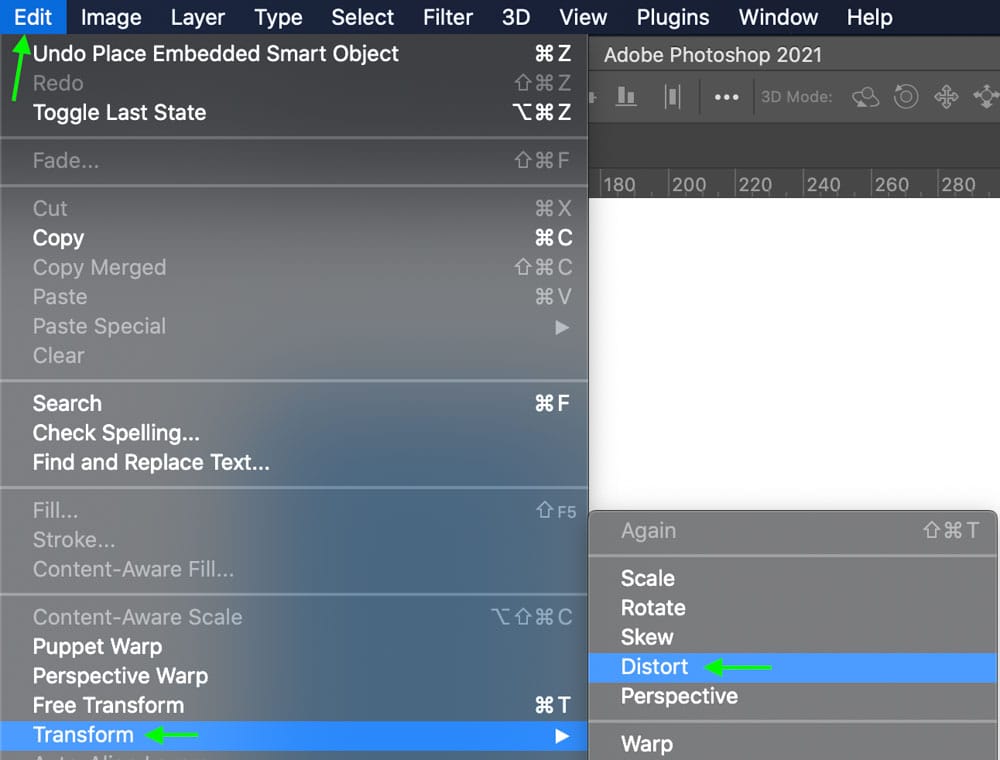
If you want to stretch a particular side of an image for a creative effect, go to Edit > Transform > Distort.
You can now click and drag any corner anchor to only stretch that area of the photo.
Free Transform allows you to stretch the image, keeping the image flat, while the Distort setting keeps all sides locked in place and only stretches the image based on the one corner you’re stretching.
Option 2: Increase The Width Or Height Using Image Size
If you’re looking to stretch an image, keep in mind that if your canvas isn’t big enough, your image will be cropped if you stretch it beyond the boundaries of the canvas. You can easily fix this issue by increasing the canvas size along with the image size, which happens automatically when you stretch using the Image Size tool.
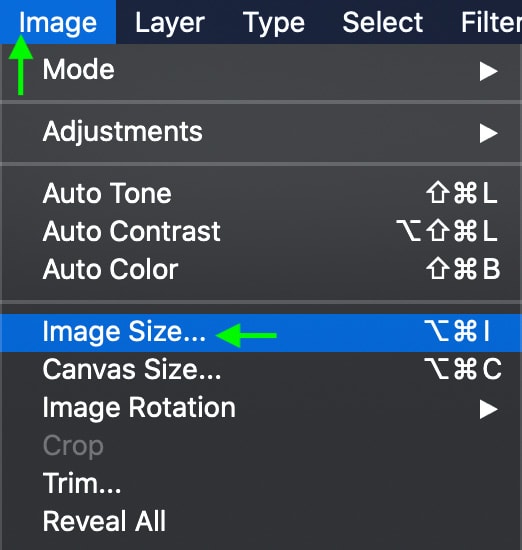
Step 1: Open The Image Size Window
To do this, open the file you want to stretch and go to Image > Image Size.
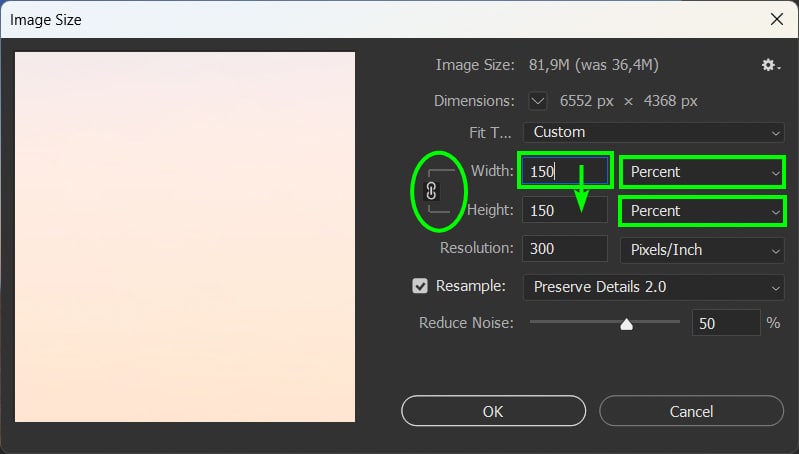
Step 2: Stretch The Image Using The Width And Height Options
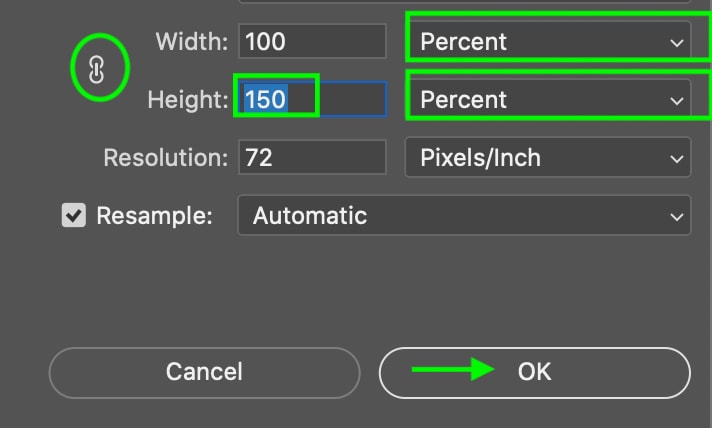
Now, to stretch the image without distortion, ensure the Link icon on the left is active, which will automatically scale the width and height at the same value.
Then, select Percent from the drop-down menu next to Width and Height. Type the value in any box that you’d like the width and height to increase by – for example, 150 percent. The percentage will automatically change in the other box to match.
Click OK to confirm the changes.
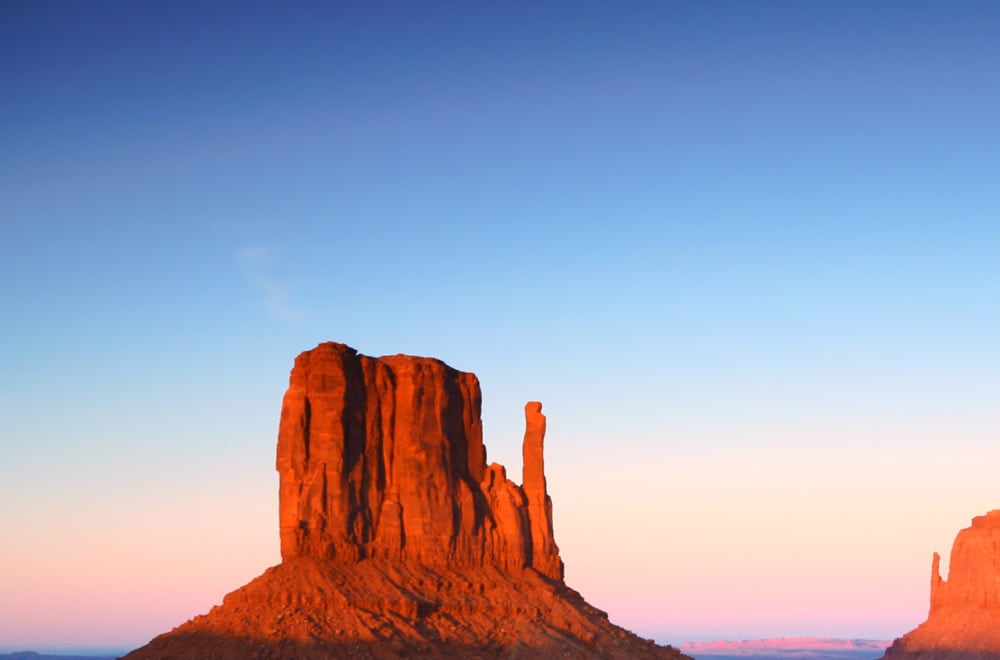
The image size will increase by the amount you input into the box. As a result, the image will be more zoomed in on the canvas, showing the size increase. To view the full image again, zoom out using Control + – (Win) or Command + – (Mac).

Step 3: Stretch The Image By Increasing The Height Option
If you want to stretch the image with distortion, click the Link icon to make sure it’s not active.
Then, select Percent from the drop-down menu next to Width and Height. Type the value in the box that you’d like the width or height to increase by – for example, 150 percent. That means the height of my canvas will be 50% larger than the width once this stretch is applied.
Keep in mind that you must use a value over 100 percent in order to add to the image; using a value below 100 will warp the image inward.
Now click OK, and you’ll see the image stretched according to the percentage you set.
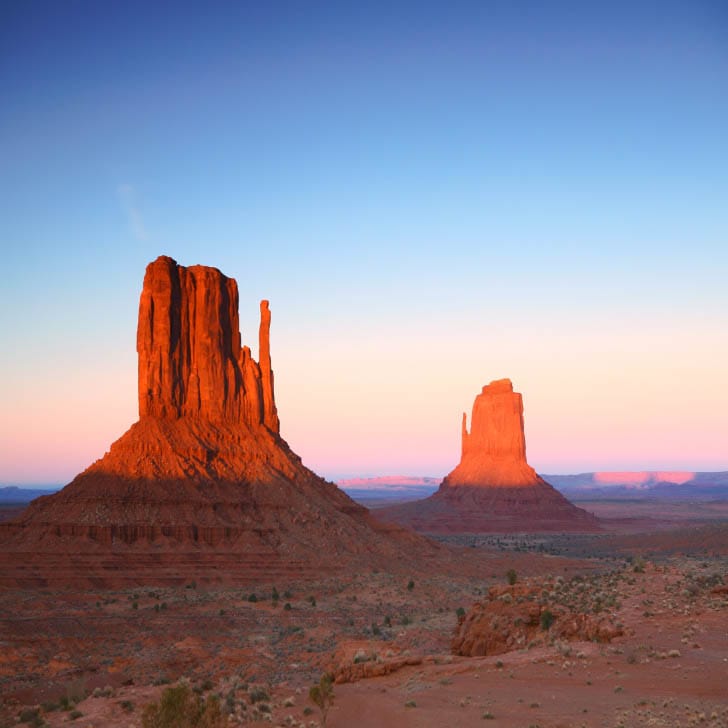
The image is noticeably stretched, and because the Image Size dialogue box changes the canvas size to meet the image, you don’t need to do any cropping. To undo your work and try a new percentage, go to Edit > Undo and repeat the process until you’re happy with the stretched effect.
Option 3: Stretch An Image With The Content-Aware Scale
Using Content-Aware Scale stretches an image to fit an aspect ratio that you’ve specified but can protect certain areas of the image from being distorted by the stretching process.
Note: In Photoshop Version 25.0 and later, you can use Generative Expand to extend the image with AI filling in the extra spaces for a more intuitive fill.
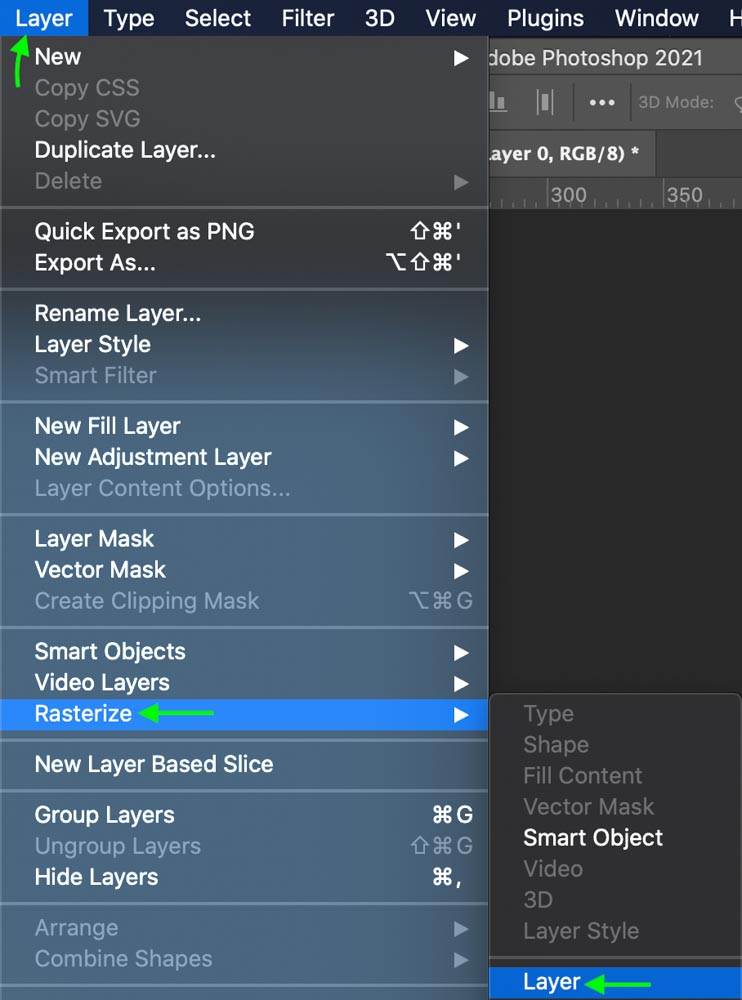
Step 1: Rasterize The Layer
Before you start, your layer cannot be a smart object. If it is, you won’t be able to use the Content-Aware Scale since it’ll be greyed out. Luckily, you can fix this by going to Layer > Rasterize > Layer.
Step 2: Extend The Canvas Using The Crop Tool (C)
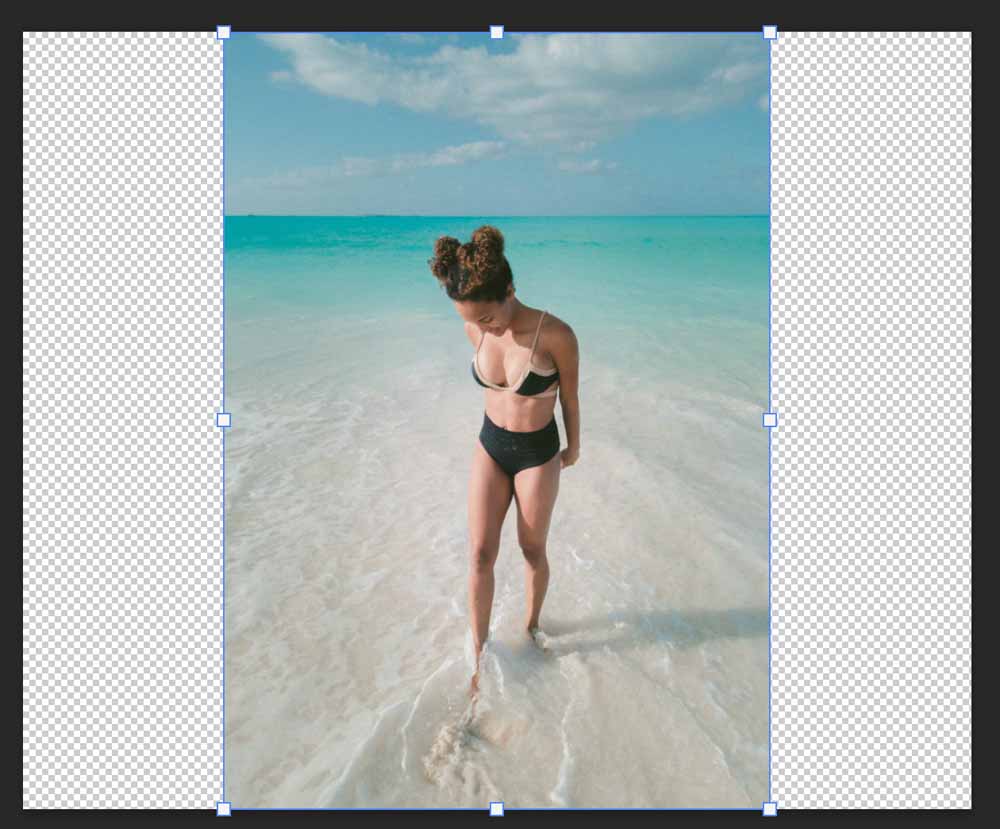
Once rasterized, use the Crop Tool (C) to extend the canvas to the amount that you’d like the image stretched. You can extend one side at a time or hold the Alt/Option key to extend both sides of the canvas simultaneously.
Since I want to make this portrait photo horizontal, I have extended the canvas outwards in that direction.
Step 3: Activate Content-Aware Scale
Now it’s time to use the Content-Aware Scale, which means you must first select the Move Tool (V).
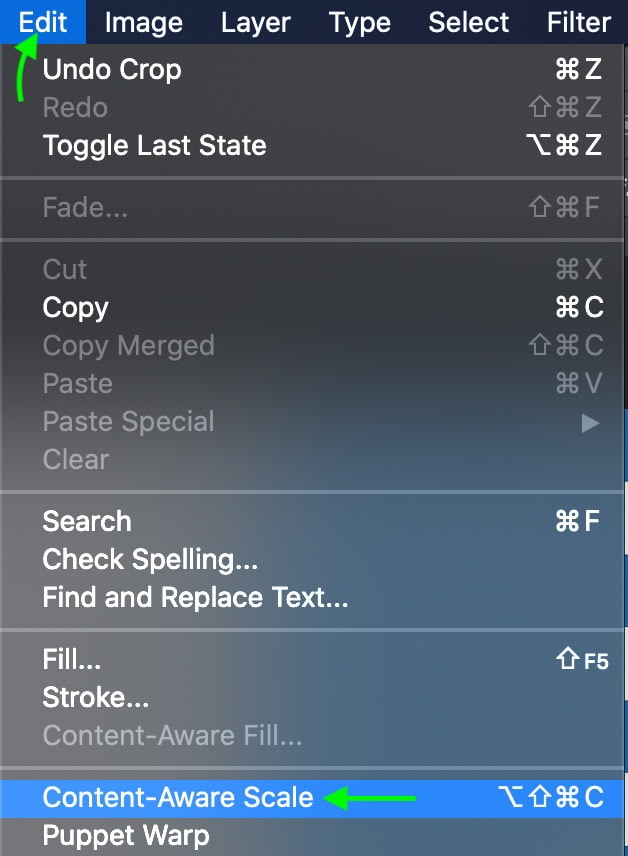
Then head to Edit > Content-Aware Scale.
In the Options Bar, you can type in the new width and height of the image, or you can simply use the anchor points to stretch your image to fill the transparent areas of the canvas.
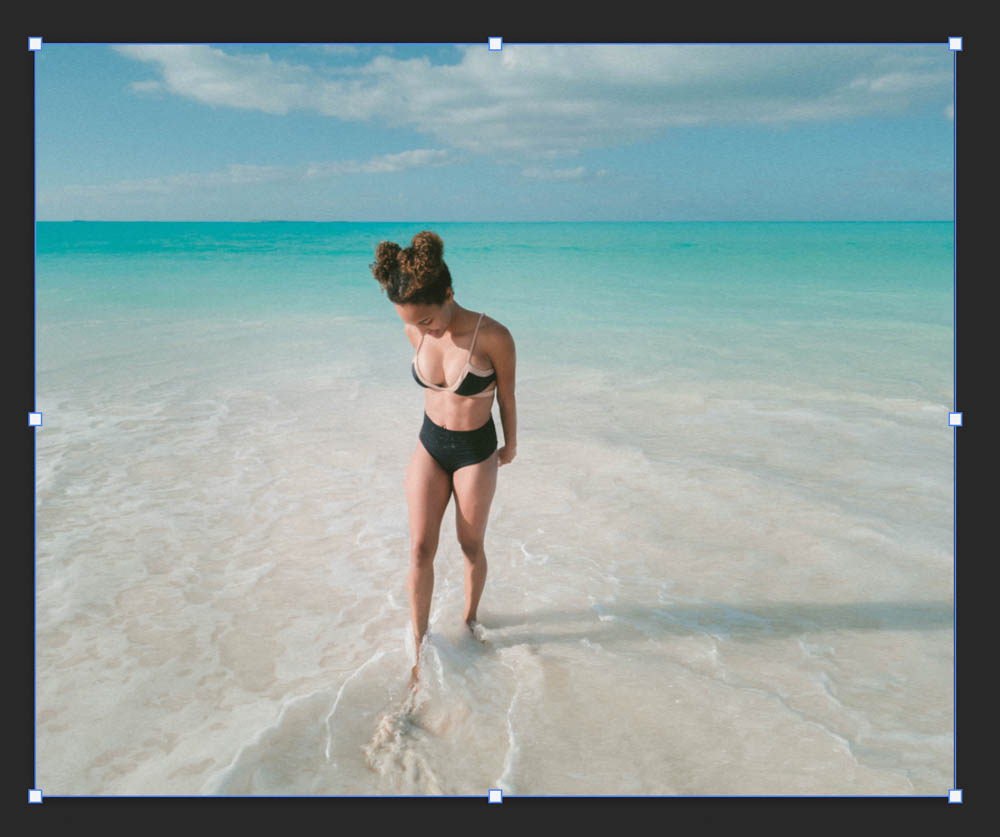
Notice that even though we’ve stretched the background, the person in the middle doesn’t appear stretched. This makes the Content-Aware Scale a great option for stretching images but retaining some of the information.
Content-Aware Scale has a lot of advantages for stretching images without distorting your subject. I explain more about this technique and the downsides to it in this tutorial on extended backgrounds in Photoshop.
How To Stretch An Image Or Layer In Photoshop Without Distortion
If you want to stretch your layer or image to increase the size without distortion, you can use the Transform Tool with an extra setting enabled to prevent the image from distorting.
Step 1: Select The Move Tool
Select the Move Tool (V) from the Toolbar.
Step 2: Turn On The Transform Controls
Check the box next to Show Transform Controls in the Options Bar to turn on the transform controls.

Step 3: Activate The Link Icon In The Options Bar
Once you click and start dragging an anchor point, the image should stretch without distortion on newer versions of Photoshop. However, if it does distort it, you need to ensure the Link icon is active in the Options Bar.
This setting is automatically active on newer versions of Photoshop, but on older versions, you need to click it to turn it on or hold in Shift when scaling to keep the scale proportional.
Note: The link is active when there is a slightly darker block around it.

Step 4: Drag The Anchor Points To Stretch The Image Or Layer
Now, you can click and drag any of the corner anchors to stretch the image or layer without distorting it.

Stretching an image doesn’t have to be difficult, nor does it have to warp the entire image and result in low quality. These methods will allow you to stretch objects in Photoshop while retaining much of the quality and still getting the desired effect.
Happy Editing!


