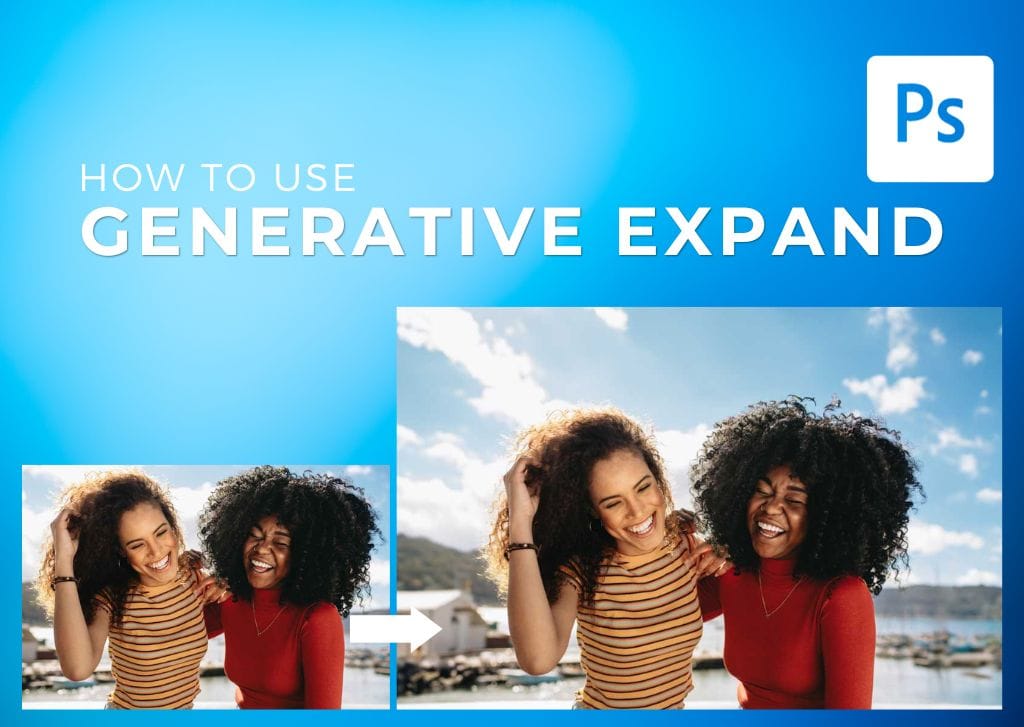

You can now extend your tightly cropped images or change your photo’s composition using Generative Expand in Photoshop. Taking the perfect shot or finding the right stock image for your project is not always easy. Luckily, with Adobe’s new AI features, fixing your pictures is easier than ever.
The new Generative AI features powered by Adobe Firefly were released in the Photoshop 2024 update, and they open up a world of creative possibilities. The Expand feature uses AI to intuitively fix skewed images, undesired compositions, and more. Here is all you need to know about this groundbreaking new feature.
How To Use Generative Expand In Photoshop To Extend A Background
Generative Expand uses the same technology as Generative Fill. However, you can access this feature through the Crop Tool (C). The feature expands your image by automatically generating new pixels to blend seamlessly with the original image.
You can use AI to expand your images for many reasons, some of which I list later in the article, to get your creative juices flowing.
Step 1: Activate The Crop Tool (C)
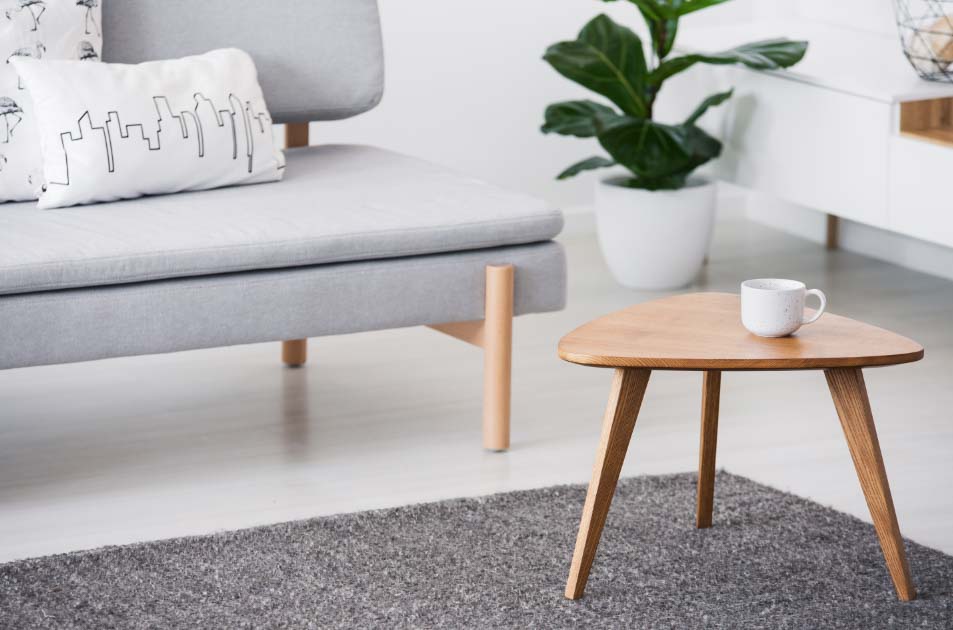
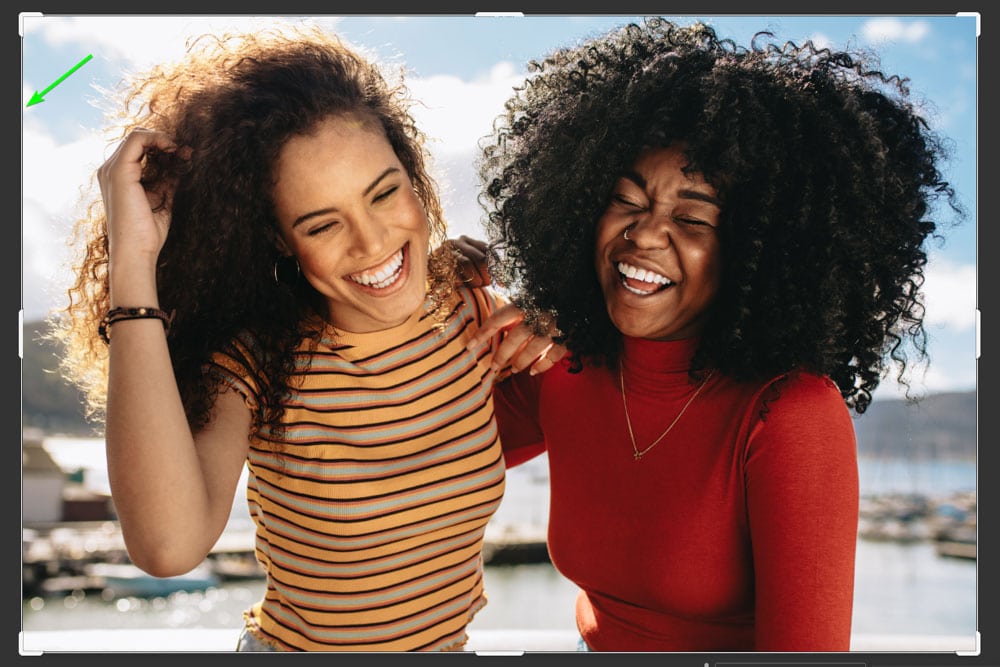
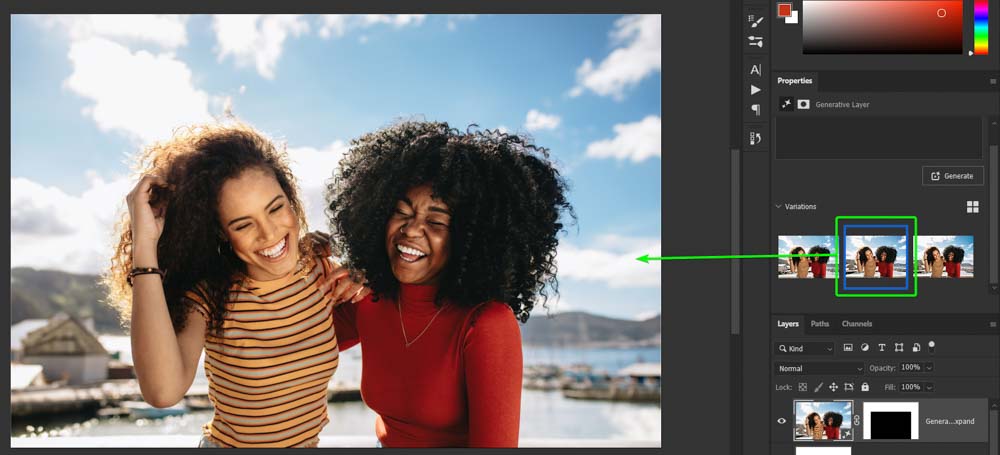
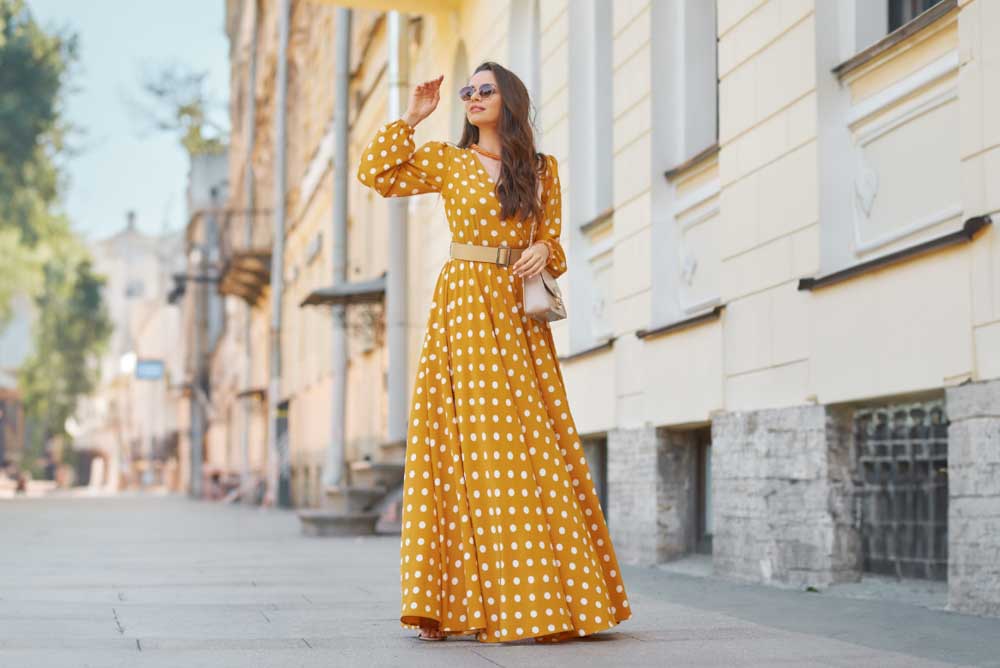
First, open your image in Photoshop. For this example, I will extend the background of the following picture of two women laughing. I don’t want the crop so tight around them, and I want to see more of the background details.

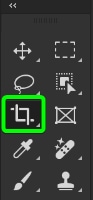
Once the image is open, activate the Crop Tool by selecting it from the toolbar or pressing C.
A crop box will appear around your image.
Step 2: Change The Crop Fill To Generative Expand
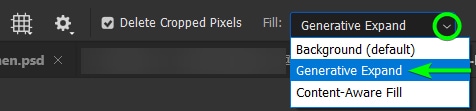
You can change the crop fill option and choose between Background (default), Generative Expand, or Content-Aware Fill. Change the crop fill to Generative Expand using the dropdown menu in the Options Bar.
Step 3: Set The New Aspect Ratio (Optional)
If you want the image to have a new aspect ratio or keep the original aspect ratio when you resize it, you can set the aspect ratio. Use the Ratio dropdown menu and Aspect Ratio boxes in the Options Bar to select your desired aspect ratio.
This process works the same as the standard Crop Tool when changing the aspect ratio in Photoshop.

For my example, I want to keep the same aspect ratio as the original image, so I set the Ratio dropdown to Original Ratio.

Step 4: Extend The Image By Moving The Crop Handles
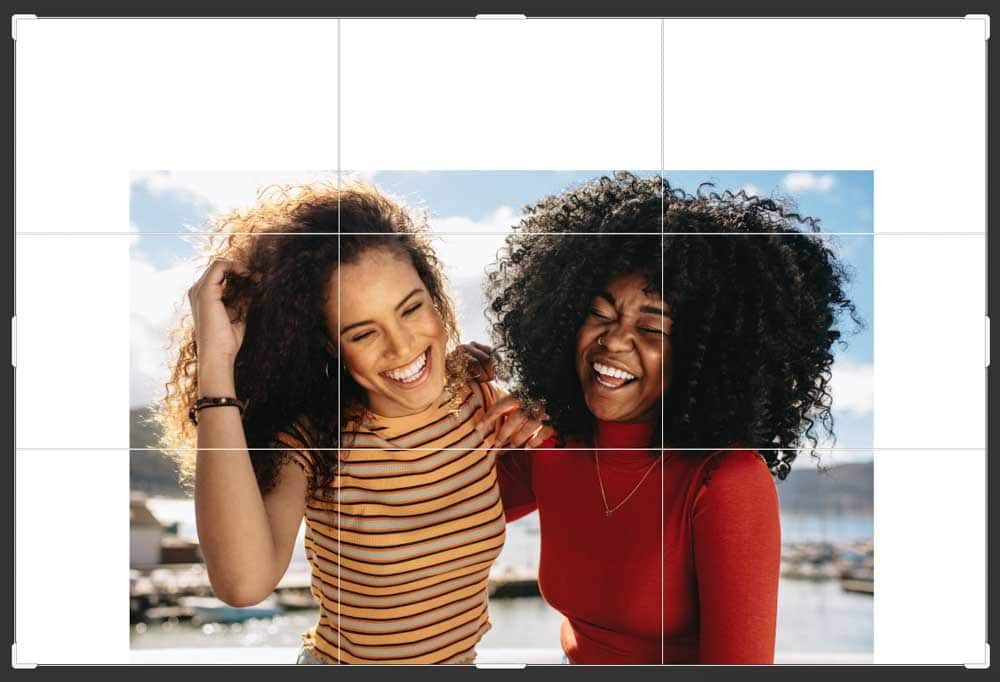
Next, extend the image by clicking and dragging any of the corner crop handles. You can extend the canvas based on which side you want the new content added.
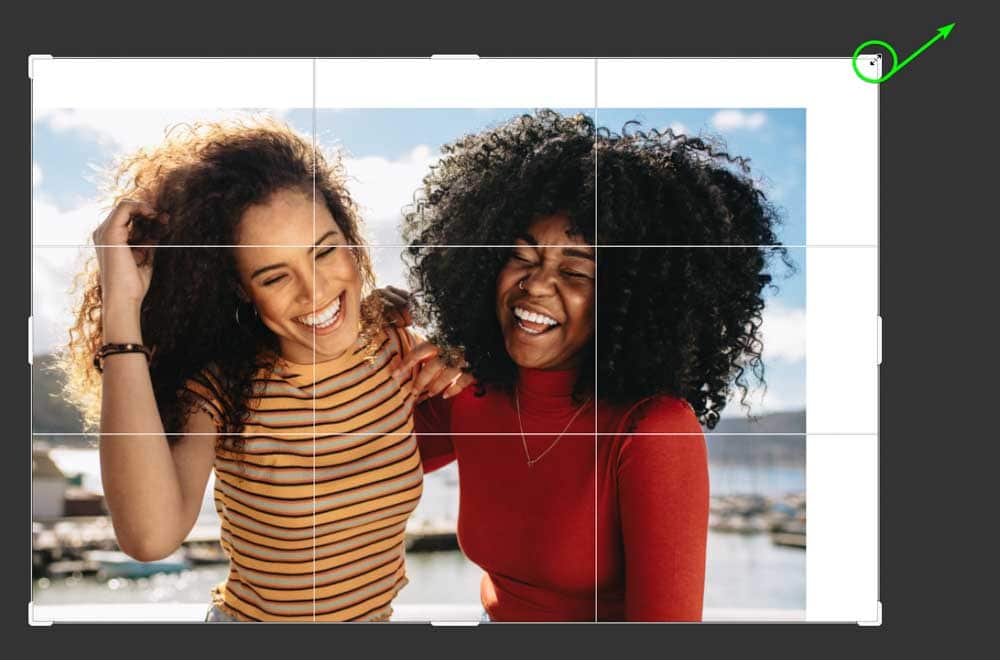
You can extend all the corners you want and move the image around to set it with the white areas where you want the new content generated.
Step 5: Click On Generative Expand In The Contextual Task Bar
Once you have extended the canvas and placed the image where you want, you can generate the new pixels. To do this, locate the Contextual Task Bar, which floats around the workspace or is pinned to a spot you chose. Then, click on Generative Expand.

Step 6: Generate New Pixels Using Generative AI
Once you click on Generative Expand, you can either type a prompt into the prompt box to tell Photoshop what you want the extended background to be filled with, or you can let Photoshop automatically generate extra pixels that match the current background of the image.
Generate New Pixels Automatically
To generate new pixels automatically, leave the prompt box empty and click on Generate on the right-hand side of the Contextual Task Bar.

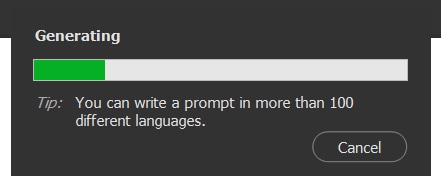
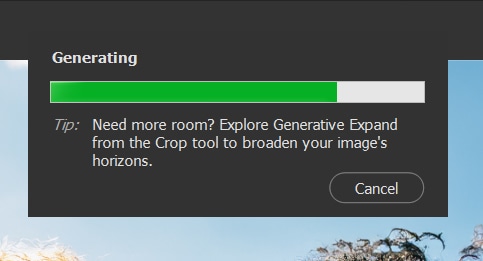
You will see a progress bar while Photoshop generates the new content. This can take a while, depending on your computer resources and your credit amount (in the future).
Once the AI has generated new pixels, you will see them in the workspace. You also have three variation options, which I will detail in the next step.

Generate New Pixels Using A Prompt
If you want the expanded area to contain a specific scene, add a prompt describing what you want. You can write the prompt in over 100 supported languages. Remember to keep the prompt to what you want Photoshop to create. There’s no need to add in words like “expand,” “fill,” “add,” etc.
For example, you can type in “a lake setting with mountains in the background.” Then click Generate.

Wait a few moments while Photoshop’s AI generates the scene.
Depending on how specific your prompt was and the possibility of matching it to the image, you will likely end up with a decent result.

Step 7: Choose A Variation Or Re-Generate
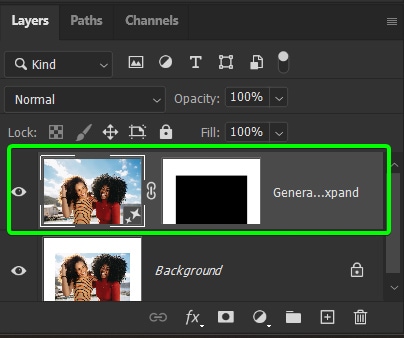
Once the new pixels are generated, you will see a new layer in the Layers Panel with a layer mask added to show where the new content was added.
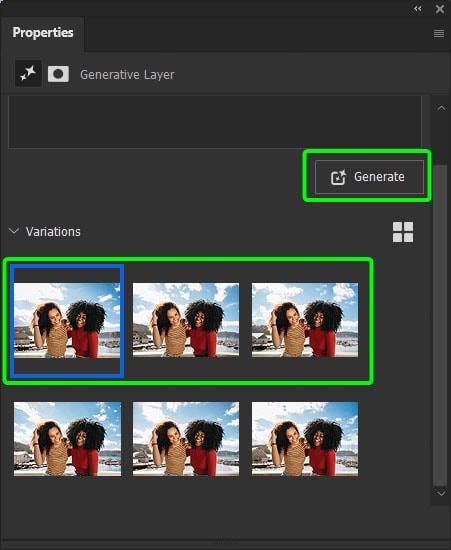
Whenever you use Generative Expand, Photoshop offers three variations that you can choose between. You will find these variations in the Properties Panel once Photoshop has finished generating the scene.
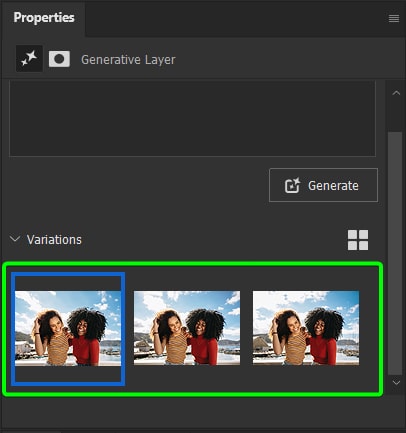
You can click through the variations to view them in the workspace (it will take a few moments to load each variation). You can then select your favorite one to keep.
You can re-generate the scene if you aren’t happy with the variations. Either click Generate on the Contextual Task Bar or click Generate in the Properties Panel. Photoshop will offer three more variations above the first three. You can continue generating until you are happy with the result.
Note: I recommend you test out a few prompts or change your description if you aren’t getting the desired result.
You will now have an expanded image with extra content that seamlessly fits your original photo.

Generative Expand VS Content-Aware Cropping In Photoshop
When selecting the Fill type for the Crop Tool, you can choose between a background (which fills the expansion with the background color), or you can use a fill that adds image pixels. The two pixel-adding options are Generative Expand and Content-Aware Fill. So which should you choose?
While Generative Expand and Content-Aware Fill both fill the extra canvas area with pixels using AI, there are some key differences. Generative Expand creates entirely new pixels to add to your image using Adobe Firefly’s AI tools. This AI has been trained using the extensive Adobe Stock library.
Content-Aware Fill cropping uses pixels from the image and re-purposes them to add extra content around the photo. This feature is limited, as the extra pixels are drawn from the image and duplicated, so no new content is generated.
Content-Aware Fill is faster than Generative Expand, making it a better mode to use when editing a batch of images. Content-Aware Fill will also be an option when Generative AI credits are in effect and you have no monthly credits left.
However, ultimately, Generative Expand offers limitless possibilities to extend photos and enhance them by zooming out, adjusting composition, and more.
When Should You Use Generative Expand In Photoshop?
Generative Expand has opened up a world of possibilities, and there are many times when you can use it to improve your photos. Here are a few of the most common uses for the tool.
1. Fix Compositions
Capturing an image with the perfect composition can be tricky in specific settings. There may be distracting objects around the subject of your photo that make it challenging to create a suitable composition. In these cases, you can use Generative Expand to extend the background on any side and place your subject exactly where you want it.


2. Straighten Images
Generative Expand also offers an optimal solution when you need to straighten images. Using this feature, you can avoid the need to heavily crop skewed images. You can simply use this guide to straighten your photo using the Straighten Tool. Then, instead of cropping off the image to remove the empty spaces around the image, use Generative Expand to fill in the transparent areas.
3. Change An Image’s Orientation (Vertical To Horizontal)
When you have a vertical image that you want to repurpose in a horizontal format, it’s almost always impossible to salvage enough of the picture. Luckily, you can now easily change an image’s orientation using Generative Expand.
You simply need to expand the photo to match the horizontal size you want and use the feature to fill in the extra space with accurate pixels. This process even works with complex backgrounds and scenes. Remember that you can use a prompt to ensure the added pixels display the result you want.
4. Change An Image’s Aspect Ratio
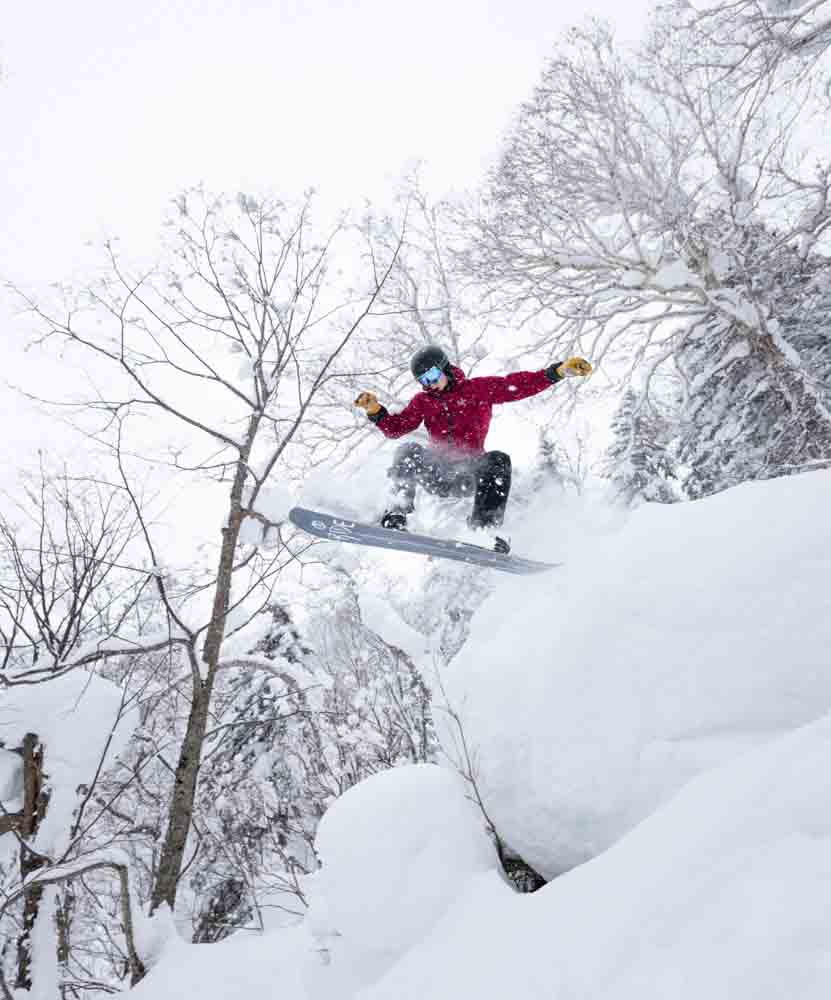
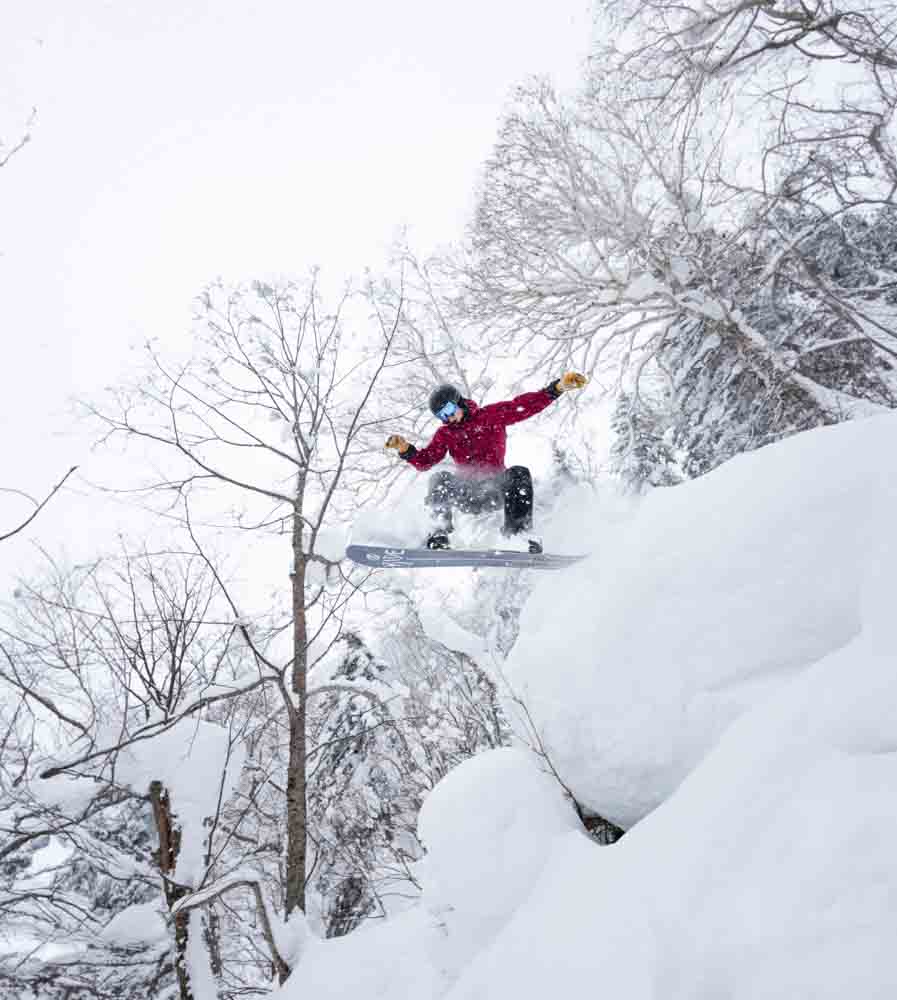
Much like the example above, you can use Generative Expand to change an image’s aspect ratio to anything you want, whether it is minor changes, like expanding a picture from an aspect ratio of 5:4 to 3:2 while AI fills in the small transparent gaps, or major changes like the orientation above.
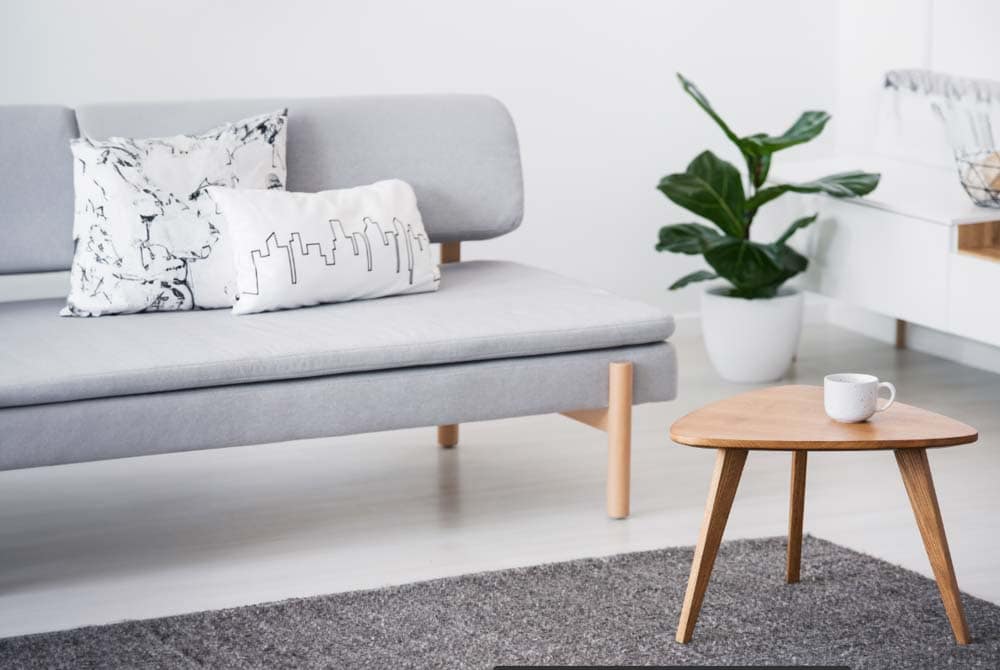
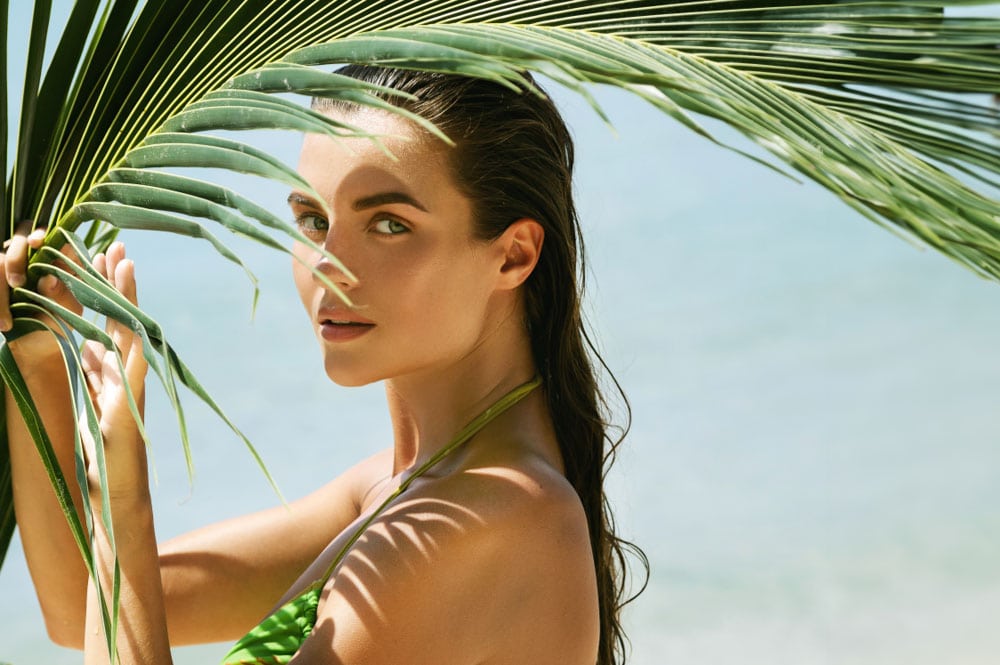
Here, I have slightly expanded the image from a 5:4 aspect ratio to 3:2, and you can see the fern is seamlessly continued without creating awkward areas in the picture. There is no need to crop the image and lose detail to change the ratio. Instead, I have a slightly larger image and the aspect ratio I want.

5: Correct Cut-Off Subjects
Another great use for Generative Expand is to complete an image by fixing any cut-off subjects or objects. Whether the space was too tight to get a complete picture, you accidentally cut off an essential feature during a shoot, or you just didn’t see a feature on the edge that would add to the image, you can fix this up.