
If you have a JPEG file that you need to convert to a PNG, Photoshop makes it easy. Better yet, it also provides a handful of easy tools to remove your image background, so you can export with transparency. So if you want to finally remove that pesky background from your images or graphics, cutting out your image and converting it from JPEG to PNG is the perfect solution!
To convert a JPEG into a PNG with a transparent background in Photoshop, make a selection around your subject with the Quick Selection Tool and add it to a layer mask. With the background removed, go to File > Export > Export As. Set the format to PNG, check off Transparency, then click Export.
We will break down this process more in-depth later in this tutorial and how to convert a JPEG to PNG without removing the background. However, let’s start things off by gaining a better understanding of what these two file types actually are.
What’s The Difference Between JPEG and PNG?
Both JPEG and PNG are two of the most popular file formats used for images. However, there is a key difference between them.
JPEG
First, let’s start with JPEG, which stands for Joint Photographic Experts Group. This is the name of the group which founded the JPEG file format in 1992 as they needed a way to make large images smaller, so they could be easier to share. JPEG has what’s known as “lossy” compression, which means the file quality is reduced.
The compression ratio for JPEG is 10:1. So, for example, if you start with an image that’s 20 MB, it would become 2 MB if you export it as JPEG. The compression doesn’t always affect the quality of the image, at least not to the human eye. However, this depends on the image itself as well as the original file quality.
JPEG images are great for digital photography and pictures with complex shading and colors. These images are what you encounter on most websites and social media platforms, as they allow for faster uploading from the reduced file size. However, due to JPEG’s lossy compression, they are not ideal for images with text line drawings or logos.
PNG
The PNG file format stands for Portable Network Graphics. It was created in the mid-1990s and was made to replace GIFs (Graphical Interchange Format). PNG has what is known as “lossless” compression, which means the file quality remains the same before and after compression.
PNG images are larger than JPEG images because they keep all the information within the file before and after compression. The lossless compression also makes them perfect for line drawings, texts, and icon graphics because even a small reduction in quality can affect those types of images.
This is also the reason PNG images are preferred for screenshots over JPEGs because it allows you to see the images and text clearer on the screen. Another perk of PNG is that it allows you to have a completely transparent background, which is important for things such as logo design.
For example, say you’ve designed a logo in Photoshop, and you want to keep that transparent background when you save it. You would have to export that image as a PNG file to keep that transparent background because if you save it as a JPEG file, then it’ll save with a white background.
Now that you understand the difference between these two file types, let’s convert a JPEG file into a PNG without cutting out the background.
How To Convert A JPEG Image To PNG
Step 1: Go To File > Export > Export As
Open your image in Photoshop, then go to the menu bar and click File > Export > Export As. You can also use the shortcut Alt + Shift + Control + W on Windows or Option + Shift + Command + W on Mac. This will open up the Export As menu.
Step 2: Set The Export Format To PNG
The Export As menu is where you’ll be able to change the image from JPEG to PNG before you save it to your computer. You can also change the image’s size as well as the canvas size in this menu. However, for now, we’ll only focus on changing the file format.
Under File Settings to the right of the Export As window, click the JPG option to view the other file formats available.
From the list of file formats, select PNG to change the format your image will be saved in.
Step 3: Press Export
Now that you’ve selected PNG for your file format click the export button at the bottom right-hand corner of the Export As window to save your image as a PNG on your computer.
This method will convert your JPEG files into PNG’s, but they will still look nearly identical after export. Even though PNG files preserve transparency, they only do so if there is actually transparency in your image. In the next section, you’ll learn a quick and easy way to remove the background from your image so you can make the most of your PNG files.
How To Turn A JPEG Into A PNG File With A Transparent Background
Step 1: Remove The Background From Your Image
Select the Object Select Tool from the Tool Bar. This will allow you to easily select the object in your image that you want to cut out. If you are using Photoshop 2019 or later, you can use the Quick Selection Tool instead for these steps. The Object Selection Tool is only available in Photoshop 2020 and newer.
Once you’ve activated the Object Select Tool, draw a marquee selection around your image to highlight it using the Marquee Selection Mode. Don’t worry, you don’t have to make it exact, as long as it’s larger than the object in your image that you want to select. The Object Select Tool will snap the selection to the edges of the object.
Now that you’ve selected the object, we’re going to use a layer mask to get rid of the background. The layer mask is a non-destructive way to edit an image and in many cases, a lifesaver if we’re being honest. You can apply it by clicking the layer mask icon in the layers panel. It’s the square icon with a circle in it.
After clicking the layer mask icon, you’ll notice a small thumbnail beside your layer thumbnail. Inside is the selected shape in white, and the rest of the background is black. This means that the layer mask is active, and only showing the selected image.
Step 2: Go To File > Export > Export As
Now that you’ve successfully gotten rid of the background, the next step is to save the image as a PNG file with a transparent background. This will require you to repeat the steps in the section above to access the Export As menu, or you can use the shortcut Alt + Shift + Control + W on Windows or Option + Shift + Command + W on Mac to do it.
Step 3: Set The Format To PNG and Check Off Transparency
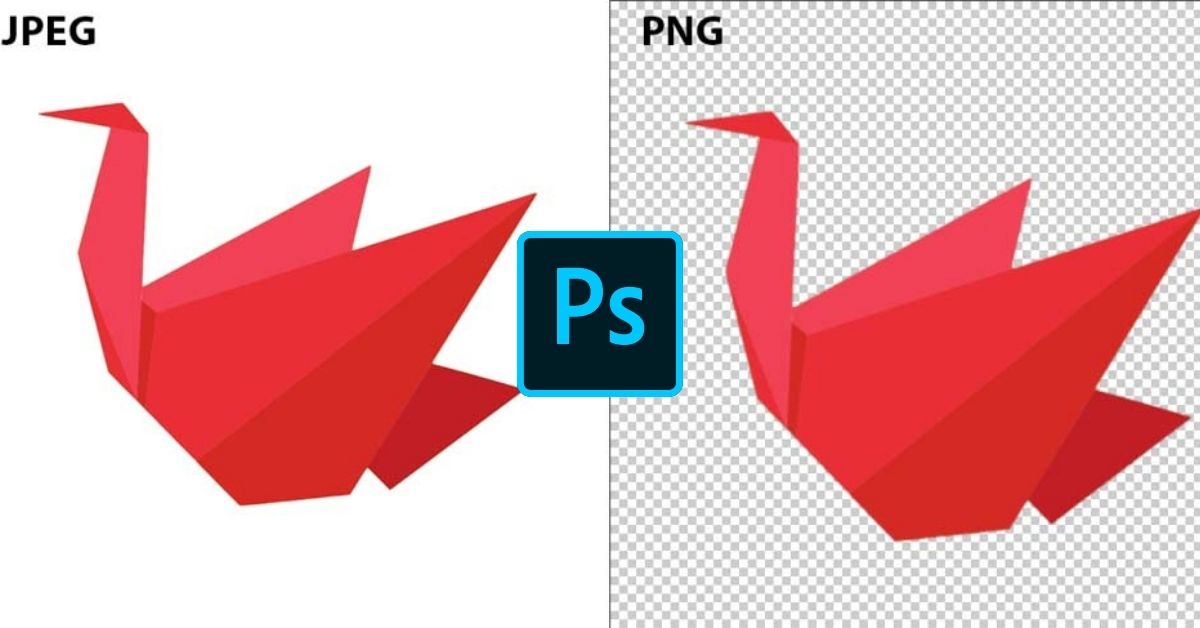
Once you’ve opened the Export As Menu, change the file format from JPG to PNG and check to make sure that the box next to the Transparency option is ticked. As you can see, the PNG option keeps the checkered background (which represents transparency), while the JPG option has a white background.
Step 4: Click Export
Once you’ve selected the PNG option with Transparency ticked, click export to save your image to your computer. Here’s the before and after the conversion:
This checkered background will not be visible when you add your PNG to another image. However, when viewing your PNG file on your computer, it may appear with a white or checkered background. This is because your computer has no other way of displaying transparency.
Luckily you don’t need to worry because the next time you add your PNG image to one of your projects, it will have a totally transparent background!
So now you know how to convert a JPEG into a transparent PNG in Photoshop. On top of that, you also know how to convert a JPG image into a PNG one without any editing too. This same process will apply whenever you want to preserve transparency in your images. After all, that’s what PNG’s are best at. So to help you get better at removing backgrounds in your images, check out these 5 awesome tools in Photoshop!
Happy Editing!


