

Changing the font of your text in Photoshop may not be as simple as a word document, but it can be quick and easy if you follow the right steps. Depending on how selective you want to be with your font changes, you can try a few different methods. However, there is one basic way to change the font of your text in any situation.
How To Change Your Font In Photoshop
- Select the Type Tool by pressing T.
- Click on your canvas to create a new type layer.
- Type your desired text.
- Click and drag over your text to highlight it.
- Go to the text options in the upper settings bar and locate the font option.
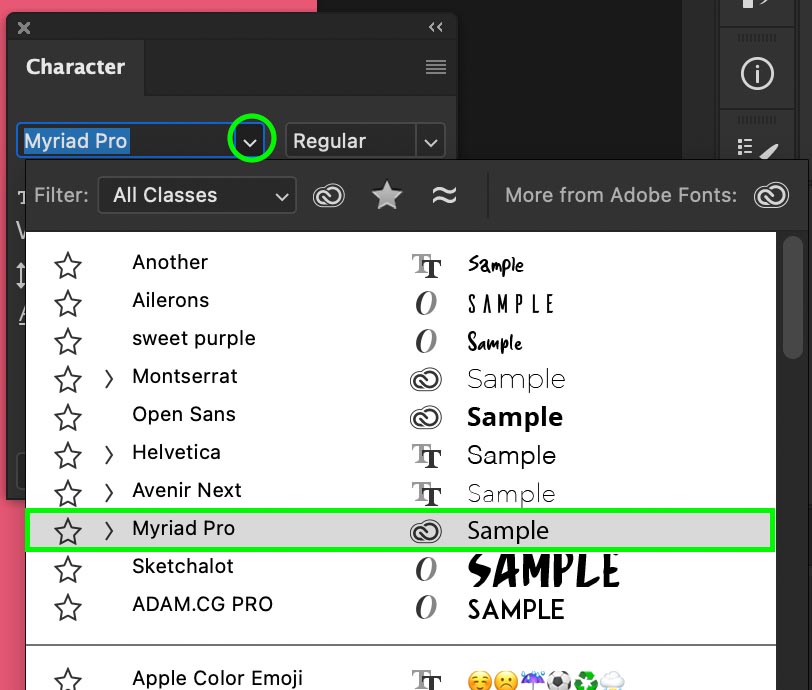
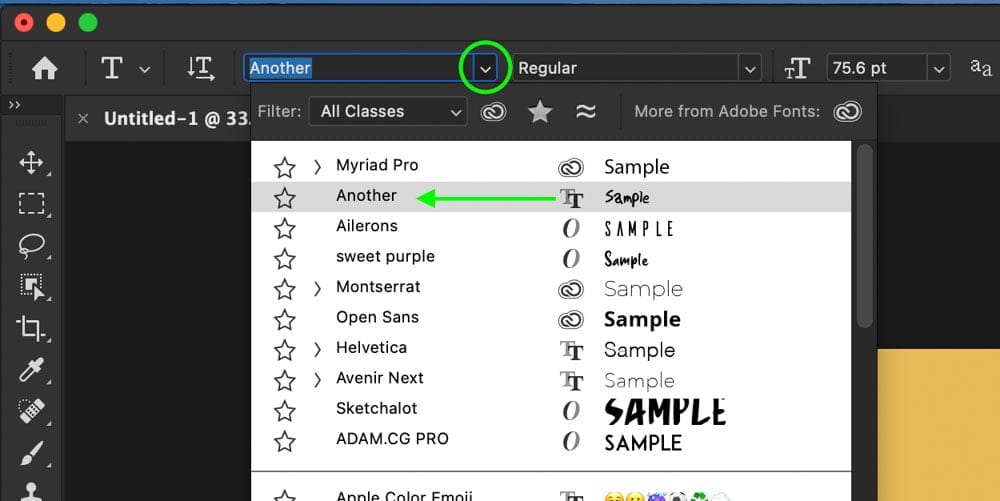
- Click on the font drop down menu to reveal the font options.
- Click on a font to apply it to your highlighted text.
- Press the ESC key to commit to your changes.
In some cases, you may only want to change the font of a single word, a single letter, or your entire text layer at once. You may also find yourself in a situation where you need to change the font of multiple text layers at once. Luckily the tips below will show you how to do just that. Let’s get started!
How To Change Text Font In Photoshop
To change the font in Photoshop, select the Type Tool and click on your text layer to select it. With the text layer active, click and drag over the text to highlight it. Now go to the text options in the upper bar and choose a font from the drop-down menu. Once applied, press ESC to save changes.
Let’s break this down more in-depth.
First, you’ll need to have a text layer already created. If you aren’t sure how to create text in Photoshop, check out this post to learn how.
In a nutshell, simply select your Type Tool by pressing T, then click on your canvas to create a new type layer. From here, you can type out your text just as you would while working in a word document!
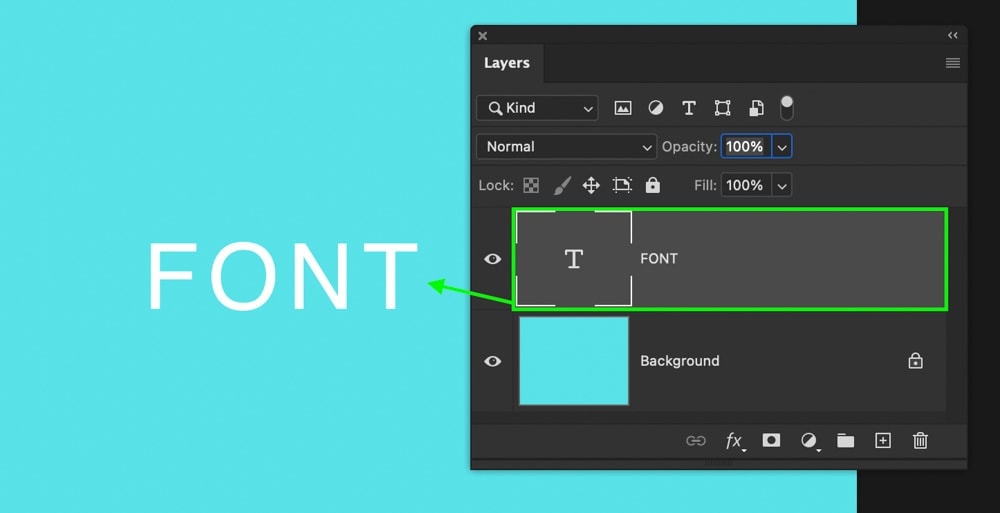
To change the font, click on the text on your canvas to make it active.

Then click and drag over the text to highlight all of the characters.

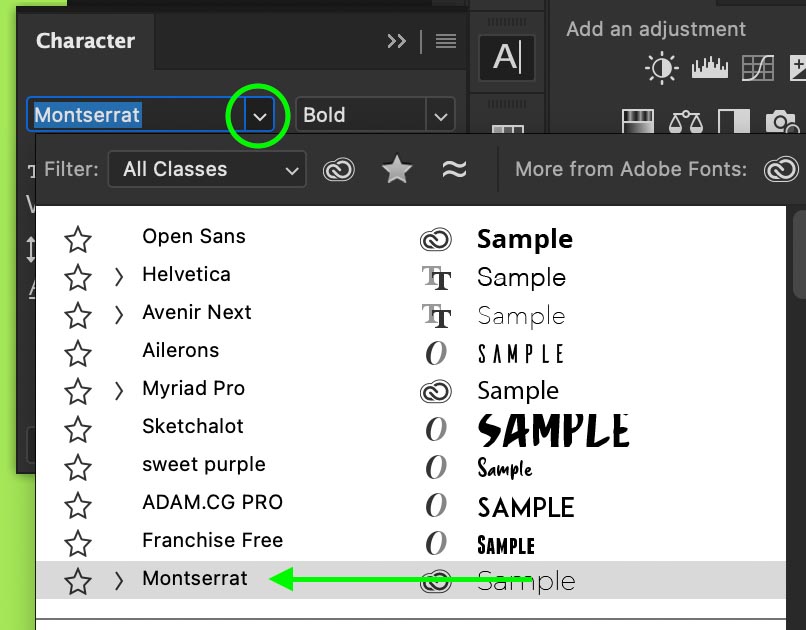
Now go to the upper settings bar, where you will find your font options. Then, you can choose between many different fonts already installed in Photoshop by clicking on the dropdown menu.
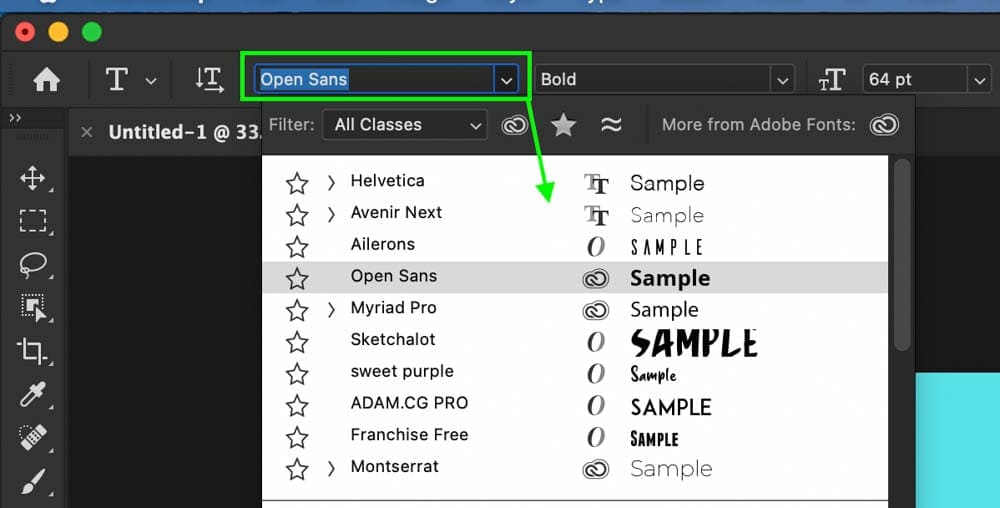
If you don’t have a font you like installed, there are tons of other fonts available for free on websites like DaFont or 1001 Free Fonts.
Once you have a font that you’re happy with, click on it to apply it to your highlighted text. If you have multiple words, only the highlighted words will have the font changed while the non-highlighted text will remain untouched.

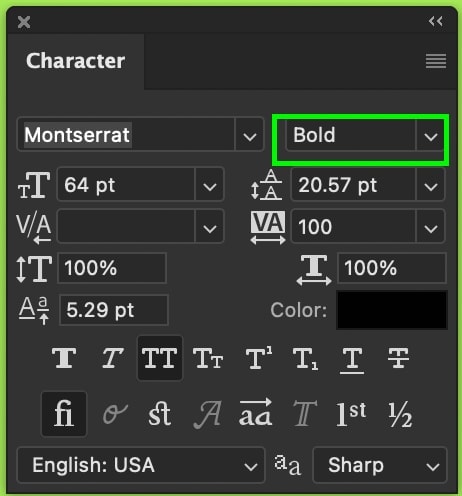
Depending on the font you are using, you can choose between various weights and styles in the style box beside the font option. Clicking here, you can find various versions of your font, such as bolded or lighter-weight fonts.

Just remember these options will vary depending on the font you are using!
Lastly, press the ESC key on your keyboard or the checkmark in the upper settings bar to commit to your changes. Your new font will be applied, and your text will get deselected.

This method is the most basic way of changing fonts in Photoshop and works a lot like a regular word document. The only difference is that you need to have the Type Tool active for those options in the upper setting bar to appear!

How To Change Font Using The Character Panel
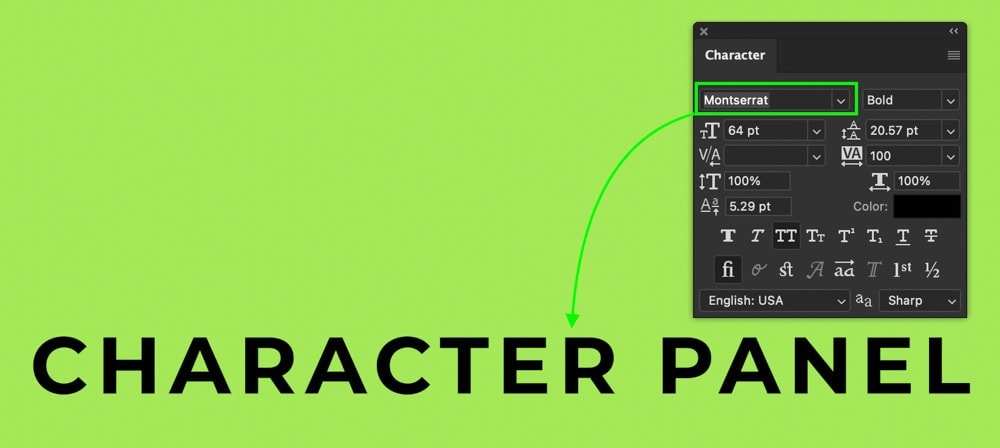
To change font using the Character Panel, select your text layer in the Layers Panel, then access the Character Panel by going to Window > Character. From this panel, select the font option and choose a font from the provided list. Click on the font you want to apply it to your selected text layer.
If you don’t want to highlight your text layers, the Character panel can provide a faster solution for changing fonts. This method works particularly well when you aren’t actually editing your text but simply going back afterward to change its style.
Once you have a text layer created, start by selecting it in your layer panel.
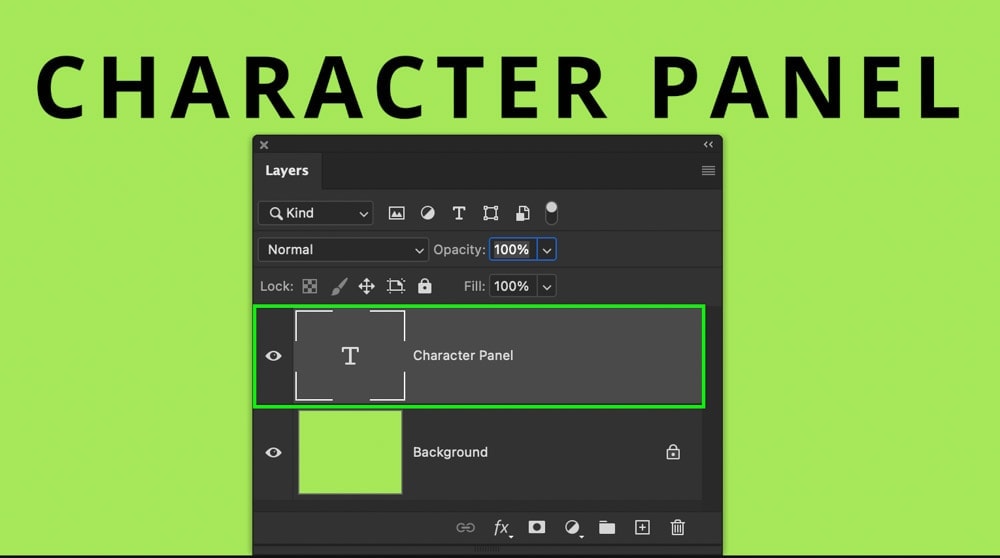
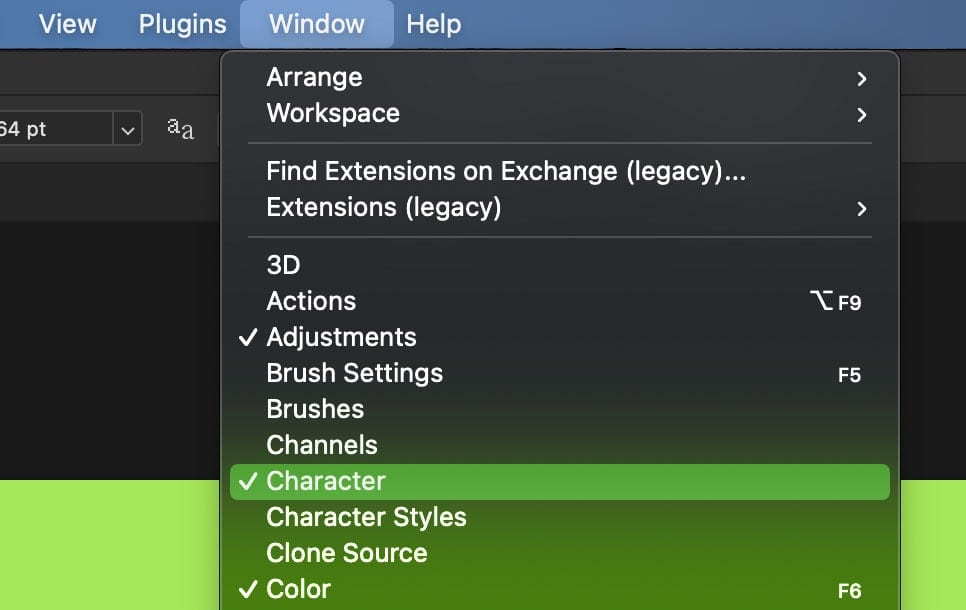
Then open the Character Panel by going to Window > Character.
In the panel that appears, look for the font option. Just like before, this will provide a list of all the installed fonts available in Photoshop.
Find a font you like, then click on it to apply it to your selected text layer. Now your font will be applied to your text without ever needing to access the Type Tool!
You can further change the style of your text via the font style menu. Depending on which text you are using, you will have a variety of options here to further adjust the look of your font.
How To Change The Font Of Multiple Text Layers At Once
To change the font of multiple text layers in Photoshop, hold Command/Control and click between each text layer in the Layers Panel. Opening the Character Panel by going to Window > Character, find the font option. After selecting a new font, it will be applied to all the selected text layers.
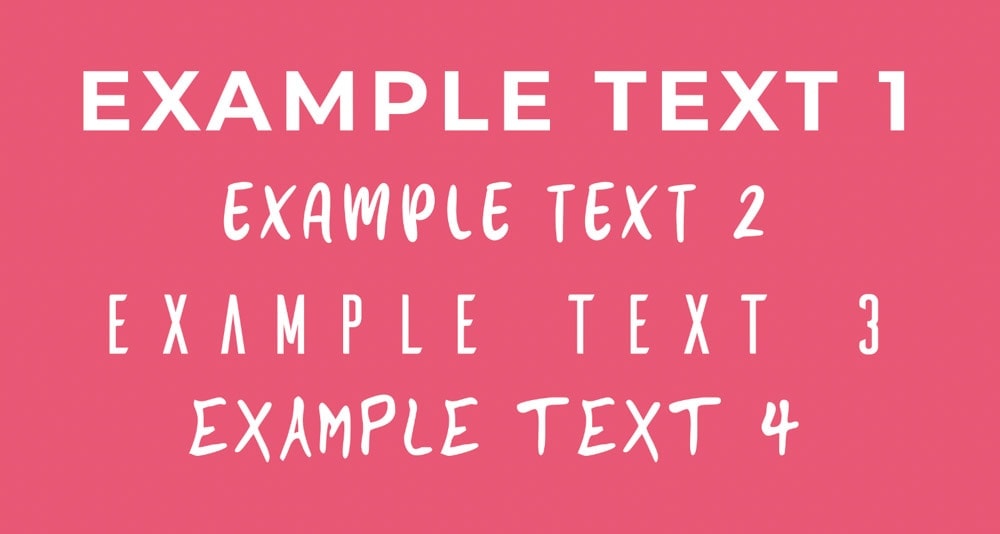
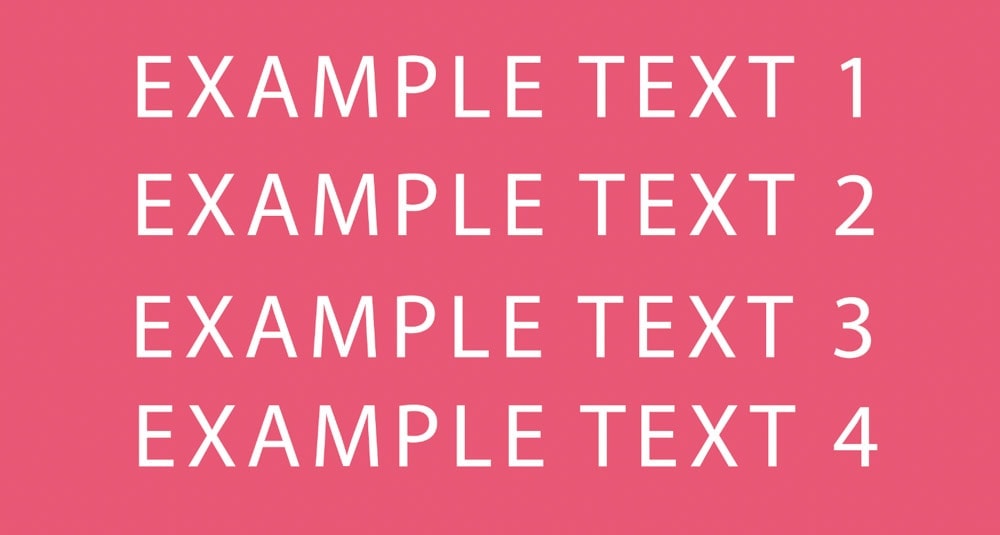
For example, my image has several different text layers, all with different fonts. Let’s say I want to change all of these fonts to match.
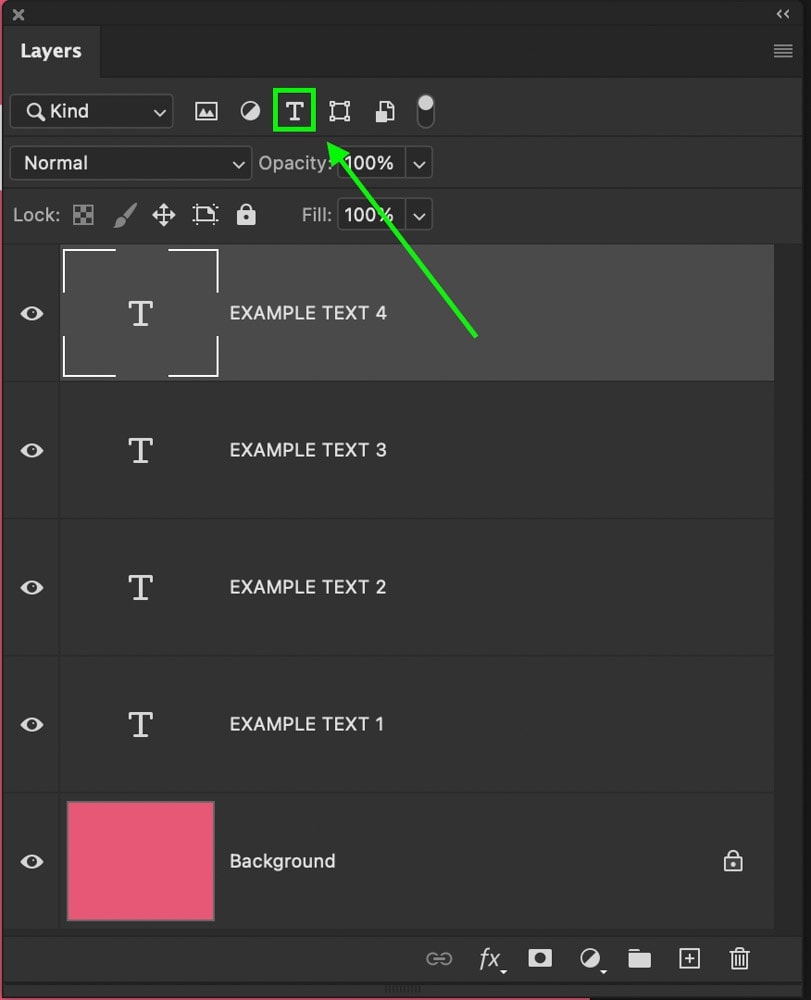
First, I need to select all of the text layers from my Layers Panel. An easy way to filter this panel, so you only see text layers is by clicking on the T icon above your layer stack. This will hide all your layers except for the text layers making them easier to select.
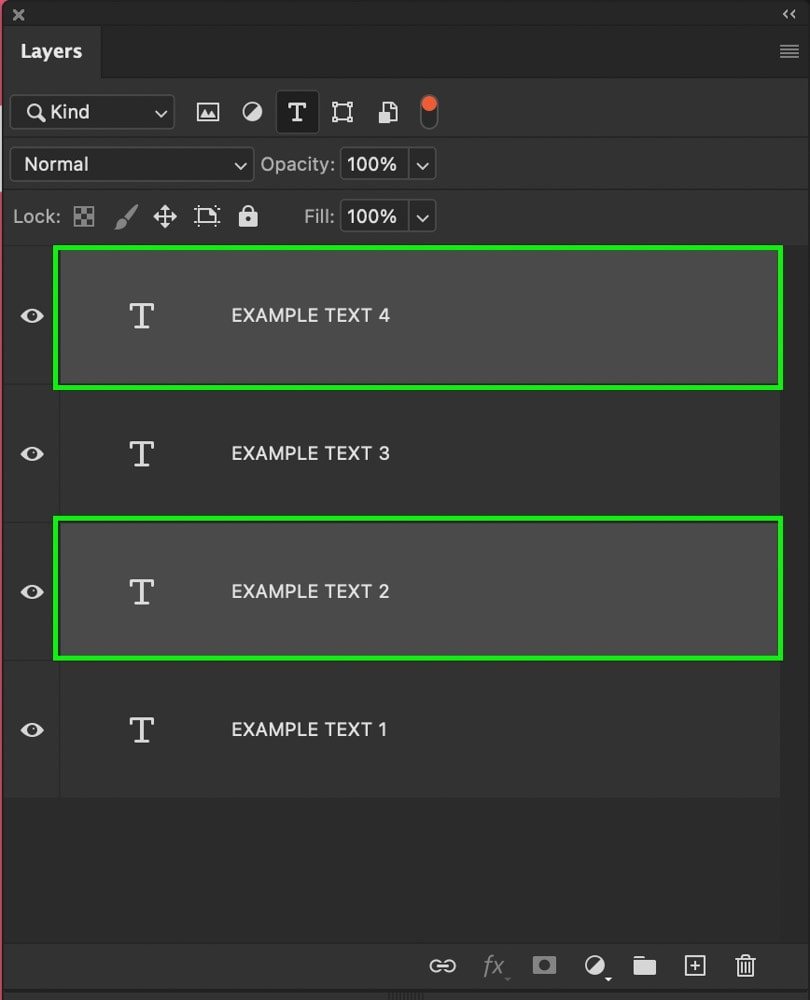
To select them individually, hold Command (Mac) or Control (PC) and click between your desired text layers.
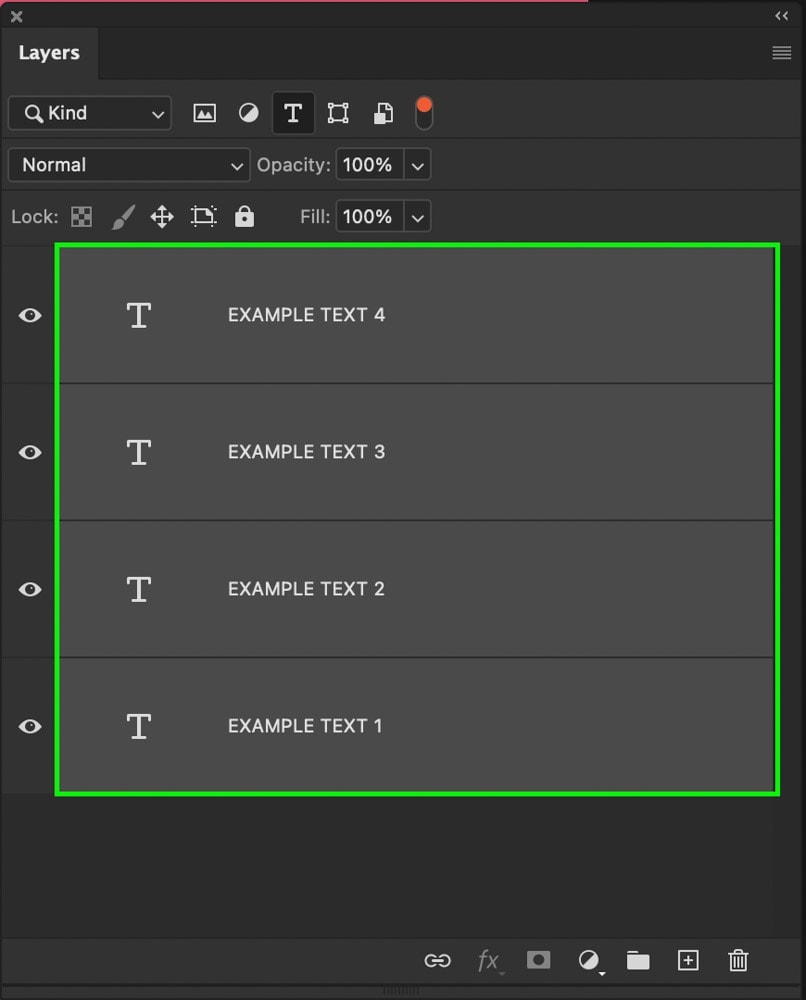
To select all of your text layers, click on the top text layer, then hold Shift and click on the bottom text layer. This will select all the layers between the two layers that you clicked on.
Now it’s time to access the Character Panel. If you don’t have it open, go to Window > Character to reveal it.
Going to the font options, click on it to reveal the list of available fonts to choose from. Once you find one you are happy with, click on it to apply it to all your selected text layers.
You can also adjust the font style just like before using the font style option if you’re feeling fancy.

Now you have successfully changed the font of multiple text layers at once to save yourself a ton of time!
How To Change The Font To All Caps (Or Back To Normal)
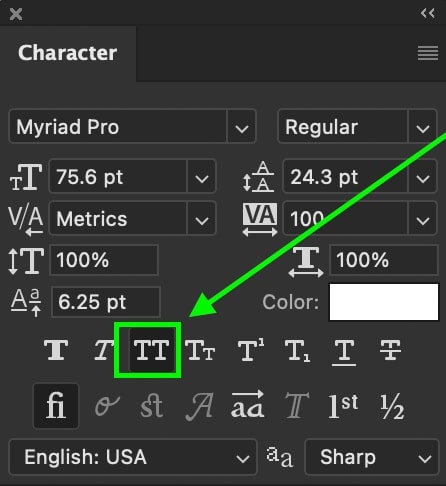
To make your text font all caps in Photoshop, open the Character Panel by going to Window > Character, then select your text layer in the Layers Panel. Now click on the all caps icon in the Character Panel represented by the ‘TT’ icon. This setting will make your text all caps when active.
Let’s break this down with some screenshots to make it clearer.
First, make sure your text layer is selected in the Layers Panel, then go to Window > Character to reveal the Character Panel if it’s not already open.
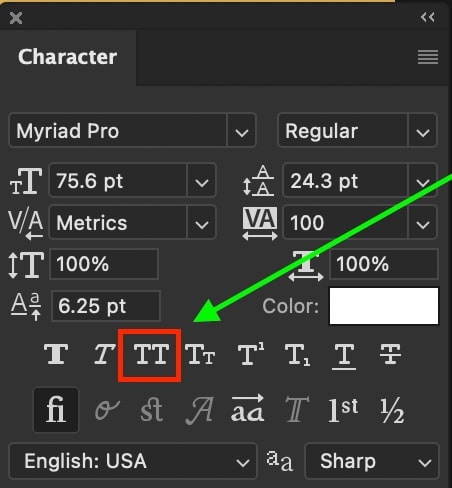
Inside the Character Panel is a few style options, such as the ‘All Caps’ setting represented by the ‘TT’ icon. While this option is selected, all your text in Photoshop will be written in capital letters.
This option makes it easy to change your text to fully caps without having to retype everything again.

If you forget to turn this setting off, all the text layers you create from here on will only be written in caps. To switch your text from all caps to lowercase, simply deselect the all caps option from the Character Panel.

How To Change The Default Font In Photoshop
To change the default font in Photoshop, select the Type Tool by pressing T, then go to the upper options bar to locate the font menu. Click the menu to reveal a list of fonts, then choose a font you wish to use as your default font. Once set, this font will be the default font for new text layers.
With your Type Tool selected, you can click on the font menu in the upper settings bar to pick a default font. Whichever font you select will be used as the default for all your new text layers.
Although this isn’t technically a ‘default’ setting, Photoshop simply remembers your last-used text font and applies that to the other text layers you create.

You can change this default option by changing the font in this upper settings bar at any time. If you have a font that you find yourself using frequently, it’s worth selecting it ahead of time, so it saves you the work later on!
How To Filter Fonts In Photoshop
In Photoshop you can filter your fonts by class, most used, or by similar style. With the Type Tool selected, go to the upper settings bar and select the Font menu to reveal a list of fonts. At the top of this drop-down menu, you will find the filtering options for your fonts.
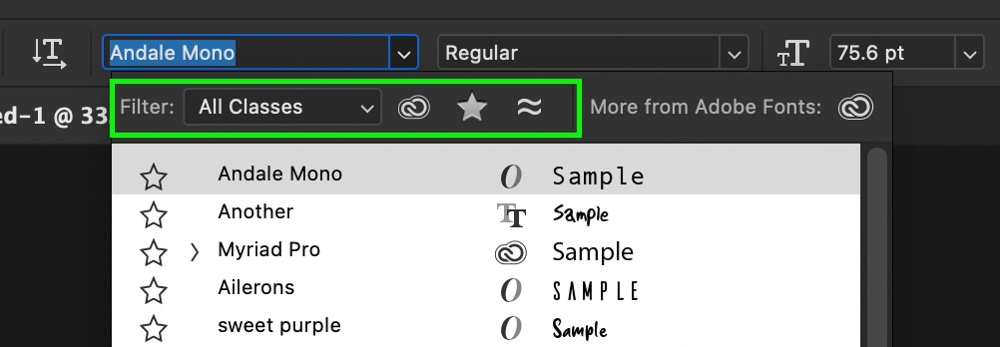
These filter options are available in both the Character Panel and the Type Tool’s upper settings bar. Regardless of which method you’re using to change your font, the filter options will give you the following options:
- Classes
- Adobe Fonts
- Favorites
- Similar
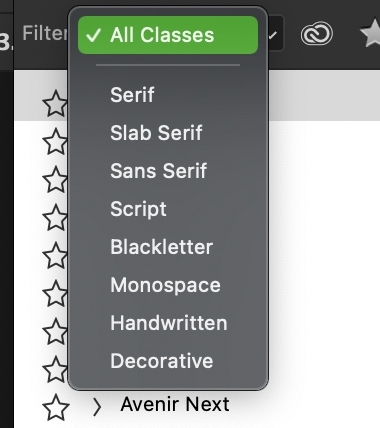
The classes filter allows you to filter which style of font appears in the fonts list. If you have a particular look you want, such as Serif, you can choose that via this filter option. That way, you can narrow down your search and find the exact style you’re looking for.
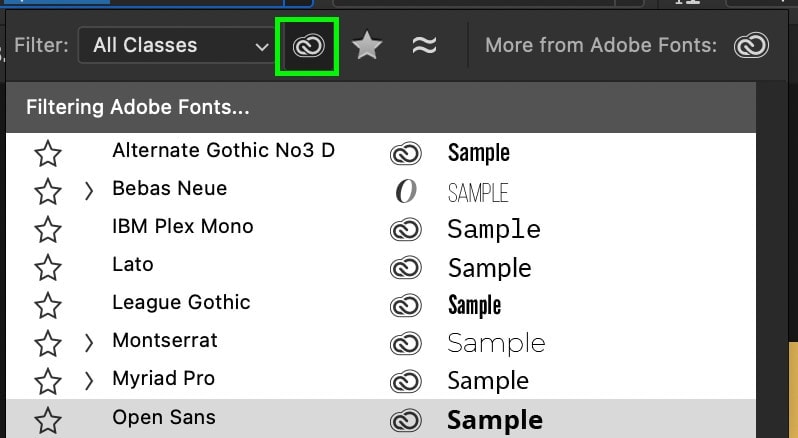
The Adobe Fonts filter refines your fonts list only to display the Adobe Fonts currently installed in your version of the Photoshop program.
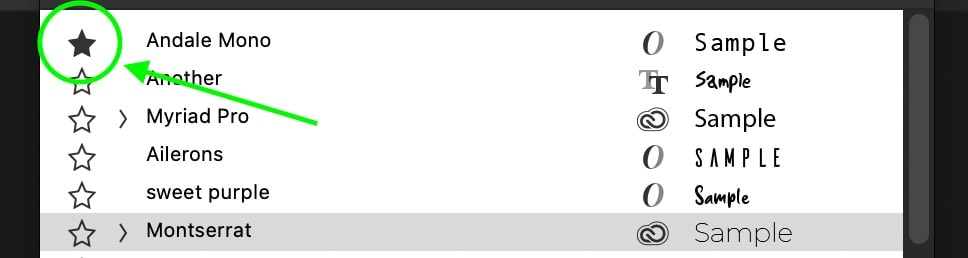
The favorites filter will refine the fonts list to only display your starred fonts. You can star any font by clicking on the star icon beside any font installed in Photoshop. These starred fonts are what will appear in your favorites filter.

Lastly, the similar filter will find similar styles and weights of font to the one that is currently selected. If you had a handwriting font selected, for example, this filter would allow you to quickly locate other handwriting fonts available in Photoshop.

Now you know the ins and outs of changing fonts in Photoshop to get the perfect text style for any project. With a few different options for changing text, such as the upper settings bar or the Character Panel, it’s easy to pick a version that fits into your workflow!
To help you further stylize your text in Photoshop, check out these recommended tutorials:
- How To Make Transparent Text
- How To Create Gradient Text In Photoshop
- How To Scale, Flip, And Rotate Text
- How To Add A Drop Shadow To Your Text
- How To Change The Color Of Text In Photoshop
Happy Writing!
Brendan 🙂
