
If you’re getting tired of solid colors, creating gradient text is an easy way to spice up any font. There are a few different ways to make gradient text in Photoshop, but here you’ll learn the most effective way to create it. Rather than wasting time with the gradient tool and additional layers, you can add gradients to text with just a few clicks. In a nutshell, here’s how the process works:
To Create Gradient Text In Photoshop, You Need To:
- Create a new text layer and type your text.
- Double-click on your text layer to open the layer styles panel.
- Select the Gradient Overlay option from your layer styles.
- Pick your gradient settings for the text.
- Click OK to commit to your changes.
Pretty simple, right? To help you gain a better look at this whole process, let’s go in-depth behind each of these steps.
Video Tutorial
How To Create Gradient Text In Photoshop
Step 1: Create Your Text
To add text in Photoshop, simply access the Type Tool by pressing T on your keyboard or finding it in your Toolbar.
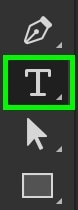
Then, click and drag out on your canvas to add a text box and type in your desired text.

With your text highlighted, use the Options Bar to change your text’s font and style. For the best results, a bolder font will make the gradient more apparent.
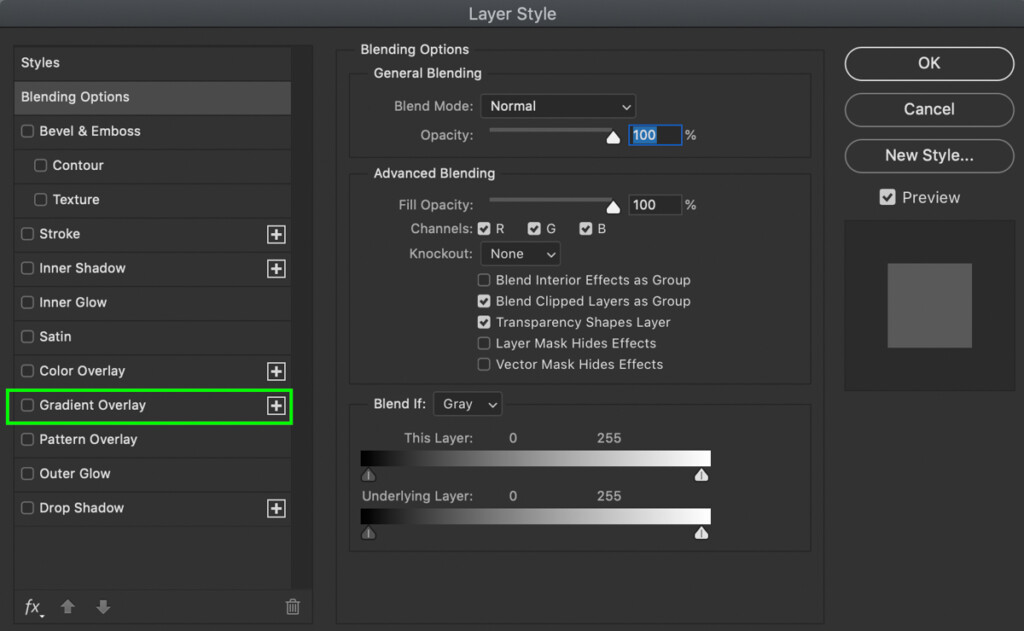
Step 2: Add A Gradient Overlay Layer Style
A gradient overlay essentially replaces the color of your text with a custom gradient of your choosing. There isn’t any way to do this while editing your text, so you’ll need to use the Layer Styles panel.
To open your Layer Styles, double-click on the text layer.
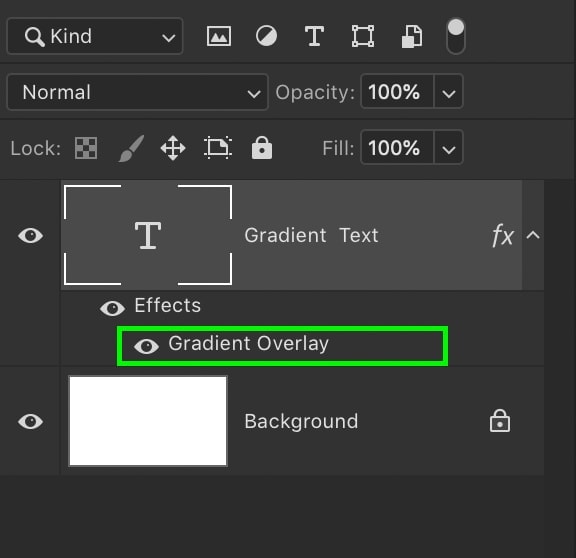
Within this panel, all your layer style options are listed on the left-hand side. Click on Gradient Overlay to apply that effect to your text and reveal the settings options.
If you’re already familiar with the gradient tool in Photoshop, then a lot of this will feel pretty familiar. However, if you’re a first-timer, it’s still simple to understand after a bit of practice.
Step 3: Set Your Gradient Colors
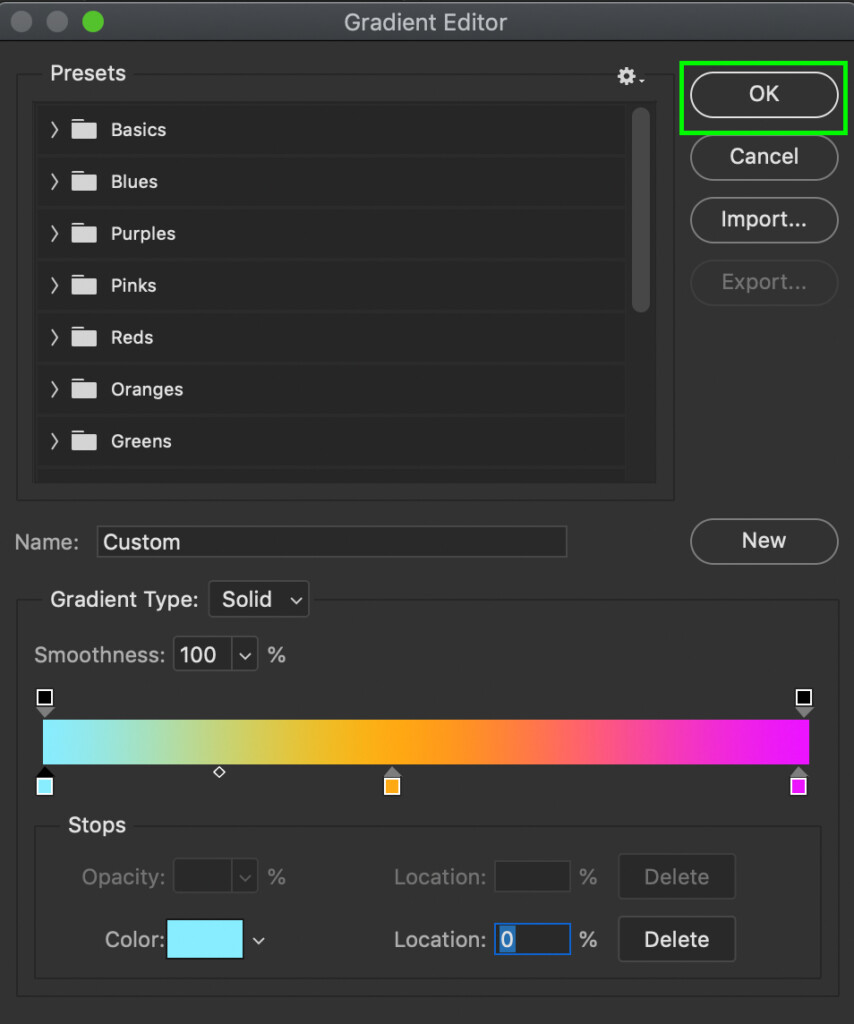
The most important part is to edit your gradient. This can be done by clicking on the gradient editor box. A new window will be revealed with a handful of gradient presets to apply to your text.
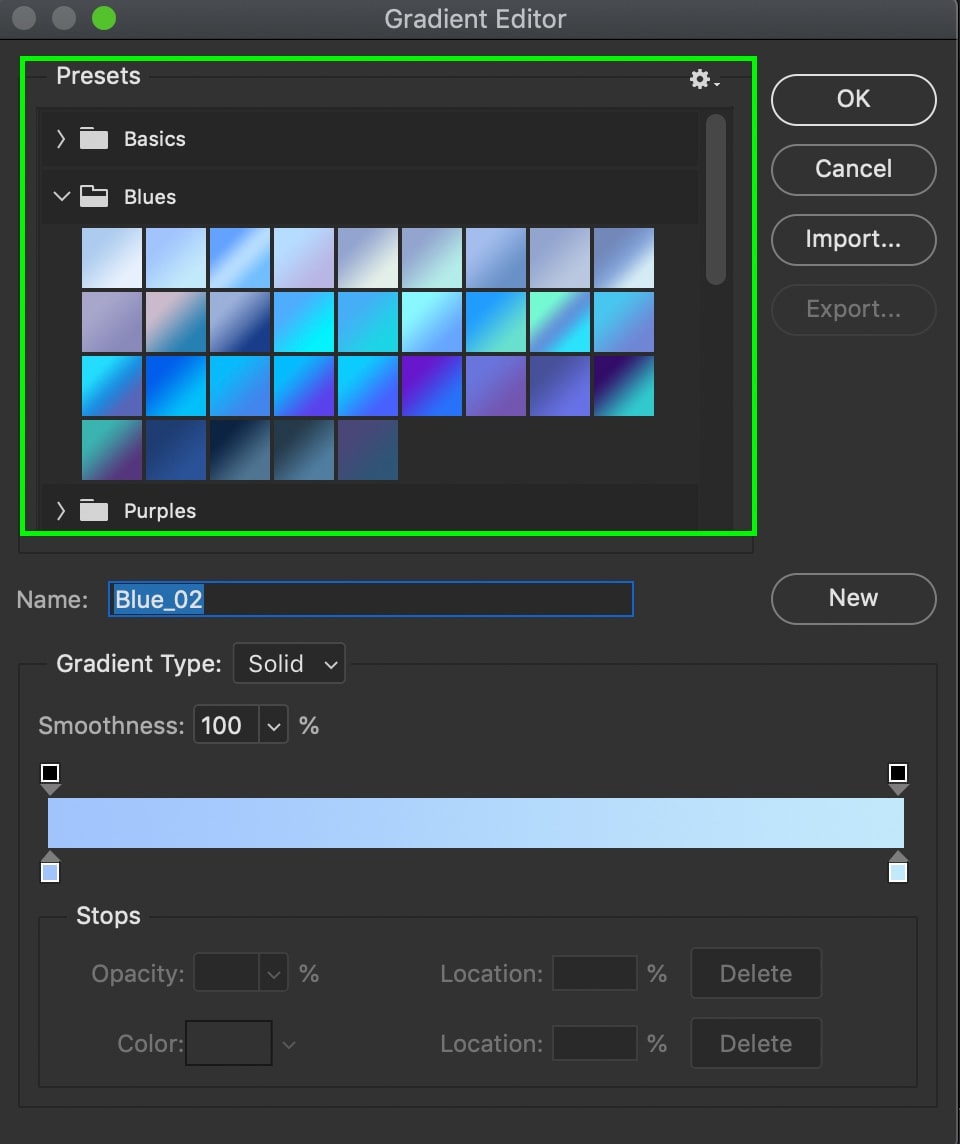
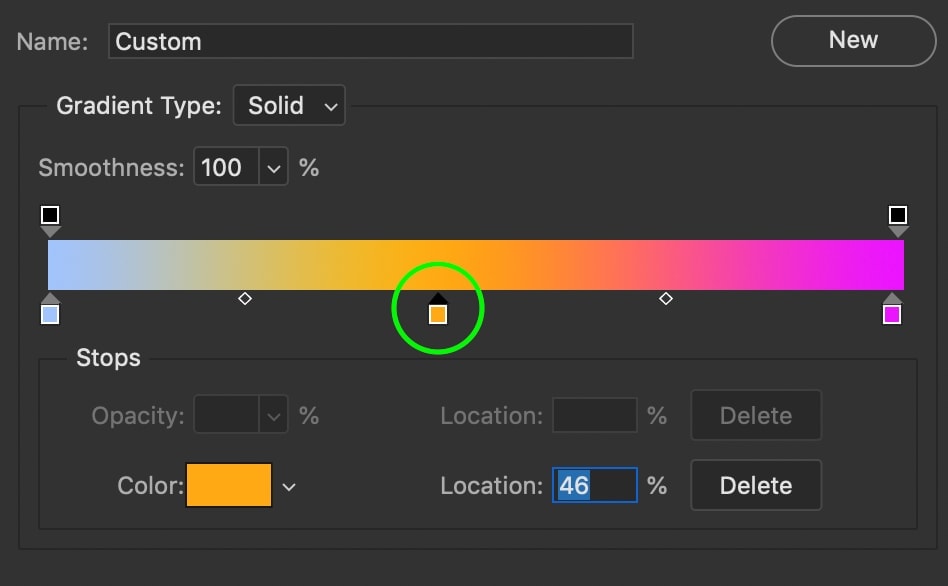
If none of the preset options work for your project, then you can make your own custom gradient. You’ll see color swatches at different points along the gradient bar. These swatches can be adjusted and moved to change the look of your gradient.
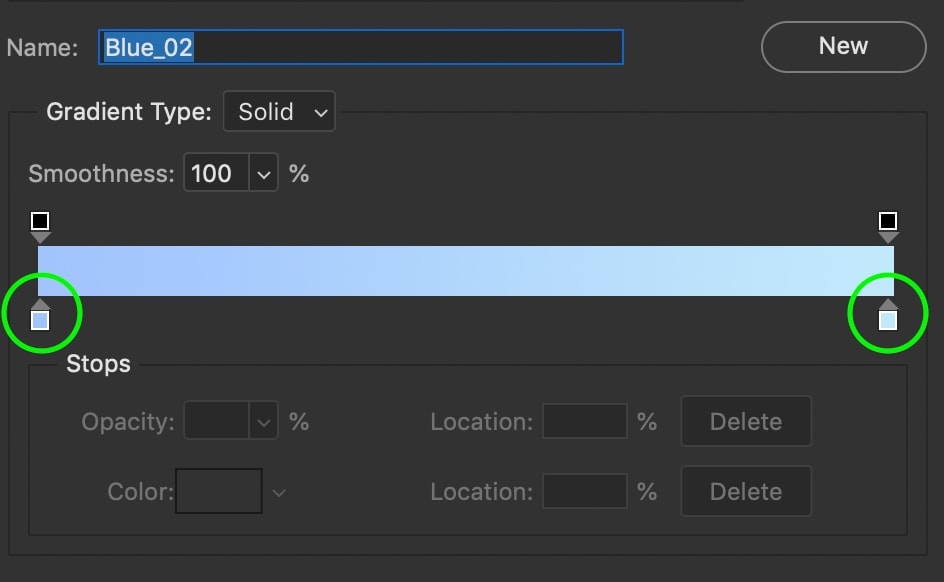
By double-clicking on a swatch, you’ll gain access to a color picker. Here, you can choose any color you wish to fill in that section of the gradient.
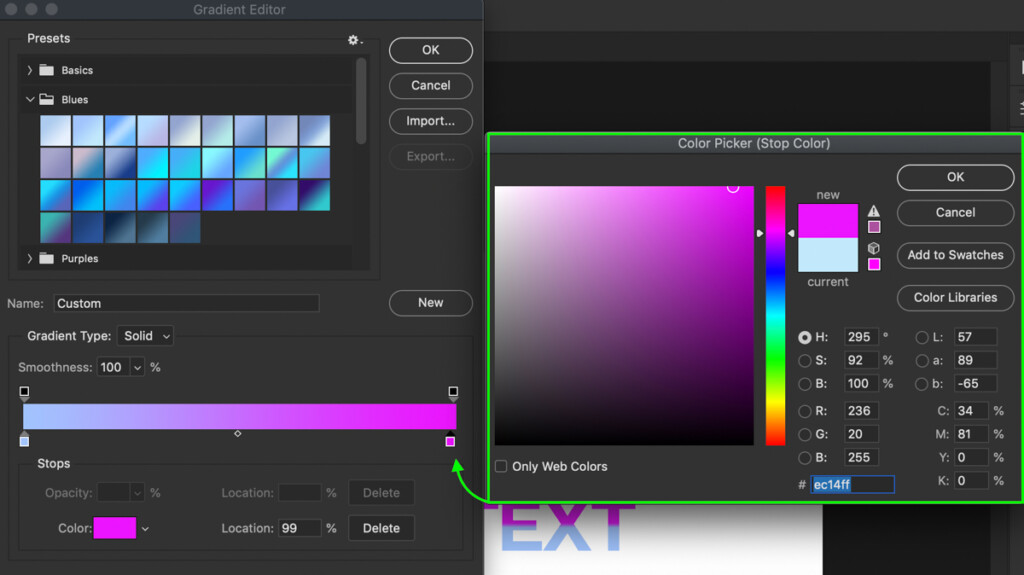
Step 4: Add Additional Colors To The Gradient
To add additional colors, click anywhere along the gradient bar to add additional swatches. Once again, you can further edit the colors by double-clicking on any of the new swatches you create. I’d highly recommend looking at this post to help you get the most out of the gradient editor in Photoshop.
Once you’re happy with the effect, click OK to commit to your gradient.
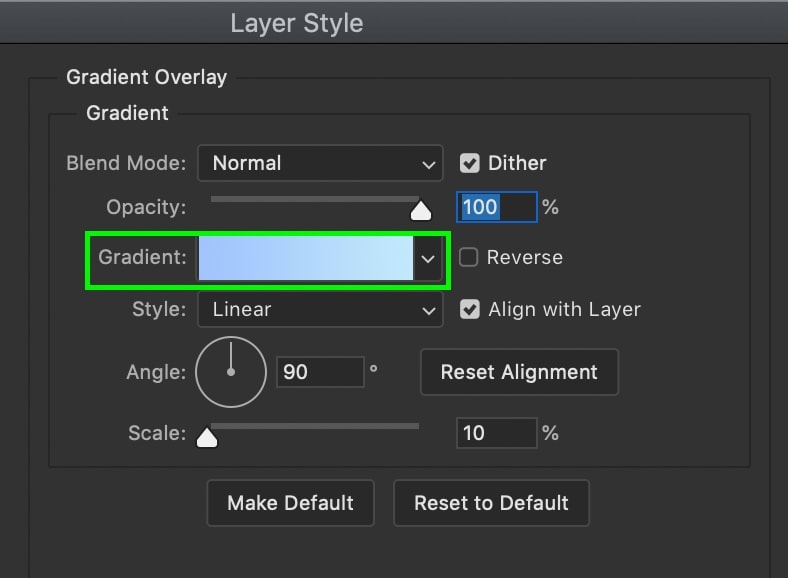
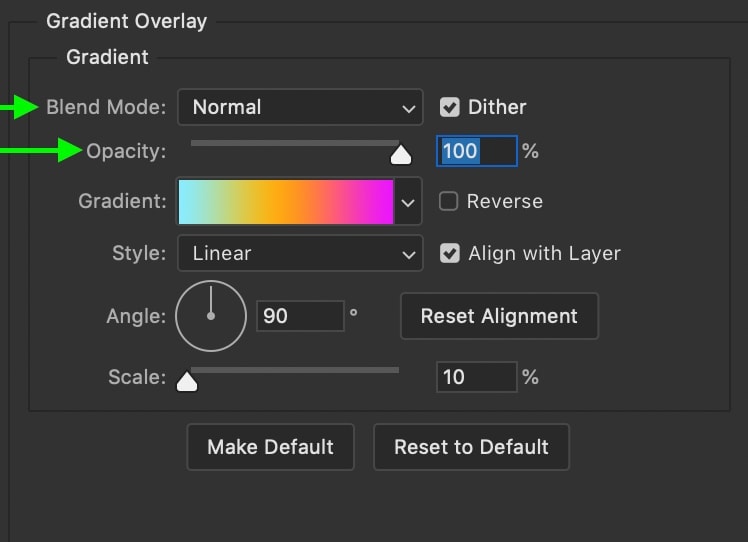
Step 5: Set The Gradient’s Blend Mode And Opacity
Now, all that’s left is to change the look of the gradient you just created. Within the Layer Styles panel, there are a handful of options to do just that.
First, make sure your blend mode is set to Normal, and your opacity is at 100% for the best result.
Step 6: Set The Gradient’s Style And Angle
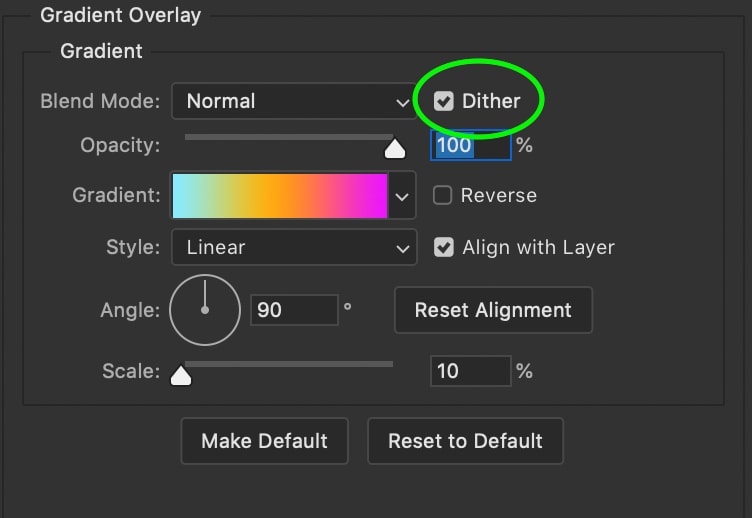
Be sure to check off the dither option as well to make your gradient appear as smooth as possible.
To change how your gradient spreads out, you can pick between any of the Gradient Styles. For a basic gradient, leave this set to Linear. The other styles that look good for gradient text are Radial and Reflected gradient styles but experiment with these to see what works for you.
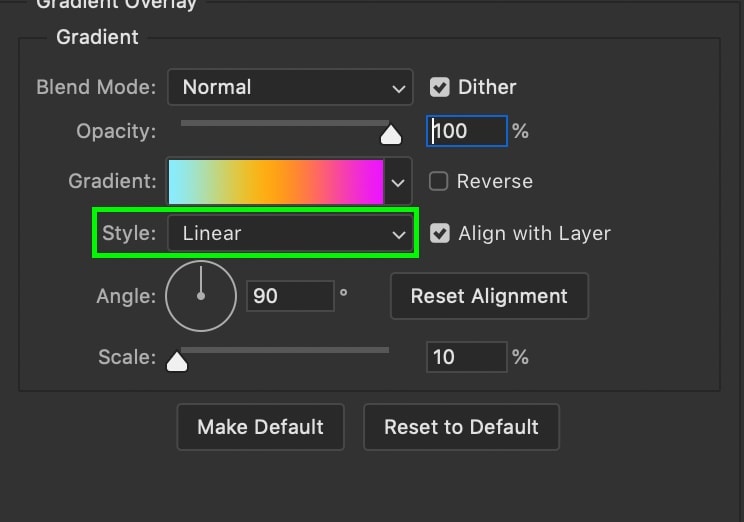
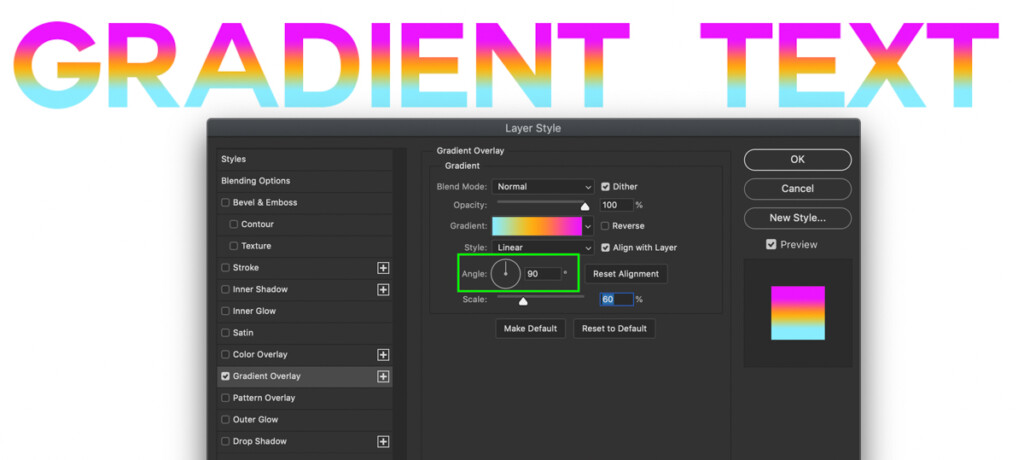
Going to the Angle setting, you can choose where your gradient will start and finish. To have the gradient transition from the top to the bottom of your text, leave this set to 90 degrees.
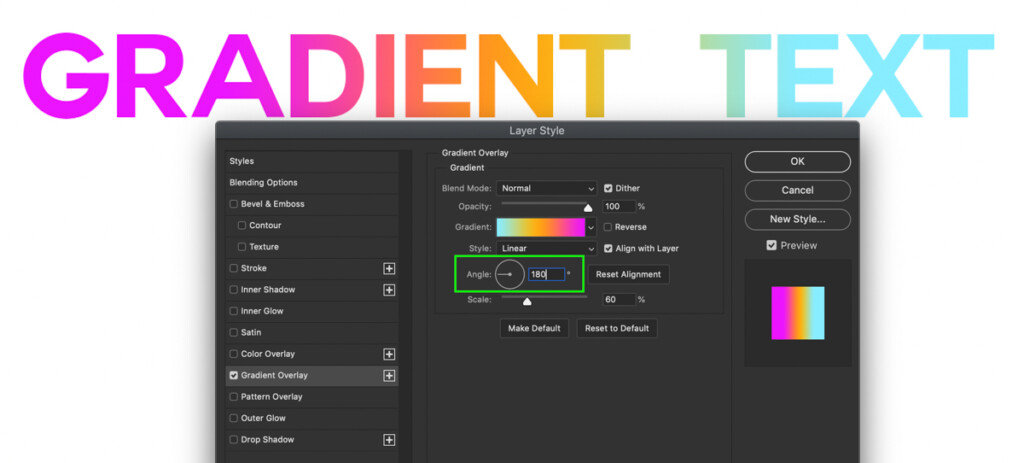
If you’d rather have the gradient transition across your text horizontally, set the angle value to 180 degrees.
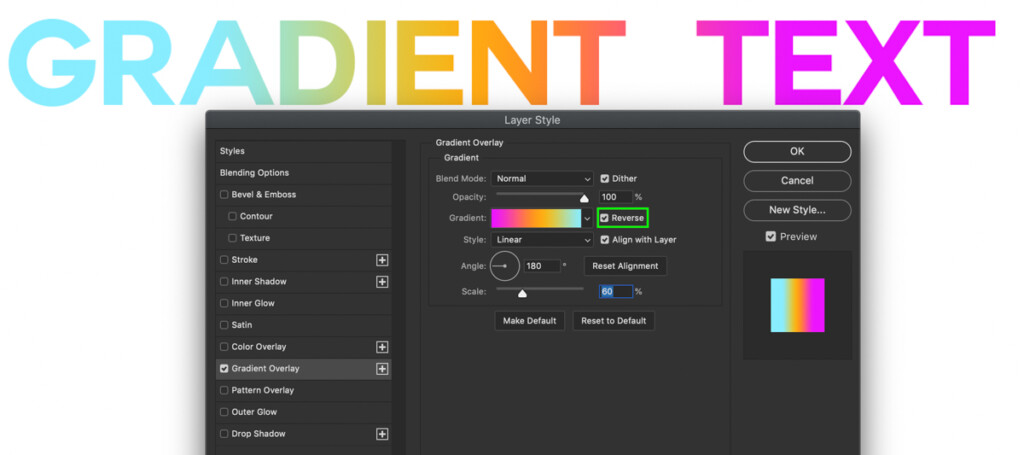
In some cases, it would look better if the colors switch sides. Luckily, you don’t have to create a whole new gradient and can check off the Reverse option instead.
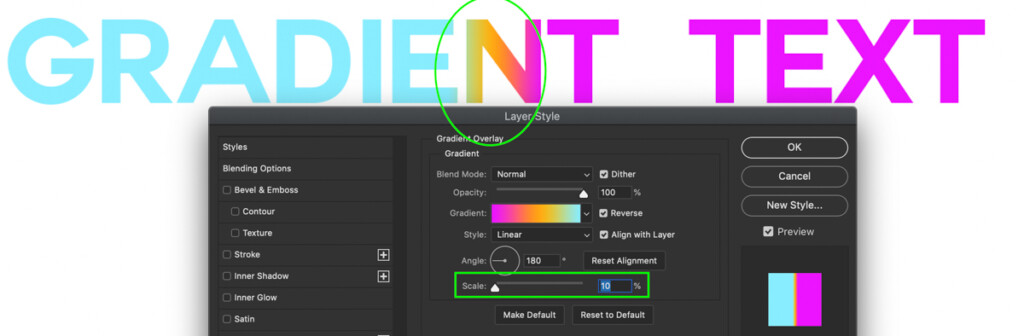
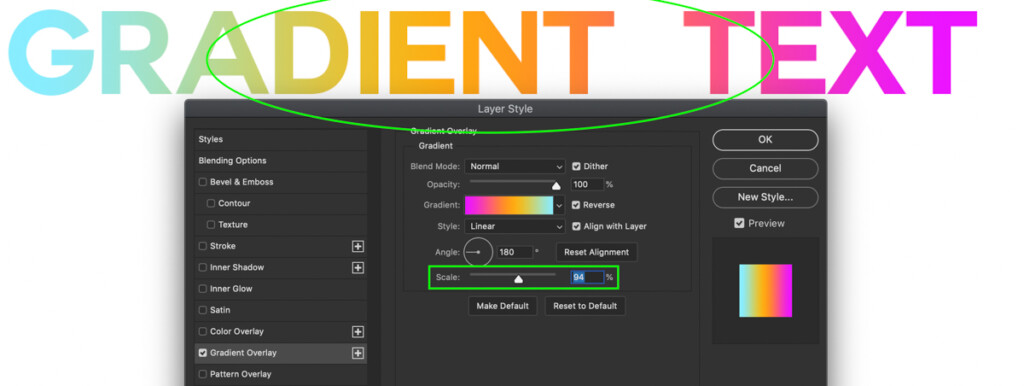
Step 7: Adjust The Gradient’s Scale
Lastly, the Scale slider controls how soft the transition between each color is. With a scale of 10%, you can clearly see the harsh line between the colors in my gradient. On the other hand, increasing my scale makes this transition a little more subtle.
Now that everything looks in order, click OK to exit the layer styles panel and commit to your gradient text!
How To Create Transparent Gradient Text In Photoshop
Now, let’s talk about how to use a transparent gradient on text. This won’t work through the gradient overlay option because this effect is being applied over the color of your text. Fortunately, there is an easy workaround to all this that uses the gradient tool and a layer mask.
Step 1: Add A Layer Mask To The Text Layer
After following the steps to add the gradient overlay, as mentioned previously, select your text layer and add a layer mask.
Step 2: Activate The Gradient Tool (G)
Next, select the Gradient Tool by pressing G or finding it in your Toolbar.
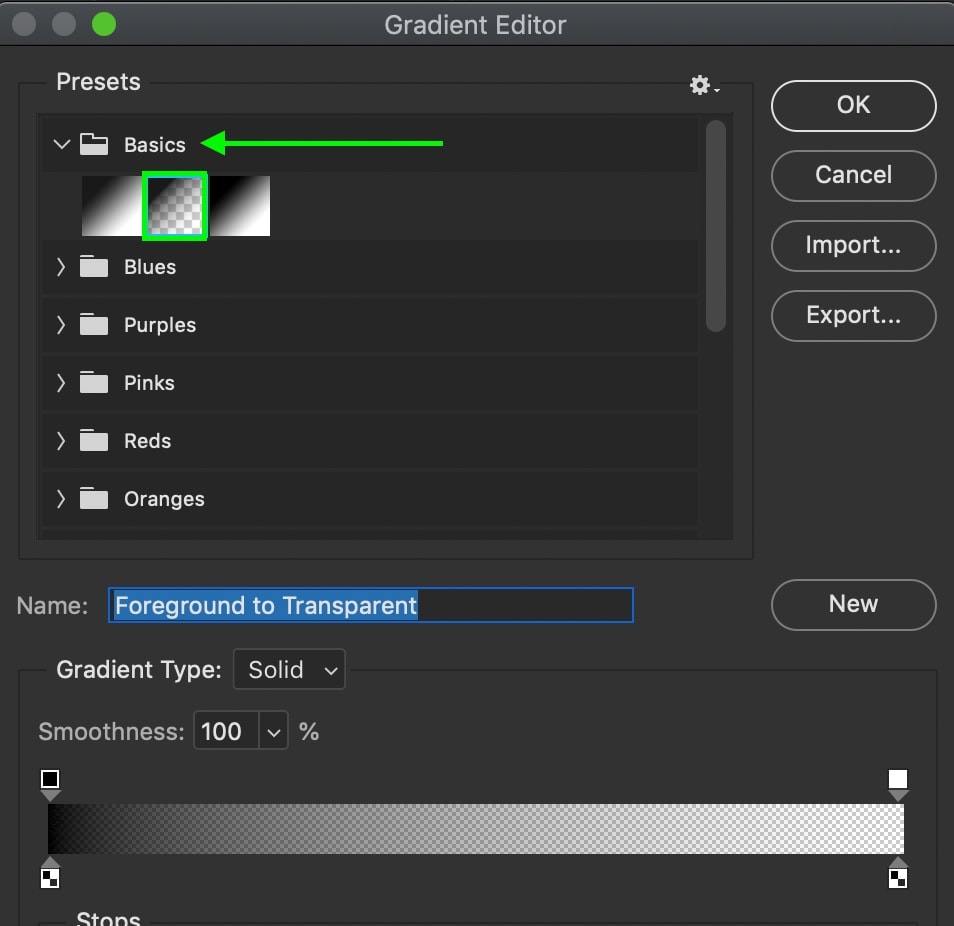
Step 3: Add A Foreground To Transparent Gradient
Now go up to the Options Bar and click on the gradient editor. Go to the basics preset folder, select the foreground to transparent gradient, and click OK.
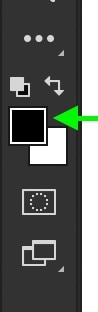
Step 4: Set The Foreground Color To Black
To make part of your text transparent, set the foreground color to black.
Step 5: Click And Drag Across The Text To Apply The Gradient
Click on your layer mask to select it, then click and drag across your text to apply the transparent gradient. In this example, I’m using the linear-gradient style.
Since the gradient is applied to your layer mask, it will hide parts of your text to make it transparent.
And just like that, you’ve created transparent gradient text!

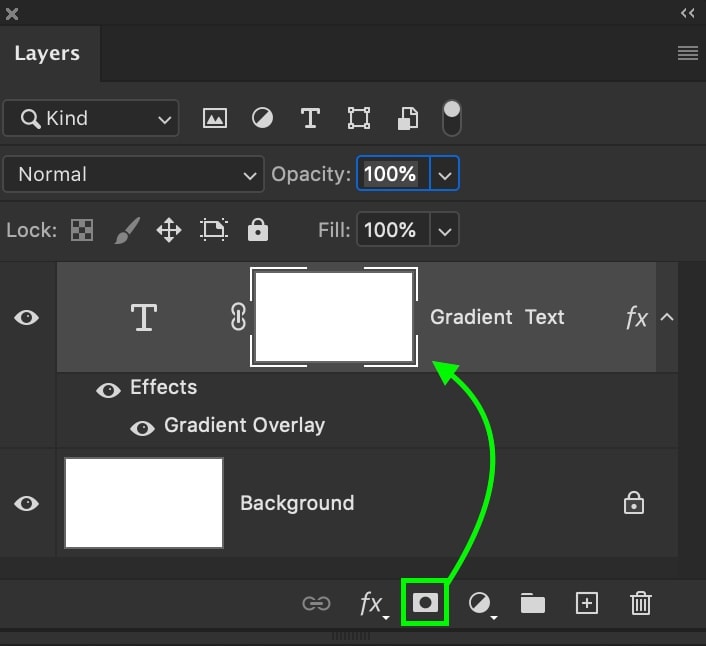
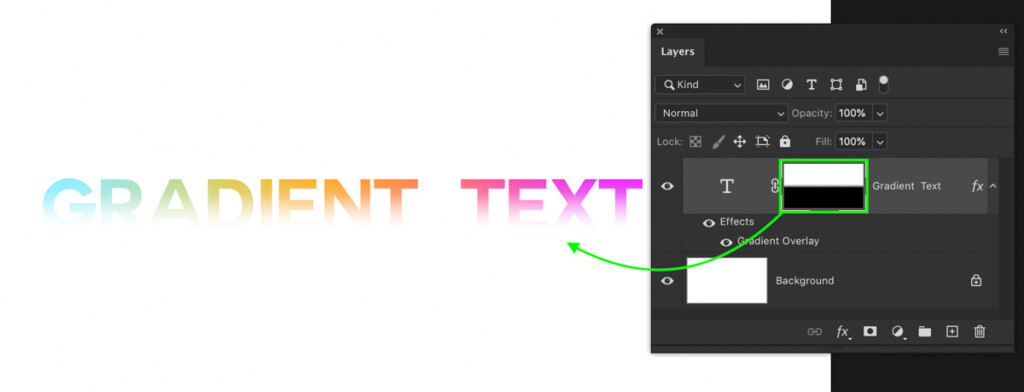
Editing A Text Gradient Later On In Your Project
The beauty of the Layer Style options is that they’re adjustable long after you create gradient text. Looking at the Layers Panel, you can see a gradient overlay listed as a layer effect underneath the text. By double-clicking on the words “Gradient Overlay”, you can reaccess all of your gradient settings and adjust the look of your gradient text with ease.
To learn more about transparent gradients and how to work with them, check out this post.
Learning how to make gradient text in Photoshop is simple with the help of the layer style panel. Rather than having to deal with too many settings, the gradient overlay option totally streamlines the process. To learn more about how to make the most of gradients in Photoshop, click here to learn how to use the gradient tool in Photoshop!
Happy editing!
– Brendan 🙂


