
Adding text boxes to images and layouts in Photoshop allows you to add creative elements to your projects. With the help of the text tool, paragraph text, and shape layers, you can easily create customizable text boxes.
To create a text box in Photoshop, select the Type Tool and then click and drag out on your canvas. A text box will be created that confines your text within its parameters, creating what is known as Paragraph Text. As you add text, it will automatically resize based on the text box dimensions.
Once you have created a text box in your workspace you can change various elements such as the font size, color, and alignment of the text. You can also change the size of the text box after it has been created or text can even be added to a shape while altering the background color.
So let’s get into all you need to know about creating a text box (and manipulating it) in Photoshop.
How To Create A Text Box In Photoshop
To add any sort of text to your project in Photoshop, whether it is a heading, one word, or body copy, you need to create a text box. Once you have added a text box, you can manipulate the box and the text in many ways to fit your project.
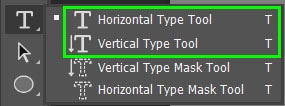
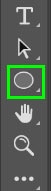
To create a text box, select the type tool from the toolbar or press T. If you click and hold on the type tool icon, you can select between vertical or horizontal text. Make sure it is set to the horizontal type tool.
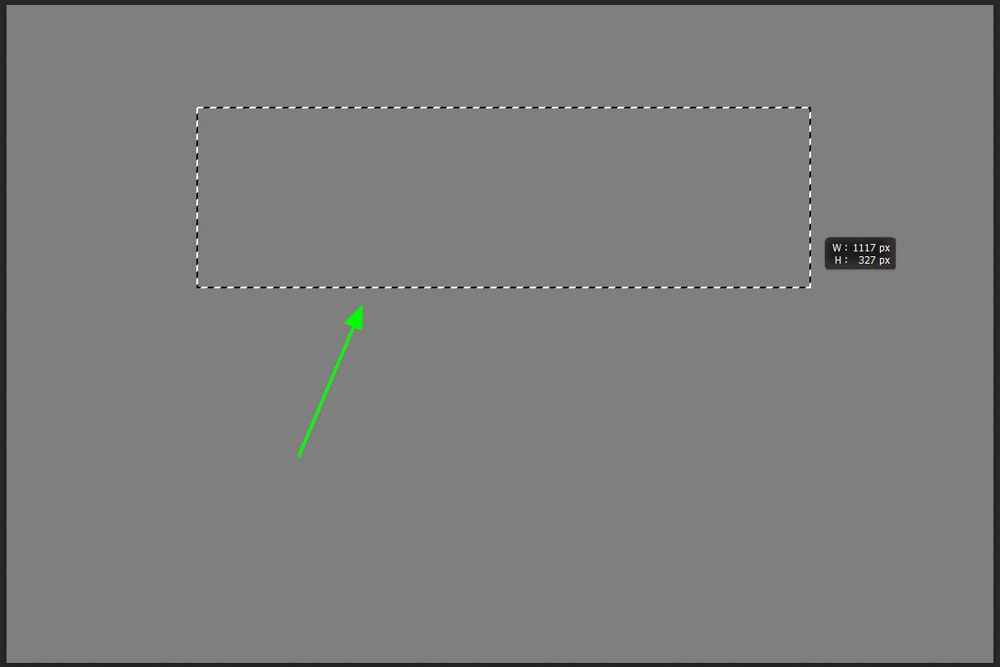
Once the text tool is selected, you can set your desired font and font size in the options bar. You can also change the text color at this stage, although this can also be done later if needed. Once the text is set, click and drag on an area of your image where you would like the text added. The size of the box you create will be how much space you have to write your text.

In Photoshop, the text tool is automatically set to add placeholder text. This Latin text (known as Lorem Ipsum) has no meaning but is often used to show where the body copy will be placed within a layout before the actual copy is available.
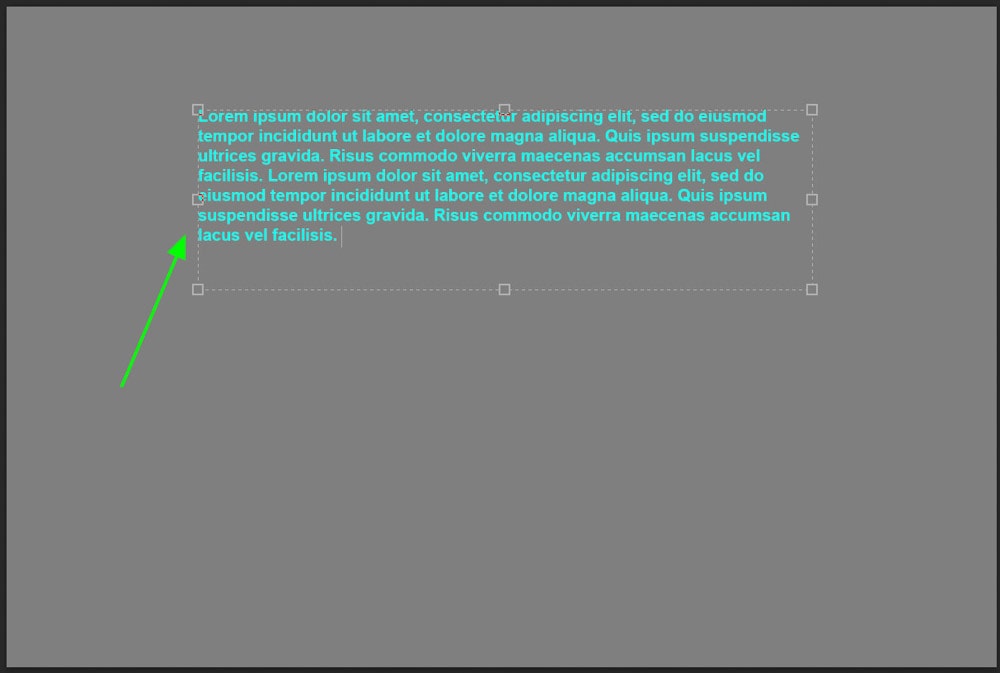
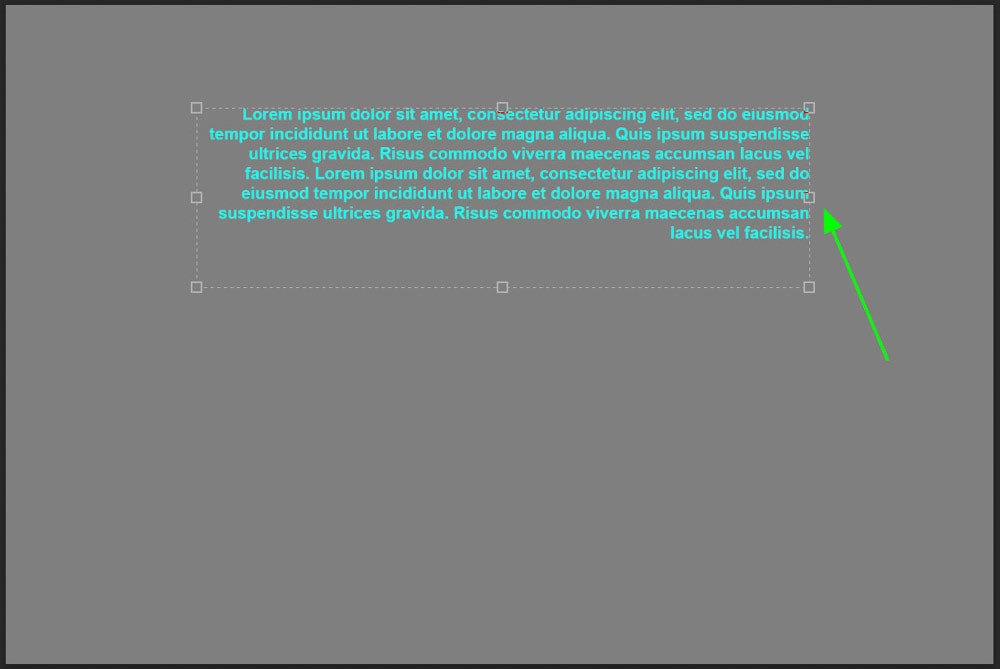
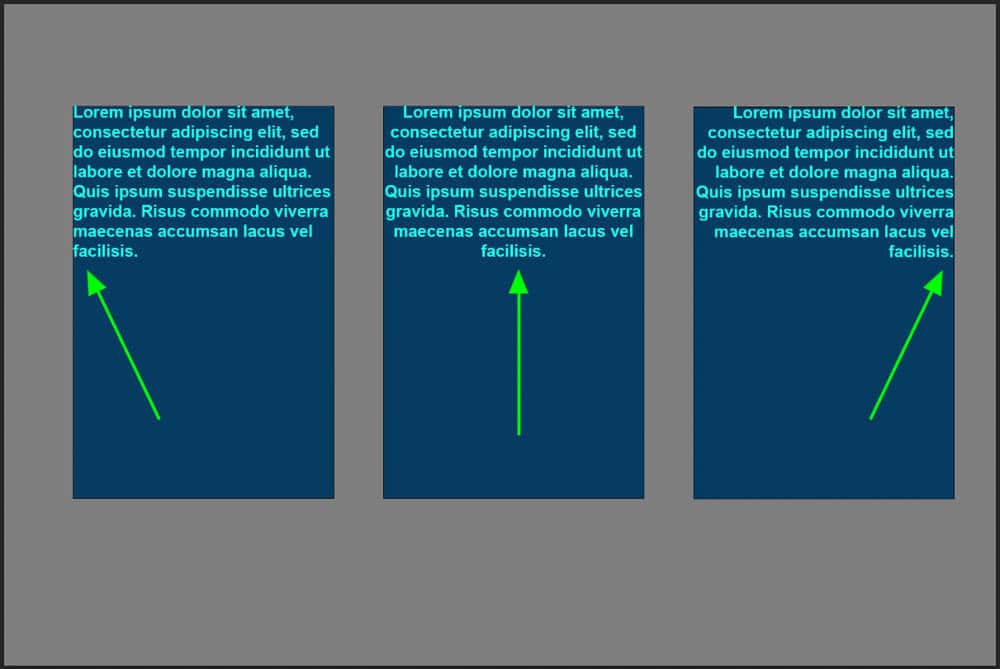
To change the alignment of the text, select the desired alignment on the top options bar. You can change it between left, right, or center aligned.

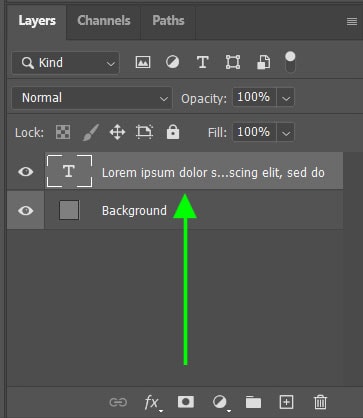
Once you have chosen the correct alignment, select the checkmark on the options bar to create the text box. A new text layer will be added to the Layers panel.
Editing The Size Of A Text Box
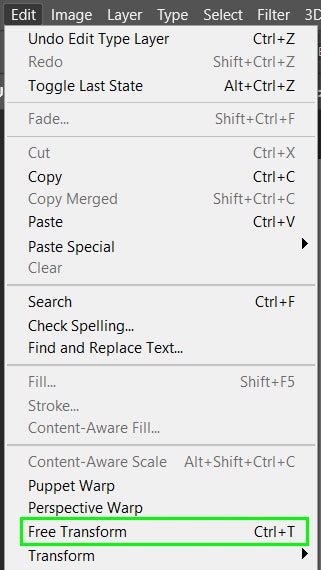
Once the text box has been created, you can resize the text box as needed. To resize the text box select Edit > Free Transform or press Control + T (Windows) or Command + T (Mac).
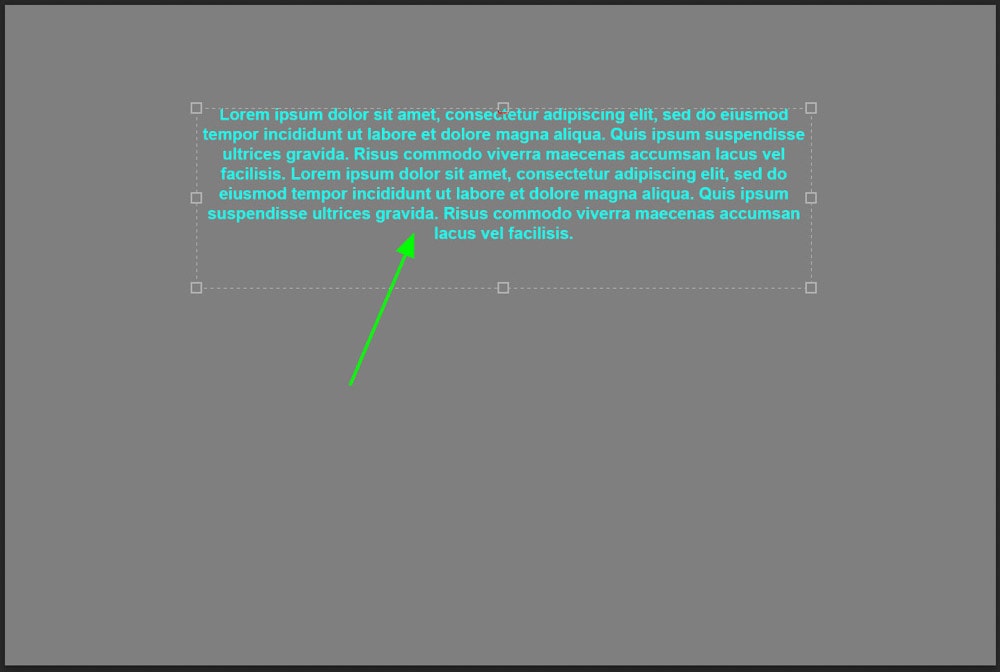
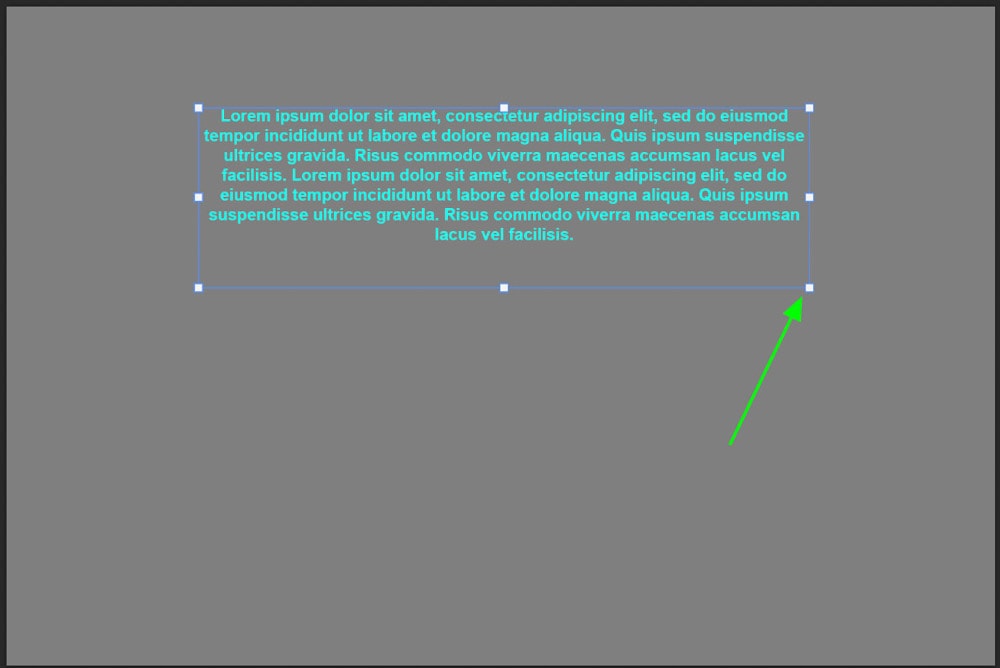
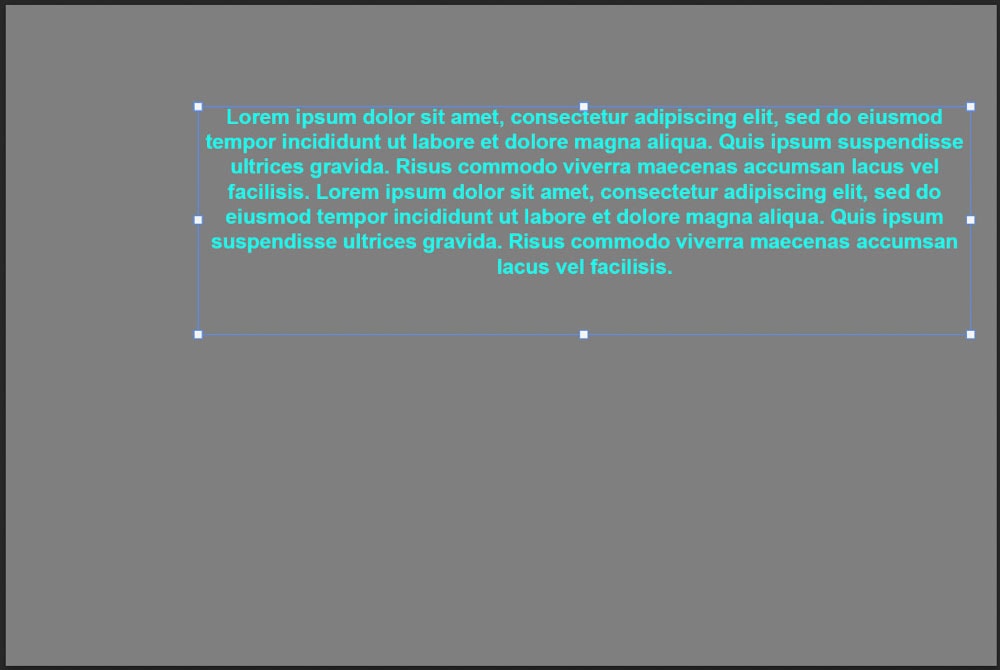
You can then resize the text box by clicking and dragging any of the anchor points around the box. When resizing the text box, the text inside may become distorted.
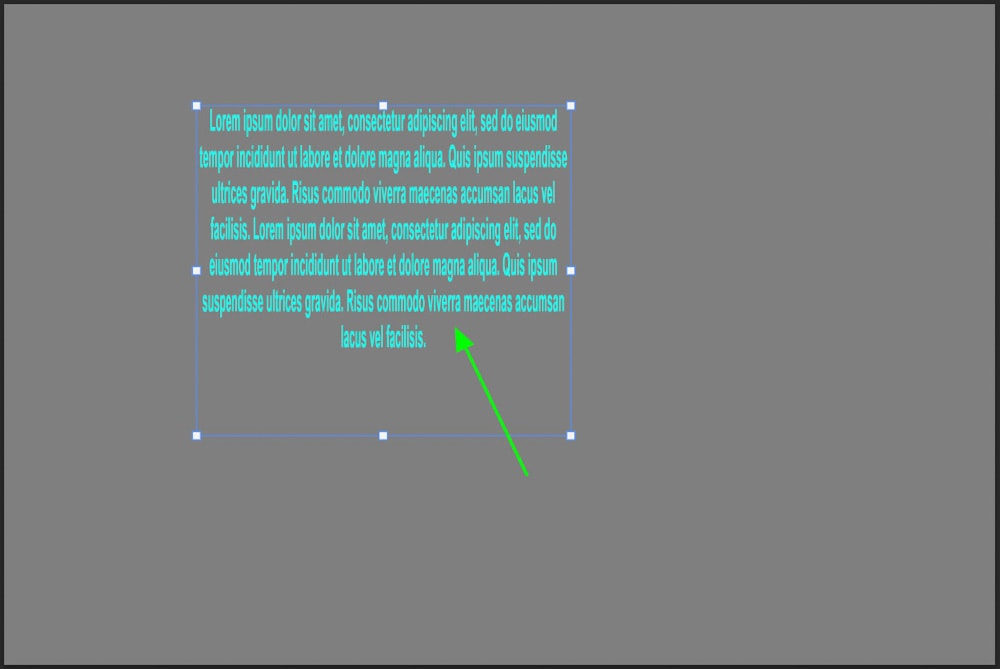
To prevent the text from distorting, hold in Shift while resizing the text box. This will retain the aspect ratio of the box without affecting the text inside. Once the text box is the correct size, select the checkmark on the options bar.
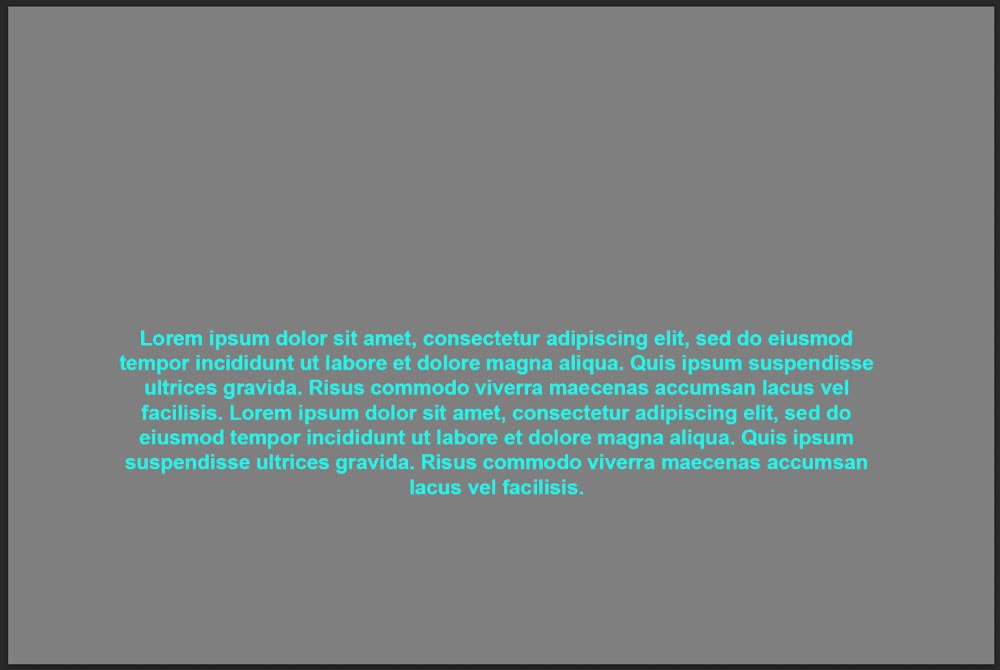
To move the text box to a different position, select the move tool or press V. Make sure the text box layer is selected and click and drag the text box to the new position. You can also use the arrow keys to move the text box around, holding in Shift while doing this will move the text box in larger increments.

How To Align A Text Box Within A Shape
Text boxes can be used with shapes to create logos or more creative layouts. Once you have created a text box, it can be placed inside the shape, or the shape can be used as the text box itself.
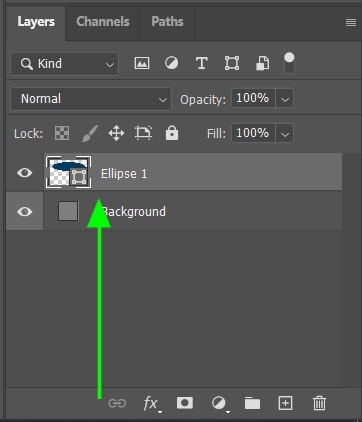
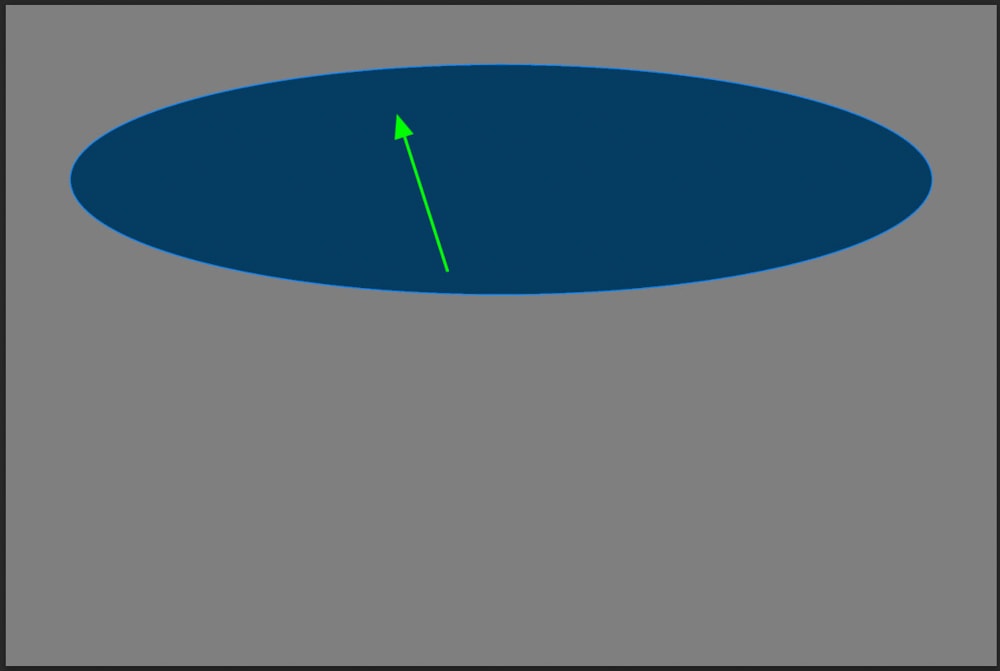
To add a shape to your project, select the shape tool or press U. Click and drag on the workspace to create the shape.

Make sure the text layer is selected, then access the move tool by pressing V.
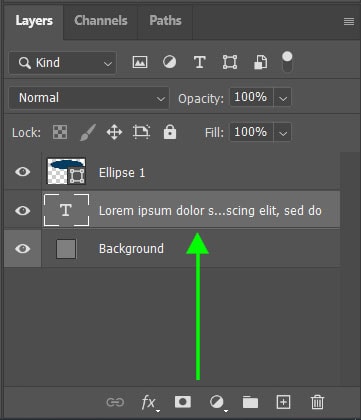
Click and drag the text layer to the shape layer on your canvas, or move it up using the arrow keys. Since the shape layer was added after the text layer, the text will be hidden behind the shape.
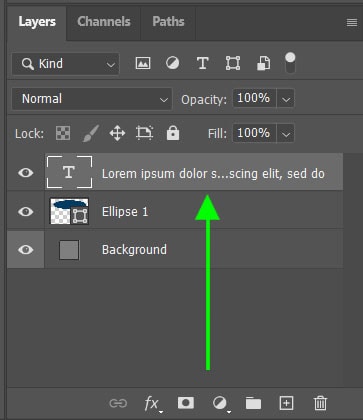
If this has happened, bring the text layer to the front by moving it to the top of the Layers panel. To move the layer, click on the text layer and drag it above the shape layer. The text will now be on top of the shape.

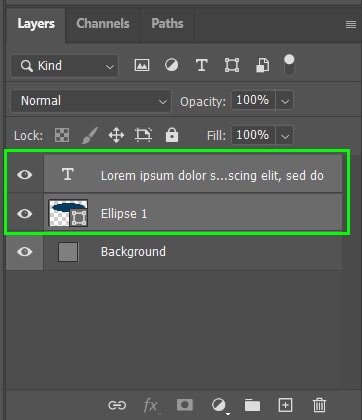
To align the text and the shape, make sure both layers are selected in the layers panel. By holding Command or Control and clicking between the two layers, you can select them both for alignment. Once selected, use the alignment option on the options bar to center the two layers. Just remember these alignment options will only be available when the Move Tool is active.

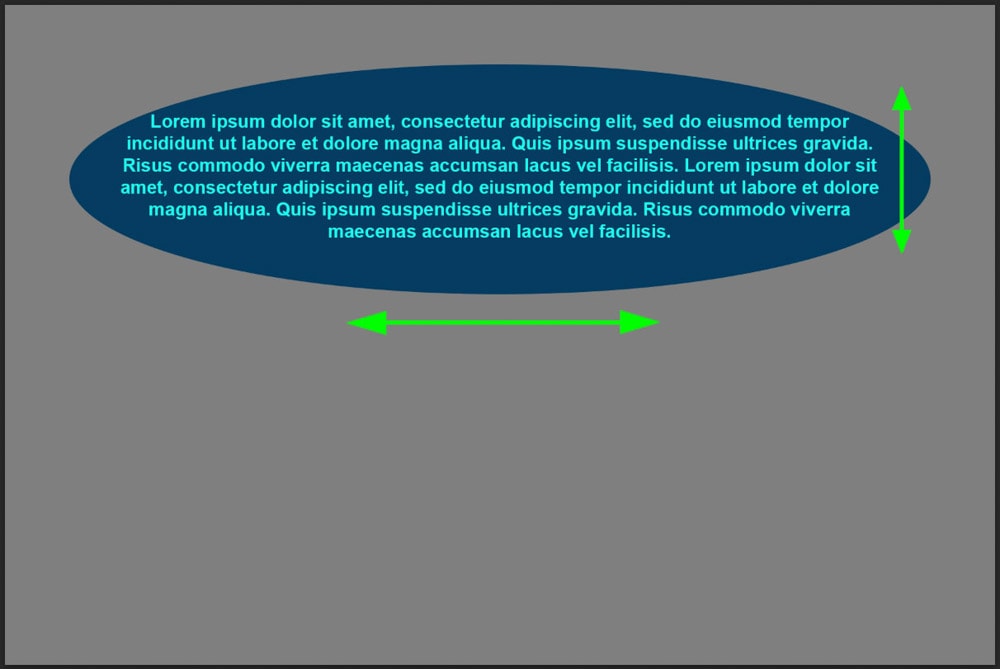
If the text does not look centered due to the nature of the shape and text, you can use the arrows to move the text slightly for a better alignment. Just make sure that only the text layer is selected, otherwise, both layers will move together!

How To Use A Shape As A Text Box
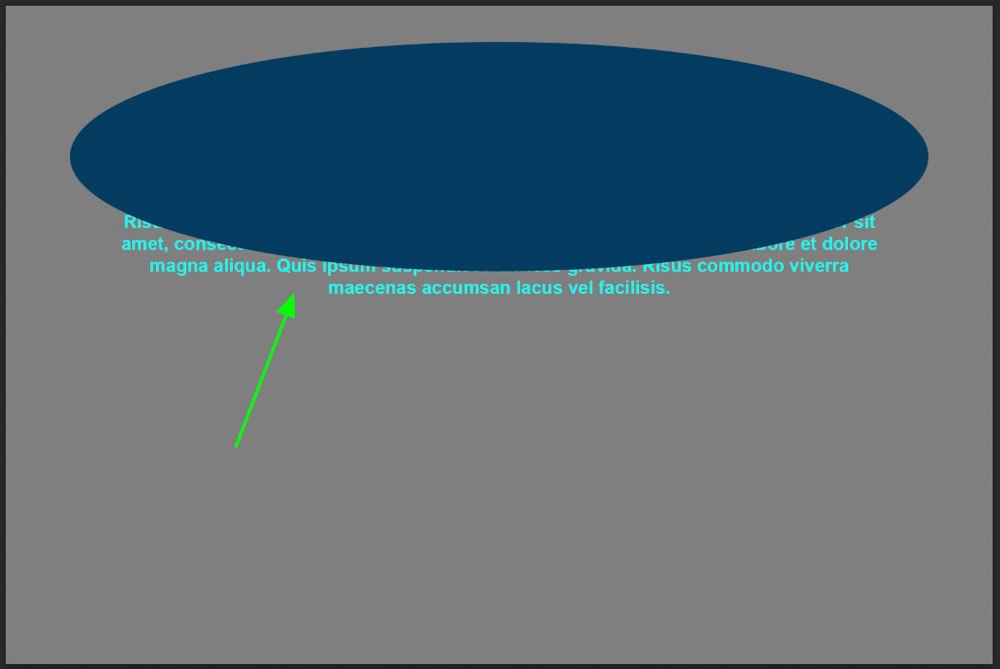
Instead of placing text over a shape layer, you can use any shape as the text box. The text will remain in the shape and follow the outline of the shape meaning you can write in more unique shapes like triangles, circles, or polygons.
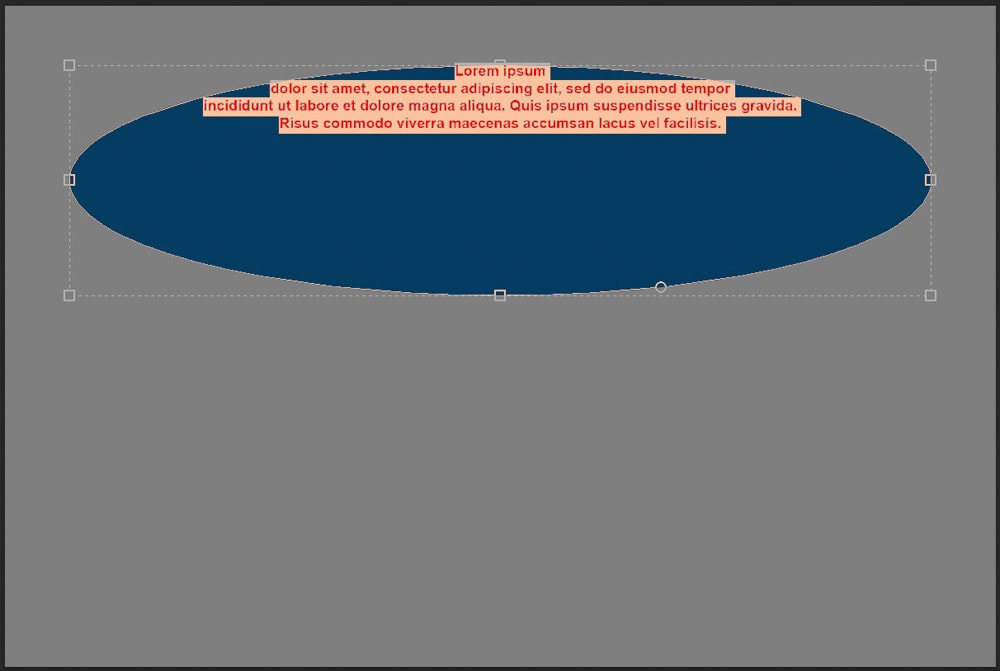
Once you have added a shape to your project, select the text tool by pressing T. Make sure the shape layer is selected in the layers panel and click inside the shape with the text tool.
Placeholder text will be added inside the shape. If you fill the shape with text, you will notice how the text follows the shape of the shape layer, which in this case is an ellipse.

How To Change The Background Color Of A Text Box
When using a shape layer as a text box, you can adjust the fill and stroke of the shape to change the colors around the text.
For example, create a rectangular shape with the shape tool (U) and click in the shape with the text tool (T) selected. Once the placeholder text has been added to the shape, you can adjust the alignment of the text in the options bar.

While the shape layer is selected, you can change the fill or outline color of the shape that is being used as a text box. In the Properties panel above the layers panel, select the Fill and Stroke options to change these colors.
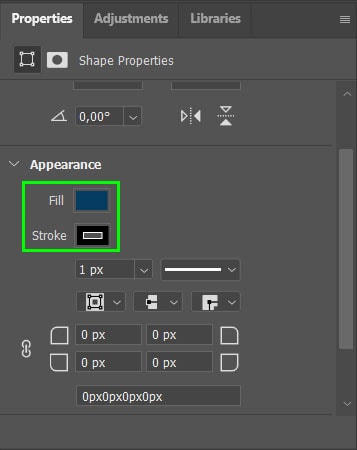
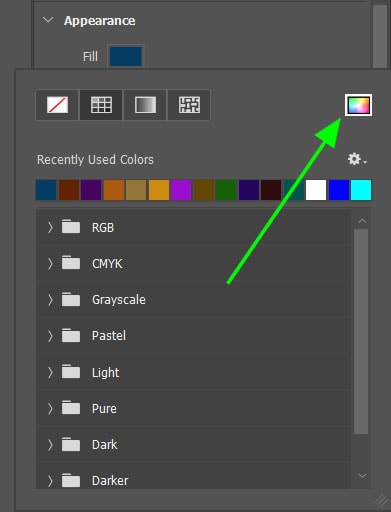
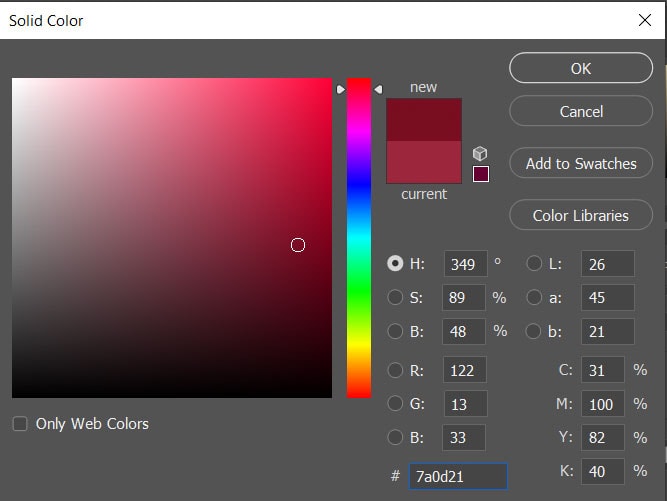
To change the fill color, click on the color box next to Fill and choose your desired color. Select the color picker to find more colors.
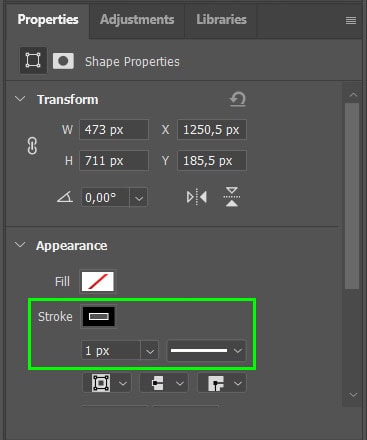
Change the stroke (aka outline) color by selecting the color block next to Stroke. You can also increase the outline size by increasing the stroke pixel.
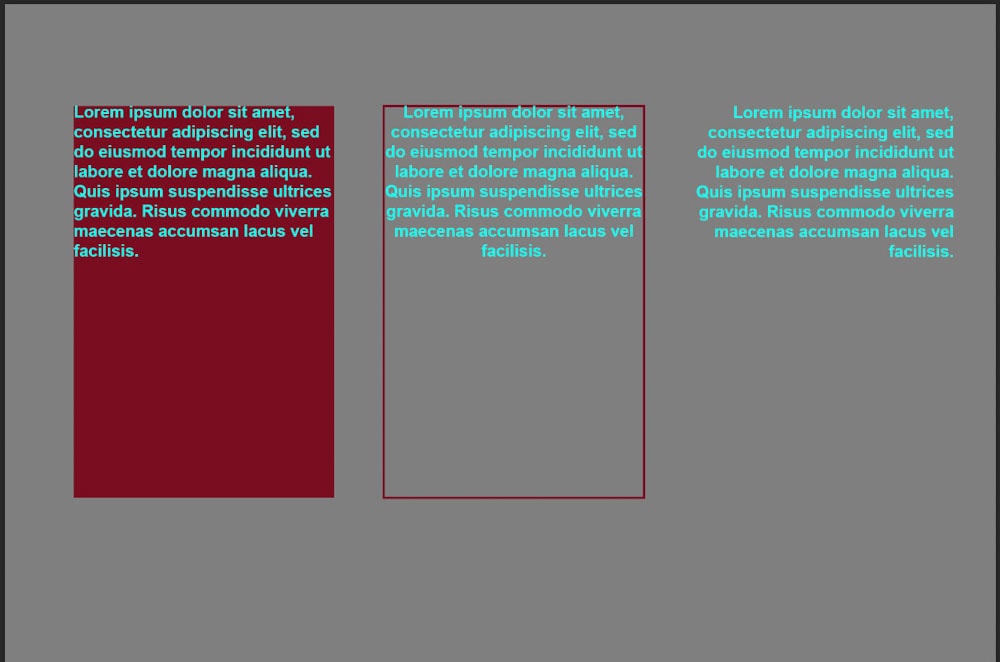
Once you have selected the fill and outline colors, your text box will either have a fill color as the background behind the text, or an outline around the text. You can also choose no fill and no stroke color to have nothing behind the text. Having a transparent fill and stroke is useful if you wanted to have a circular text box for example, without having a shape visible behind it.
So whether you’re using paragraph text or writing within a shape, text boxes are pretty straightforward to create once you know the steps. Although you can only type within one shape at a time, you can combine multiple shapes to create more unique shape styles that aren’t built-in to Photoshop. All of these methods will work with custom shape presets as well, expanding your options for text boxes!
If you’re still feeling a little uncertain about how to work with text in Photoshop, this guide to working with text will help get you on track!
Happy Editing!


