There are a ton of fantastic text effects you can create, and knowing how to rotate text in Photoshop allows you to explore your creativity and bring new energy to your layout designs.
Using a variety of methods discussed here, you can quickly orient your text to suit any image perfectly. In this tutorial, you’ll learn how to rotate, scale, and flip text so you can confidently achieve the exact look you want. Let’s get started!

Video Tutorial
Using Free Transform To Rotate Text In Photoshop
Step 1: Select The Text Layer And Press Control/Command + T
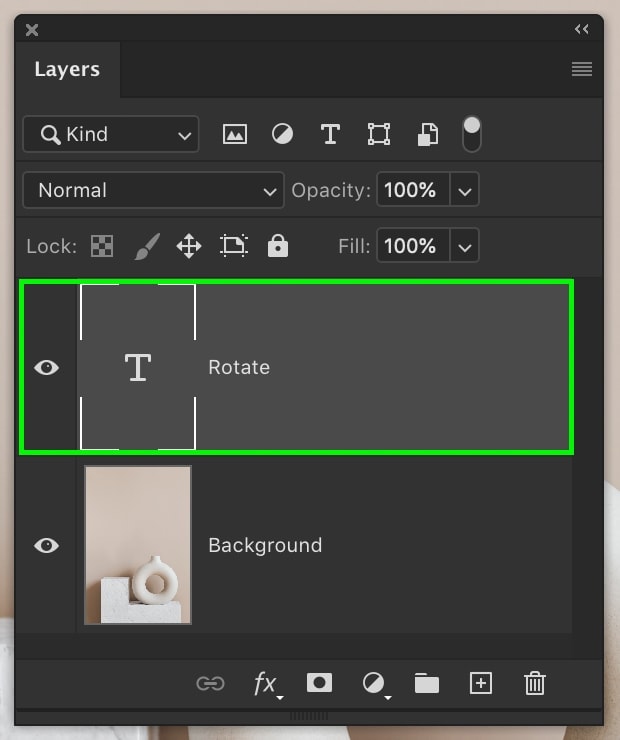
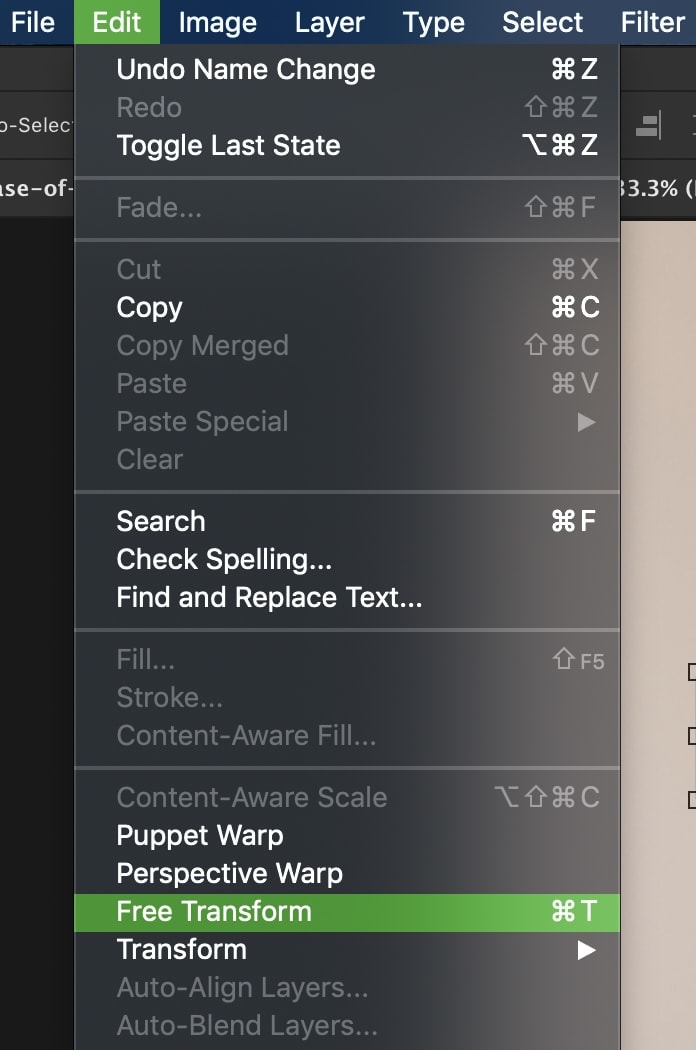
With your text layer selected, go to Edit > Free Transform or press Control + T (Win) or Command + T (Mac).
Step 2: Hover The Mouse Near A Corner Of The Text
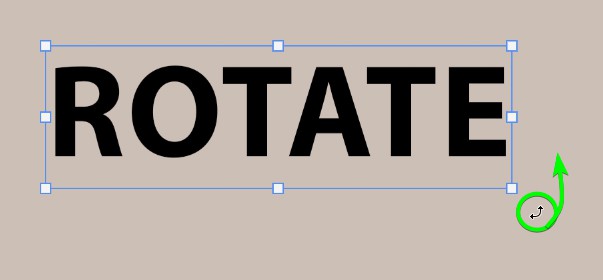
Hover near any corner of your text until you see a double-sided arrow.

Step 3: Click And Drag Up Or Down To Rotate The Text
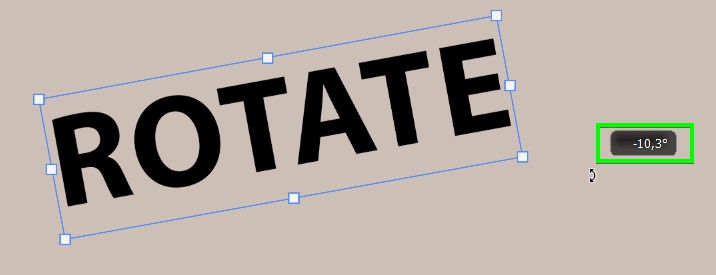
Click and drag your mouse to rotate the text to the desired orientation. You can use the angle box that appears as a reference point to achieve a particular angle.
Step 4: Set A Specific Angle In The Options Bar (Optional)
If you have a specific angle, you’d like to set the text to. You can type it in the Options Bar. Just type the angle you want and press enter.


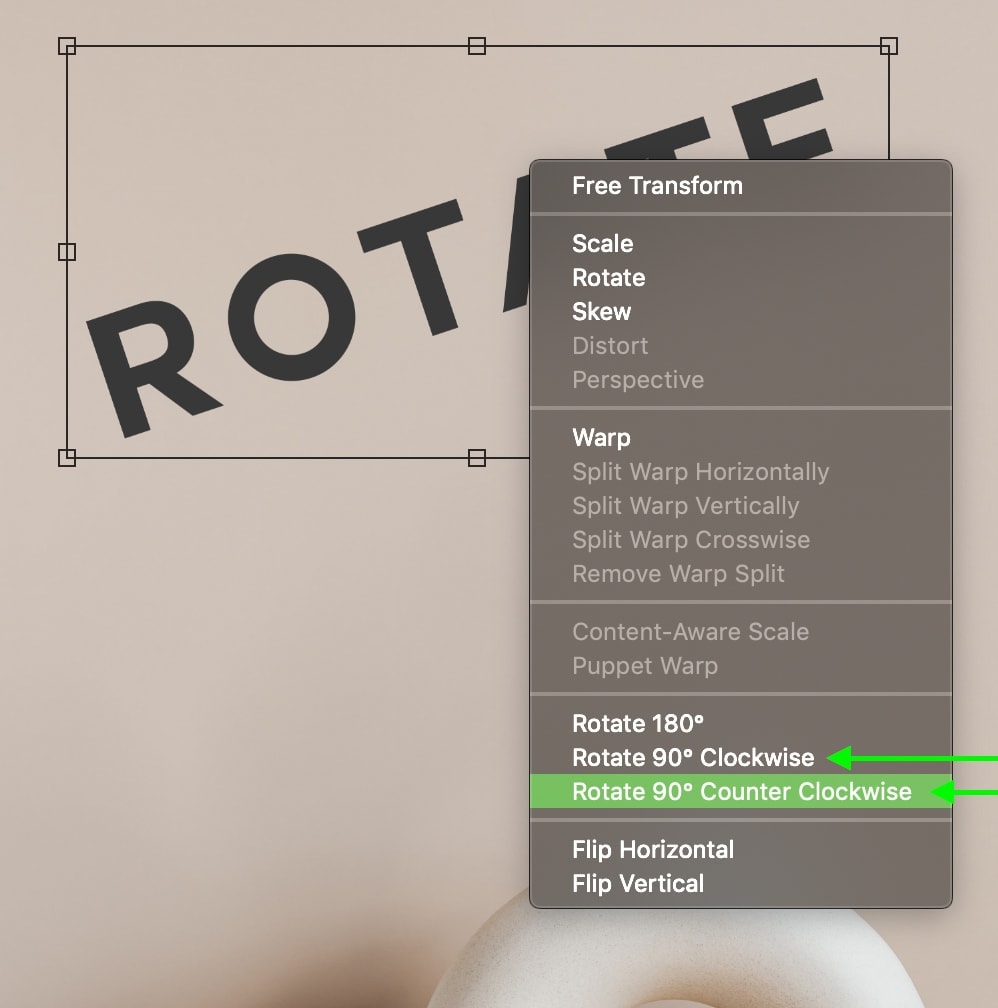
Step 5: Rotate Text By 90 Degrees In Two Clicks (Optional)
If you know you want to rotate your text by 90 degrees, manually rotating isn’t going to be as useful. You can speed up the process by rotating your text by 90 degrees in just two clicks.
With the Transform Tool active, right-click and select Rotate 90° Clockwise / Rotate 90° Counter Clockwise.

Step 6: Flip The Text Vertically Or Horizontally (Optional)
With the Transform Tool active, right-click and select Flip Vertical or Flip Horizontal.
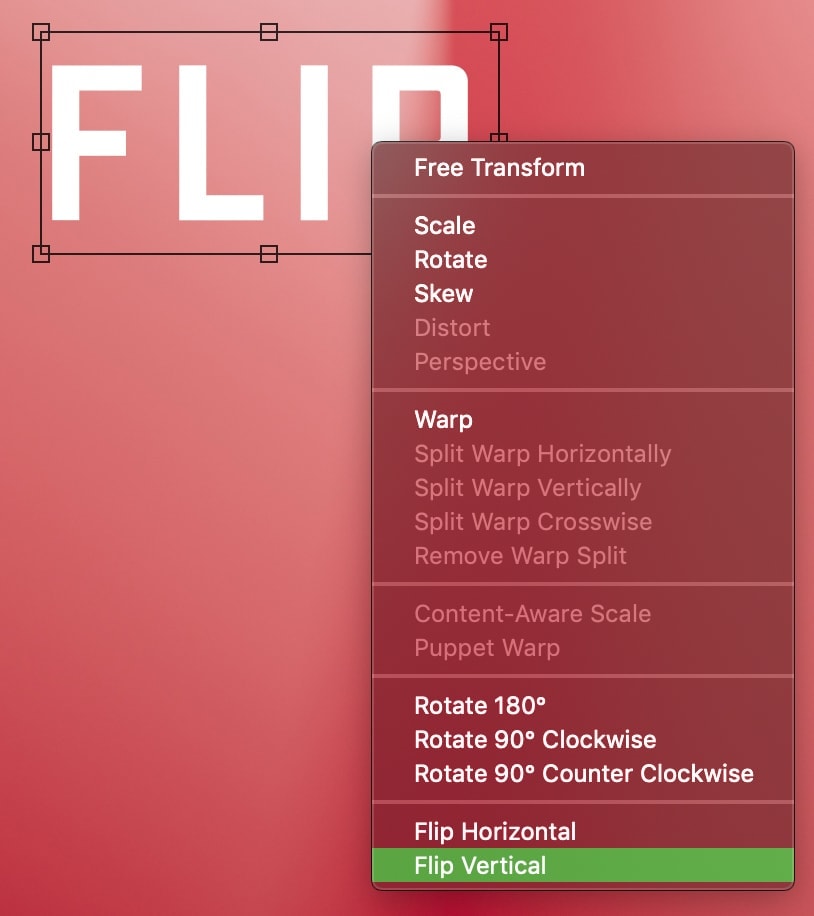
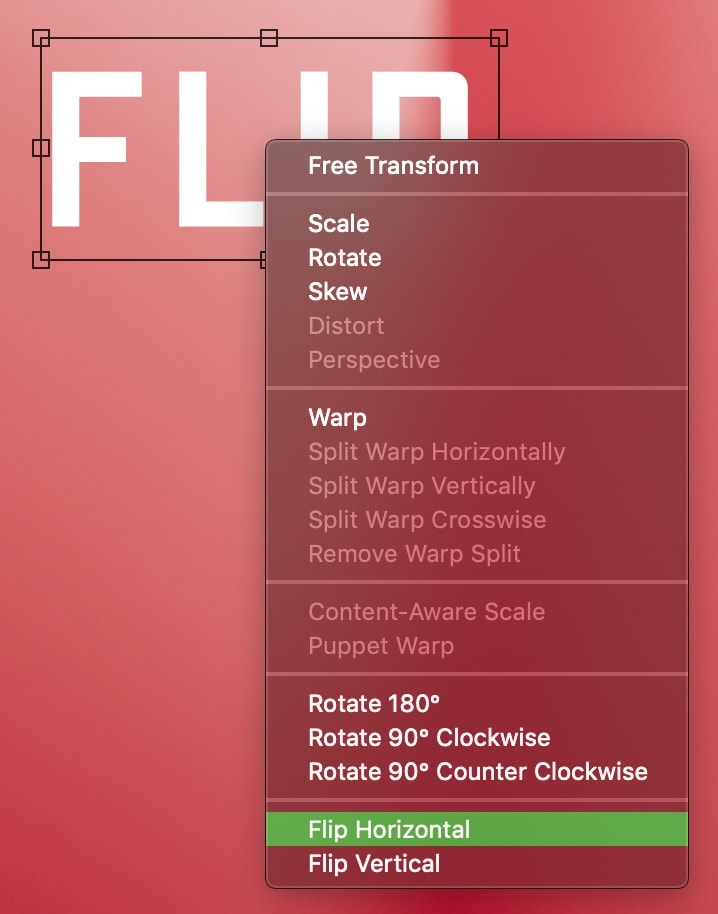
Now, the bottom of your text will be at the top and vice versa or to the side. With virtually one click, you can vertically or horizontally flip text in Photoshop.


How To Rotate Individual Letters In Photoshop
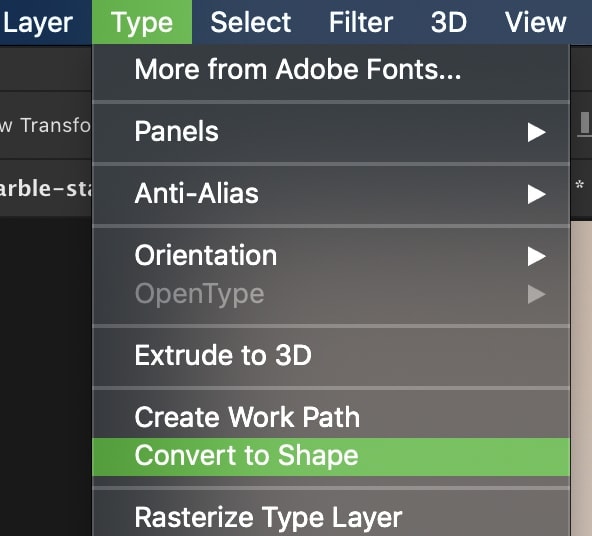
Step 1: Select The Text Layer And Go To Type > Convert To Shape
Select your text layer and go to Type > Convert To Shape. This changes your text from a text layer to a shape layer.
Step 2: Select The Letter Using The Path Selection Tool (A)
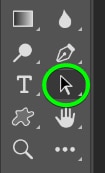
Since the text is now a shape, you can directly edit the shape path. Select the Path Selection Tool by pressing A and click on the letter you want to rotate.

Step 3: Press Control/Command + T To Activate The Transform Tool
With the letter selected, press Control + T (Win) or Command + T (Mac) to transform the individual letter. Hover over any corner of the transform box and click and drag to rotate.

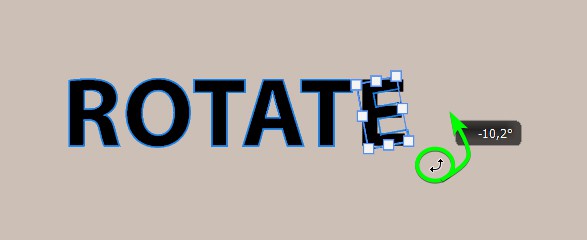
Press Enter to commit to the changes.

You can repeat this process as many times as you wish to continue rotating individual letters!
How To Make Vertical Text In Photoshop
Step 1: Select Existing Text And Click The Toggle Text Orientation Button
To create vertical text, select the text layer and ensure the Type Tool (T) is active, then look for the Toggle Text Orientation button in the Options Bar. It’s located directly beside the font options.

By clicking this button, your text will automatically switch from horizontal to vertical text.

Step 2: Select The Vertical Type Tool To Add New Vertical Text
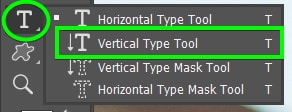
If you want to add new vertical text, select the Vertical Type Tool (T) from the Toolbar.
Step 3: Add A Text Box And Type The Vertical Text
You can now click once to add a point text box or click and drag to add paragraph text. Your text will be vertical as you type.

Step 4: Flip An Individual Letter (Optional)
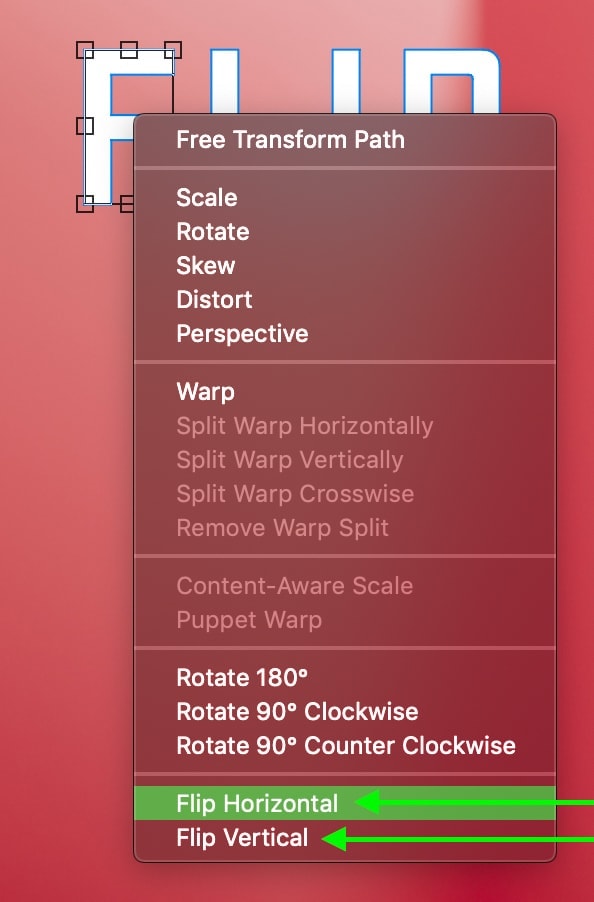
You can also flip individual letters by right-clicking when the Transform Tool is active on one letter and selecting Flip Vertical or Flip Horizontal from the menu options.

How To Scale Text In Photoshop
Grab your Move Tool by pressing V, activate the Transform Tool (Control/Command + T), and drag out on any corner of the transform box. As you scale the text, the font size will automatically increase accordingly.


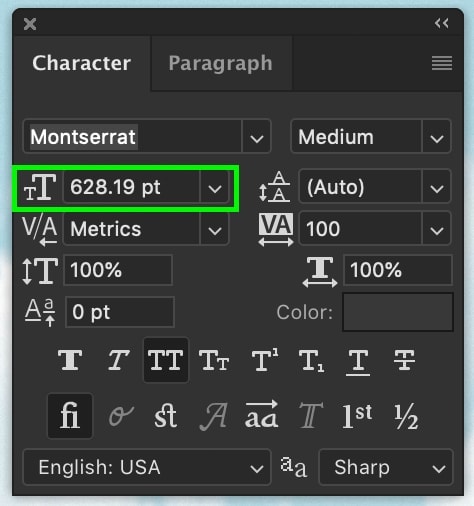
If you want to scale the text by changing the font, go to the Character Panel. If you don’t see this panel, go to Window > Character to reveal the panel. With your text layer selected, hover over the font size icon in the Character Panel. Click and drag in either direction to scale up or down your font size.
– Scale Individual Letters
The best way to scale a single letter in Photoshop is by using the Options Bar. Simply highlight the letter you want to change the size of and adjust the font size accordingly.

Set the font size in the Options Bar to alter the size of the highlighted letter while leaving the rest of the text untouched.


Learning how to manipulate text in Photoshop is key to achieving the exact positioning and effects you’re going for. Now that you know how to rotate, scale, and flip text in Photoshop, your options are limitless to how you orient your text.
– Brendan 🙂


