
It doesn’t take much to create a messy and disorganized layers panel, especially if you aren’t using layer groups in Photoshop. Groups are a simple way to sort your layer panel and keep related layers together. This not only makes it easier to edit multiple layers at once but makes it much easier to find the layers you’re looking for. In this tutorial, you’ll learn how to group layers in Photoshop using easy shortcuts to speed up the process!
But don’t worry, if you like to do things manually, we’ll still discuss how to go everything without shortcuts too. Let’s get started!
How To Group Layers In Photoshop
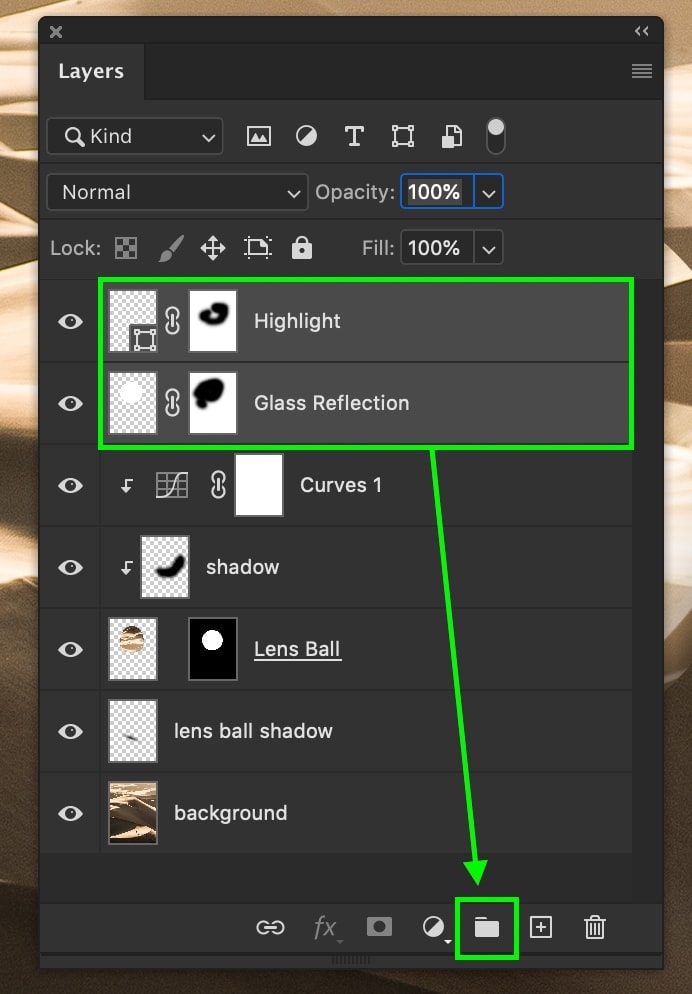
Before you create a group, you need to select the multiple layers you wish to group. To do this, just hold Command (Mac) or Control (Win) and click on your desired layers to highlight them.

From here, there are two simple options to create your group. The first being a keyboard shortcut and the second being from clicking the group layer icon.
– Keyboard Shortcut For Creating Groups
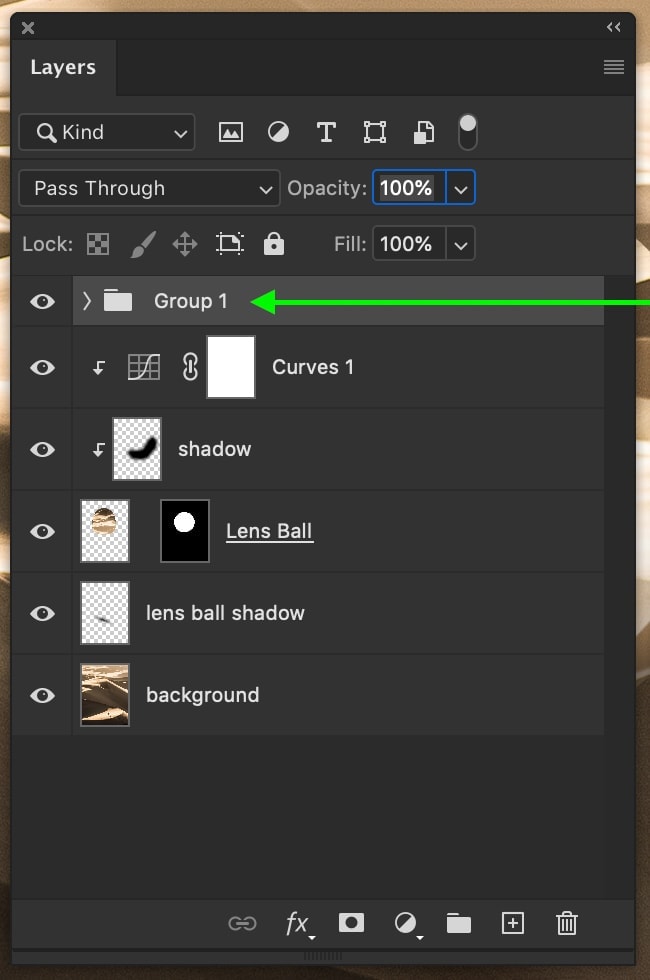
With your layers selected, pressing Command + G (Mac) or Control + G (PC) to create a group. All of the selected layers will be merged into a group folder.

– Creating Groups Manually
Once again, select all the layers you want to add to your group. With the layers highlighted, click the folder icon at the bottom of the Layers panel.
Both of these options are viable for anyone looking to make a group in Photoshop. Using the keyboard shortcut does save a bit of time, but it’s always useful to know the manual workaround!
How To Add Layers To An Existing Group
If you accidentally left out a layer or create a new layer you’d like to add to an existing group, this can be quickly done with the click of a mouse.
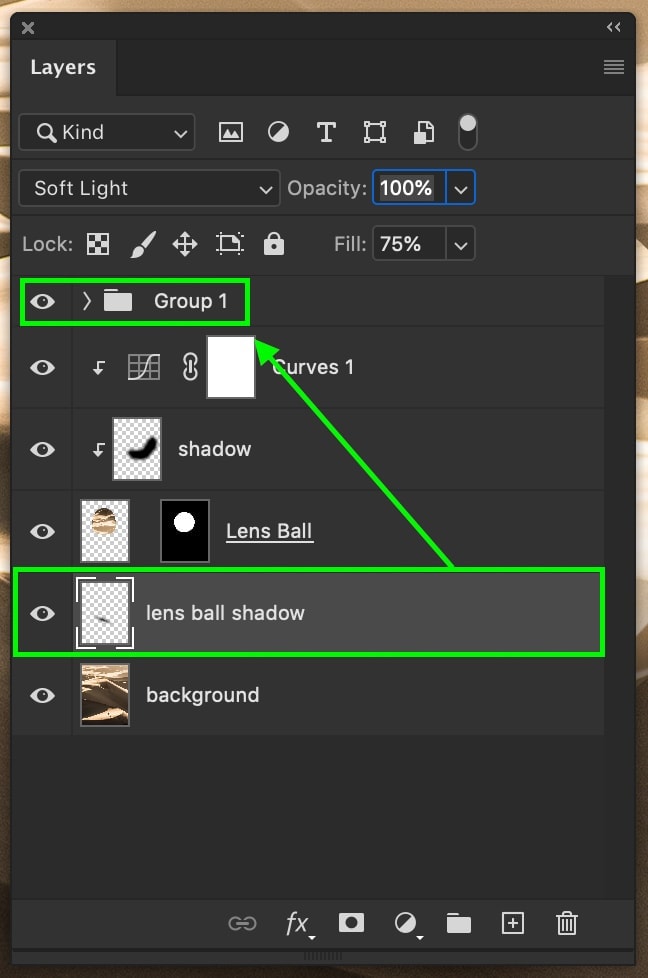
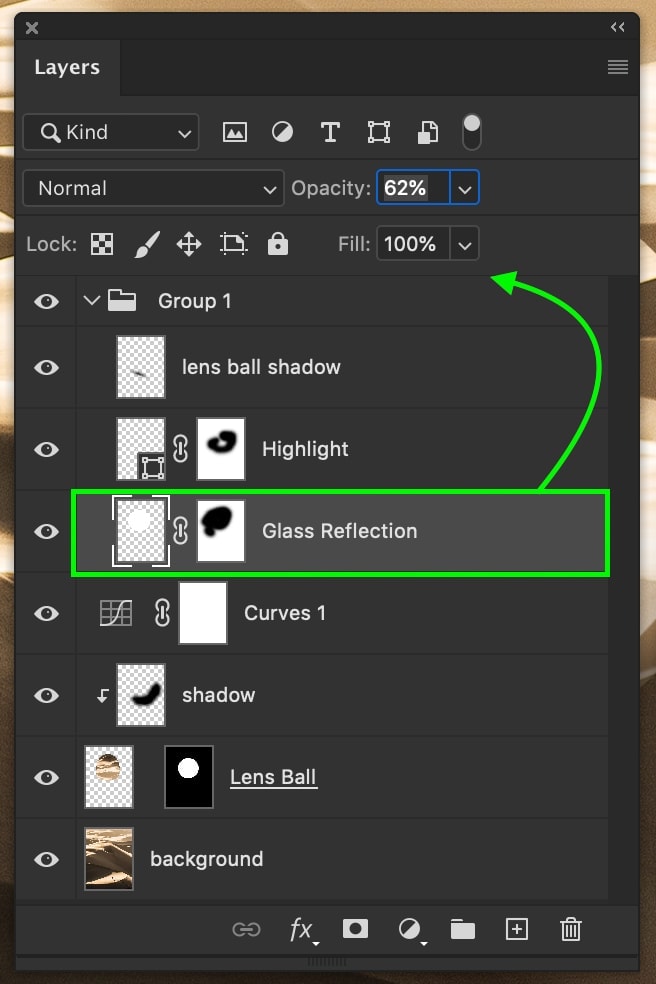
Just click on the layer you want to add and drag it over your group.
This process is a lot like adding a file to a different folder on your computer. Just drag and drop where you want it to go!
How Can You Tell If A Layer Is Inside A Group?
If you have a lot of layers in your panel, it might be hard to tell whether they’re actually in the group folder or not. If you aren’t sure, there are two easy ways to identify whether or not a layer is actually inside a group.
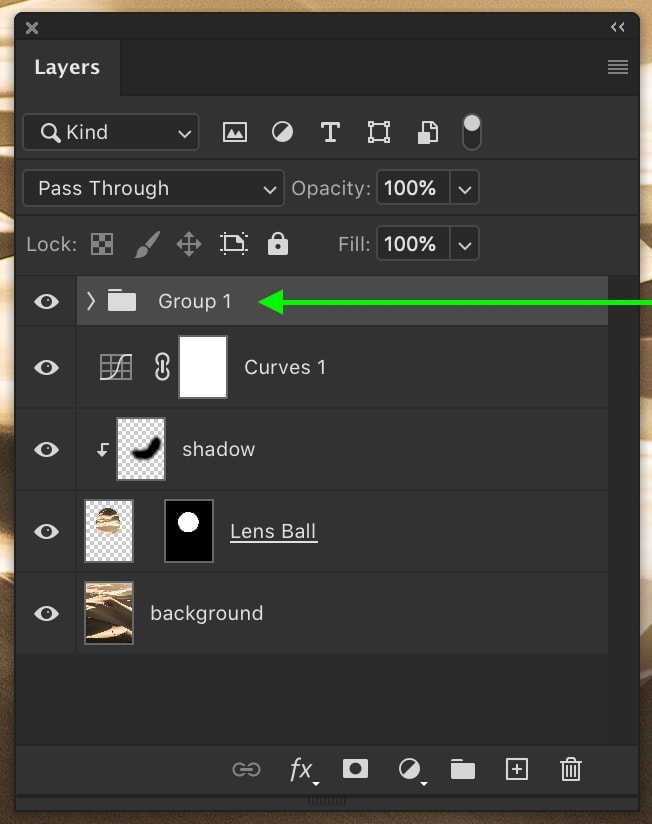
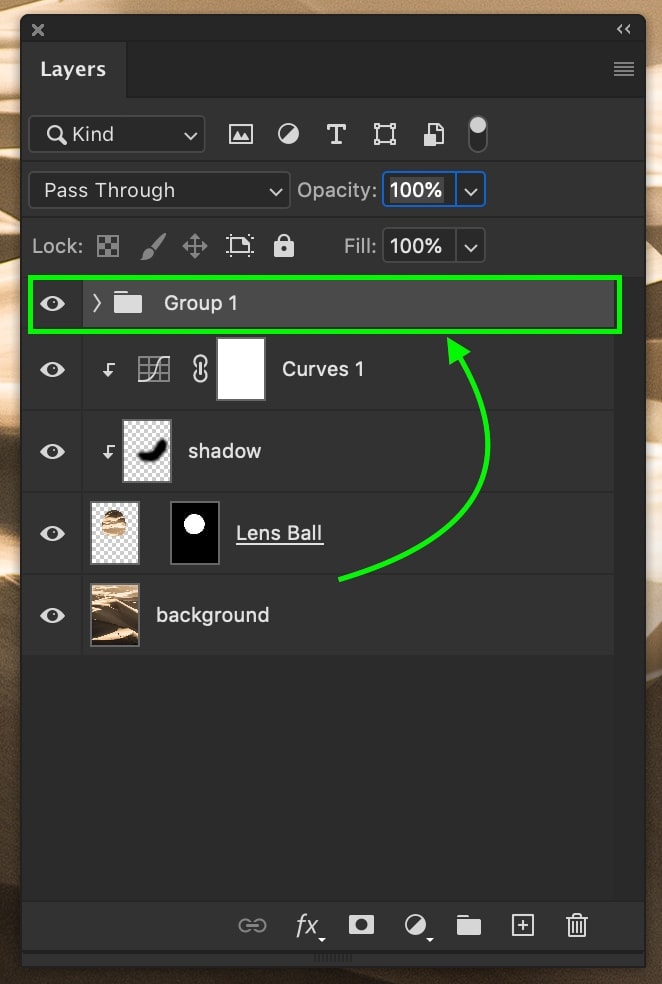
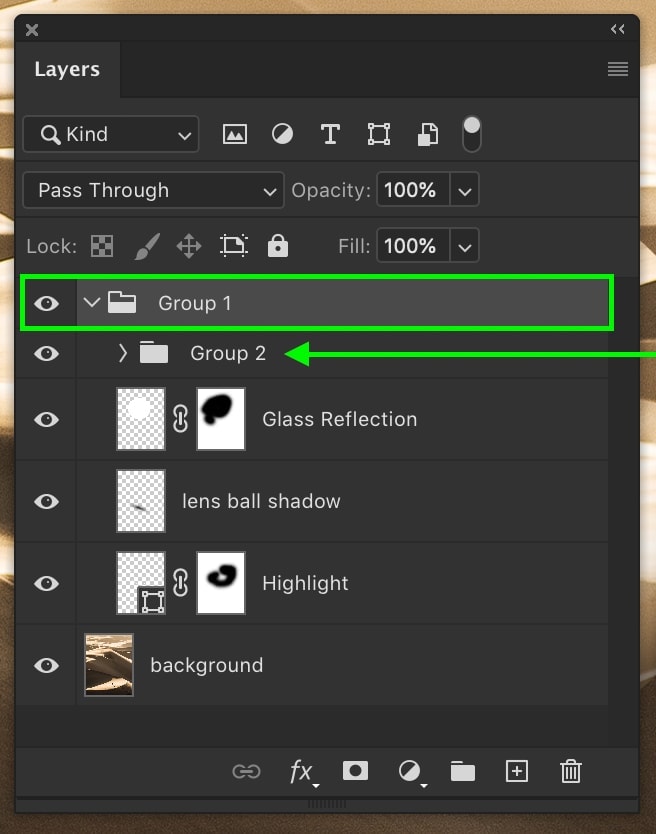
The easiest way is to hide the group folder contents by clicking on the arrow to the left of the folder icon. If you still see the layer in question, it means it’s not a part of the group!
In that case, just drag and drop the layer inside the group until it disappears into the folder. You’ll be able to find it again when you reveal the group later on.
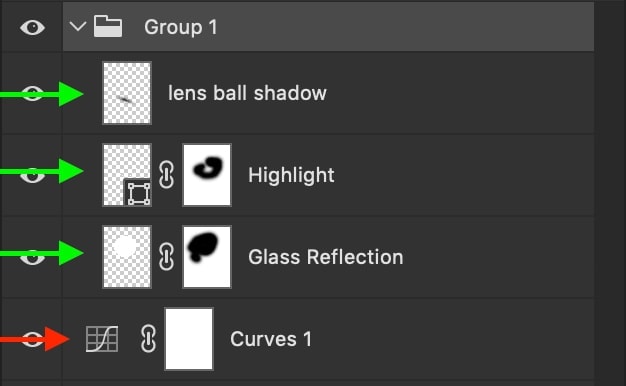
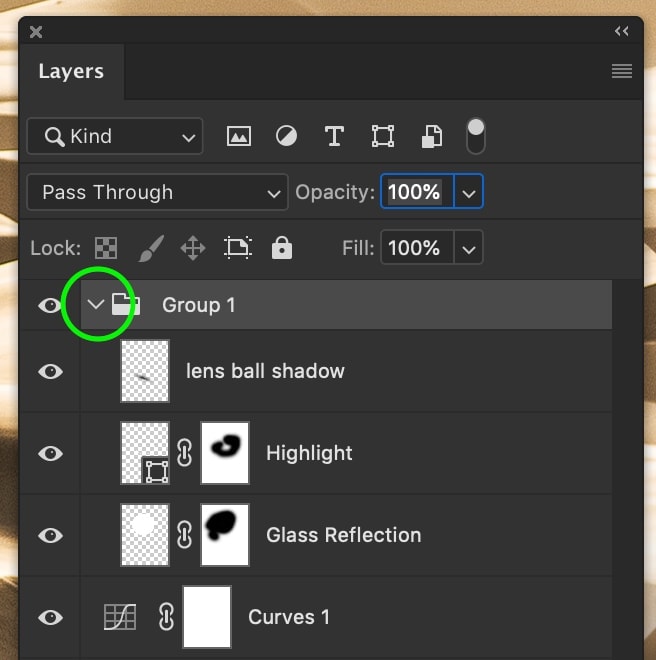
If your group layer is already open, you’ll notice how its contents are indented in the layers panel. These indentations indicate that the layer is inside of a group.
How To Remove A Layer From A Group
When you make a group in Photoshop, you can continually edit it’s contents forever. Just because you create a group with a particular set of layers doesn’t mean it needs to stay that way.
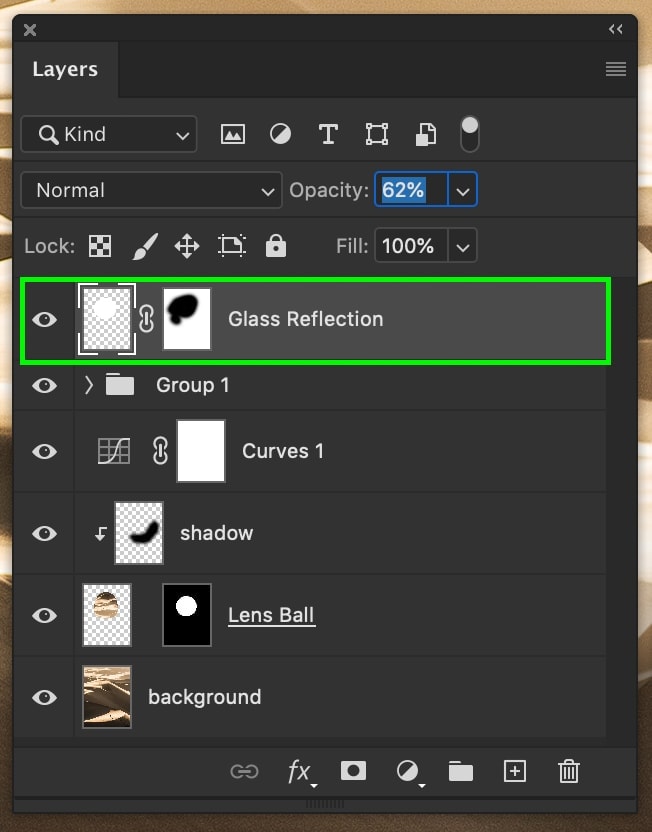
To remove a layer from a group, just click on the layer and drag it outside of the group. Your layer will now be moved outside of your group and sit independently in the Layers panel.
If you want to remove multiple layers at once, just highlight the necessary layers and repeat the same steps.
How To Ungroup All Layers In Photoshop
If you want to disband a group entirely, you can use a simple keyboard shortcut to ungroup all layers at once.
With the group layer selected, press Command + Shift + G (Mac) or Control + Shift + G (PC) to ungroup all layers.
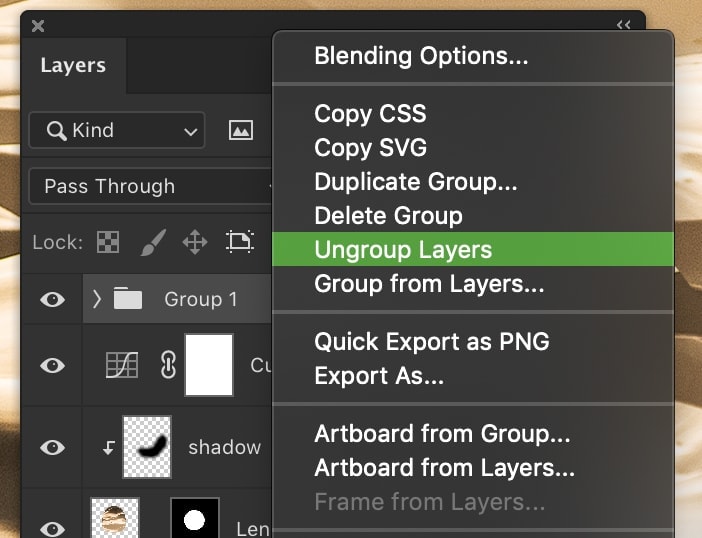
Alternatively, you can right-click on the group and select ‘ungroup layers’ instead. The choice is yours!
How To Nest Two Different Groups Together
If you want to keep extra organized, you can even add groups within other group folders.
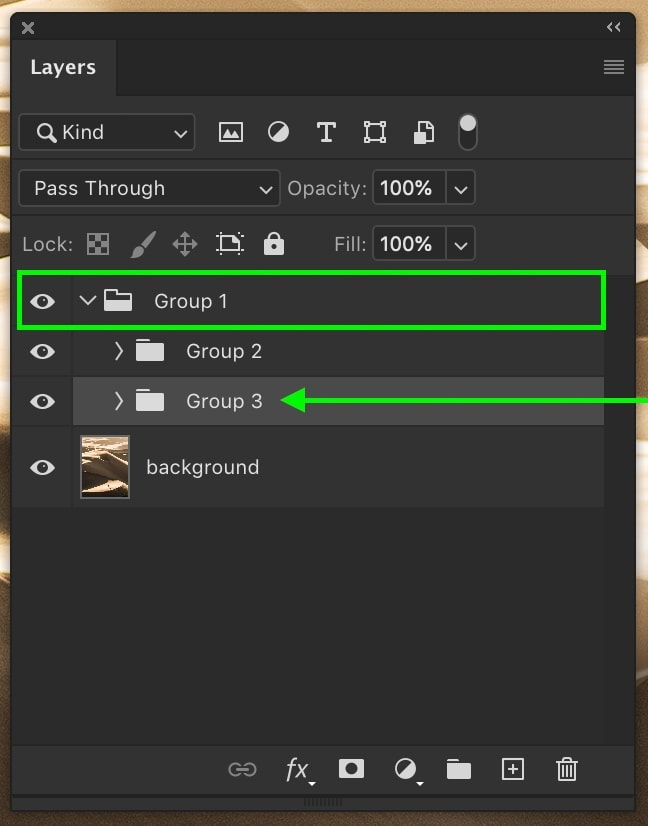
Select the group you want to turn into the ‘sub-group.’
Click and drag it into the other group.
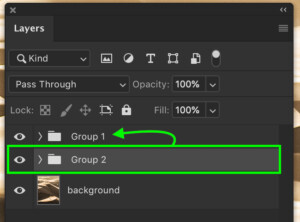
Now both groups will be found under the single parent group.
How To Create Sub-Groups
Rather than having to merge two separate groups into one, you can also create sub-groups within a parent group.
Open the desired group and select the series of layers that you want to put into a sub-group.
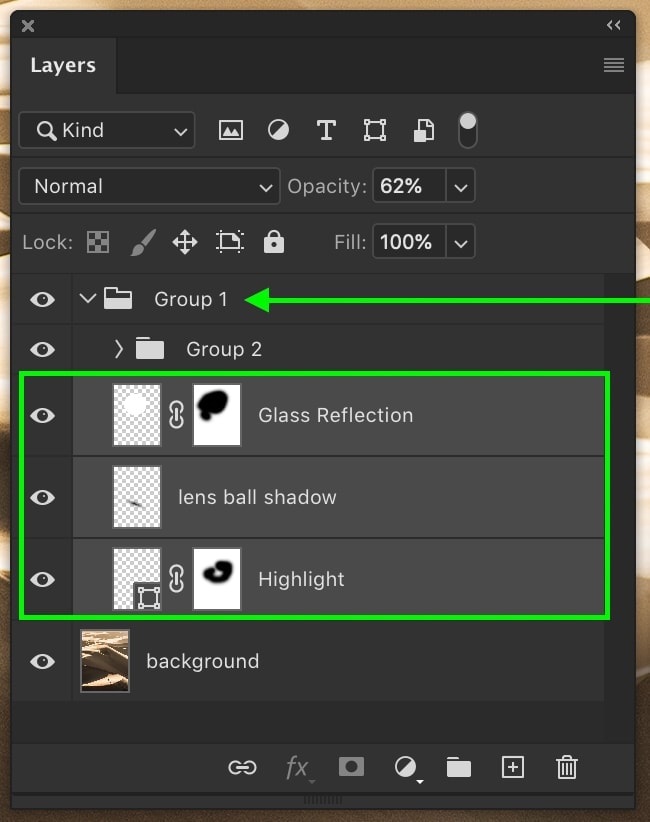
With the layers selected, press Command + G (Mac) or Control + G (PC) to merge them into a group.
The newly created group layer is now a sub-group. You can make sure of this by taking note of the indentation of the layer.
Why Should You Group Layers In Photoshop?

Learning how to make a group in Photoshop is crucial to keep related layers organized and easily accessible. When editing a portrait, for example, it’s useful to group associated adjustments like hair, skin retouching, or color adjustments into individual groups, rather than having a large pile of layers mashed together, using groups segments your layers and streamlines your workflow.
Another reason grouping layers is so useful is because you can apply the same adjustment to multiple photos at once. By making adjustments to a group, it will affect every layer inside as well. This speeds up the editing process drastically since you can create one adjustment for several layers at once. No more individual adjustments are needed when using groups!
Lastly, creating groups makes it easy to move multiple layers together. When you select a group layer, you will be able to move around all of its contents at once. This is perfect if you want to keep specific layers together on your canvas, such as text or clone stamp adjustments.
Once you know how to make a group in Photoshop, your layer panel will thank you for it. Now your layers can be correctly categorized and sorted based on their contents, making it much easier for you to find. Alternatively, to grouping layers, you can also link layers together. Linking and grouping layers do have a similar outcome, but there are a few crucial differences you should know about. You can found out more about the difference between linking and grouping layers by clicking here.
– Brendan 🙂


