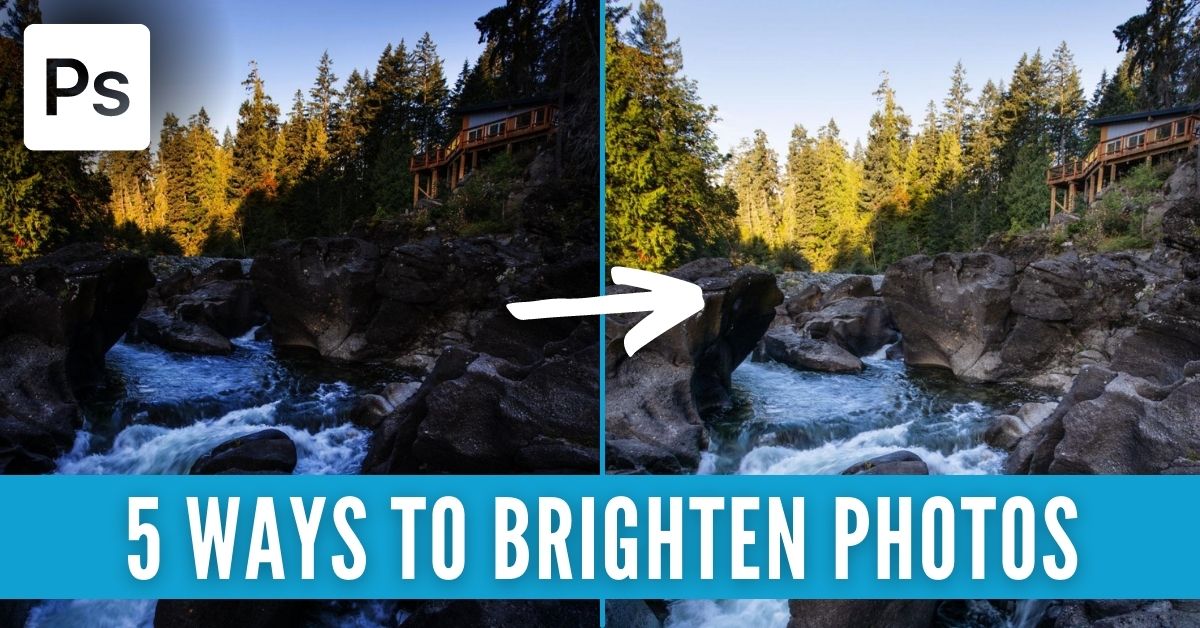

If you need to brighten photos in Photoshop, there are several ways to do it. Whether you want to use adjustment layers or Camera Raw, there’s a variety of tools available to suit your workflow. With that said, the most beginner-friendly way to brighten an image in Photoshop is with Camera Raw.
To quickly brighten a photo in Photoshop, select your image layer, then go to Filter > Camera Raw Filter. In the Camera Raw window, click on the Basic Tab and increase the exposure slider to brighten the image. To refine the effects, edit the Highlights, Shadows, Whites, and Blacks sliders.
Besides this easy adjustment, there are more ways to brighten your photos including with the Tone Curve and other types of adjustment layers. In this post, you’ll learn exactly how to use each of these methods so you’ll end up with a complete toolkit of exposure correcting tricks in Photoshop!
Let’s get started!
5 Best Ways To Brighten A Photo In Photoshop
1. Camera Raw
Camera Raw is a tool that allows you to import and edit raw images. Adobe Photoshop has a Camera Raw Filter, which allows you to use the features of Adobe Camera Raw (ACR) anytime in your workflow. Better yet, you can even apply it as a smart filter to any layer!
Here’s how to use the Camera Raw Filter to brighten your photos.
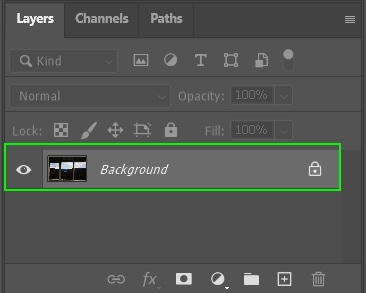
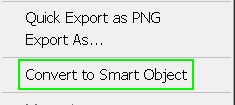
Open your desired photo in Photoshop, then go to the Layers Panel. Right-click on the image layer and select Convert to Smart Object. Converting your image to a Smart Object means you can make changes without permanently editing the image layer. This way, Camera Raw will be applied as a smart filter beneath the smart object. You can learn more about the uses of smart objects here.
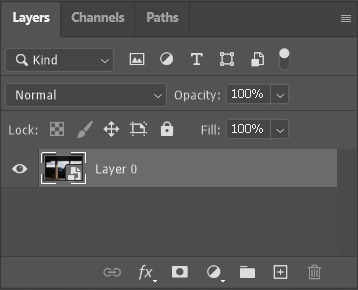
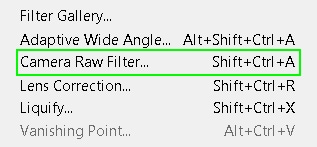
Once you’ve converted your image to a Smart Object, make sure the layer’s selected and go to Filter > Camera Raw Filter to open Camera Raw. Alternatively, you can use the shortcut Shift + Control + A on Windows or Shift + Command + A on Mac to open the Camera Raw Filter window.

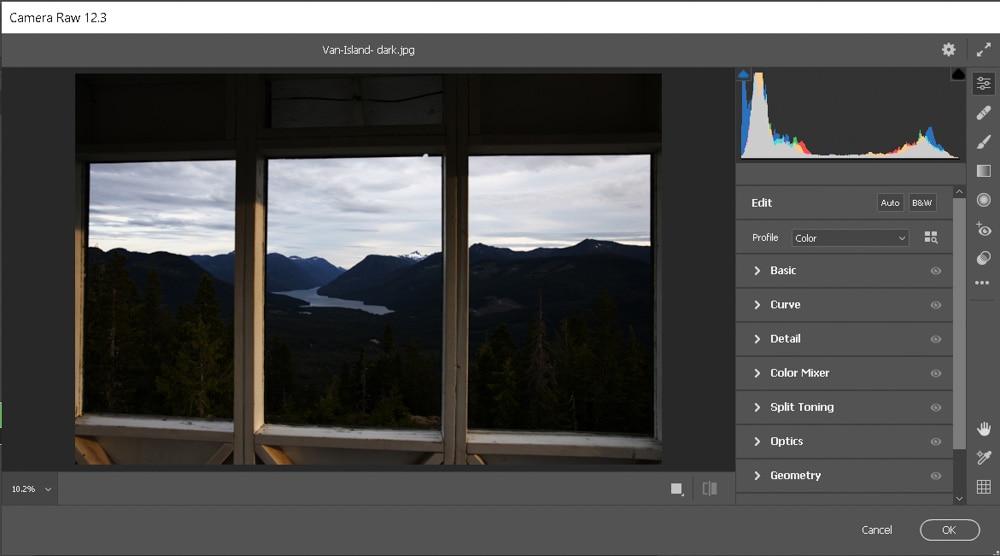
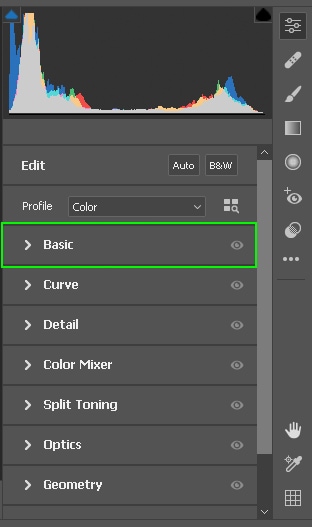
As you can see from the window, the Camera Raw Filter offers a variety of options to enhance your image. Since the focus of this tutorial is brightening an image, I’ll only be using the Basic and Curve Panels. However, I explain more uses of Camera Raw in another post.
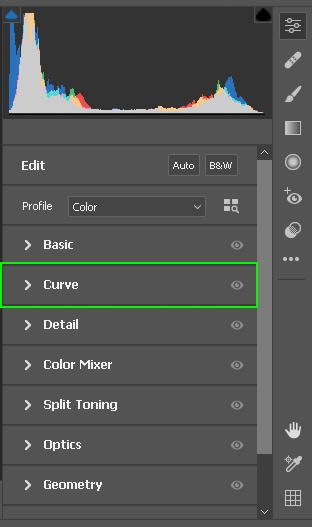
To start things off, first, click the Curves tab to open it. When working with Curves in Photoshop, you bring the curve upward to brighten an image and downward to darken it.
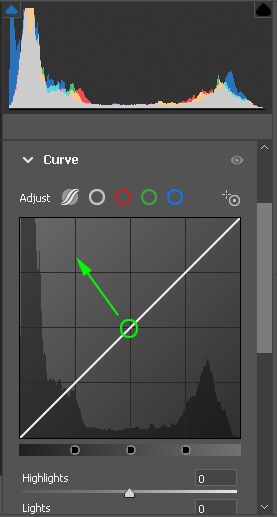
For a general brightening adjustment, click in the middle of the tone curve and drag upwards to brighten the mid-tones. This does the best job to boost the overall exposure of your image without blowing any of the highlights and shadows out.

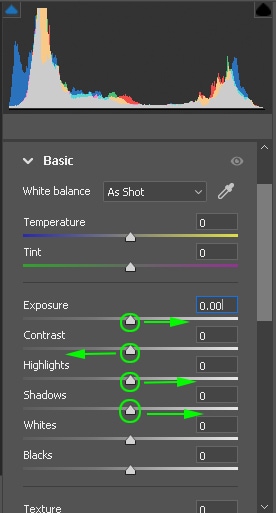
With the Curves adjustment complete, move to the Basic panel above it. This is where you’ll be able to adjust the image’s exposure, contrast, highlights, white balance, and more.
To add further brightening the image, you’re going to focus on the exposure, contrast, highlights, and shadows. These will allow you to brighten the image without making it too bright and blowing out the details. Adjust the sliders for each option to see what combination works best for your image.
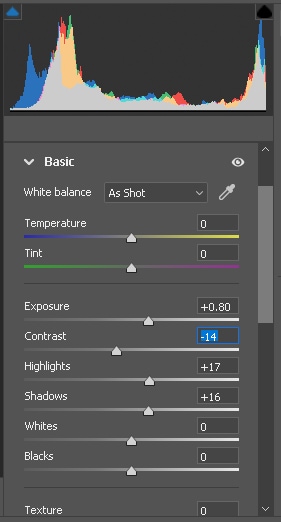
I increased the exposure, highlights, and shadows while decreasing the contrast in my image. This made my image look brighter, but I didn’t do it too much to blow out the details.
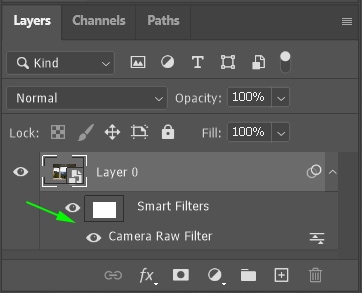
Once you’re satisfied with your image, click OK at the bottom of the Camera Raw Filter window to apply your changes. Since your image was converted to a Smart Object, the filter will be applied as a Smart Filter. If you need to update the settings made in Camera Raw, simply double-click on the “Camera Raw Filter” smart filter to reopen Camera Raw.
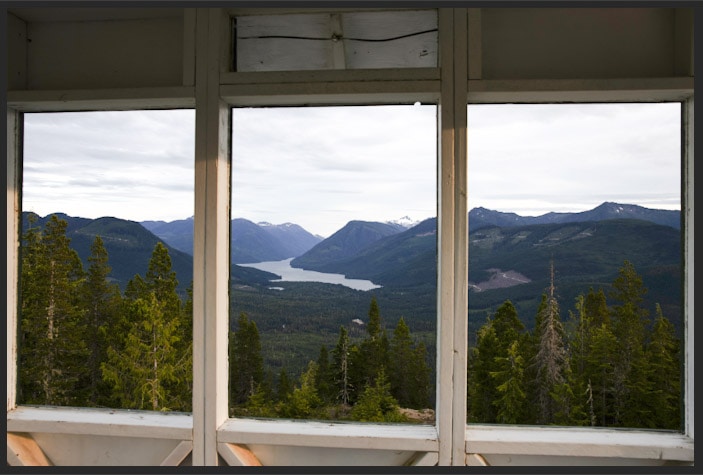
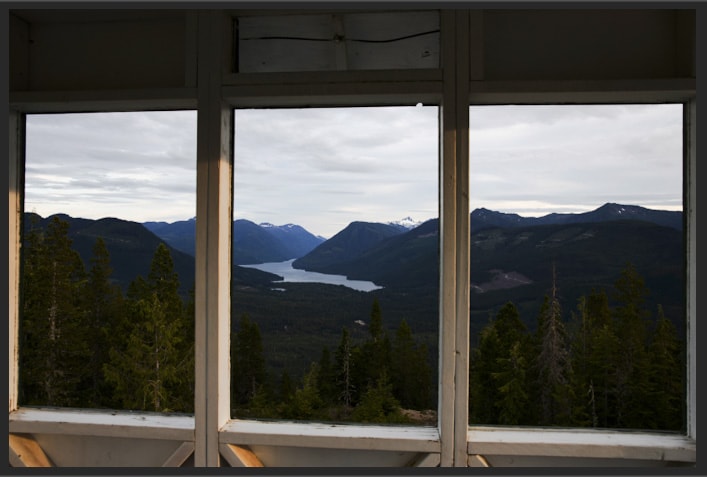
Here’s a before and after of the same image after it was brightened with the Camera Raw Filter:
2. The Exposure Adjustment Layer
Besides the Camera Raw method, another great way to brighten photos is by using adjustment layers. An adjustment layer allows you to apply exposure and color adjustments to your image without permanently changing it. Rather than editing the photo itself, an adjustment layer applies an adjustment to any layers below it in the layers panel.
One of the most basic adjustment layers for brightening a photo in Photoshop is the Exposure Adjustment Layer. Here’s how to use it.
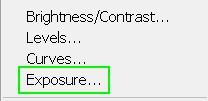
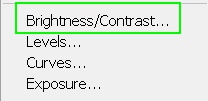
Start by opening your photo in Photoshop. Then go to the Layers panel and at the bottom, click the Add Adjustment Layer icon. This will show a popup menu with a list of options to choose from. Select “Exposure” from that list.
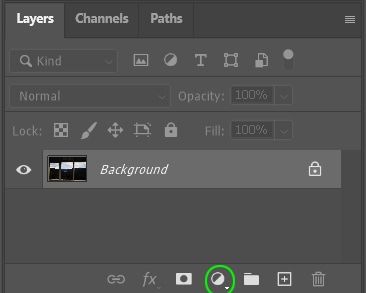
After you create the adjustment layer, you’ll see it appear in the Layers panel above your image layer. In order for the adjustment to affect the image, it must always be above it in the layers panel.
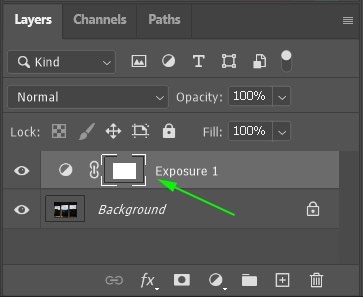
Above the Layers Panel, you’ll see the Properties Panel, where you can adjust the image’s exposure. Although each adjustment layer has different settings, the Exposure Adjustment has three different sliders in the properties panel: Exposure, Offset, and Gamma Correction.
The default values for Exposure and Offset are at zero, while the Gamma Correction is at one. For this tutorial, you’ll only need to worry about Exposure. The Offset and Gamma Correction will affect the basepoint of your highlights and shadows which alters the contrast more than anything. However, adjusting the Gamma Correction can help balance out your mid-tone exposures in many cases.
To brighten your image, increase the Exposure value by moving it to the right.

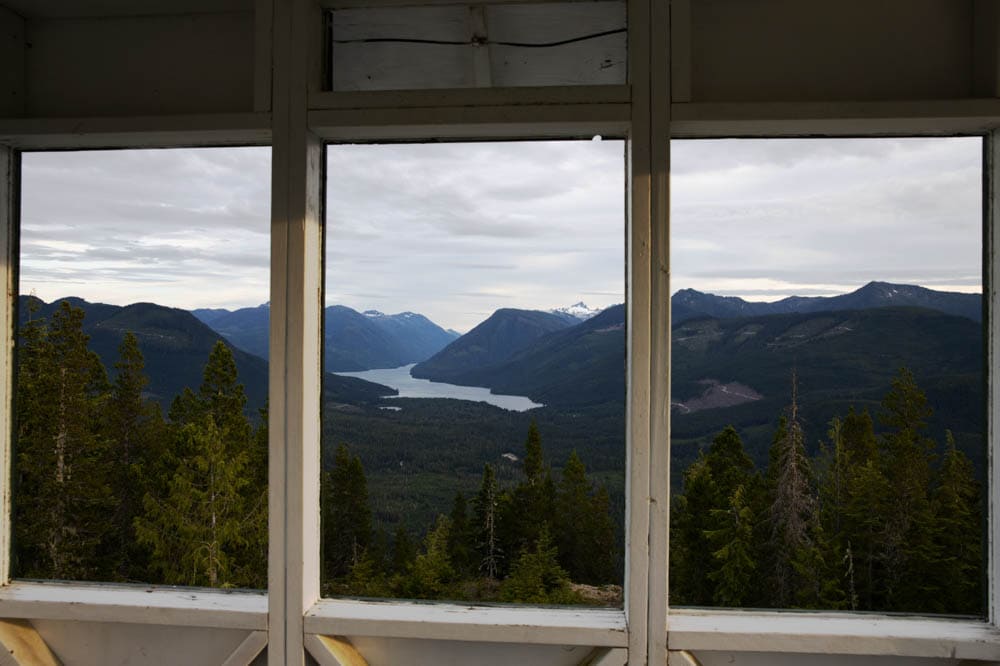
Every image will require a different setting, however, I’ve increased the exposure slightly. This brightens the image a fair amount but I can get away with it since my original was quite dark. Again, the amount of adjustment needed will depend on your image and the look you’re going for.
3. The Brightness/Contrast Adjustment Layer
The Exposure Adjustment Layer isn’t the only adjustment layer that can be used to brighten a photo. Another great option for brightening a photo in Photoshop is the Brightness/Contrast adjustment layer.
The Brightness/Contrast Adjustment Layer only has a brightness and a contrast slider making it slightly less confusing with very straightforward settings.
To create the Brightness/Contrast Adjustment Layer, click the Add Adjustment Layer icon in the Layers Panel. Then, from the popup menu, select Brightness/Contrast to create a Brightness/Contrast Adjustment Layer.
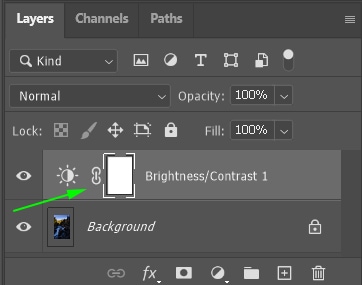
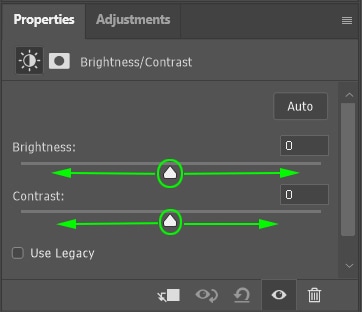
Next, go to the Properties Panel (above the Layers panel by default) and adjust the sliders accordingly for your photo. Play around with the adjustments to find what you like for your image.
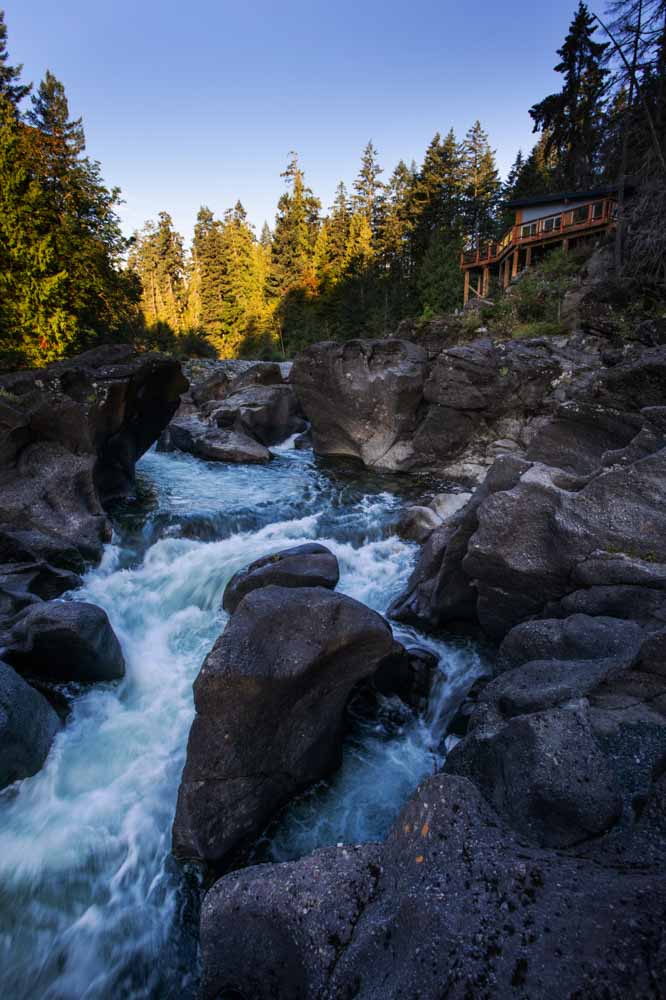
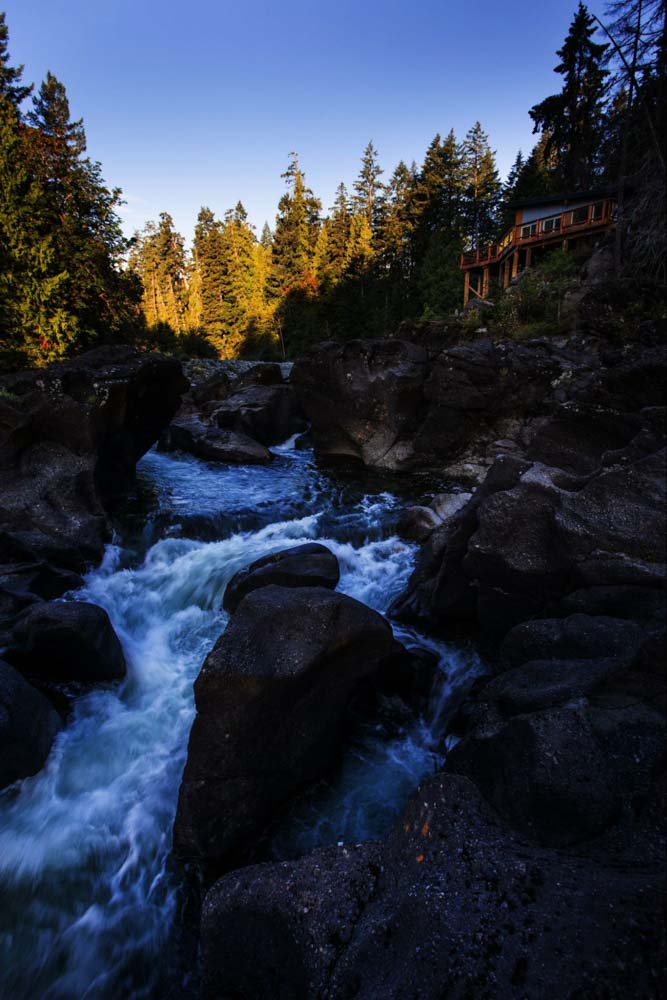
Here’s the before and after the Brightness/Contrast Adjustment Layer was added:
4. The Curves Adjustment Layer
Similar to the Curve adjustment in Camera Raw, this adjustment layer applies a Tone Curve adjustment in the form of a layer rather than a Camera Raw filter. This adjustment allows you to easily control the level of the shadows, mid-tones, and highlights making it an effective image brightening tool.
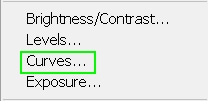
To create a new Curve Adjustment Layer, click on the adjustment icon and the bottom of the Layers panel and select “Curves.”
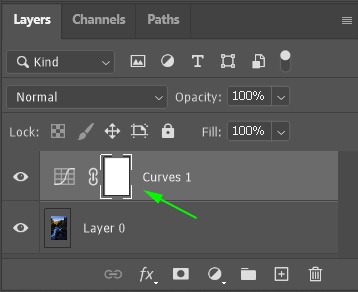
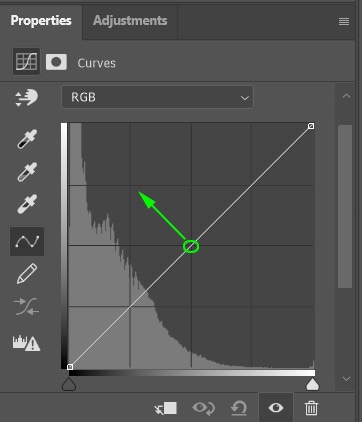
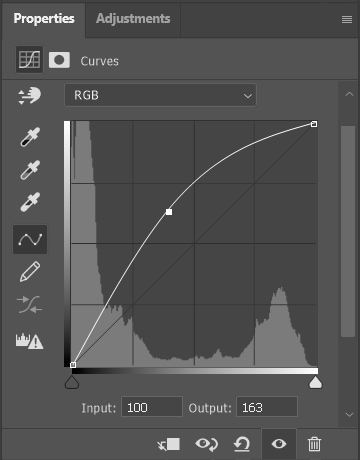
Once your Curves Adjustment Layer has been created, go to the Properties Panel and click on the diagonal line. Move the curve upward in the middle to brighten your entire photo evenly.
You can adjust the curve as you see fit until you find a level of brightness you’re comfortable with for your image. If you notice your shadows or highlights are not looking quite right, you can click in any exposure range of the curve to add additional anchor points. For example, you could click on the highlights (upper right corner) and drag them down to darken any blown-out highlights.
For my image, I will just do a basic brightening of the mid-tones.
Here’s a before and after:
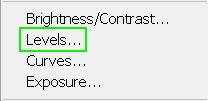
5. The Levels Adjustment Layer
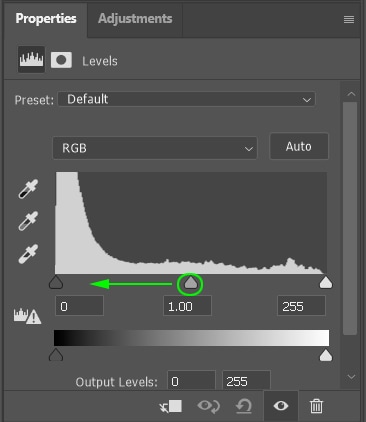
The levels adjustment is used to fix the color balance and tonal range of a picture by adjusting its shadows, mid-tones, and highlights’ intensity levels. This adjustment is similar to the Curves but with fewer customization options.
In this tool, there is a histogram to give you an idea of your image’s overall exposure. At the bottom of the histogram are two Input Levels sliders. They map the black point and white point to the settings of the Output sliders. By default, the Output sliders are at level 0 where the pixels are 100% black (shadows), and level 255 where the pixels are 100% white (highlights).
The middle slider is the mid-tone or gamma adjustment, this is where the pixels found in the middle exposure range lie.
Now to use the Levels Adjustment Layer, click the Create Adjustment Layer icon in the Layers panel, and from the popup menu, select Levels.

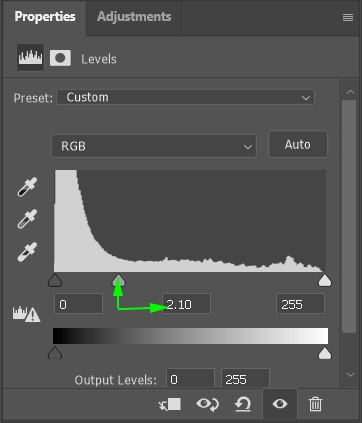
After you’ve created your new Levels Adjustment Layer, go to the Properties panel to make your adjustments. Click the middle slider and drag it to the left, as you move it towards the lower value, you’ll see your image begin to brighten.
Play around the slider until you find a level that you’re comfortable with.
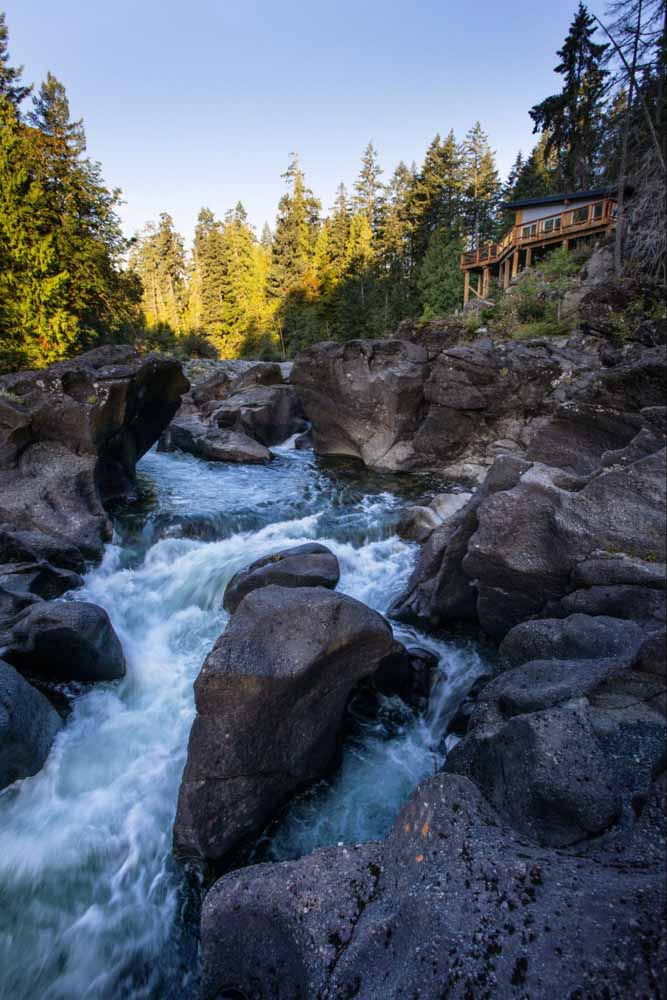
Here’s the before and after:
How To Selectively Brighten A Photo In Photoshop
With all of the techniques you’ve learned so far, you have applied a general brightening adjustment to the entire photo. Now, what if you want to only brighten a certain part of your image? Perhaps lighten the foreground or around your subject to make them stand out.
This is easily done with the help of a layer mask, which is automatically added to every adjustment layer. A layer mask allows you to control where a certain adjustment or layer is visible. By painting black onto a layer mask with the Brush tool, you will hide those areas of the adjustment. By painting white, those black areas would become visible once again. By default, every layer mask you create will be white, aka 100% visible.
To learn more about the important uses of layer masks in Photoshop, check out these 8 reasons why you should be using them!
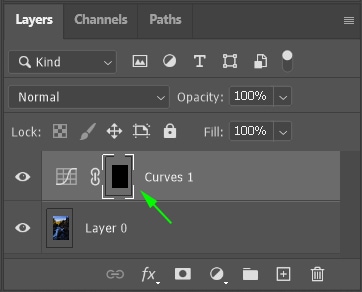
For this example, I will use a Curves Adjustment Layer, but you can use any of the Adjustment Layers I discussed earlier. To start, I will create a new curves adjustment layer and adjust it accordingly to brighten my photo. Since the layer mask is white, this adjustment will affect the entire image.
Now to make this adjustment invisible, click on the layer mask and press Control + I on Windows or Command + I on Mac to invert it. This will turn it from white (visible) to black (transparent). You’ll notice that your photo has returned to its original state, this is because the black has hidden the brightening effect. Now let’s use the Brush tool and paint white to reveal this adjustment selectively.
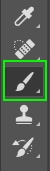
Select the Brush Tool (B) from the toolbar, then open the brush settings and choose a soft brush. You can either select one of the brush presets or lower the brush’s hardness to 0. A soft brush is preferable for masking because the soft edges allow for the image to blend better.
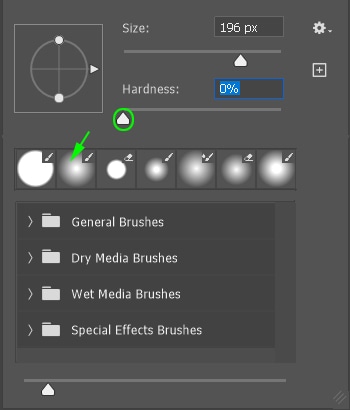
Now set your foreground color to white and begin painting on the mask to reveal the brightening adjustments.

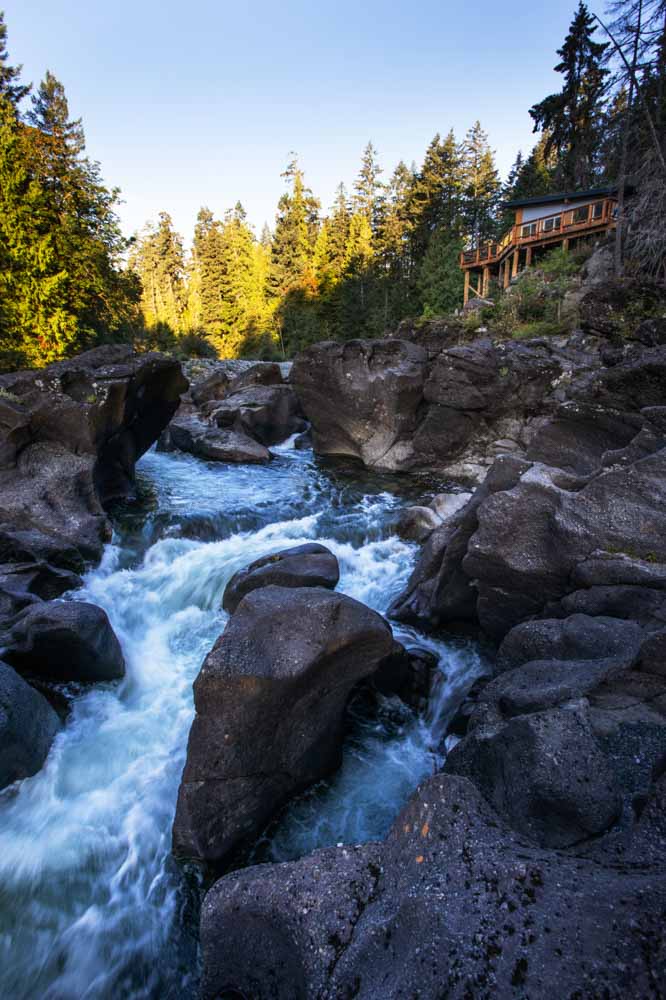
For this image, I added a bit of brightening to the river to make the water pop a bit more than before. Since I am using a layer mask, this adjustment only applies to the areas I paint white onto.
Learning how to brighten a photo in Photoshop is a useful skill to have for all kinds of projects. Especially once you get the hang of using these adjustments with layer masks, you can easily control the exposure of your photos like a pro.
Happy Editing!


