

Photoshop users often overlook the Slice Tool. However, if you understand how to use it, you will realize the potential of this useful tool, especially if you are a website and app developer or designer. The tool is as easy to use as the crop tool, yet it offers much more, like slicing images into sections.
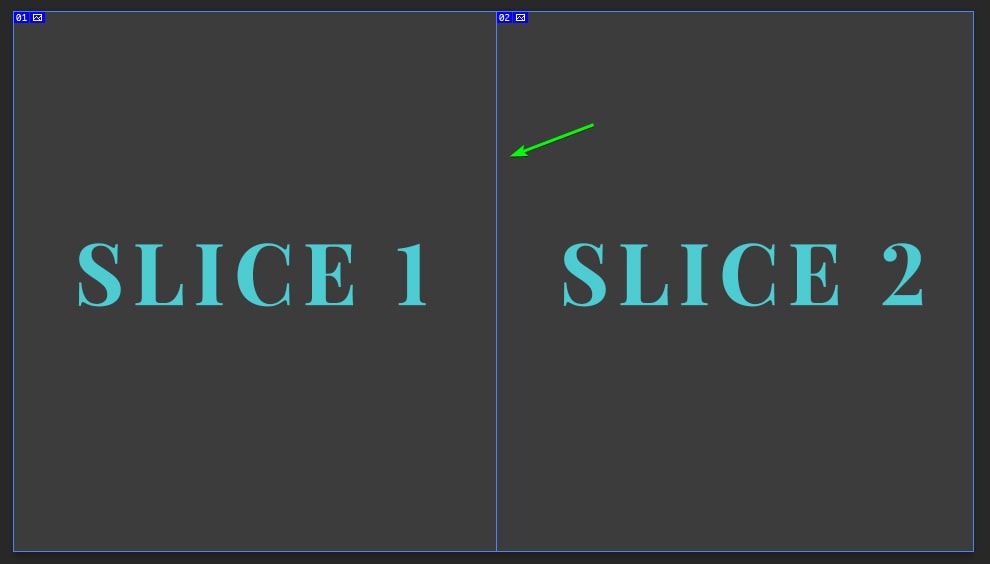
If you want to split up an image or a design without cropping the image, you can non-destructively cut up the image with the Slice Tool. This technique allows you to separate parts of an image while still uploading the picture to the web as a whole.
When using the Slice Tool and its companion tool — the Slice Select Tool — you will need to understand the settings and a few tricks to perfect your slicing.
What Is The Slice Tool In Photoshop?
The Slice Tool in Photoshop is a knife-like tool that non-destructively cuts an image or document into smaller pieces in the shape of a rectangle or square. The tool doesn’t actually cut up the image but tells the program where to cut the image when exporting to save pieces of the project separately from each other.
Photoshop automatically generates the HTML or CSS code needed to display the photo as a whole on a webpage. However, since the designated parts of the image are separated, you can assign different URLs to the pieces for page navigation or optimize each piece using different settings.
The Slice Tool is also useful for sectioning off an area of an image to be used on the mobile version of a website, while the desktop version displays the entire graphic.
How To Access The Slice Tools In Photoshop
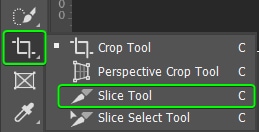
The Slice Tool is one of the hidden tools underneath the Crop and Slice Tools group. To access the Slice Tool, click and hold on the Crop Tool icon in the Toolbar. When the fly-out menu appears, you can access the Slice Tool. You can also press C to access the tool quickly.
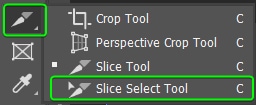
You will often need to use the Slice Select Tool as well for your project, which you can access directly underneath the Slice Tool or hold in Shift while pressing C to toggle through the tools. You can temporarily access the tool by holding Control (Win) or Command (Mac) while the Slice Tool is active.
The Slice Tool Vs The Slice Select Tool
The function of the Slice Tool is to create the actual slices on your document to separate the elements you need. You can use the tool to make custom-sized rectangles or squares or add set-sized slices to the document.
The Slice Select Tool organizes the slices you have added to your project. You can move a slice, adjust the layer order of a slice, convert the type of slice on the document, or further divide an existing slice using this tool.
Slice Tool Settings Explained
Once the Slice Tool is active, there are a few settings you can adjust in the Options bar to use the tool to your advantage.

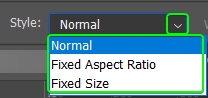
The first option is the Slice Style. By clicking on the drop-down menu next to Style, you can choose between Normal, Fixed Aspect Ratio, or Fixed Size.
- The Normal option lets you create custom-sized slices. You can make the slice box as large or small as you want.
- The Fixed Aspect Ratio option limits the slice you make to the predefined ratio you set. This option is helpful if you need a specific ratio for each segment you upload to a website.
- The Fixed Size option restricts the slice you add to the specific size you set. This option is also necessary when you have a set size you need to upload the image or segments.
Once you choose the Fixed Aspect Ratio option, you can add the aspect ratio you want in the width and height boxes. For example, add 1 in each box to create a square slice on the document.

When you select the Fixed Size Style option, you can add pixel values into the width and height boxes. The slice is created at your specified size when you click on the document.

Lastly, you can add guides to your document using the Rulers at the top and left of the document. When you click and drag out from a ruler, you can add a removable guide on the page, indicated by a blue line.
If you’ve placed your guide(s) where you need the slice(s), click the Slice From Guides button in the Options bar to generate the slices automatically according to the guides.

Slice Select Tool Settings Explained
Once you have created slices on your document, you can access the Slice Select Tool to re-organize the slices. Once you activate this tool, you can change various settings in the Options bar to customize the tool.

The first options for the Slice Select Tool are to change the stacking order. When you create overlapping guides, the last guide you created is placed on the top of the stack. To access a guide at the bottom or change the order, use the four icons in the Options bar.
From left to right, the icons represent, Bring To Front, Bring Forward, Send Backward, and Send To Back.

The next option allows you to change the type of slice you have on the document. When you add a slice to the document, it’s known as a user slice. Photoshop then generates automatic slices to include the rest of the image.
The auto slices, shown by a dotted line, are limited in how you can edit them. To change an auto slice to a user slice, use the Promote button.

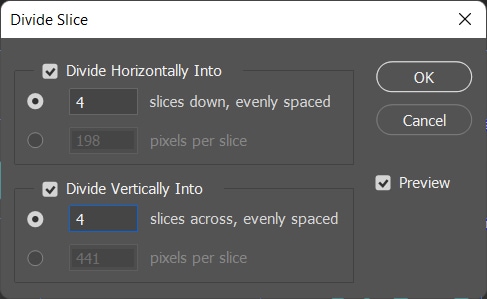
You can also divide an existing slice into evenly spaced slices. This feature helps create tables using slices. Click on Divide to split up the slices.

The Divide Slice dialog box opens, allowing you to add in how many slices you want or the size of the slices.
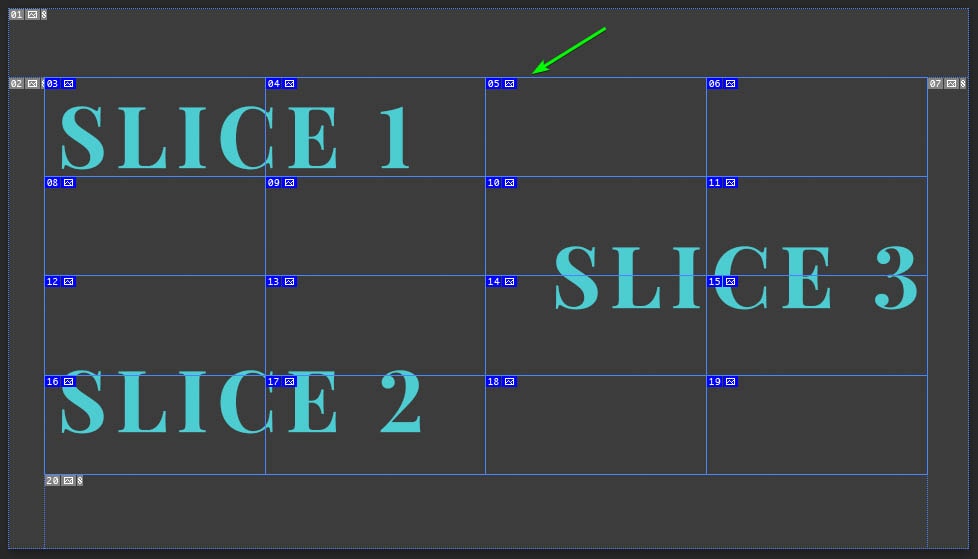
Inside the original slice, rows and columns appear according to the settings I chose.
If you select multiple slices at once by holding in Shift and selecting them, you can align and distribute them using the next few icons in the Options bar.

You can toggle the auto guides on and off using the Hide Auto Slices option.

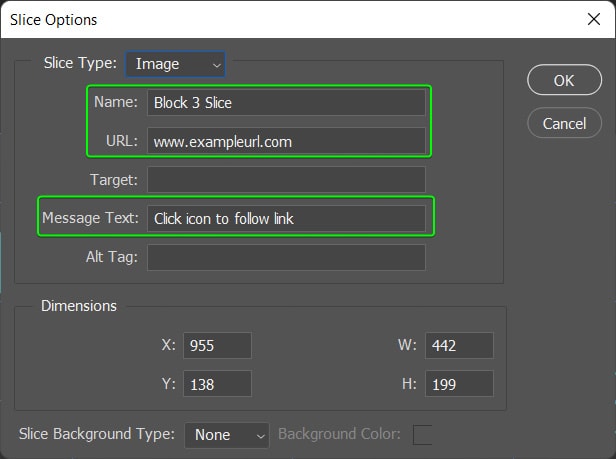
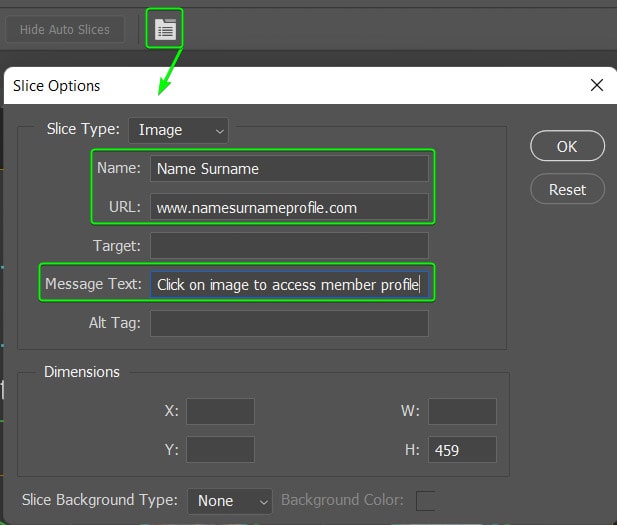
Lastly, you can change the options for a slice using the last icon in the Options bar. When you click the icon, a dialog box opens. You can also access these options by double-clicking on a slice.

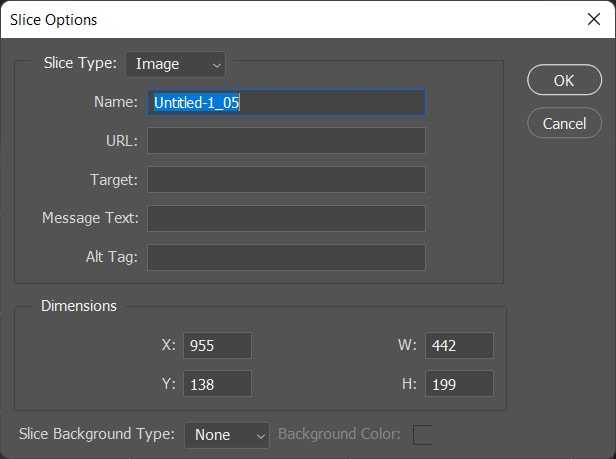
You can set a few options in this window, such as the name of the slice, for better organization when you save multiple slices. You can add the URL where you want the slice to lead users when they click on that area of the image. You can also add a message which appears in the browser status bar when a user hovers over that area of the picture.
How To Use The Slice Tool In Photoshop
You can use the Slice Tool on a project you have created in Photoshop using multiple layers. You can also slice an image or a PDF of a layout you created in another program, such as InDesign.
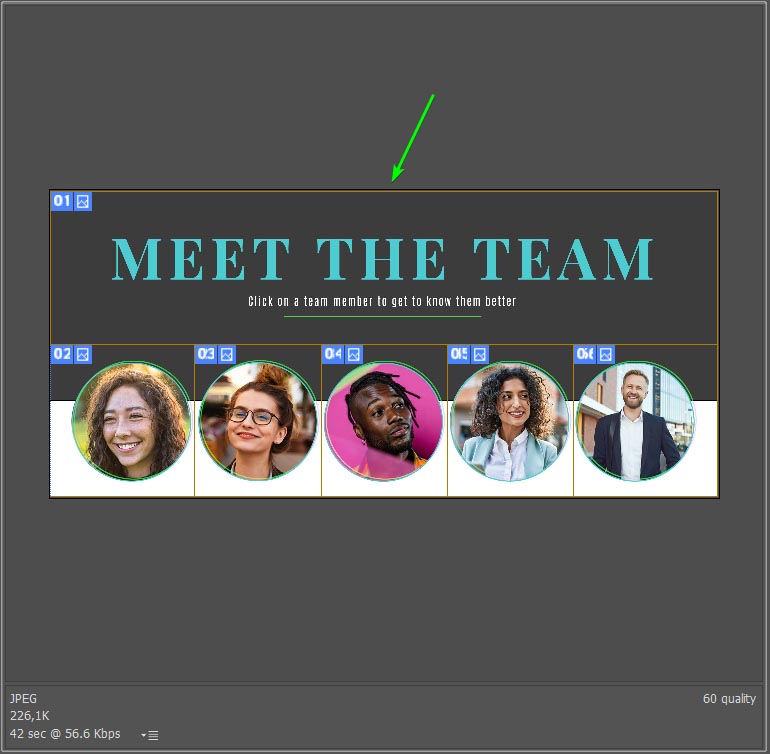
In my case, I have created a layout to go onto a website. The design consists of team members, and the goal is to have separate links for each team member so that when a user clicks on a member, they are redirected to that person’s profile page. I need to create slices around each person’s picture to achieve this.

To start adding slices, select the Slice Tool (C).
I want to create blocks around each team member to be able to align them nicely when uploading to the website. Since the width of the boxes on the edges won’t equal the rest, I’ll keep the Slice Style at Normal, so I can create custom-sized slices.

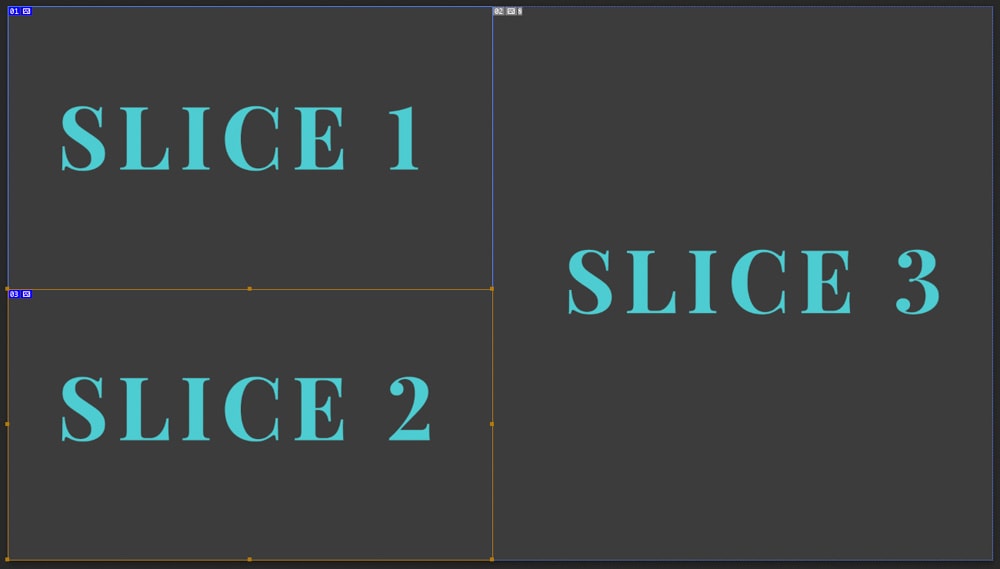
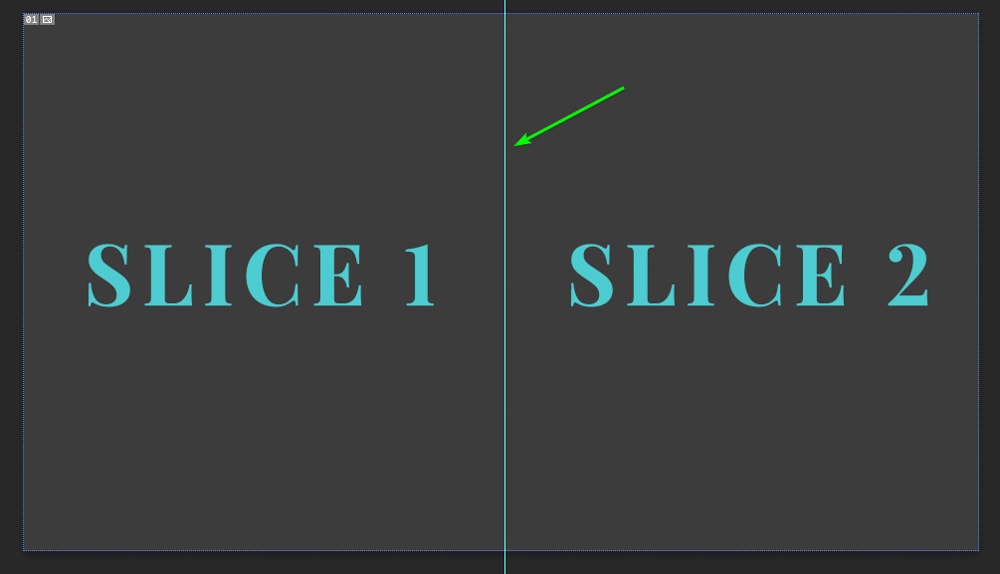
Then, click and drag on the page to create the first slice. Here I drew a slice around the first person. I made the box reach the edges of the page to prevent small auto slices on the edges. A solid orange border shows the new slice.

Photoshop adds auto guides for the rest of the page, shown by dotted blue lines.

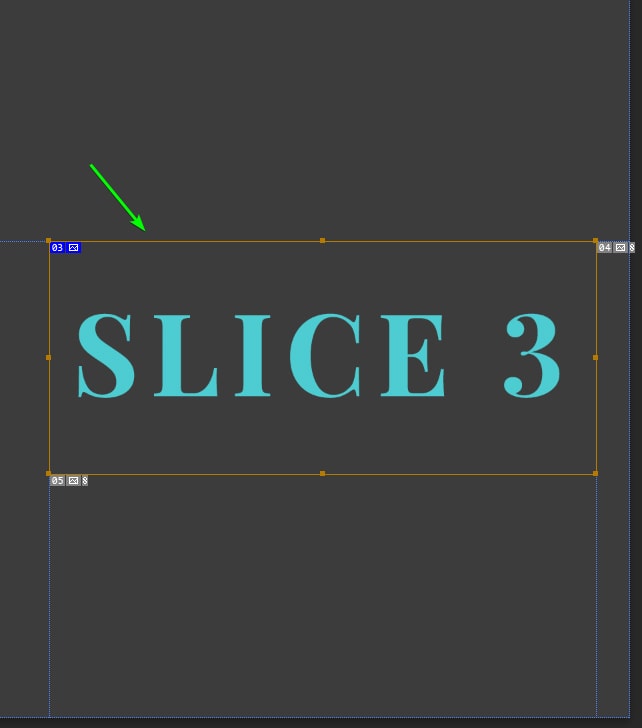
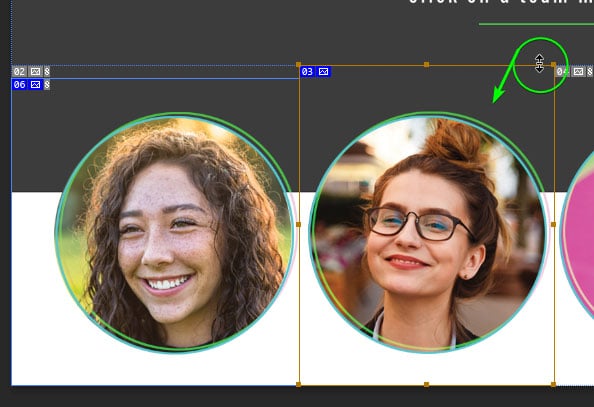
To add another slice, just click and drag again over the next area. It’s okay if your slice doesn’t line up perfectly when you create it.

To correct the Slice, hold Control (Win) or Command (Mac) to activate the Slice Select Tool temporarily. You can then click in the slice to reposition it or hover over the edges until a double-arrow appears, and then click to resize it by dragging it inwards or outwards.
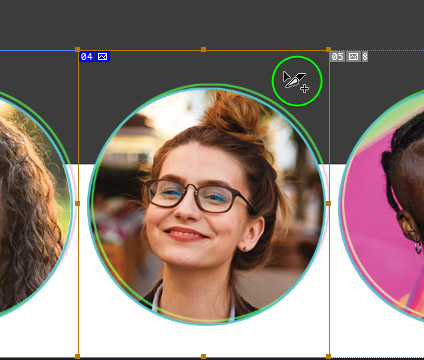
If you want to copy a slice, as I do for the following two people since the sizes I need are the same, hold in Alt (Win) or Option (Mac) and click inside the slice when the plus sign appears next to the Slice icon, then drag the copied slice to the new area. Let go of Alt/Option when it’s in place.
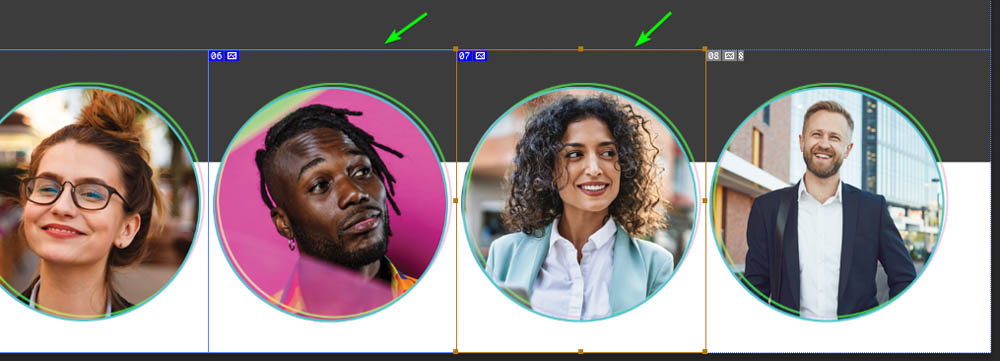
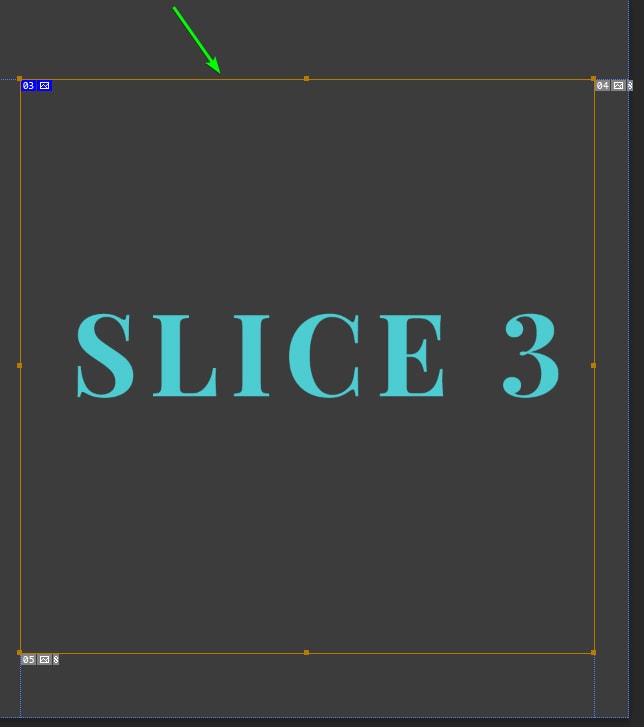
You can create slices for the last person and the top half of the image, but Photoshop has already sectioned off these two areas based on the guides you’ve added, as shown by the blue-dotted lines.

To ensure all the slices work correctly, you can change the auto slices to user slices. To do this, select the Slice Select Tool (C).
Then, select the auto slices by holding in Shift and clicking on each slice. The outlines turn orange when they are selected.

Then, click on Promote in the Options bar to convert the slices to user slices.
You can now select each slice individually and set the options for each piece if you want to add the links at this stage. Click the options icon in the Options bar to add any necessary details.
Once you have added the details, you can export the images separately. Be sure to check that your slices cover the entire picture. Photoshop will automatically create a slice for you if you have left areas out.

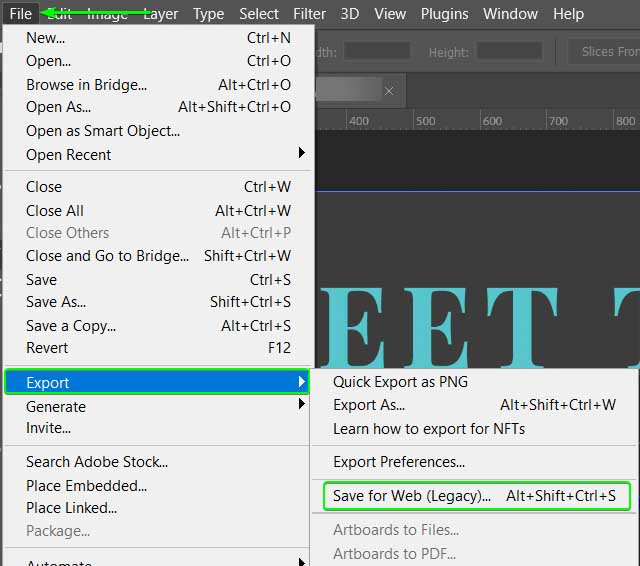
You can now export your slices as separate files. To do this go to File > Export > Save for Web or press Alt + Shift + Control + S (Win) or Option + Shift + Command + S (Mac).
In the Save for Web window, select the file type and change the file size and other settings in the right-hand panel as needed.
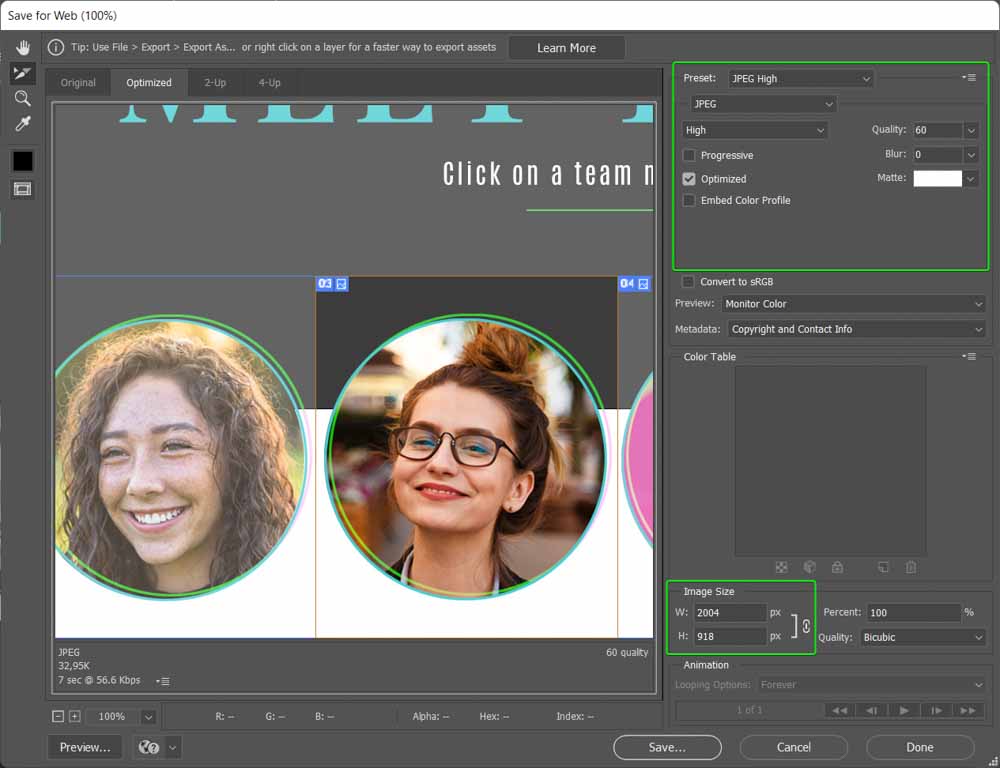
The middle panel displays the various slices; by default, only one slice is selected. To view the entire image zoom out using Control + – (Win) or Command + – (Mac).
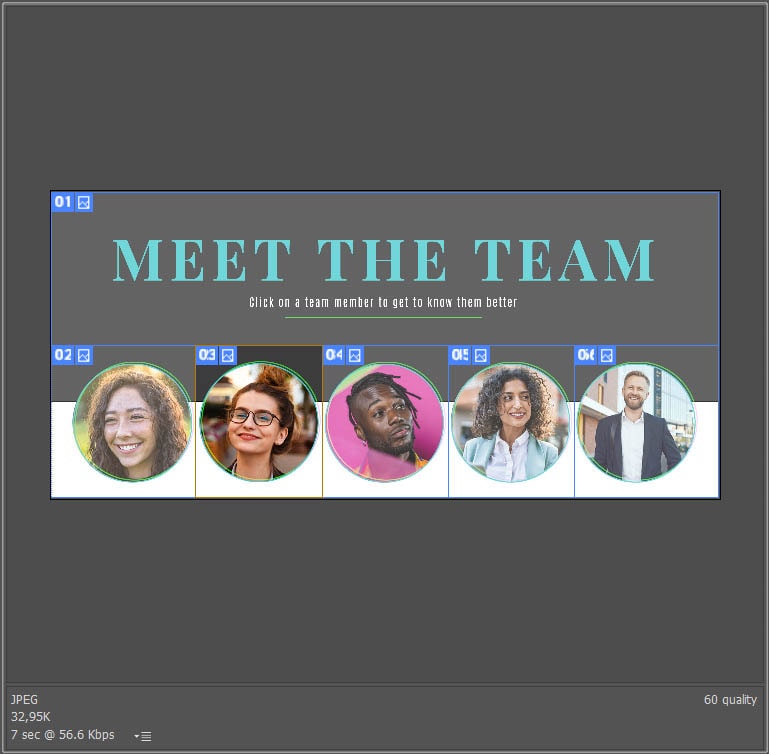
Then, hold the Shift key and select the slices you want to save, or click and drag over the entire image to select them all. When all the slices are in full color, and the lines are orange, you have selected them all.
Once the slices are selected, click on Save at the bottom of the window.

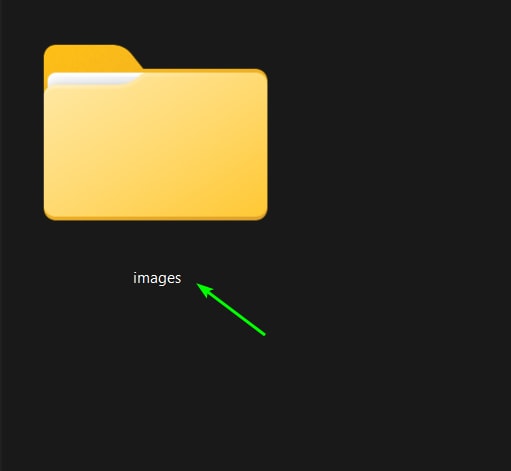
You can now use your device’s explorer or finder to save the files where you’d like to save them. Photoshop always saves the files in a folder named “images.” If you already have a folder named “images” in the destination you choose to save them, the pictures will be added to that folder; otherwise, Photoshop creates a new folder.
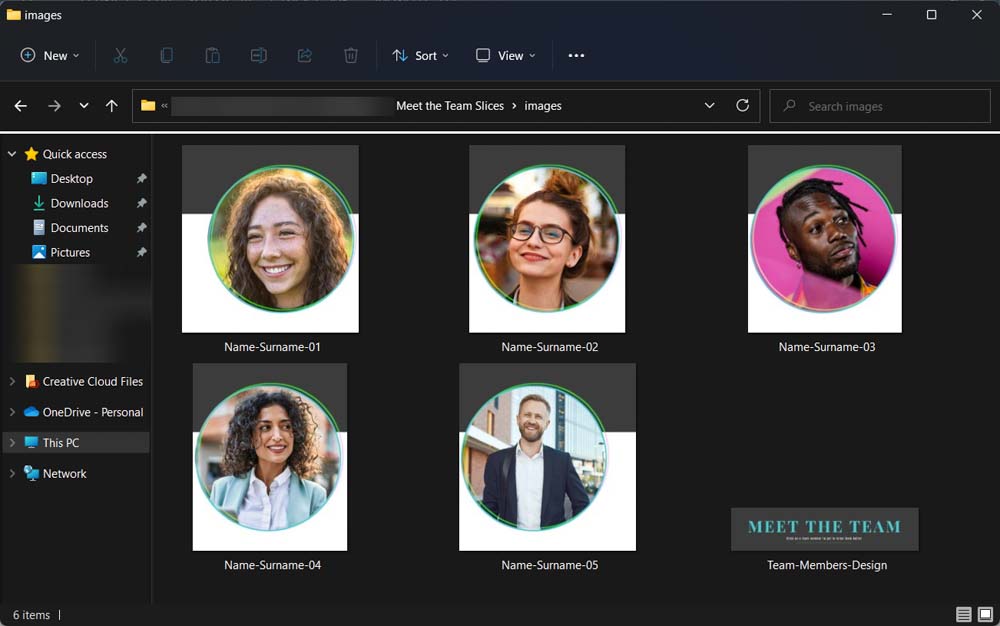
Your slices are saved inside the images folder as separate files. You can now upload them to a website or app as needed.
Happy Slicing!
