
It’s always a good idea to get in the habit of saving your work regularly while working in Photoshop. Photoshop’s save settings can help you ensure you’re saving your image with the best possible settings for export, printing and displaying your image, or continuing to work on it later.
Because there are a variety of different formats you can save an image in, it is useful to know which file formats work best for which types of projects.
But, if you’re in a rush, here’s the easiest way to save an image in Photoshop:
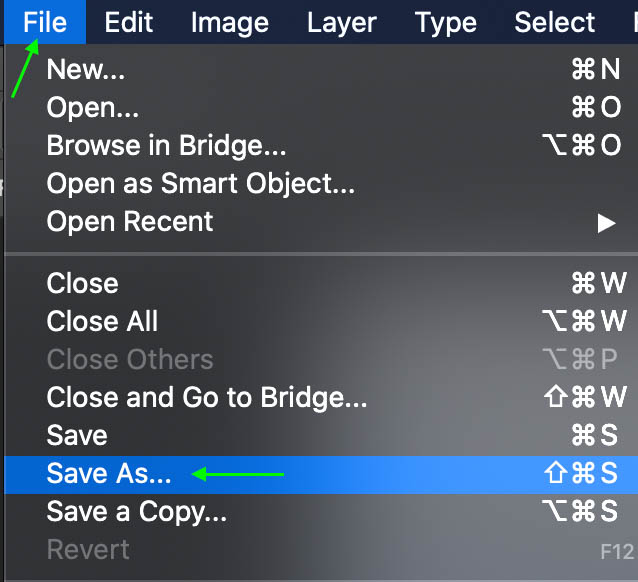
- Go to File > Save As
- Click the Format Menu and choose your desired format
- Give your file a name to export with
- Choose the export location on your computer
- Click Save to export the image
Now let’s get into this process more in-depth!
How To Quickly Save An Image In Any Format
The fastest way to save an image is to head to File > Save. This menu path automatically saves the file in its current format. If the file hasn’t been saved before, this action opens the Save As window. Don’t worry about the differences between the save options, such as Save As and Save a Copy, as we will go over the differences further down.
You will find a few options when the Save As window opens.
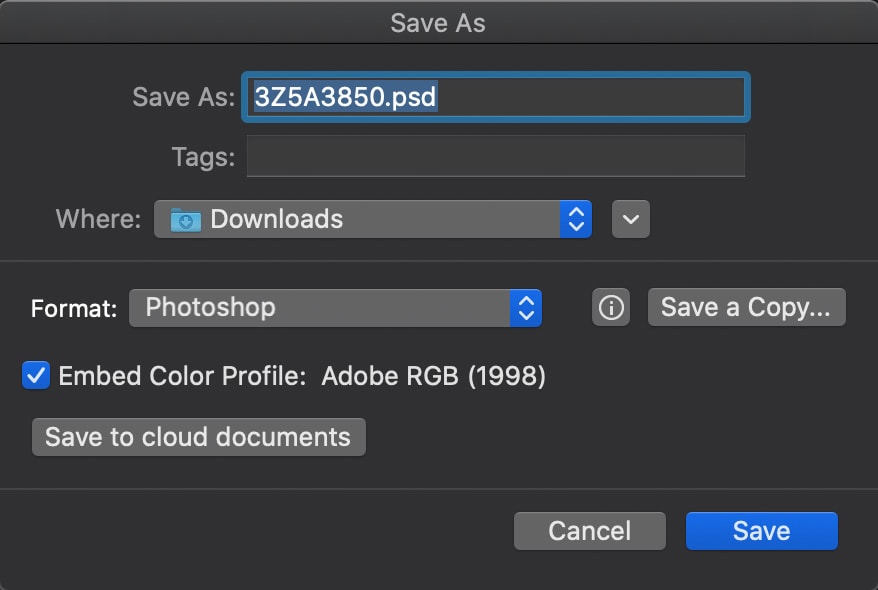
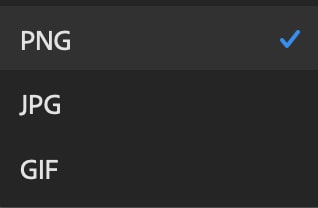
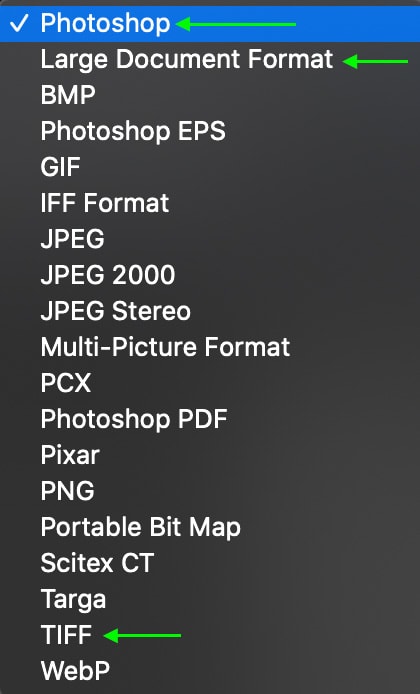
In this window, you can click the drop-down arrow next to Format to select the file format in which you’d like to save the image.

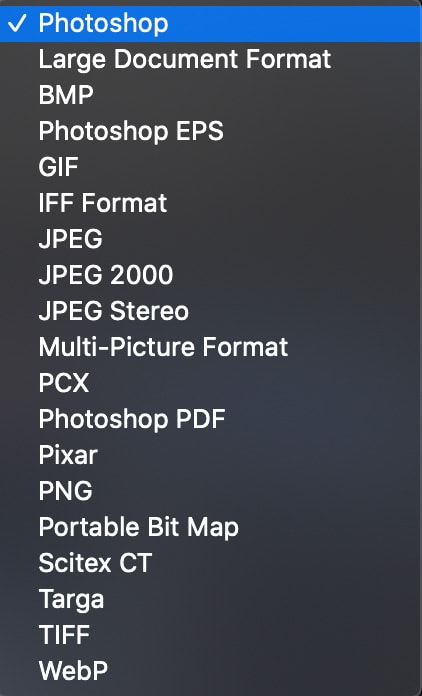
There are many different options, but no need to get overwhelmed. It helps to know which file format would be best for your situation. Here is a quick list of the most commonly used file formats and what they’re best used for.
- Photoshop (PSD) is Photoshop’s own file format and will keep the layers in your project. And is the best file format if you’re planning on reopening your file in Photoshop and continuing to work on it. PSD files save up to 2GB of data.
- Large Document Format (PSB) is identical to the PSD file format, except that it saves projects that are more than 2GB.
- JPEG is the best file format for use online, though it will flatten any layers, so it might be best to utilize the Save as Copy option if you’re converting into a Jpeg so that you still maintain a copy of your image with layers.
- PNG is the best file format for use online if you’re trying to keep any transparent areas of your image, like a deleted background. This format will not retain layers.
- TIFF is another file format that will retain the layers in your project. It is also a suitable file format to use for commercial printing.
Once you’ve selected the file format you’d like to use, you can name your file and select a destination folder where you’d like the file to live once saved.
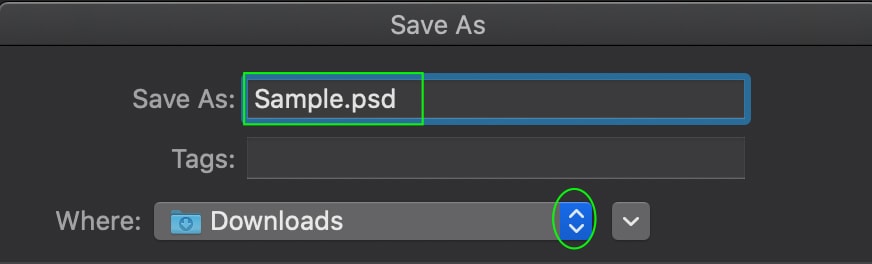
Click Save when you’re done.
How To Export An Image With Transparency In Photoshop
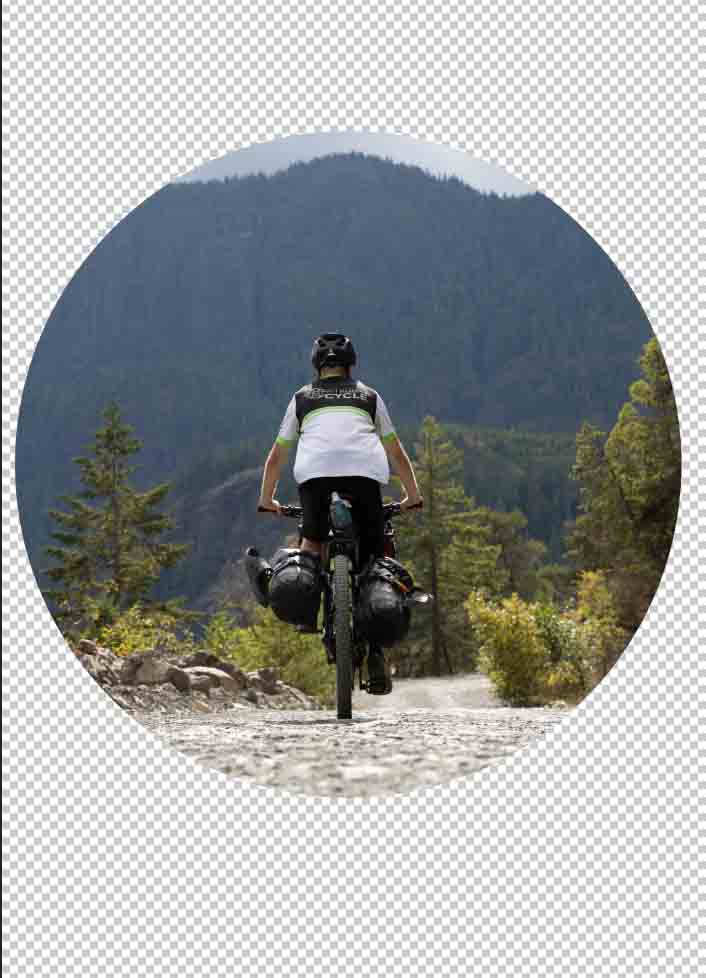
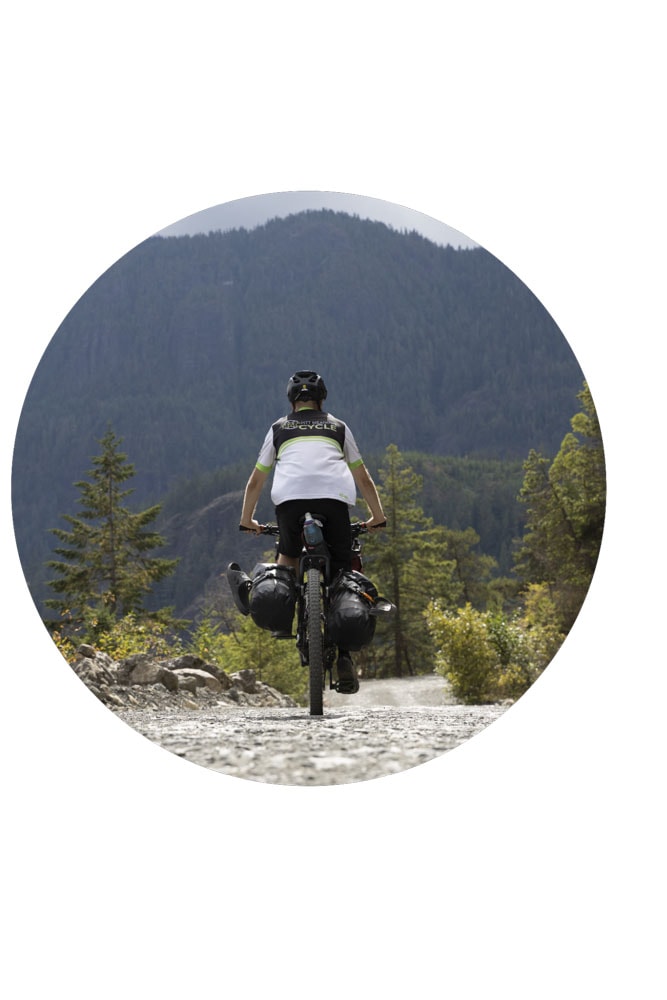
In some cases, you may have transparent areas of your project or image, and you’d like to export them. Any transparent parts of your project will appear as a gray and white checkered pattern while you’re working in Photoshop, like in the area around the circle below.
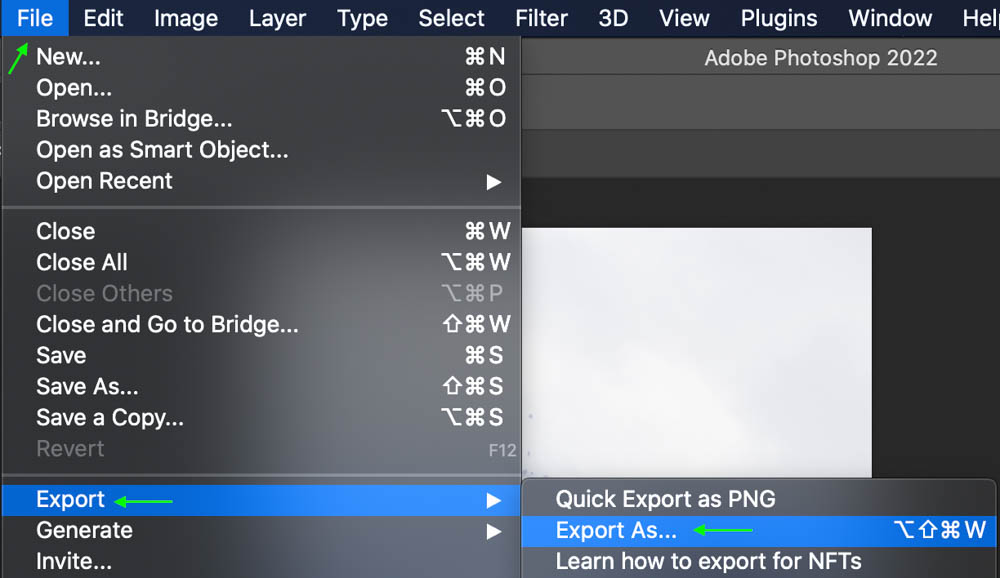
You can save a project and maintain transparent sections by heading to File > Export > Export as.
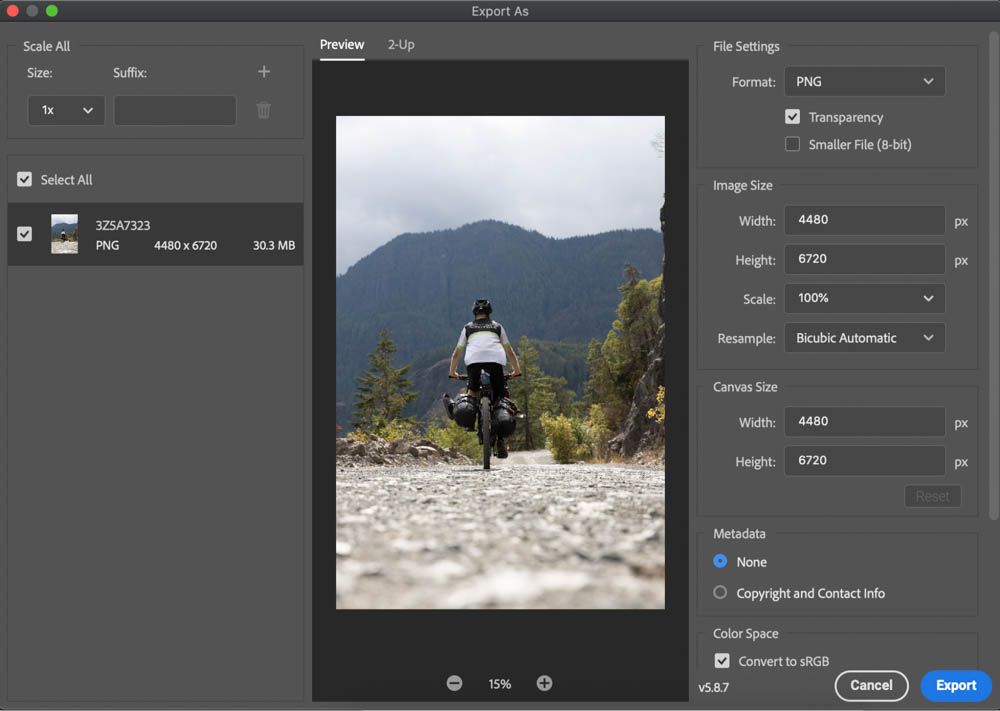
In the Export As window, you’ll need to set a location and a name and finally make sure the file format is set to PNG. This file format allows any transparent pixels to remain that way upon export (rather than changing them to a white background). Click the drop-down menu for file format and select PNG.
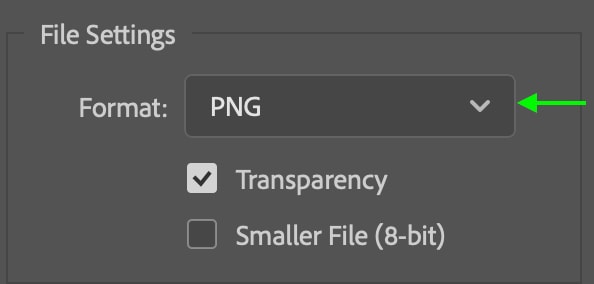
Then, make sure the Transparency box is checked.

Once you’ve done that, you can click Export, and the image will save as a PNG to the location you’ve set.

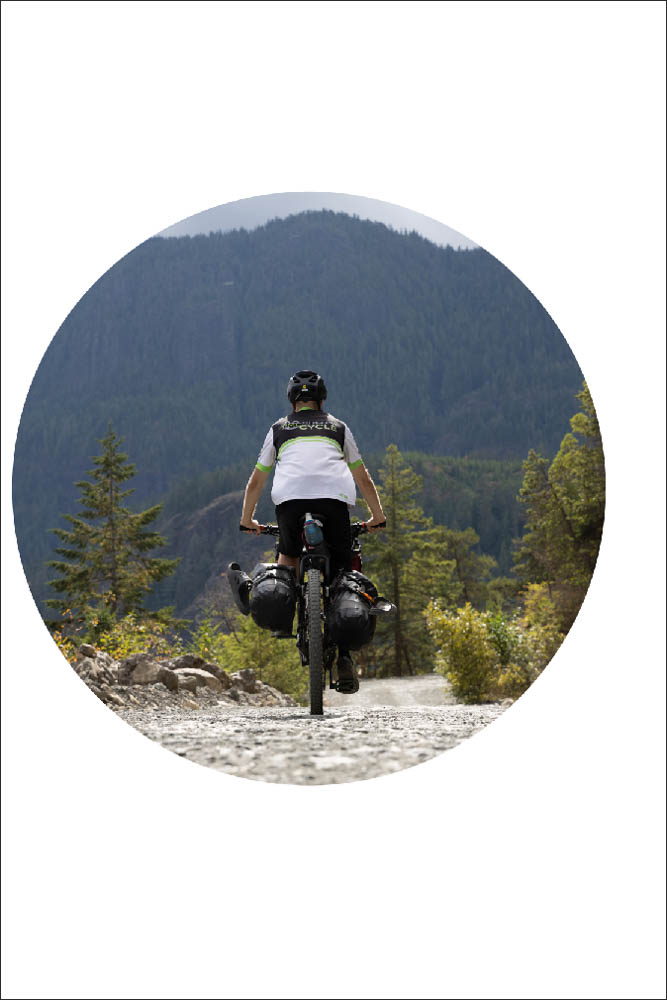
You’ll see the image with the transparent areas.
Make sure you don’t export the image as a JPEG because it will not maintain the transparent areas of the image. And instead, a white background is added to the image.
Once you save an image, it’s not always easy to check if you saved it as a PNG or as a JPEG by accident. However, when you place the image on another project, you will see whether it is saved with a transparent background to not. Take this graphic of a cat with the background removed. I saved it as a JPEG and a PNG and placed it on a colored background in Photoshop.
You will notice that the JPEG version automatically added a white background, whereas the PNG version has a transparent background as I wanted.


How To Save As A High-Resolution JPEG In Photoshop
While selecting JPEG as the file format in a save window will give you good enough resolution for most online uses, there may be situations in which you need to save a high-resolution JPEG image.
You can access these settings not in the Save window but in the Export window, which you can access by heading to File > Export > Export As.
This opens the Export As window.
When the window appears, click the drop-down arrow next to Format to set the file format to JPG.

Next, you can set the quality to High by dragging the toggle next to Quality.

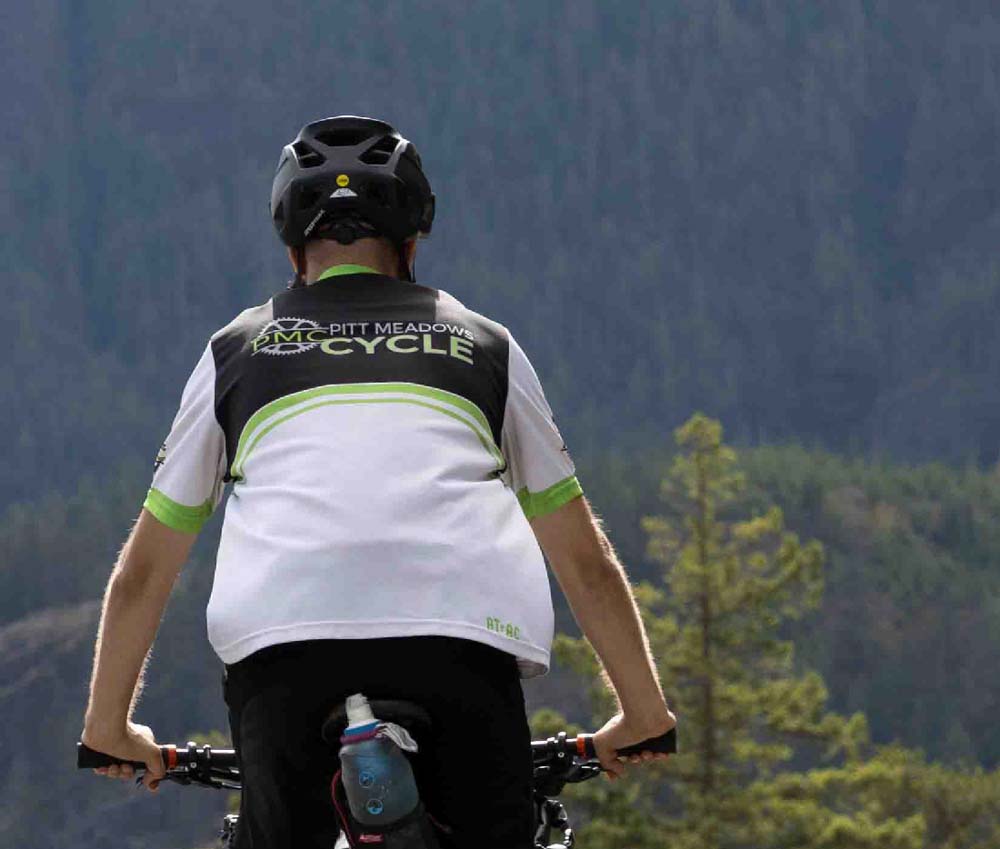
This toggle will affect the quality of the image, as you can see in the below comparison of an image with the toggle set to the lowest quality:
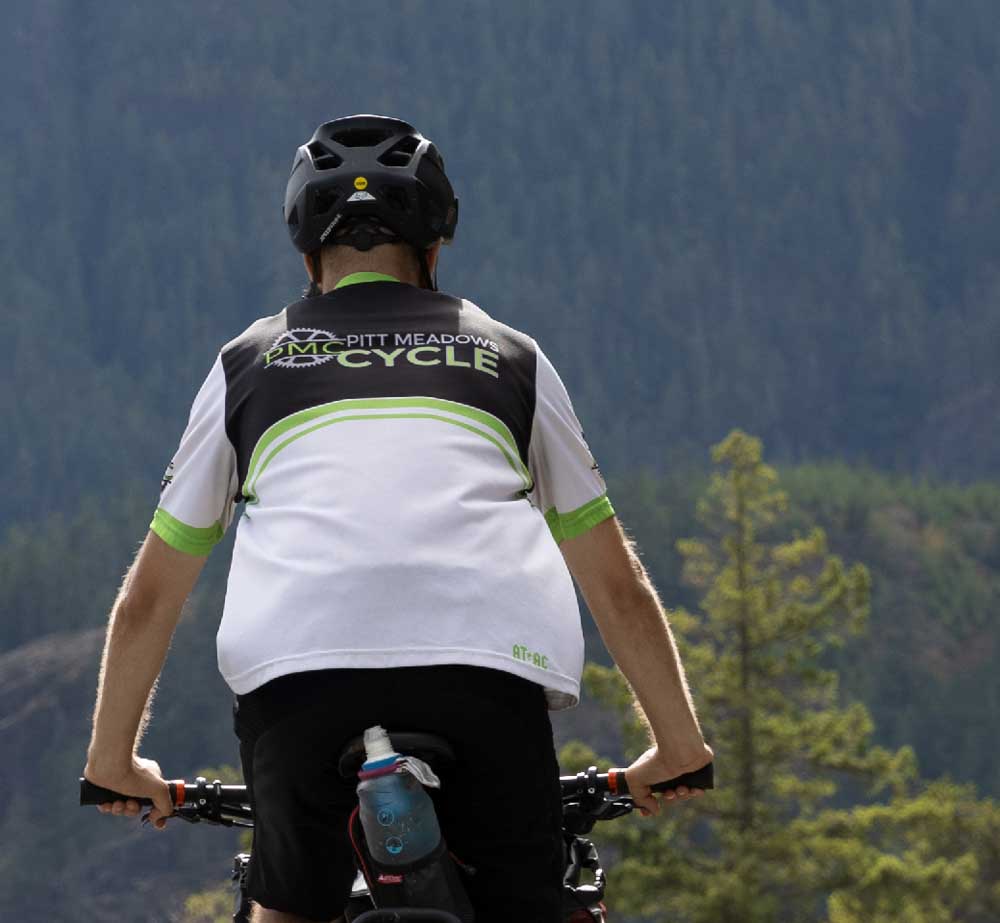
Compare it with the same image with the toggle set to the highest quality, and you can see the difference, particularly in the color noise and pixelation in the background.
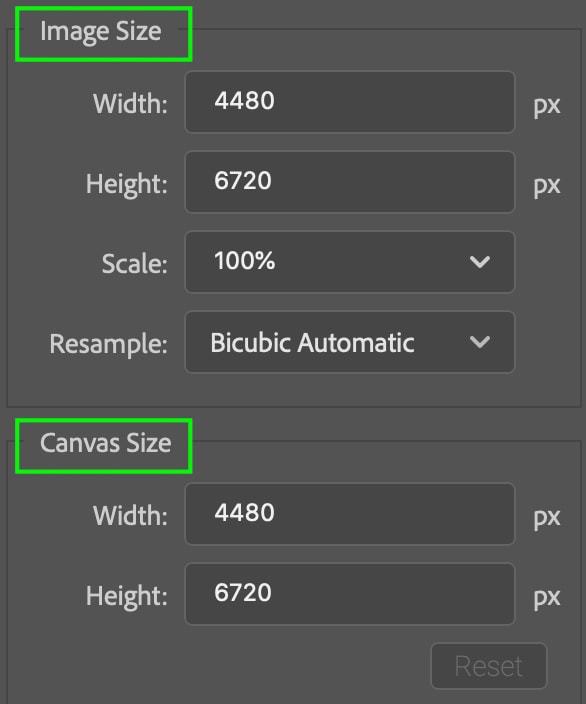
At this point, you can also edit the Width and Height of both the Image Size and the Canvas Size, though this is completely optional. Editing the Image Size will increase or decrease the size of the image itself, while editing the Canvas Size will change the size of the space the image sits on top of, thus either adding empty space around the image or cropping it.
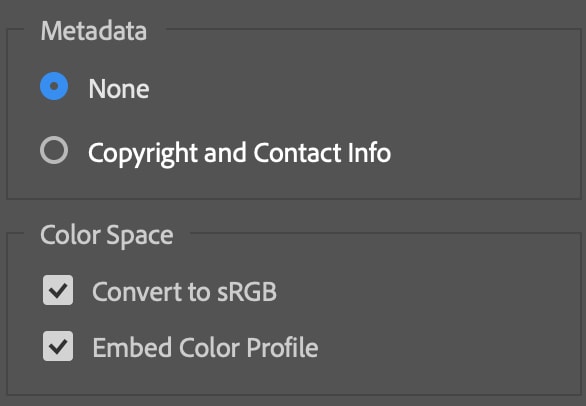
You can select whether or not you’d like your image saved with Copyright Info under the Metadata section.
Then, check the box next to Convert to sRGB if you want to save the image in RGB format, which is great for web and digital screens. I recommend always checking the box next to Embed Color Profile, as this option saves the color profile in the metadata of the image. Embedding the color profile reduces the chances of another app or program misinterpreting the colors of your graphic or image.
How To Save An Image With Layers In Photoshop
Sometimes, you may need to save the project you’re working on with the separate layers maintained and accessible. This is possible with a few file types available upon export. Head to File > Save As.
In the Save As window, click the dropdown for the file format and select either TIFF, PSD, or large doc format (PSB), whichever best suits your needs.
These formats allow the layers to remain separate when you reopen the project in Photoshop. You can head to the Layers panel upon reopening the file and see your layers visible there.
How To Save An Image To Edit Later In Photoshop
Sometimes, you may want to save a project you’re working on in Photoshop to open it back up later and keep working on it. You can head to File > Save As and select the Photoshop file format (PSD) or TIFF format for this.
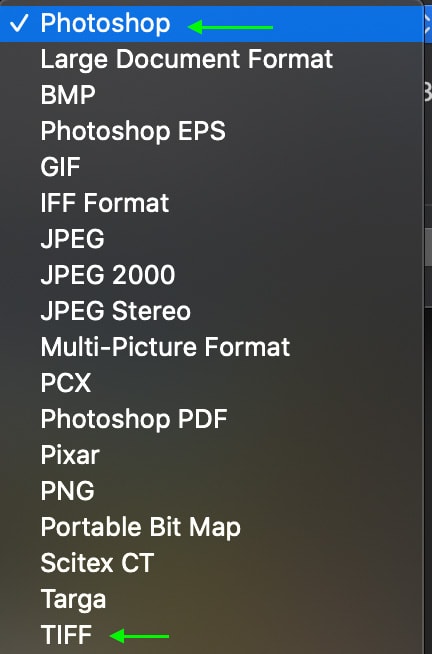
PSD is Photoshop’s own file format and allows you to open the project again in Photoshop whenever you need to keep working. All of the edits and layers will be maintained when the project is reopened. The TIFF file format also maintains all the layers but is more often used for images that may also need to be imported elsewhere or printed, as PSD files won’t be compatible with printing or with many other devices or programs.
The Difference Between Save, Save As, and Save A Copy In Photoshop
When you head to File in the Menu bar, you’ll notice you have a few different options to save your project: Save, Save As, and Save A Copy.
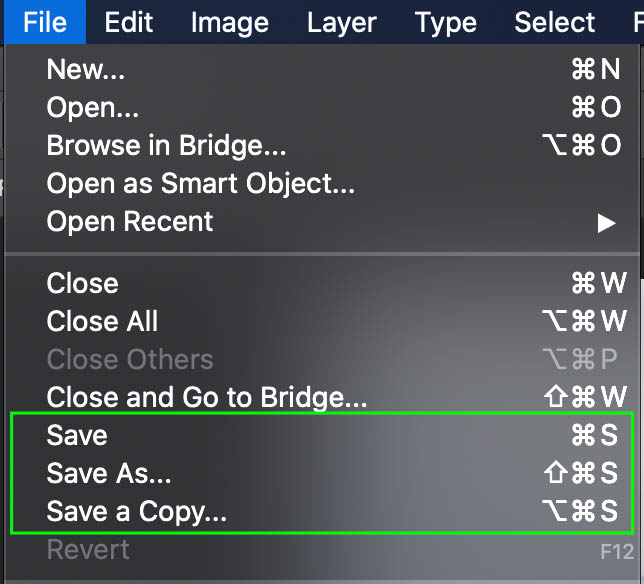
The only difference between these options is that Save a Copy saves the document under a new name, but the original stays open for editing, not the new one. Save As will save the document under a new name, and the old file you were working on stays open for editing.
Where Does Photoshop Save Your Files?
When you save your files in Photoshop, you may wonder where exactly the files are saved. This depends on a few things: which file format you select and where you set the file’s destination folder.
If you set the image file format as one of Photoshop’s own files, you’ll likely see the image when opening Photoshop, as it will have been saved in the cloud. You can also set the location of the saved file in the Save As window by clicking the drop-down and selecting a location within your files.

Happy Editing!


