
Outlined text is great for posters, flyers, and other marketing materials, and in Photoshop, it’s super easy to make. Creating this text adds a creative flair to your projects as the text can be placed over other images while the center remains transparent for the background to show through.
In this tutorial, you’ll learn two different ways to outline text both with and without transparent centers. That way you have as many stylization options as possible!
How To Create Outline Text In Photoshop
There are three methods of creating outlined text in Photoshop, each with its own pros and cons. Let’s start with one of my favorites which uses layer styles.
Option 1: Using Layer Styles
With Layer styles, you can apply several effects to your layers, such as gradient overlays, drop shadows, and, of course, outline text effects!
The advantage of using Layer Styles to apply effects to your layers is that the text isn’t converted to something else during the process. Thus, when you create an outline text effect using Layer styles, you can still edit the text later on if you want to change the text or fix up any errors.
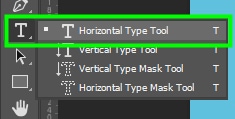
To create an outline text using Layer Styles, you have to follow some simple steps. First, create your text, by selecting the Text tool from the toolbar (T).
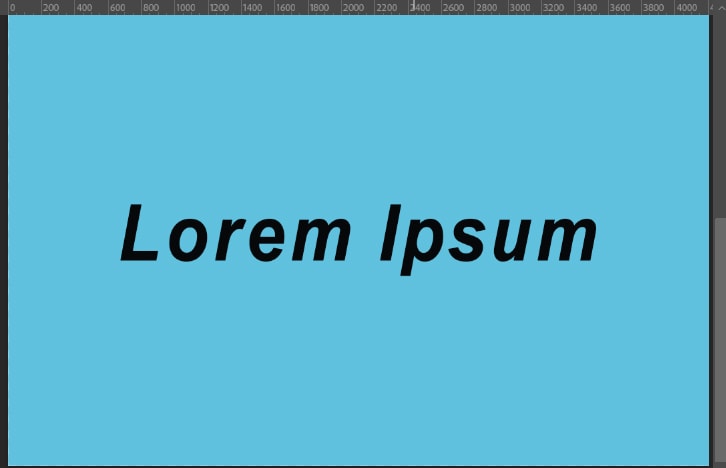
Then, type your text on the canvas.
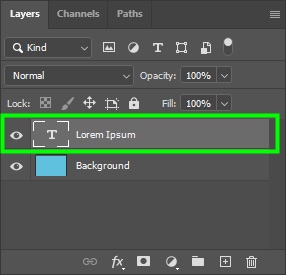
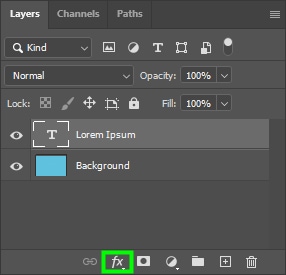
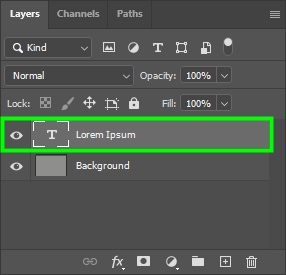
Next, go to the Layers panel and select the text layer.
Then, click the fx button at the bottom of the Layers panel.
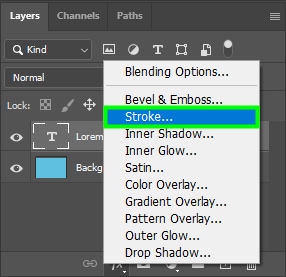
Next, choose Stroke from the flyout menu options. Alternatively, you can double-click on your text layer to open the Layer Style panel and then select Stroke from the menu on the left.
You’ll then see the Layer Style panel where you can access the stroke settings.
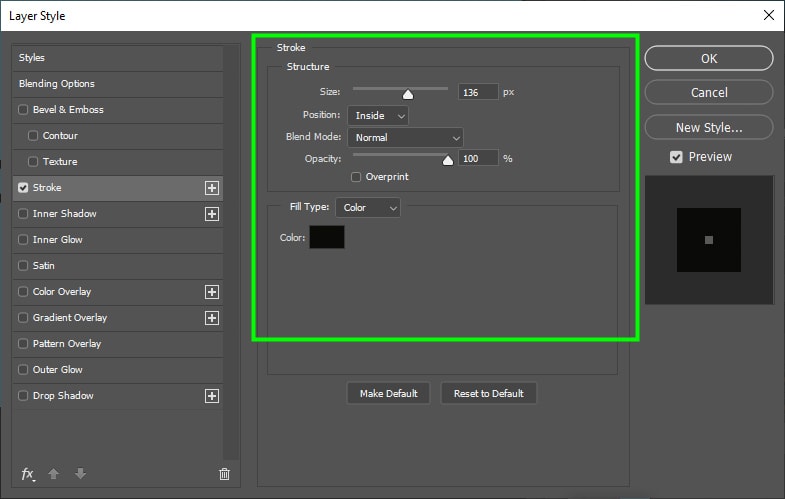
The first thing to alter in the Stroke settings is the stroke size. Move the Size slider to the left to decrease the stroke or to the right to increase it.

Keep in mind that the stroke size is directly related to the Position of the stroke. You can set the stroke position to Outside, Inside, or Center.
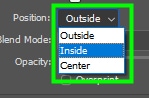
The difference between these options is that Outside places the stroke outside the edge of the text, while Inside places the stroke inside the edge of the text. Finally, Center equally distributes the stroke between the inner and outer parts of the text. For best results, I recommend you set the stroke position to Center.
The Blending Mode option allows you to blend the stroke with other Layers in the Layers panel. There are several blending modes you can choose from, but the blending mode effect does not produce a good result when applied to text stroke. Thus, you should set blending mode to Normal.

For the Opacity option, I recommend leaving it at 100% to give the stroke an opaque look. If you reduce the opacity, your stroke will become more transparent.

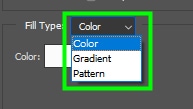
There are three Fill Type options: Color, Gradient, and Pattern.
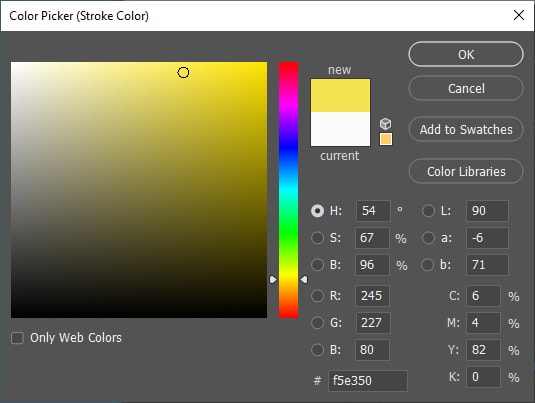
When setting the Fill Type to Color, you can click the color fill (under the fill type option) and open the color picker panel, where you’ll have several color options for your stroke.

You can also set the Fill Type to Gradient and you can personalize the gradient applied to your stroke in many ways.
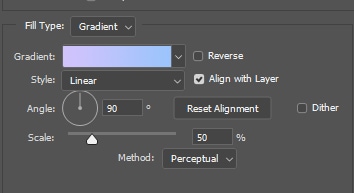
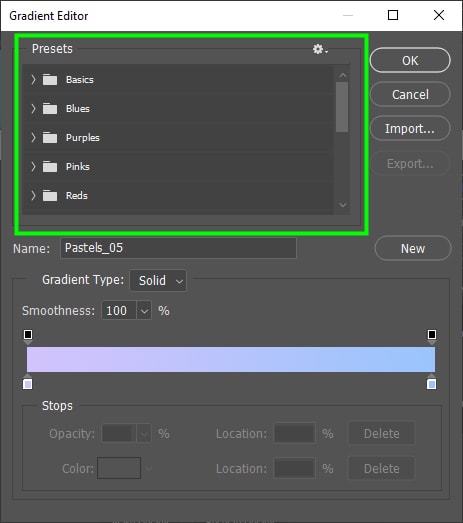
For example, by clicking the gradient box, you can open the Gradient Editor, where you can choose a gradient preset or create a gradient yourself.

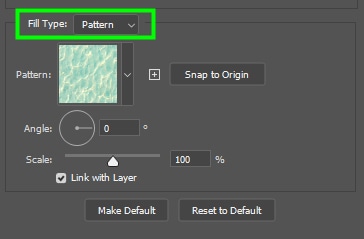
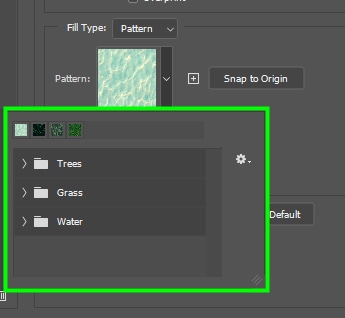
The last option in the Fill Type is Pattern. It allows you to apply a pattern preset, or a custom pattern to your stroke.
After customizing your text stroke, you need to make its inner part transparent. This way, you can finish creating the outline effect.
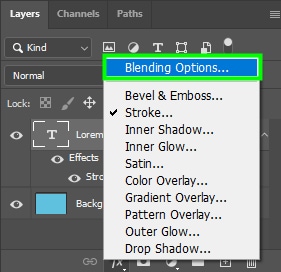
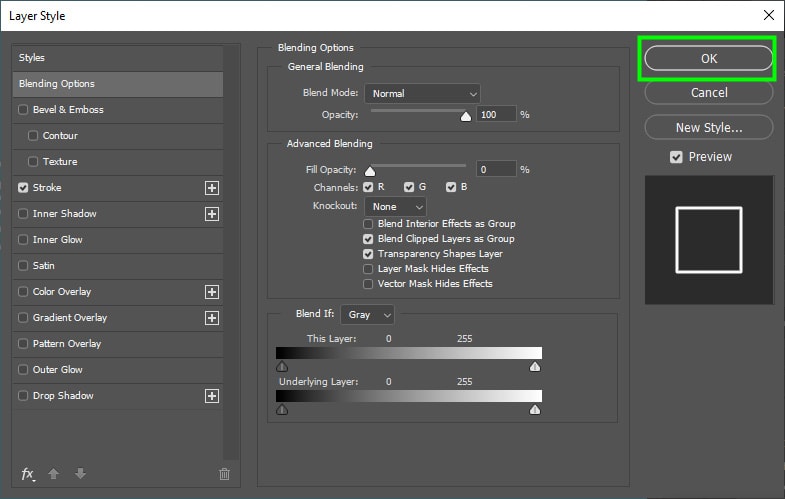
To do this, go to the Layers panel, and click the fx button again. But this time, select Blending Options from the flyout menu.
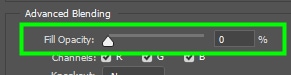
Then, find the Advanced Blending option in the Blending Options settings.
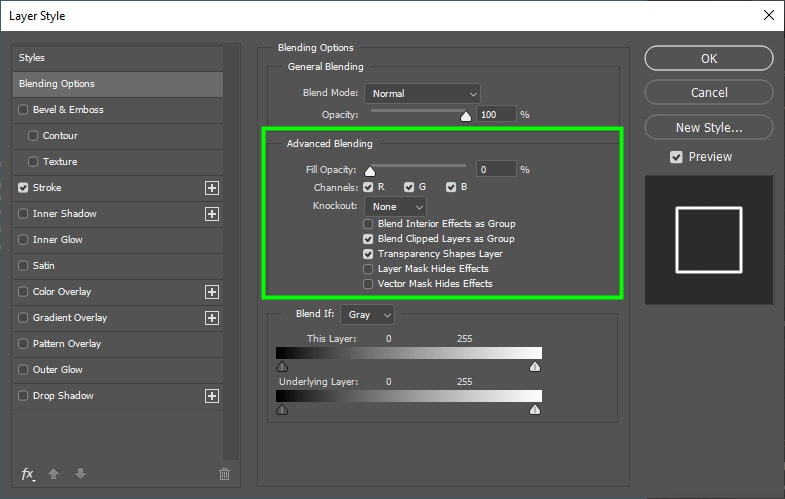
From there, set Fill Opacity to 0%
Lastly, click Ok to confirm the action and close the Layer Styles panel.
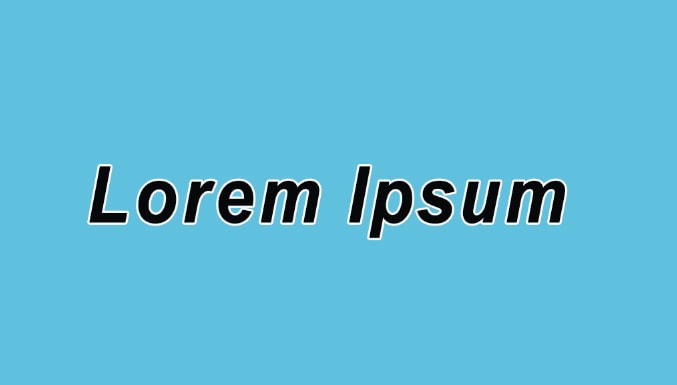
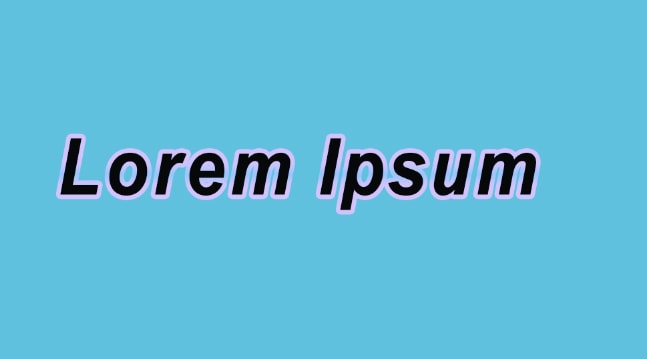
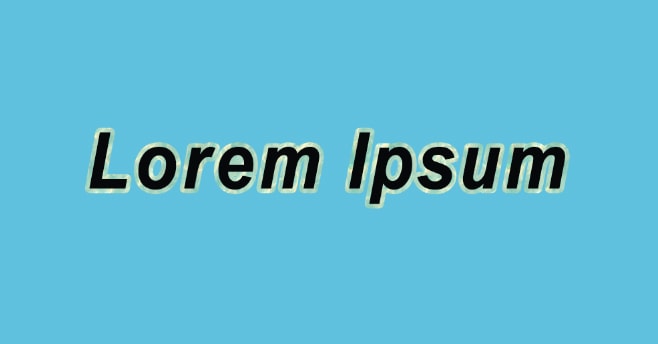
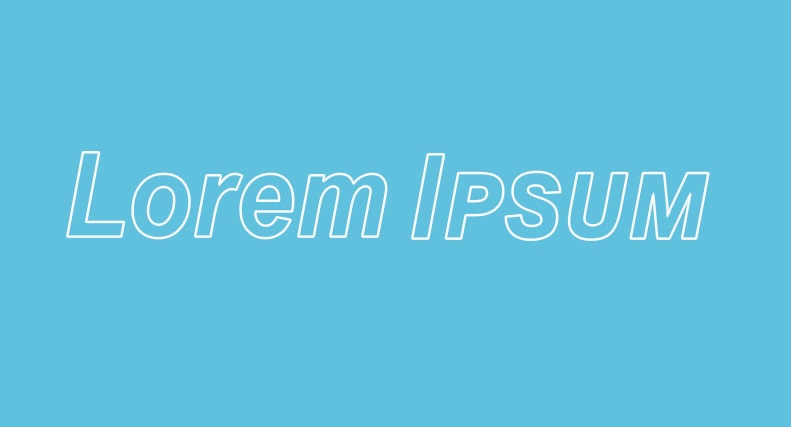
By the end of the process, your text will turn into an outlined text with a transparent center.
The main advantage of this method is that if you enable the text tool again (T) you can still edit your text. That’s because outline texts created with Layer styles are not rasterized, so they still behave as a regular text layer.
Option 2: Converting Your Text Into A Shape Layer
This method allows you to create an outline effect by turning your text into a shape. Keep in mind that you can no longer edit the text after turning your text into a shape. So make sure you have your text exactly how you want it to be before converting it into a shape. This method gives more creative options when altering the outline text.
So here are the steps you need to follow. First, write your text on the canvas.

Then, go to the Layers panel and select the text layer.
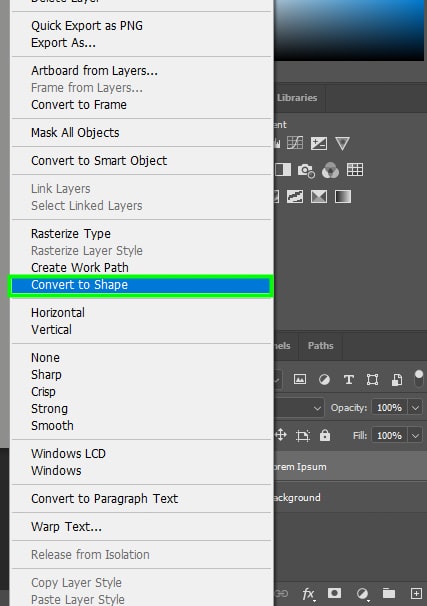
Next, right-click the text layer and choose Convert To Shape.
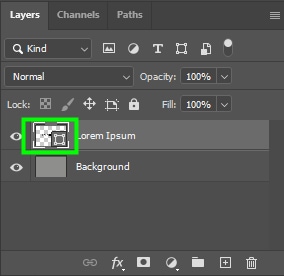
Your text will now be successfully converted into a shape, and you will see a shape icon next to the text thumbnail in the Layers panel.
After that, go to the toolbar and select the Shape tool (U).

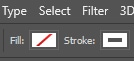
Then, go to the Options bar and set the Fill to transparent and the Stroke to a solid color.
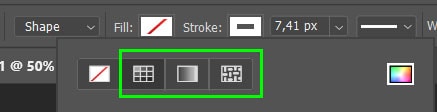
You can adjust the Stroke settings using the icons in the Stroke settings panel, which are in order as Solid Color, Gradient, or Pattern, to add creative effects to the outline.
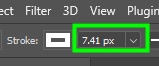
You can change the Stroke Width in the Options bar as well.
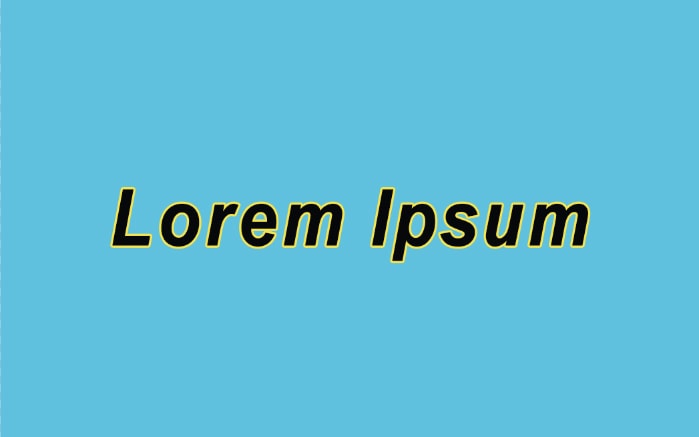
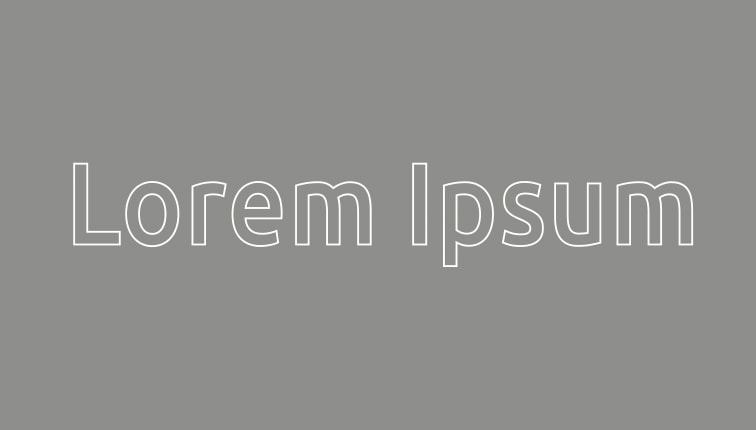
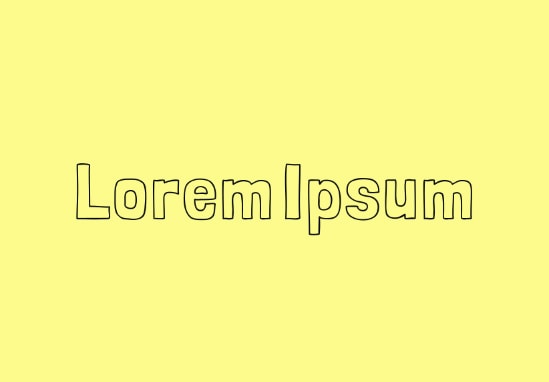
After following the above steps, your text will be successfully turned into an outline text.
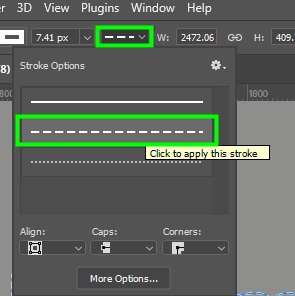
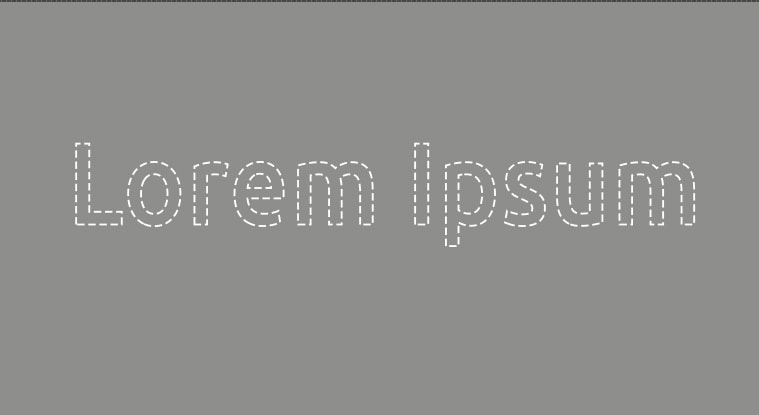
You can further personalize your outline text by turning its stroke into dotted or dashed lines. These options are also found in the Options bar.

Option 3: Use An Outlined Font
As seen in the previous sections, creating outline text is very easy. But, as we sometimes don’t have time to create our fonts, we need to have as many fonts as possible saved on our computers. You save them now and they save you later!
So if you don’t want to create an outline font from scratch, you can simply download a free outline font.
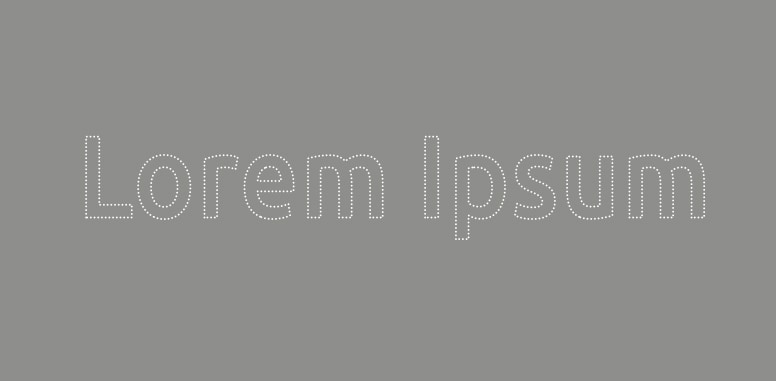
For your convenience, I’ve selected an outline font for you: the Londrina Outline font, a friendly and informal font available on Google Fonts.
By the way, Google Fonts has tons of amazing fonts available for you to download. What’s more, Google fonts are free for commercial and personal use!
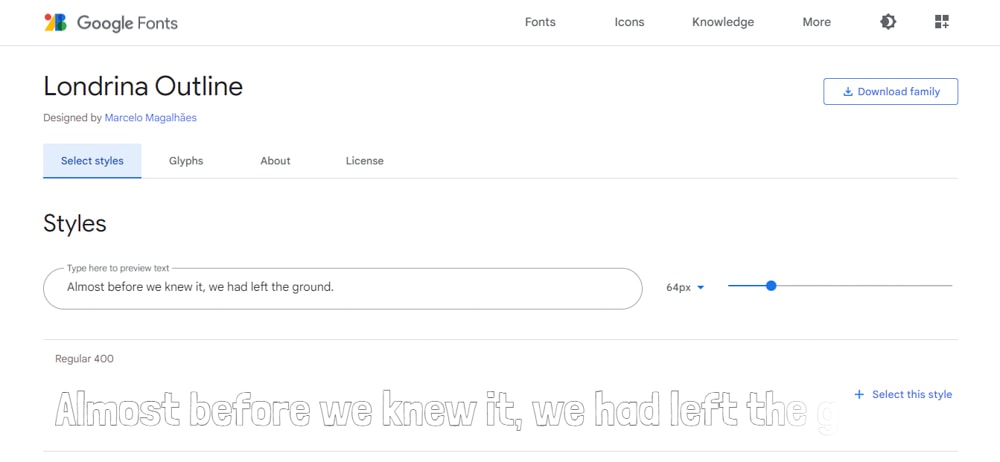

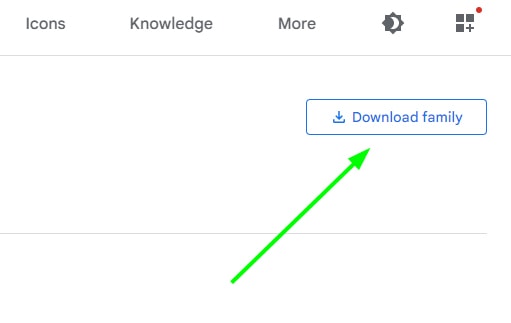
To download the font, head to the Londrina Outline font page and click ‘Download Family’ on the top right corner of the screen.
Then, find the downloaded font on your computer, and you will notice it appears as a zip file.
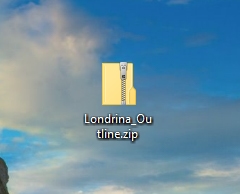
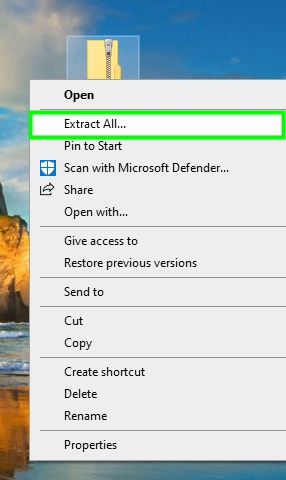
You will need to extract the font file from the zip folder to use the font. To do that, right-click the zip folder and choose Extract All.
A new folder will be created containing the font file.
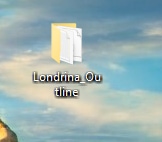
Double click the new folder to find the font file.
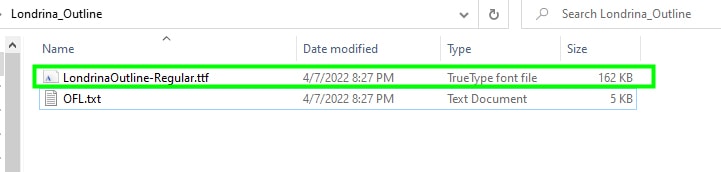
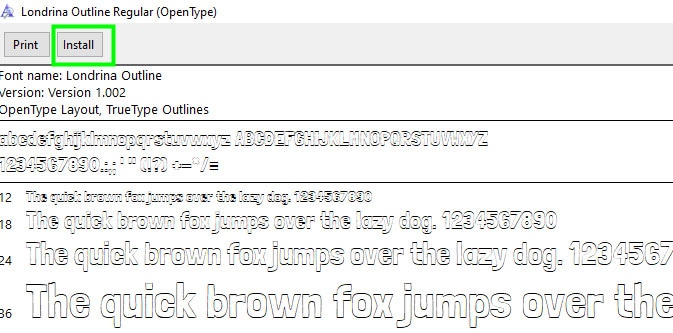
Then, double click the ttf font file, and click Install to install the font on your computer.
Next time you open Photoshop, you will find your new font in the Character panel.
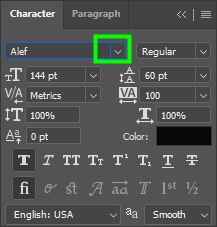
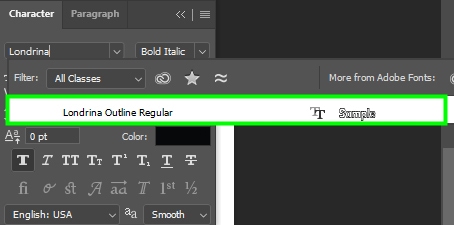
Once you find your font, you can start using it right away!
So whether you want to use your current favorite font to create outline text, take advantage of shape layer stroke effects, or simply download a new font, these three options make creating outline text in Photoshop simple.
If you still have questions about working with text in Photoshop, check out my ultimate guide to using text in Photoshop.
Happy Editing!


