

Whether you have just started using Photoshop or are a seasoned user, understanding the Photoshop interface is essential for an efficient workflow. Opening the program is daunting for some, with all the panels, bars, and tools to learn. Knowing what each section does helps you understand the program better.
I will show you each element of the interface, including the Toolbar, Options bar, Layers panel, and more. You can use this as a starting point or a refresher on what you already know. I also include some valuable tricks to help you get the most out of Photoshop.
The Home Screen
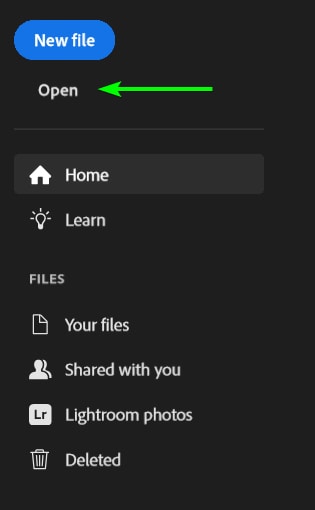
Opening an image using Photoshop takes you directly to the workspace. However, when opening the program itself, you first see the Home Screen, which gives you options to start your project.
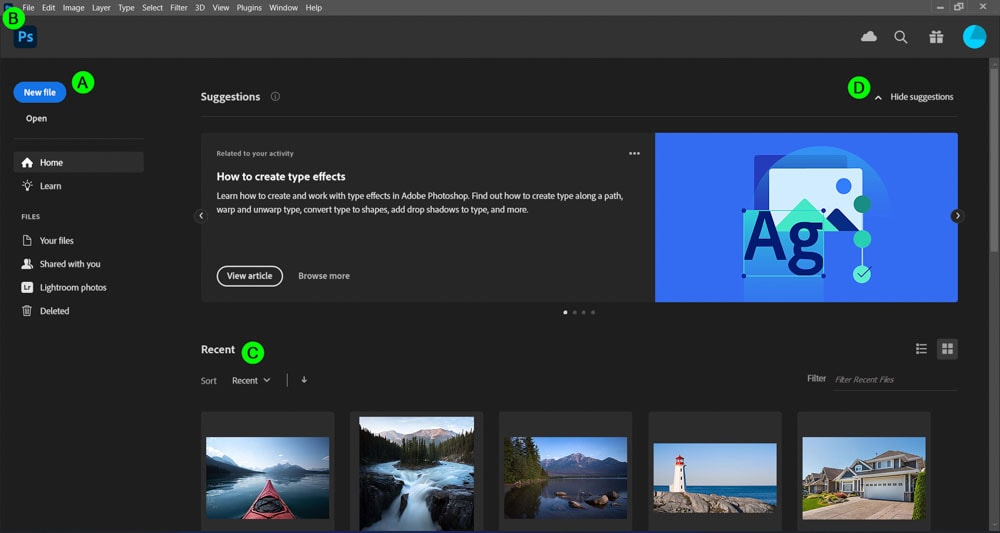
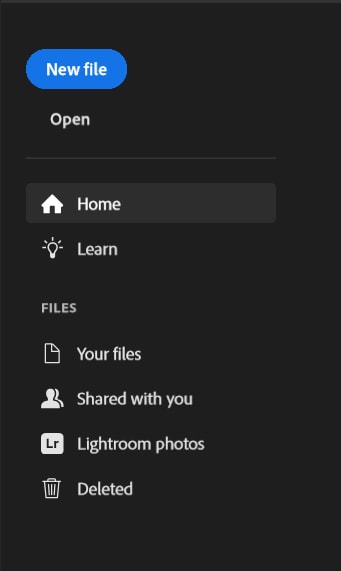
A. Create Or Open A Document
The panel on the left is where you can start a new project, open a saved project, or open an image to begin editing.
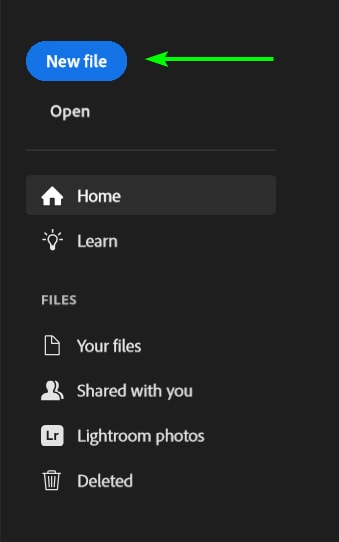
Select New File to open the New Document window. This section is where you can set the canvas size, resolution, color mode, and more.
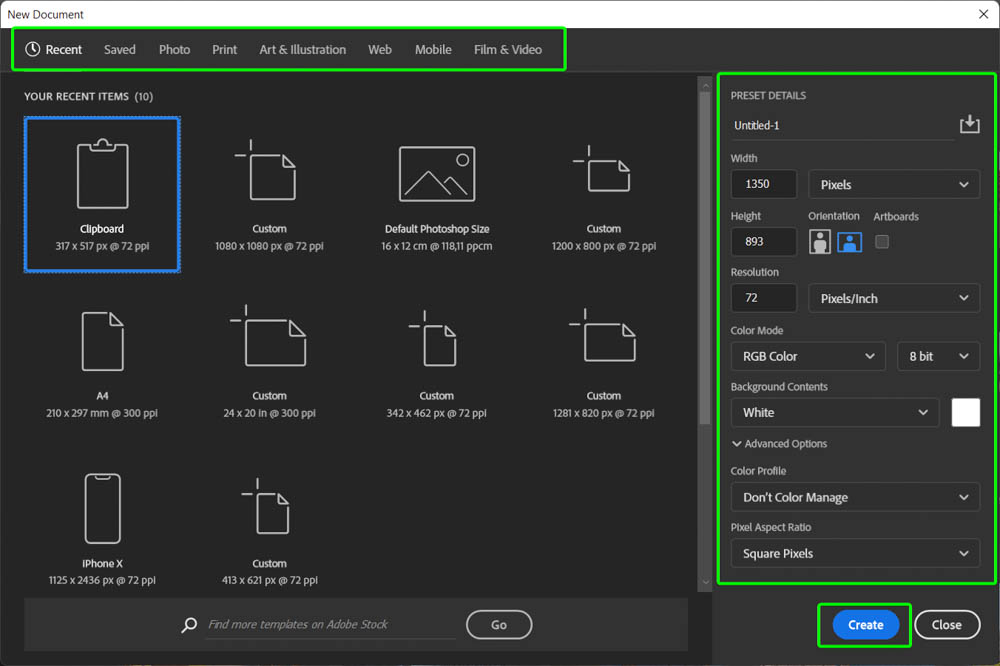
In the New Document window, select a default or saved preset from the top bar or input your own settings in the right-hand panel. Select Create when you are ready to open the document in the workspace.
From the Home Screen, you can also choose to open a file, whether it’s a PSD file or an image file, in the workspace by clicking Open.
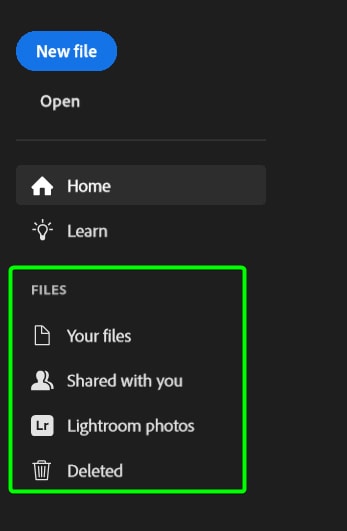
If you have a file saved in a specific place, you can open it with the options at the bottom, such as cloud photos from Lightroom or images shared with you by your team members.
B. The Menu Bar
On the Home Screen, you can access some aspects of the Menu bar if you need them, such as using Automate to create an HDR image. I will explain the Menu bar in more detail later on.

C. Quick Access Panel
The panel at the bottom allows you to select recent projects and images you have worked on by clicking on the image to open it in the workspace. You can sort these projects how you’d like and keep them in a grid or change the view to a list.

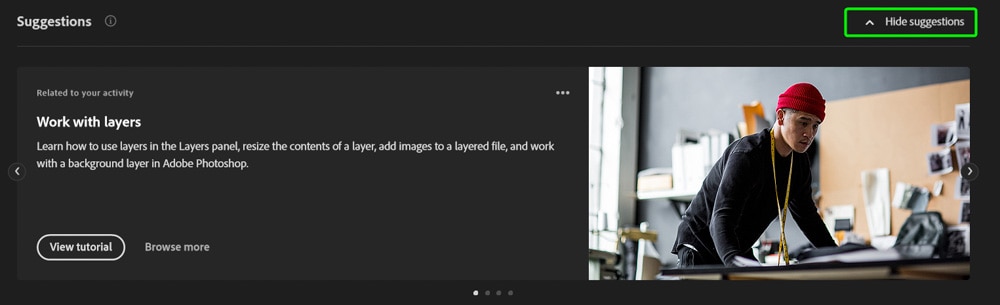
D. Photoshop Suggestions
The area at the top of the Home Screen offers tips to teach you how to carry out certain functions in Photoshop. You can hide these suggestions if you’d rather view more of your recent files.
The Photoshop Workspace Basics Explained
Once you have created a new document or selected an image, the Photoshop workspace is opened. In the workspace, you can see your canvas or artboards, select tools, make adjustments, and add effects to your project. Let’s find out the basics of this workspace.

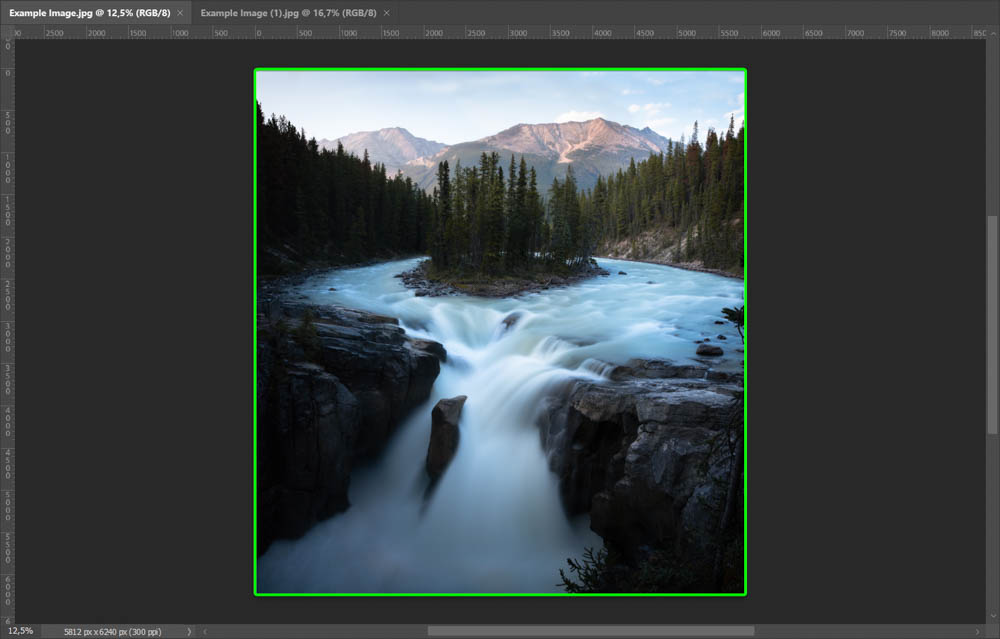
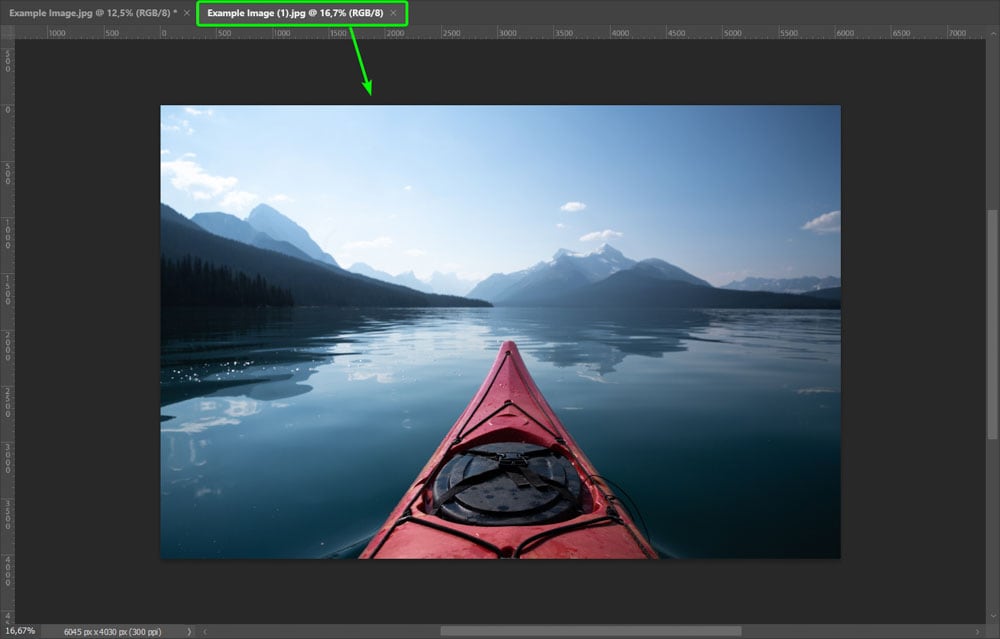
1. The Document Window & Tabs
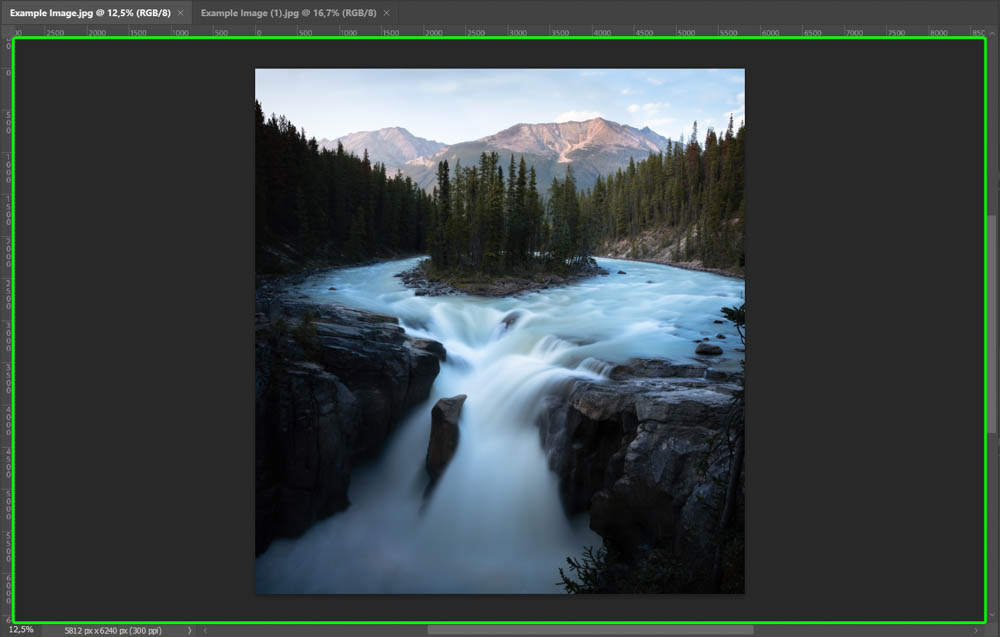
In the center of the Photoshop interface is the Document window, where your canvas is situated. The canvas is the area where the image and other elements are visible. The canvas size depends on the size of the image you opened or the document you created.
To create your project, you can add shapes, new layers, objects, and other images to the canvas.
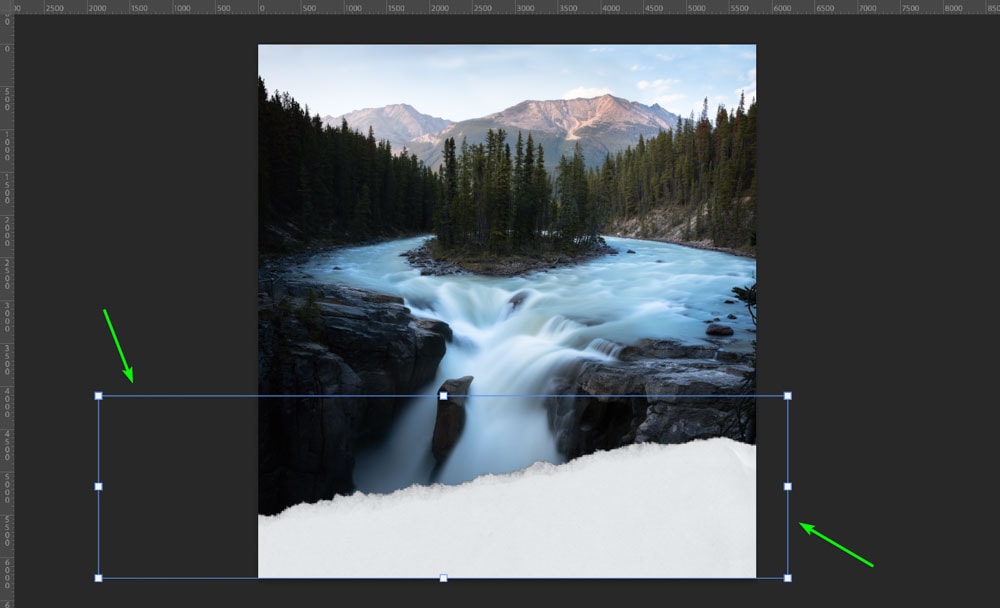
Any enlarged elements that are too big to fit on the canvas will extend into the Pasteboard surrounding the image. The pasteboard’s purpose is to create a border around the image, hold the elements that extend beyond the canvas, and separate artboards when using the artboard feature.
You can also use the pasteboard to make creative edits to your image by enlarging a particular element, for example, adding a torn paper image to begin the process of making a photo look torn.
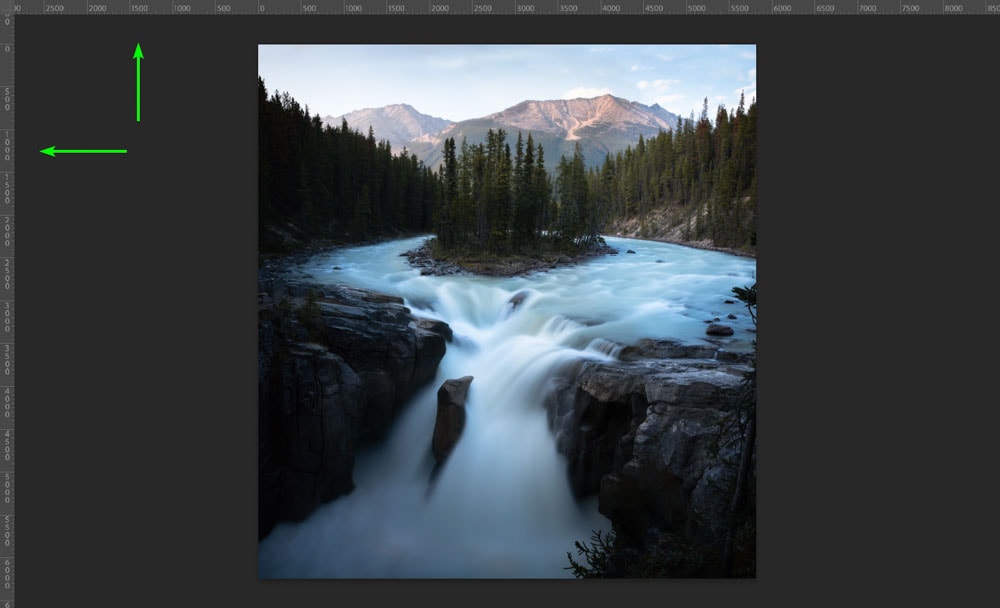
Around the pasteboard on the top and left-hand side is the Ruler, which you can choose to have visible or hidden. The ruler helps you align and measure elements and is a quick way to create a new guideline.
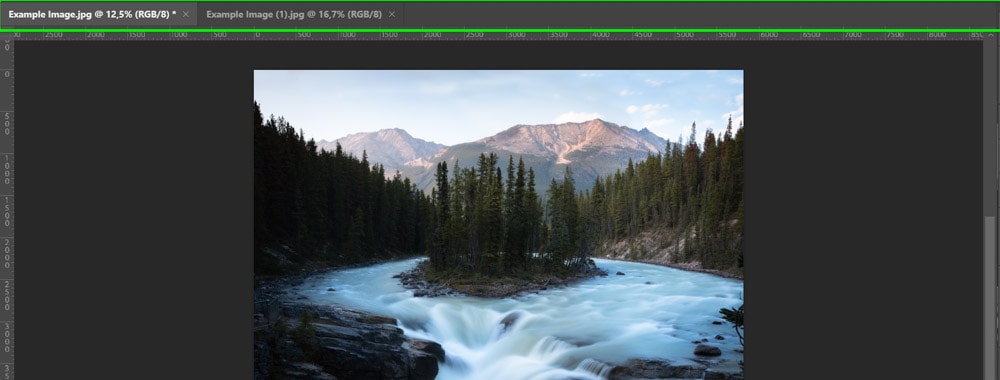
At the top of the Document window is the Document tab. This tab shows you the various projects you have open as individual tabs. Click on a tab to move to the other image or project you have open.
Then, at the bottom of the Document window is the Status bar, which gives you information about your document.
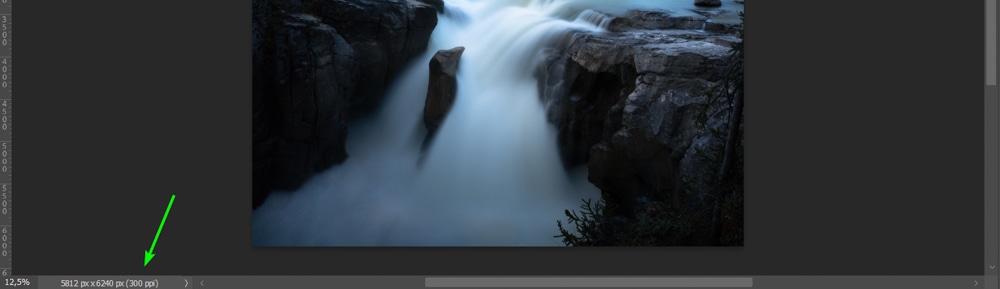
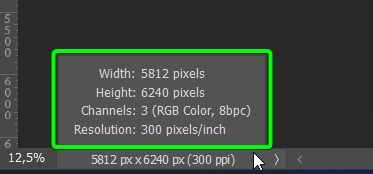
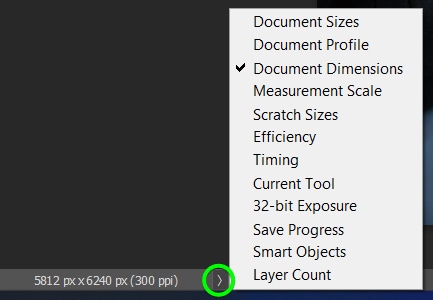
Click and hold on the status bar to view the document size, color mode, and resolution. Or click the arrow to view different information.
You can also change the zoom percentage by typing in a new number next to the status information.
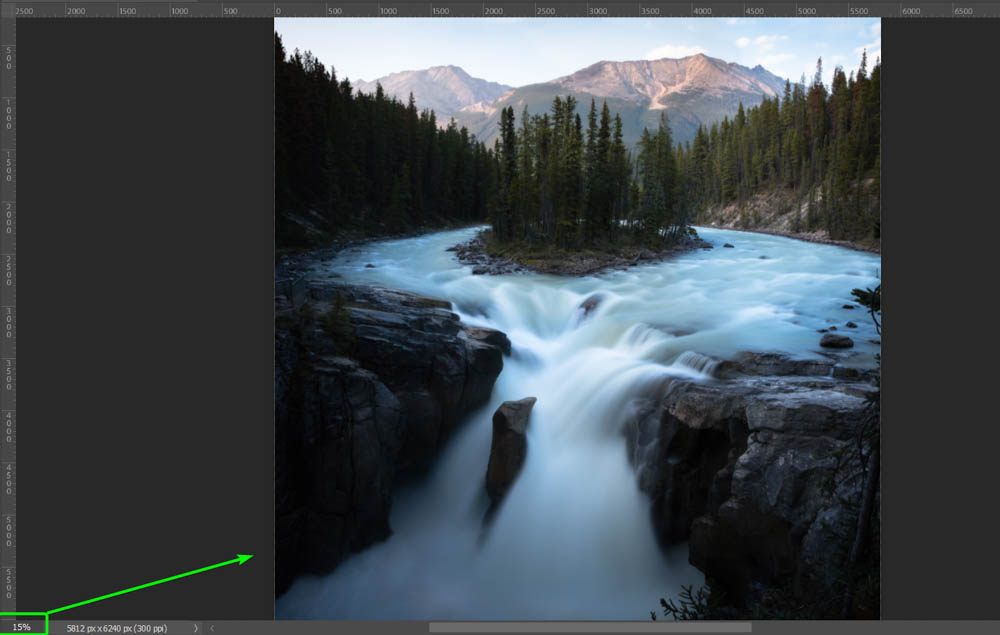
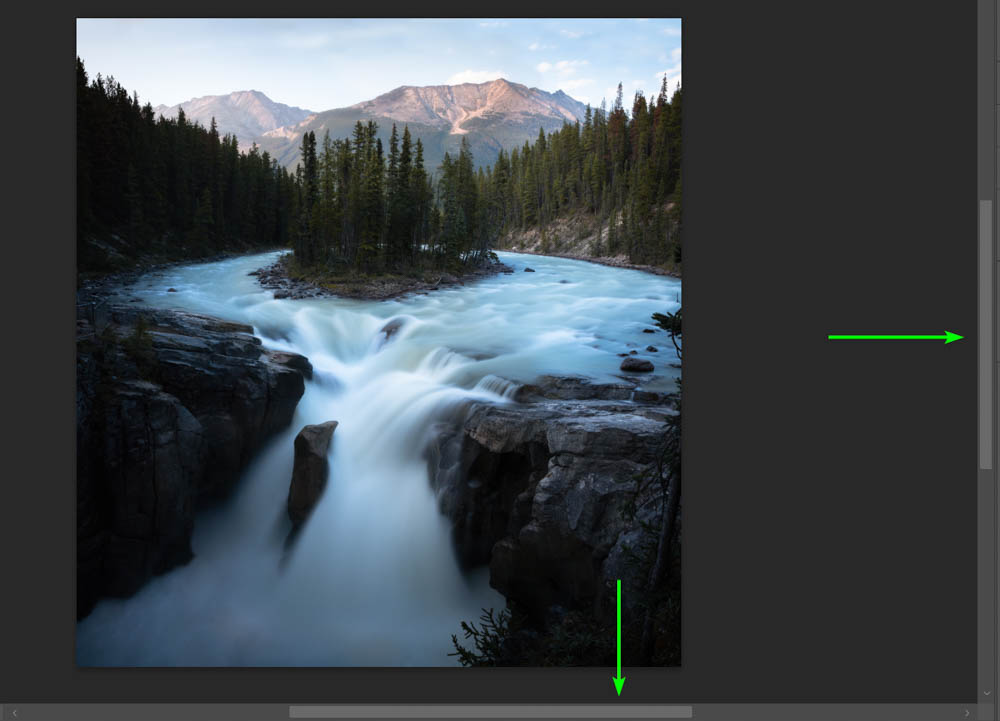
Lastly, in the Document window are the Scrollbars, which let you move the document around in the window. To move the document, drag the bar on the right up or down and the bar at the bottom left or right.
2. The Toolbar & Expanded Panels
On the left-hand side of the Photoshop interface is the Toolbar, which holds all the tools you might need to access while working on your project.

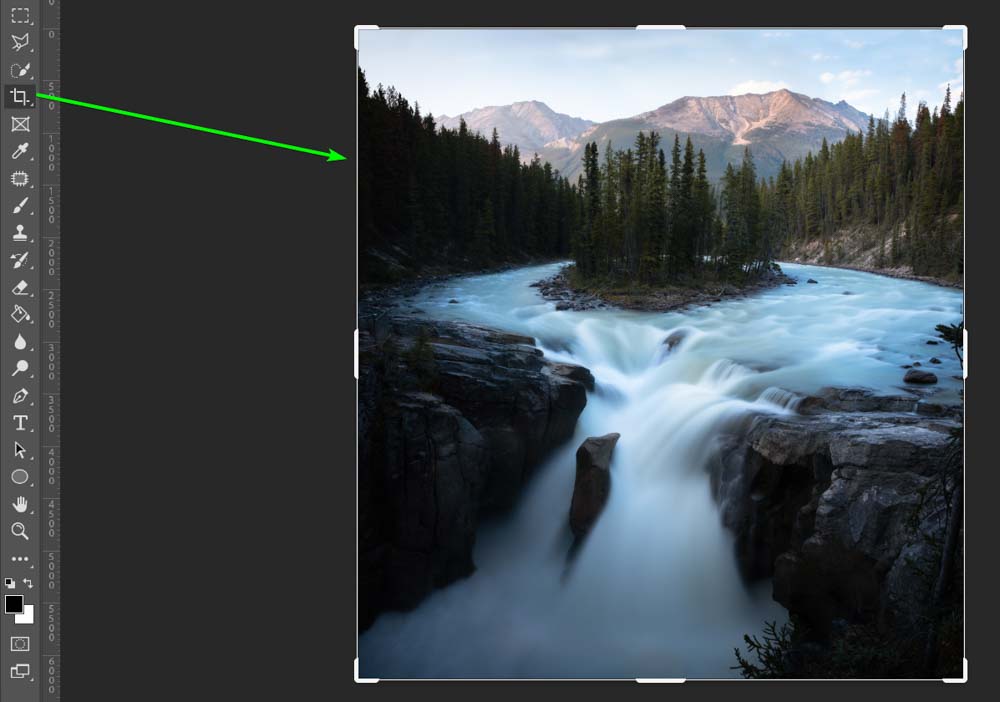
Click on any tool icons or use the tool’s shortcut to activate it and start using it on your project. For example, click on the Crop Tool or press C to activate it.
Once the tool is activated, it has a darker gray around it, and you can start using the tool on your project.
To access more tools, open the Expanded panels. The Expanded panels hold tools grouped together since they have a similar function. To access an expanded panel, click and hold on a tool, and the fly-out menu opens, then select the tool you need.
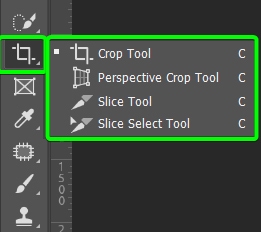
The tools with an Expanded panel holding additional tools have a small triangle icon to indicate that more tools are available.

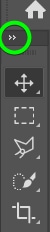
You can keep the Toolbar as a single column by default or change it to a double-column if you’d like to add more tools directly to the bar rather than keeping them in the Expanded panels. Click on the double triangle icon at the top of the Toolbar.
You can use the same icon to revert to the single-column Toolbar view.

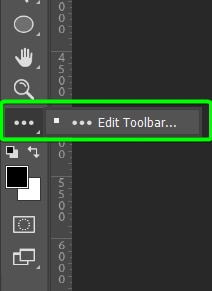
To add or remove tools or rearrange the Toolbar, you can open up the Toolbar settings by clicking and holding on the three dots near the bottom of the Toolbar, then select Edit Toolbar.
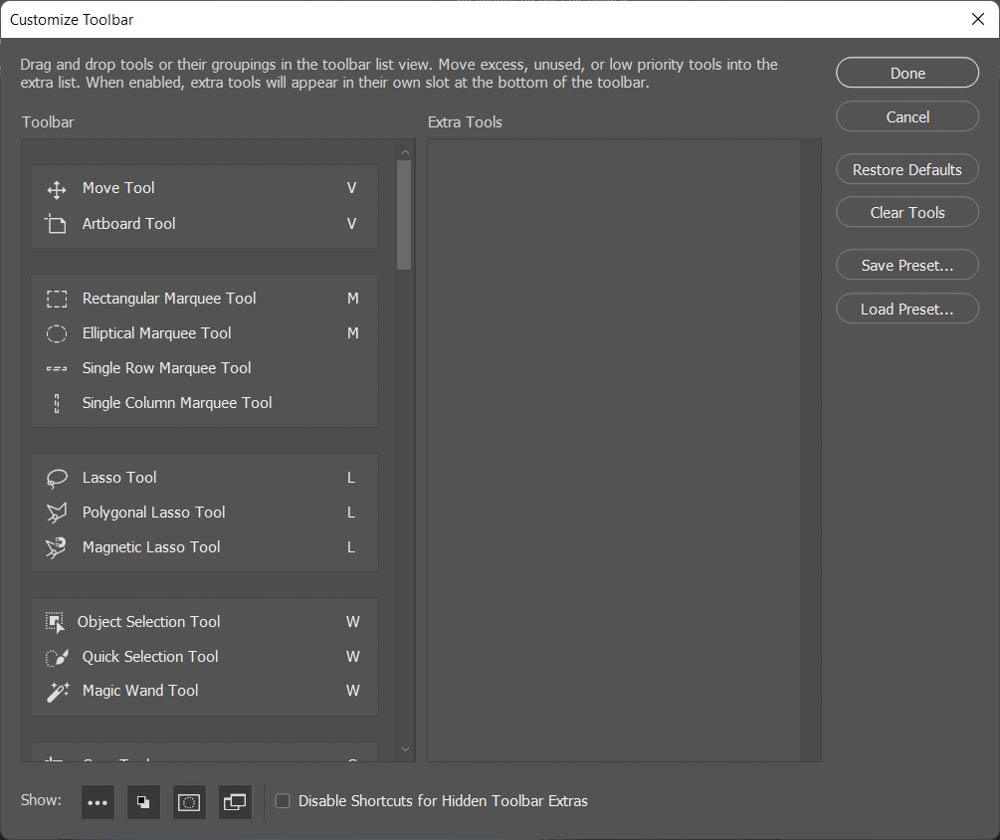
Once the Customize Toolbar window opens, rearrange the tools as you’d like to.
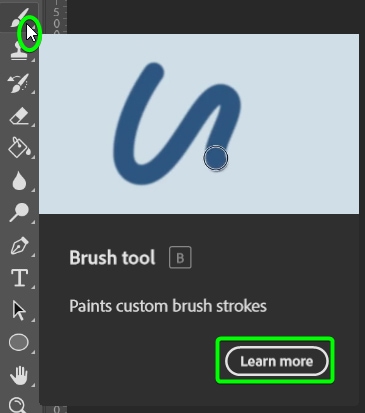
Rich Tooltips
Photoshop offers Rich Tooltips for each tool that you find on the Toolbar. These tips quickly tell you what the tool does, along with a short video to show how the tool works. You can also find out more by clicking the Learn more button. To access these tips, hover your mouse over the tool until the tip box opens.
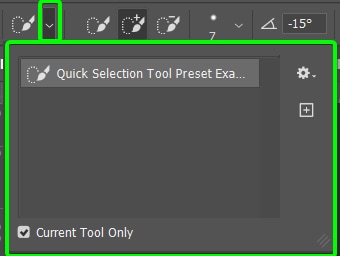
3. The Options Bar
The Options bar is near the top of the interface and changes based on which tool is selected. The purpose of the Options bar is to customize and provide settings for the activated tool.

Once you select a different tool, for example, the Quick Selection Tool (W), you will notice the Options bar change to provide the customization options for this tool.

The first option for each tool, situated next to the tool’s icon, is the Tool Preset picker, where you will find any default or saved presets for the selected tool.
4. The Menu Bar
The Menu bar — also known as the Application bar — is situated at the very top of the Photoshop interface. This bar holds multiple actions and commands grouped into various categories. You can alter the document settings, add effects to layers, change the image dimensions, and much more from the Menu bar.

Situated on the far right of the Menu bar (Win) or the far left, just underneath the Menu bar (Mac) on the right, are the options to Close, Minimize, or Maximize the Photoshop window.

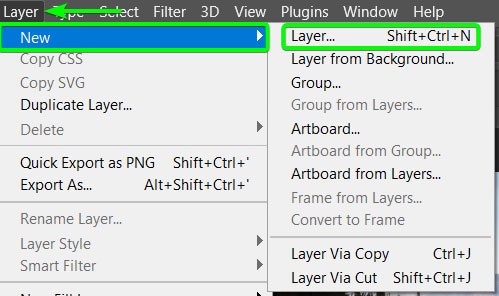
Click on any menu items to open up the options for that menu category. For example, if you want to add a new layer to your document, go to Layer > New > Layer. Some actions in the menu paths show the shortcut for that action, which you can learn and use next time for a faster workflow.
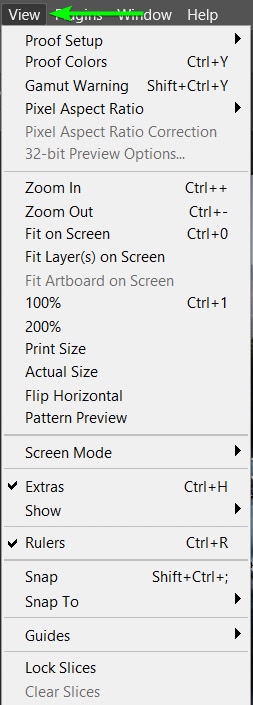
A helpful menu category in this bar is the View menu. This menu path provides you with several options to change how you view the document, such as zooming in and out, adding guidelines to the canvas, or changing the screen mode.
You can move through the different menu paths to see what each category holds and all the options the menus provide.
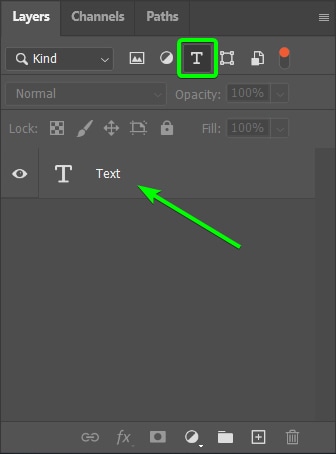
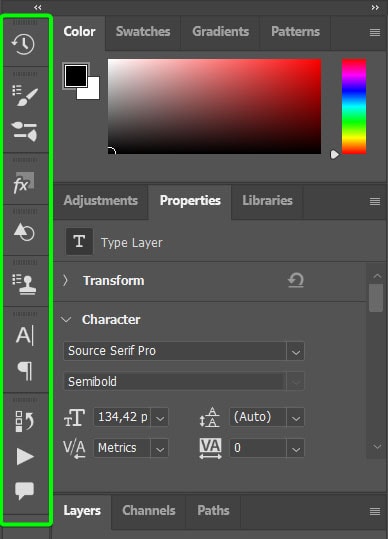
5. The Layers Panel
There are several types of panels in Photoshop, but the most important one is the Layers panel, which is situated on the right-hand side of the interface. The Layers panel contains information about all the layers in your document and is the key to making changes and organizing the layers in the document.
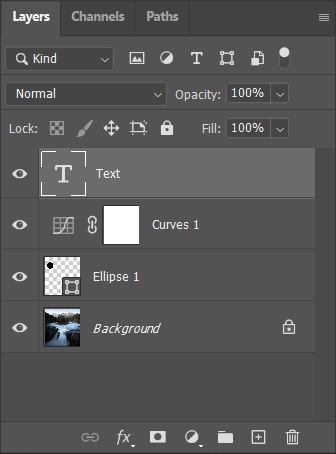
When you open an image in Photoshop, it automatically becomes a locked background layer. As you add different elements to your project, such as Text, Shapes, and Adjustments, they will all be added to the Layers panel above the image layer.
Whenever you want to edit a specific layer, you need to ensure that it’s selected in this panel before you can make any changes to the layer.
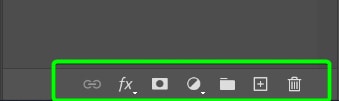
The Layers panel also has quick links for adding a layer mask, an adjustment layer, or a layer style to a particular layer. These icons are found at the bottom of the panel. From left to right, the icons are:
- Link Layers
- Add a Layer Style
- Add layer mask or vector mask
- Create new fill or adjustment layer
- Create a new group
- Create a new layer
- Delete layer
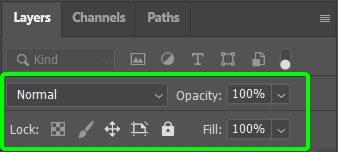
You can toggle between various filters at the top of the Layers panel to easily find your layers. Use the icons to filter for pixel layers, type layers, shape layers, and more. Once you click on one of the icons, only those types of layers will appear in the panel.
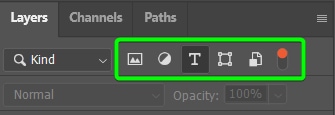
For example, selecting Filter for type layers hides every other layer and leaves the one text layer I have on the document. These filters don’t affect what is visible on the canvas.
Below the filter icons are options to change the layer’s Blend Mode, Opacity, Fill, and options to lock elements or the entire layer.
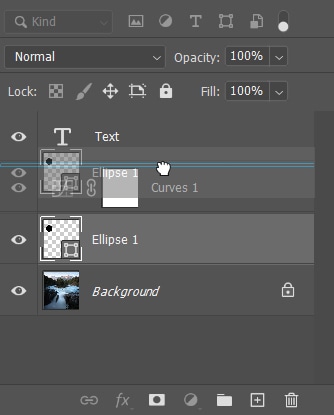
As you add layers, they automatically appear above the layer you were previously on. The order of the layers in the panel directly relates to the order of the layers on the canvas. The layer order means that some layers may hide certain elements.
You can easily rearrange the layers by clicking and dragging a layer to a new position. As the blue line appears, drop the layer to place it where the blue line appeared.
6. Panels & Panel Tabs
Other than the Layers panel, several other panels offer more settings and options to modify different layers, tools, and effects for the project. The panels are situated on the right-hand side of the interface and may differ based on which panels are visible in your workspace.
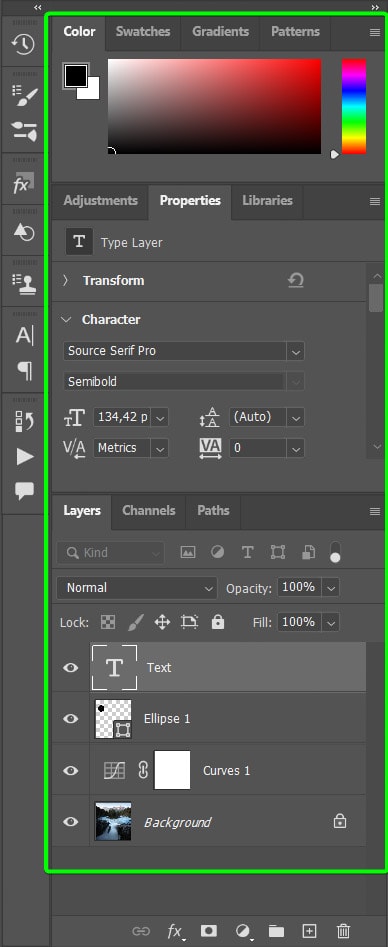
Next to the panels are the Panel tabs, which contain more panel options hidden away.
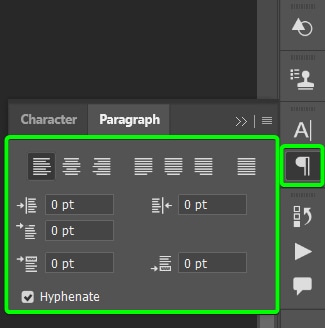
To view one of the Panel tabs, click on the tab to open the panel. For example, when I click on the Paragraph tab, it opens to show me options for adjusting my Paragraph text within the document.
You can also open all the Panel tabs at once by clicking on the double triangle icon at the top of the tabs panel.

To hide the panels again, click on the same icon.
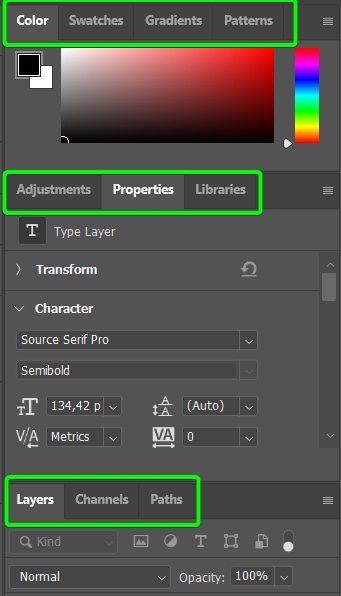
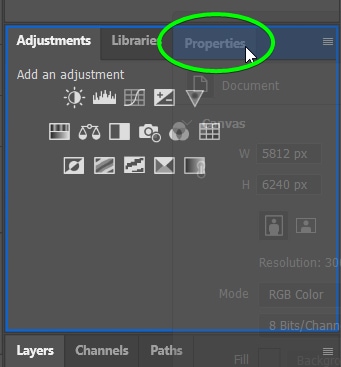
Other hidden panels are found in the tabs above similar open panels, which make up panel groups. You can click on any tab name to open it. The tab in white text is open, and the grayed tabs are hidden.
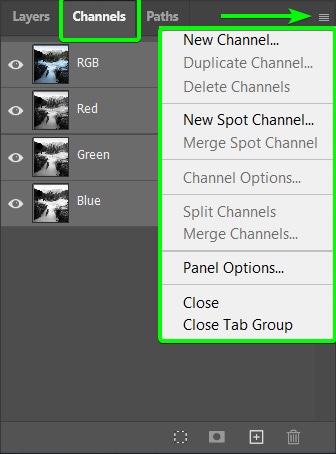
When a panel is open (for this example, I will switch from the Layers panel to the Channels panel), you can find more options by clicking on the menu icon at the top right of the panel.
Customize And Organize The Photoshop Workspace
Photoshop organizes panels, tools, and windows in a default manner for all users. However, you can customize these elements in different ways. For example, you can dock, group, or stack panels. You can also hide or show different panels, the Toolbar, and other elements to create a customized workspace.
How To Move Panels In Photoshop
You can move panels and other windows around in Photoshop to better suit your workflow. By default, panels are either docked, stacked, or grouped in Photoshop.
Docked

Stacked
Grouped
Docked panels are attached to the rest of the Photoshop interface, meaning the window isn’t floating. To move a panel, click on the panel tab and drag and drop it to where you want it.
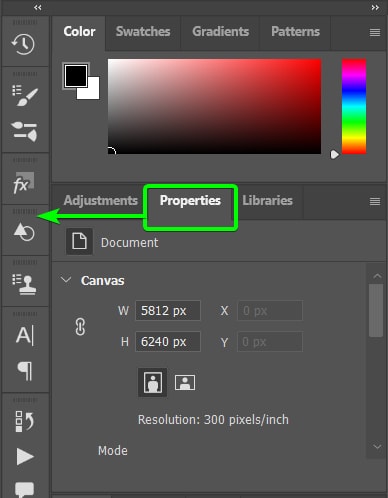
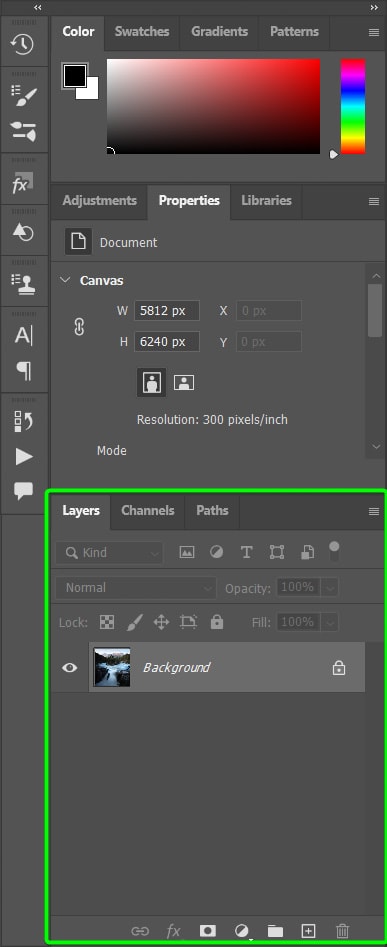
The Properties panel was previously docked and is now a floating panel. You can click and drag it to anywhere in the workspace.
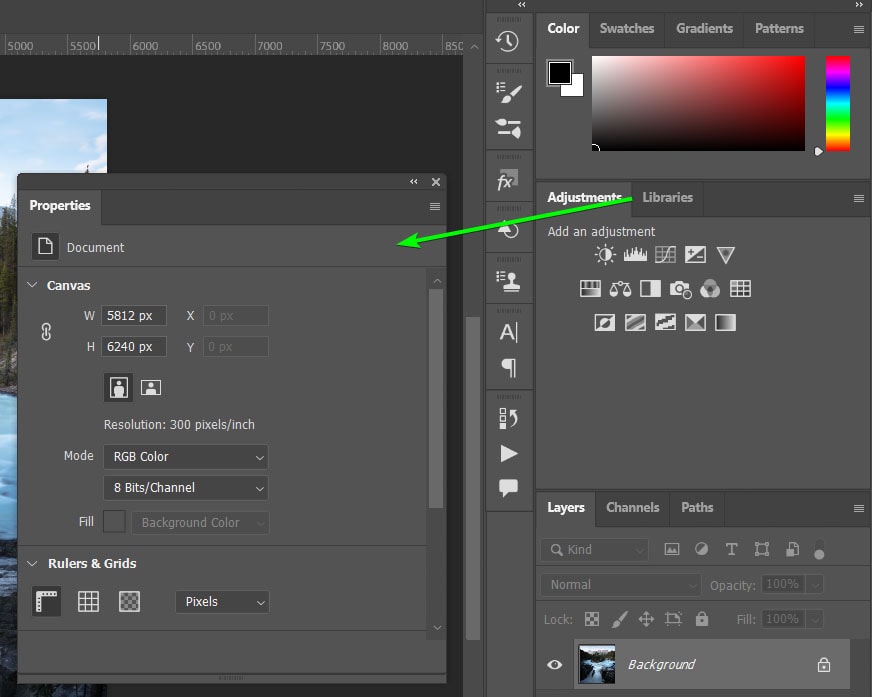
To dock the panel again, click and drag it as you did before. However, move it to the area you want to anchor it and make sure you hover the mouse over where you want the panel to sit. When the blue line appears, drop the panel to dock it.
The panel will now sit in the panel group or tab where you moved it.

How To Customize Windows And The Workspace In Photoshop
You can easily customize your workspace to match the projects on which you are working. For instance, you can have a photo editing workspace where you keep the tools you usually edit images with visible while hiding the rest of the tools.
However, you may need multiple workspaces since you might not only work on one type of project the whole time. You can easily create and toggle between various workspaces.
Firstly, since you know how to move panels around, you should know how to show and hide panels in the workspace. To show or hide a panel, click on Window in the Menu bar. This menu path brings up the various panels available in Photoshop.
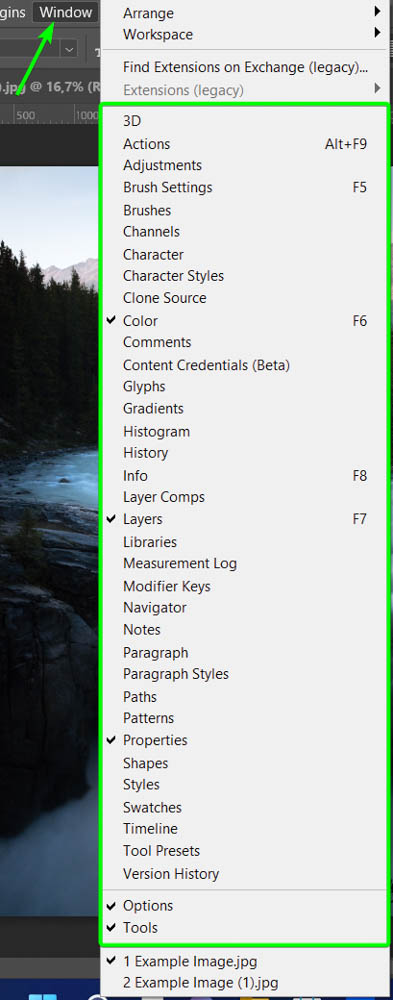
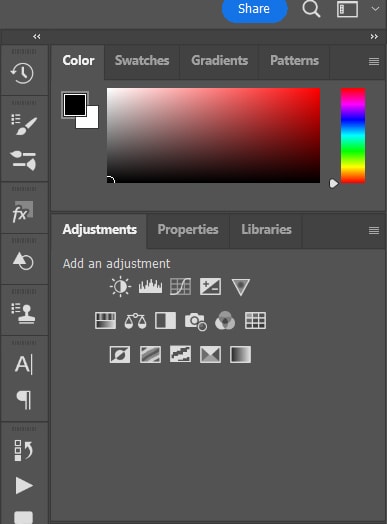
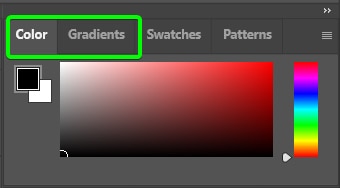
The panels with a checkmark indicate that the panel is visible in the workspace. The panels without a checkmark are hidden, which includes panels that are stacked and grouped but not open. For example, the Color panel is checked, but the Gradients panel isn’t.
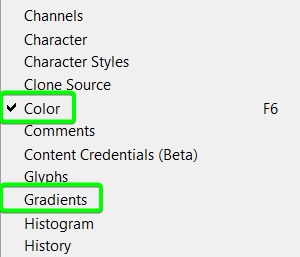
In the right-hand panel, the Color panel is open and visible, while the Gradients panel is in the workspace but isn’t open. However, some panels without a checkmark won’t even be in a stack or group; you will need to click on it in the Window menu to open the panel.
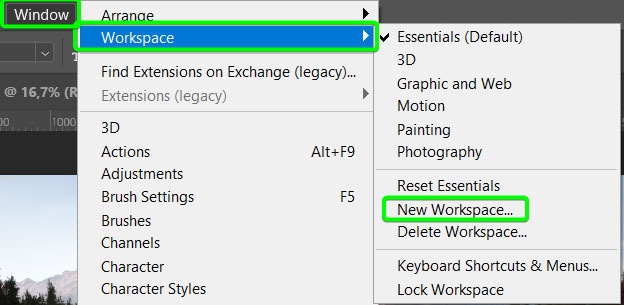
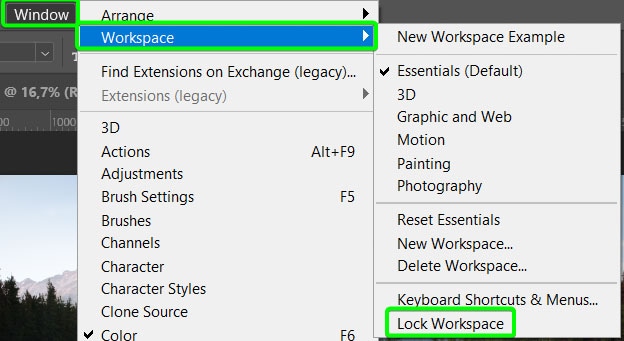
Once you have shuffled the panels around and hidden the ones you want, as well as rearranged the Toolbar, you can save the new workspace. To save your custom workspace, head to Window > Workspace > New Workspace.
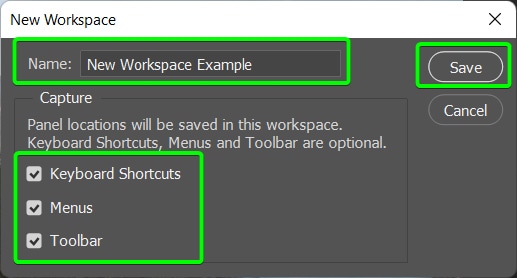
The New workspace window opens, and you can add a name and select whether, in addition to the panels, you want the Toolbar, keyboard shortcuts, and menus saved in this workspace. Click Save once you have chosen the correct settings.
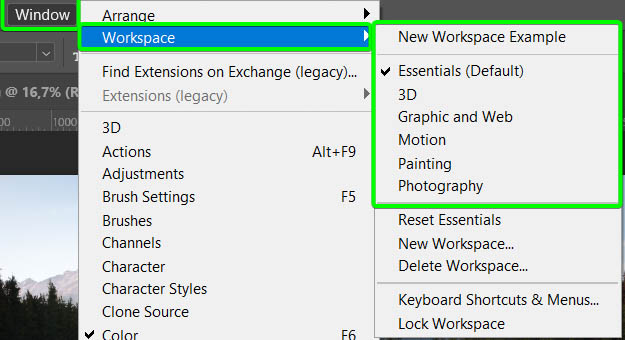
To access your custom workspace, if you have changed workspaces or if Photoshop reverted to the default workspace, head to Window > Workspace and select your new workspace, which appears at the top. A checkmark indicates the open workspace, and Photoshop has a few window presets for you to choose from if you’d like.
If you are working on a workspace and you’d like to prevent it from reverting to the default workspace for whatever reason, you can lock the workspace. To lock a workspace, head to Window > Workspace > Lock Workspace. You won’t be able to change workspaces until you unlock the workspace again using the same menu path.
How To Customize Preferences In Photoshop
Another customization option in Photoshop is to customize various preferences, including the color of the pasteboard, hiding or revealing Rich Tooltips, and much more. There are so many customization options in Photoshop preferences that you can have a look through for yourself.
To access Preferences, head to Edit > Preferences > General (Win) or Photoshop > Preferences > General (Mac) or press Control + K (Win) or Command + K (Mac).
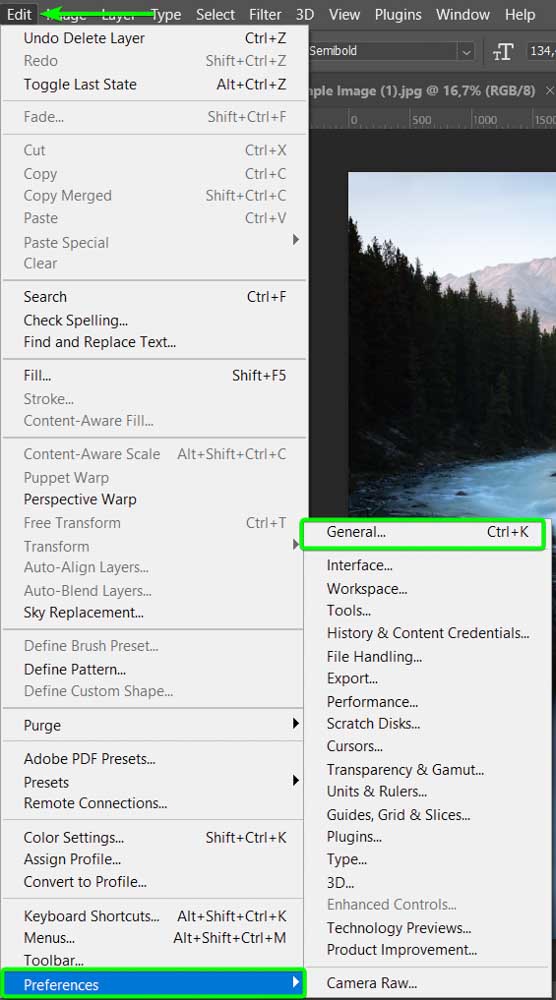
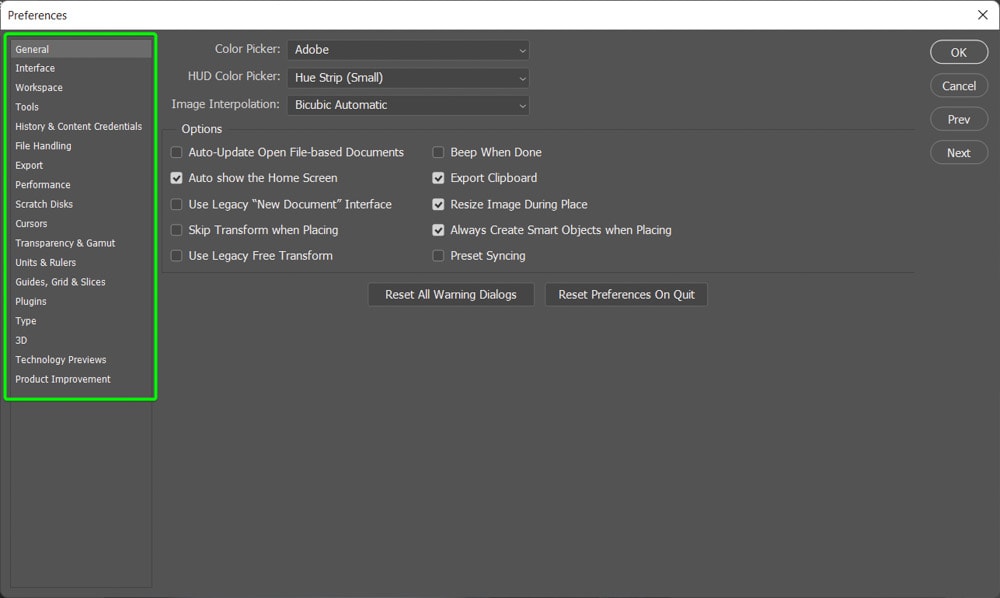
When the Preference window opens, you can select any tabs on the left-hand side and change the settings for tools, units, measurements, and much more.
For example, head to the Interface tab and change the color theme to a darker gray.

The entire workspace has now changed to the new color after I clicked OK.
There are several other customization options in the Preferences window you can check out to create a workspace that works for you. With a solid understanding of the layout of Photoshop, it’s important to optimize the program to ensure it runs well before you start. I outline how to optimize Photoshop to run faster here.


