
When customizing tools for various projects in Photoshop, you are changing the settings of the tool. These new settings are saved by Photoshop so the tool will work in that manner the next time you use it. This can be confusing when a tool isn’t working how you need it to. Luckily, knowing how to reset any tool in Photoshop will help you prepare your workspace for a new project.
Resetting tools in Photoshop is important for multiple reasons. If a tool is not functioning how you would like it to, you may not know exactly what setting is causing the problem. Resetting tools will ensure that they work in the default manner set by Photoshop.
Resetting tools is also a way of troubleshooting when there is an issue. If the program crashes it may corrupt certain elements of Photoshop, including various preferences and tool settings which can disrupt your workflow. Resetting your Photoshop tools will likely clear up any issues.
Just remember that by resetting tools, you will lose any custom settings and certain presets that you have loaded unless you make a backup of these files before you reset your tools.
How To Reset Individual Tools In Photoshop
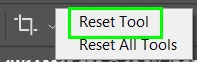
To reset individual tools in Photoshop, select your desired tool, then right-click on the tool icon in the upper settings bar. In the pop-out window that appears, choose “Reset Tool.” This will reset any custom settings you have added to the tool and bring it back to its default.
Let’s break that down more in-depth.
Resetting individual tools in Photoshop is useful when you only need to revert one tool to its default setting. This will only change one tool without resetting the entire toolbar and affecting other tools.
To reset an individual tool, select the tool from the toolbar. When selecting a tool, in this instance the crop tool, the settings of the tool will appear on the upper options bar.


The options bar will also display an icon of the selected tool. To reset the selected tool, right-click (Windows) or hold in the control key while clicking (Mac) on the tool’s icon in the options bar. Select “Reset Tool”.

Once the tool is reset, you will notice the settings on the options bar will return to the default values for that tool.

How To Reset Presets For Individual Tools In Photoshop
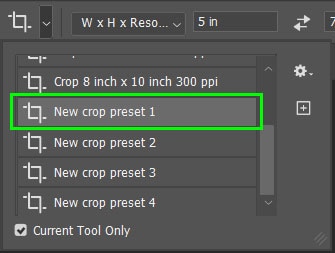
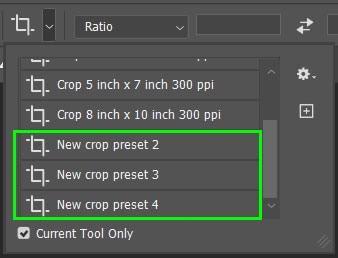
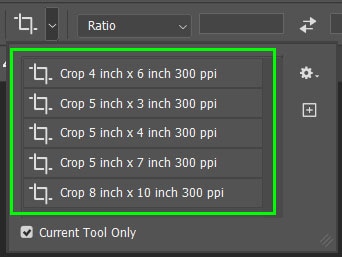
When resetting a tool, it won’t delete any presets that you have saved for the tool. To delete one preset, select the drop-down menu next to the tool icon on the options bar.

Scroll down to the preset you want to be deleted, select the preset, and right-click (Windows) or hold in control and click (Mac) on the preset. Then select “Delete Tool Preset”.
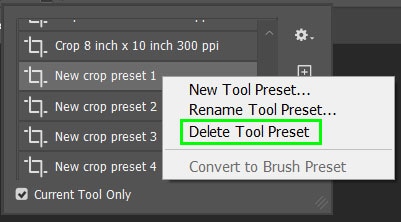
This will only delete one preset without affecting the rest.
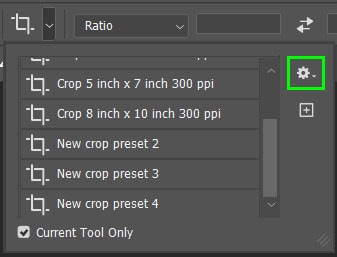
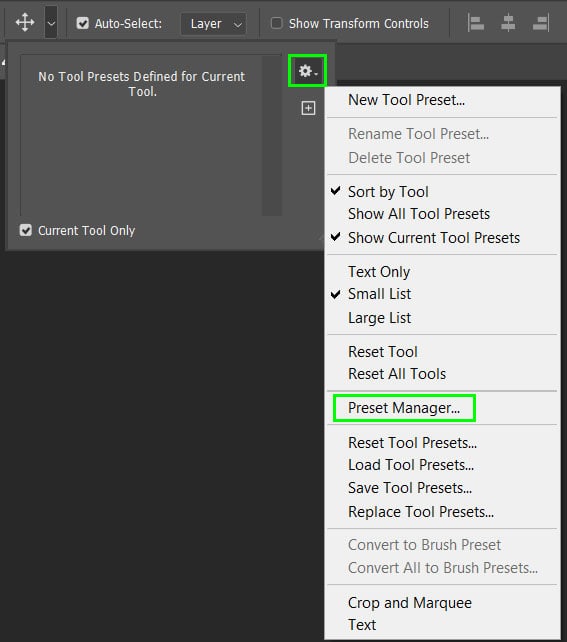
To reset all the presets at once to only keep the default presets of the tool, select the drop-down menu next to the tool icon. Then select the gear icon on the right-hand side of the window to open the settings menu.
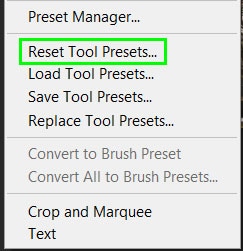
Select “Reset Tool Presets…” from the menu and a window will open asking you to confirm whether you want to replace the presets of the current tool with the default presets. This will also restore any default presets that may have been deleted.
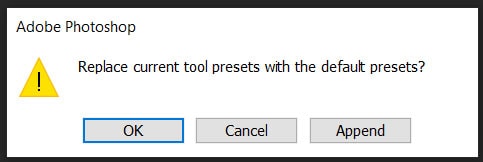
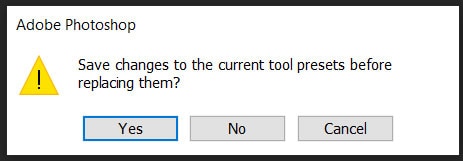
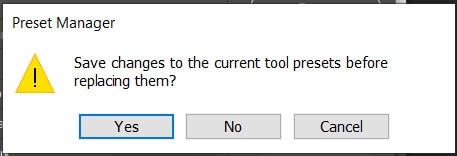
Once you select OK, another window will open giving you the option to save the changes to the current presets before replacing them. Choose the option you want and the crop tool presets will only contain the default presets.
How To Reset All Tools At Once
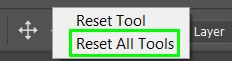
To reset all of Photoshops tools at once, select any tool, then right-click on the tool icon in the upper settings bar. In the pop-out menu that appears, choose “Reset All Tools.” This will reset all of the tools in Photoshop back to their default, including the layout of the toolbar.
So rather than resetting tools one at a time, you can reset all the tools at once to quickly revert the tools to the default settings. When resetting all tools at once, this will also reset the toolbar to show the default tool icon rather than one of the secondary options of the tool.

To reset all the tools, select any tool, the move tool in this instance, and right-click (Windows) or hold in control and click (Mac) on the tool icon on the options bar. Select “Reset All Tools” from the menu.

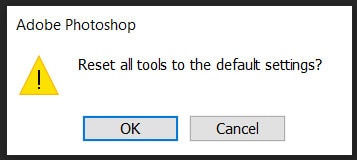
Once you select the reset all tools option, a window will pop up asking you to confirm if you want to reset all the tools. Once selecting OK, all the tools will revert to the default settings and the toolbar will display the default tool icons.

How To Reset All Presets At Once
You can also reset the presets from all the tools at once, if you would like to remove all presets except for the default Photoshop presets.
To reset all the presets, select any tool and click on the arrow next to the tool icon on the options bar. Then select the gear icon to open a drop-down menu and select “Preset Manager…”.

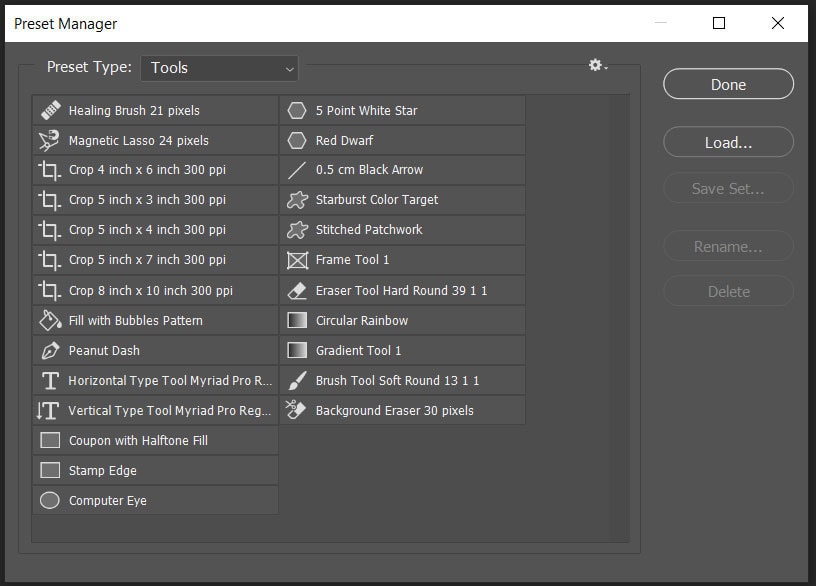
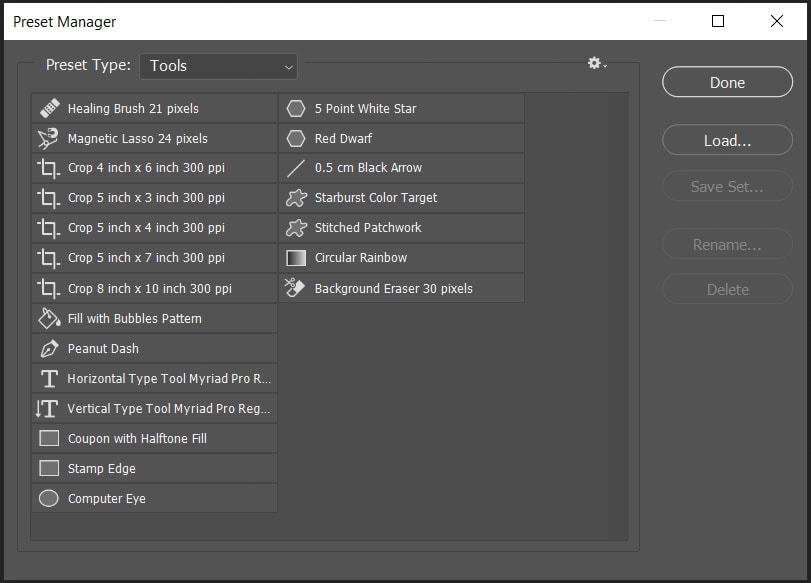
Once the preset manager window opens you will see a full list of all the presets including the default and custom-made presets.
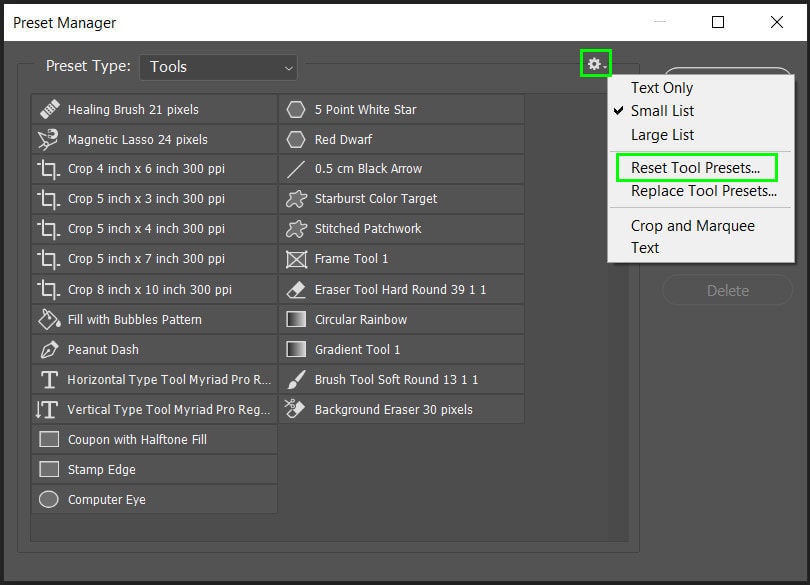
Click on the gear icon at the top of the window and select “Reset Tool Presets…”. A pop-up window will prompt whether you want to continue, select OK, you will then be prompted to save any changes before continuing.
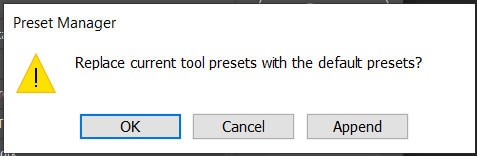
Any custom-made preset will be deleted and only the default Photoshop presets for all the tools will remain in the preset manager. Once you reset the presets, you won’t be able to undo this and you will lose any presets you have created.
How To Reset Your Foreground & Background Color
When changing the colors for your project, it is easy to change the foreground and background colors. When selecting a new tool, the latest colors you have used will be set as your foreground and background colors.

Reverting to the default colors is simple and you don’t need to open the color picker to find the default colors. When resetting all tools, the foreground and background color won’t reset and this will need to be done manually.
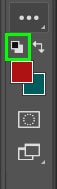
To reset the foreground and background colors, click on the small color icons on the top left of the actual foreground and background colors. This will revert the colors to the default setting. You can also use the keyboard shortcut by pressing D.

How To Reset Photoshop Entirely
If you have reset all the tools and there is still a problem with Photoshop not working as it should be, there may be a preference that contains a bug or has a customized setting. Preferences are similar to the tool options that you have been resetting, although they deal with bigger elements of Photoshop. These include the layout, color settings, and custom shortcuts.
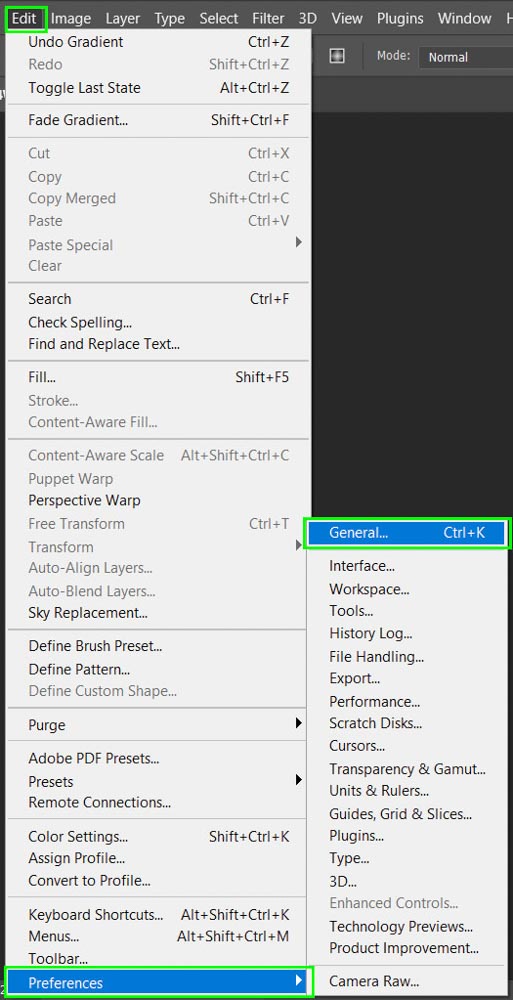
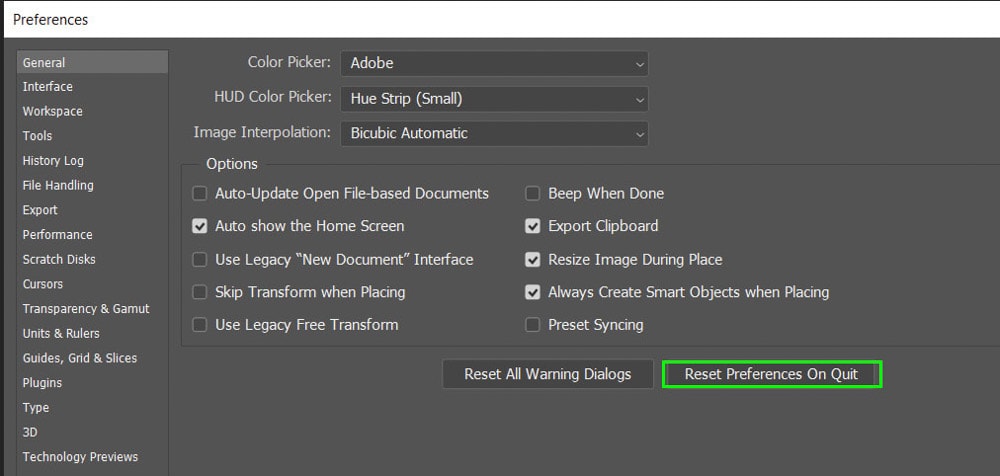
To reset Photoshop entirely, you will need to reset the preferences. To do this navigate to Edit > Preferences > General or press Control + K (Windows) or Command + K (Mac).
When the preferences window opens, select “Reset Preferences On Quit” and select OK when a window pops up to prompt whether you are sure to continue.
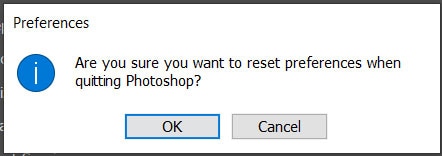
Exit Photoshop and the next time you open the program, the preferences will all be set to the default settings. This should resolve any problems you are having with the program or the tools if the custom preferences were corrupted.


