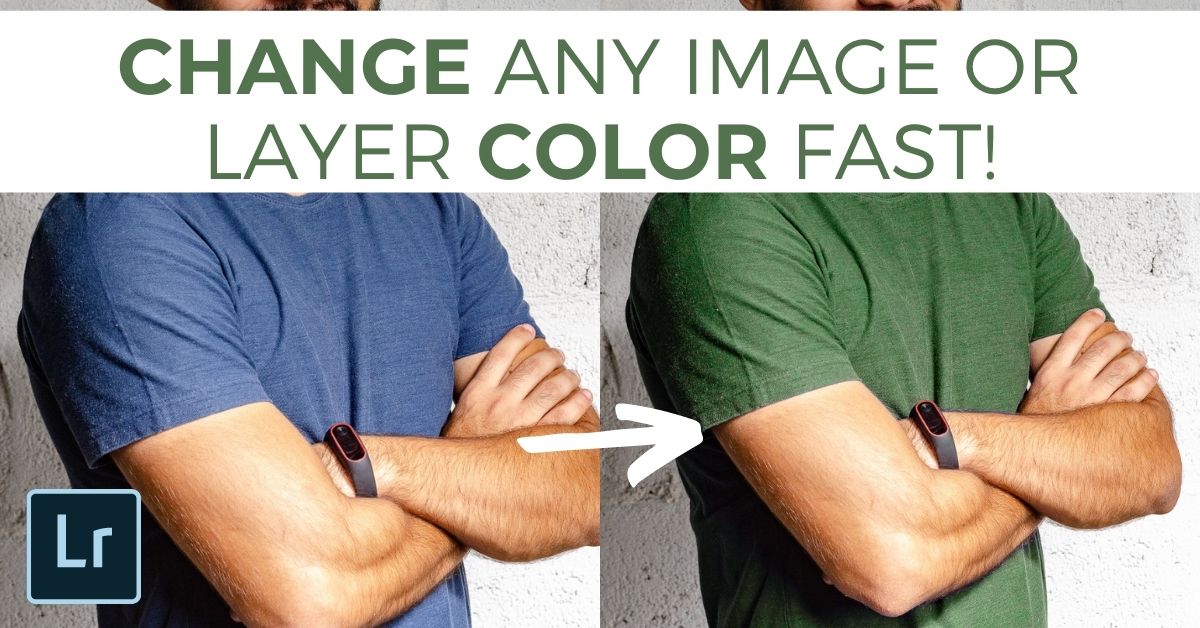

Knowing how to change the color of a layer in Photoshop can be confusing since most of the color adjustments affect the entire document and all the layers. Luckily, there is a simple trick to target one layer specifically to adjust the color of.
In this tutorial, you’ll learn the easiest ways to change the color of any layer you’re working on within Photoshop. So, let’s get started with changing the color of an image layer first!
How To Change The Color Of An Image In Photoshop
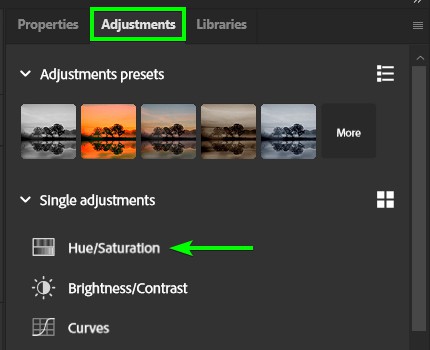
Step 1: Create A Hue/Saturation Adjustment Layer
To start things off, create a new Hue/Saturation Adjustment Layer and place it above your image layer. This adjustment layer can be added via the Adjustments Panel.
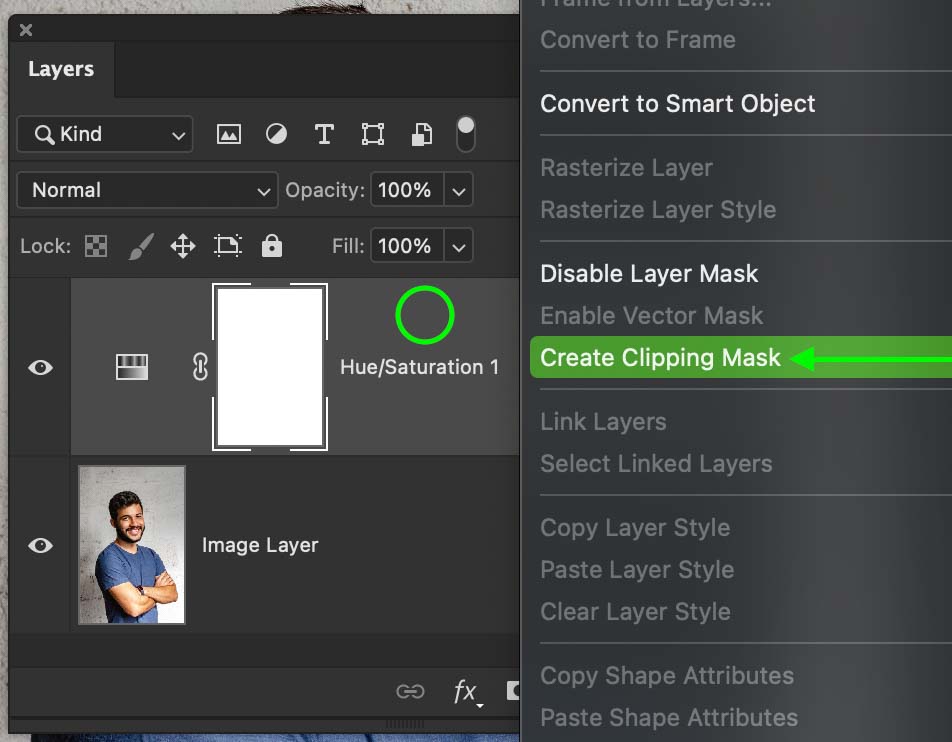
Step 2: Add A Clipping Mask To The Adjustment Layer
A clipping mask will ensure your color-changing adjustments will only affect the image layer directly below it. This becomes very important when you have multiple layers in your project.
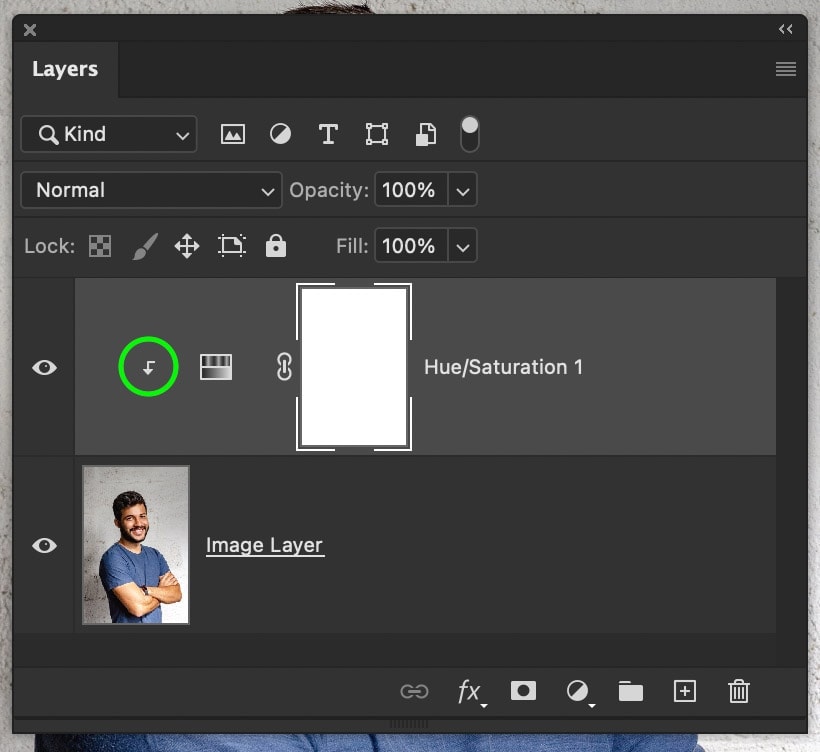
To create a clipping mask, right-click on the Hue/Saturation Adjustment and select Create Clipping Mask. Once applied, you will see a right-angle arrow pointing down to the image layer.
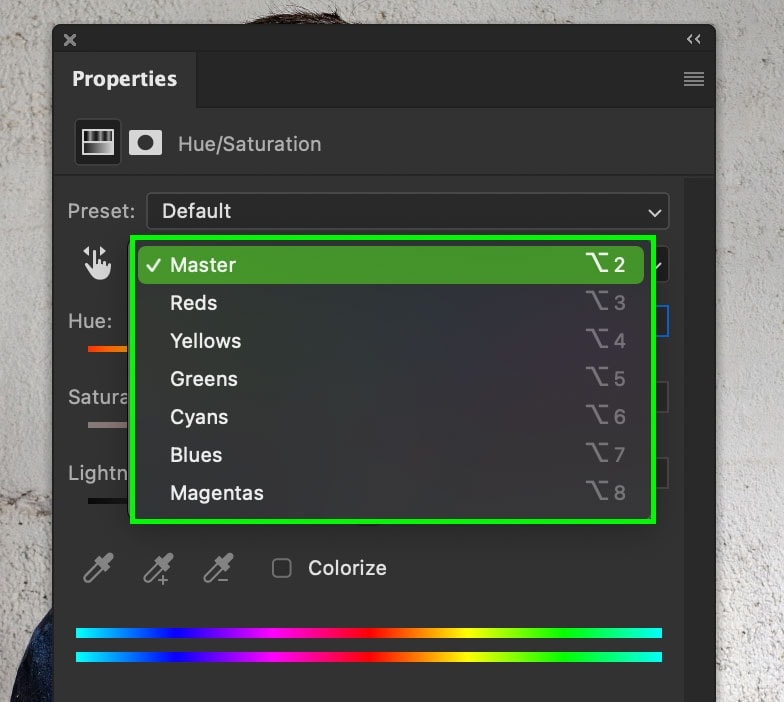
Step 3: Select The Color Channel You Wish To Edit In The Properties Panel
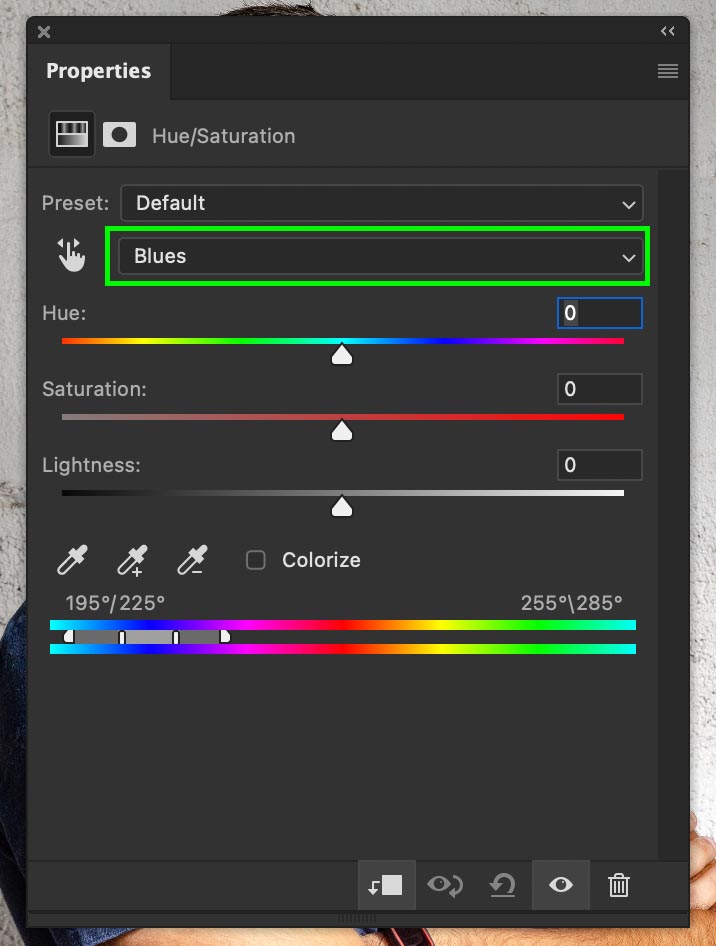
Double-click on the Hue/Saturation Adjustment to open the adjustments options, and click on the Channels option. Then, locate the channel that your color fits in. In my example, I will select blue (the color of the shirt), but this may be different for your image.
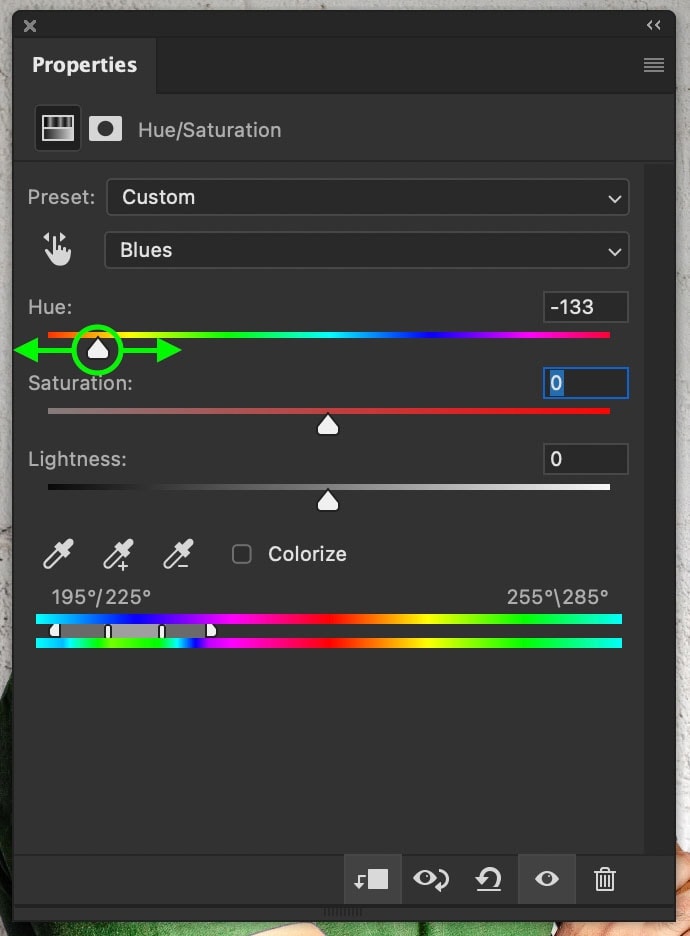
Step 4: Adjust The Hue Slider To Change The Color
To change the color of your selected color channel, adjust the hue slider to your desired color. This will change the color of your layer to a completely different hue. For example, since I have the blue channel selected, I am only changing the colors of the blue hues in the image.
Step 5: Adjust The Saturation And Lightness To Refine The Color
You can further change the color of your image layer with the Saturation and Lightness sliders. The Saturation slider will make your colors appear richer by increasing it. Meanwhile, the Lightness slider will make colors look brighter or darker.
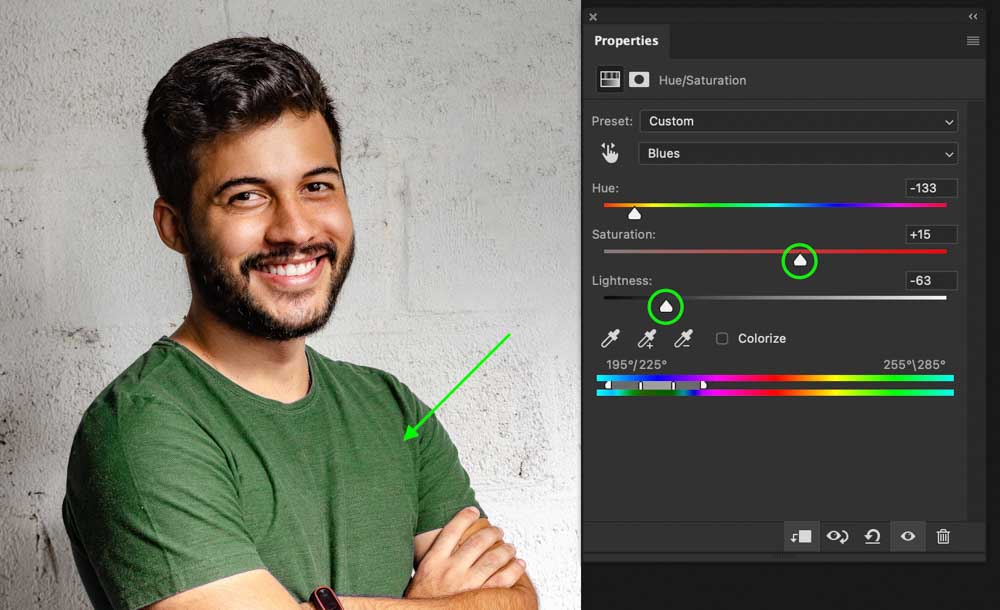
This technique works when the color you are changing is not repeated in the image. If you have several similar colors, isolate the object using any selection tool first. The main point is to use a clipping mask to isolate the changes on the one layer only.


How To Change The Color Of A Shape Layer In Photoshop
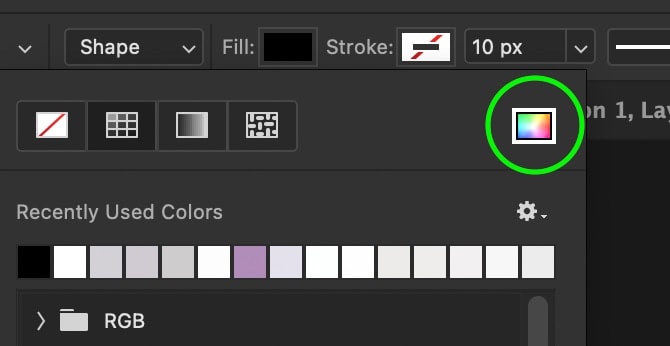
Make sure that the shape layer is selected in the Layers Panel. With the Shape Tool active, go to the Options Bar and click on the Fill option. The fill controls the color of any shape layer you work with in Photoshop.

In the fill panel that appears, you can choose between any of the preset swatches for quick color changes. However, if you want to change the color of your shape layer to something more specific, then click on the color picker icon in the right corner.
You can manually select a new color for your layer in the color picker that appears. Once you’re happy with the color, click OK to change the color of your shape.

And just like that, you have quickly changed the color of a shape layer in Photoshop.

How To Change The Color Of A Text Layer In Photoshop
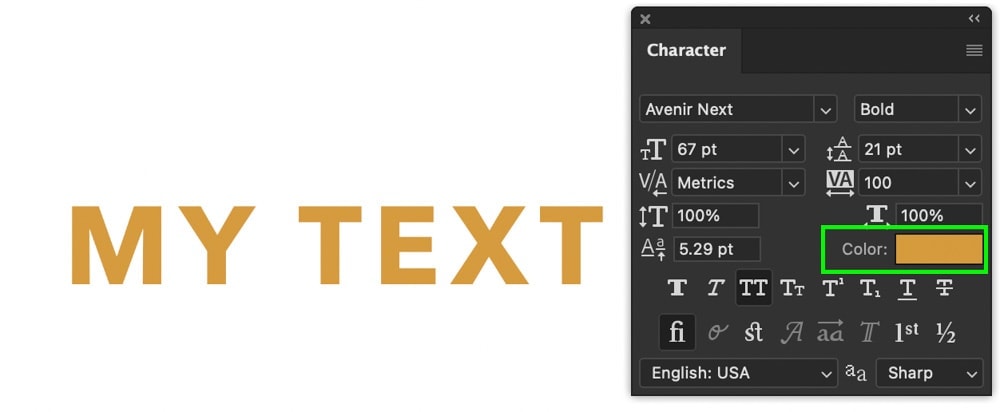
Once your text is created, make sure your text layer is selected in the Layers Panel, then go to Window > Character to reveal the Character Panel. Next, click on the Color option to reveal a color picker.
You can easily select a new color to add to your text layer in the color picker that appears. Then, once you’re happy, click OK to apply the updated text color.
How To Change The Color Of The Background Layer In Photoshop
Method 1: Changing The Background Color For A New Project
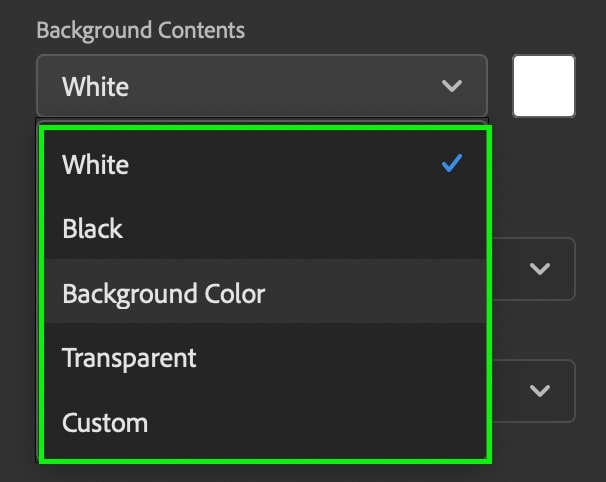
In the new document dialogue box, you can change the color of your background layer before it’s ever created. In the Background Contents option, you can select between five different background options.
Most of these options are pretty self-explanatory, so simply select whichever background color you wish to use. If the color you want isn’t provided, click on Custom and choose a custom color from the color palette that appears. Then, click Create to open the new document.
Method 2: Changing The Background Color In An Existing Project
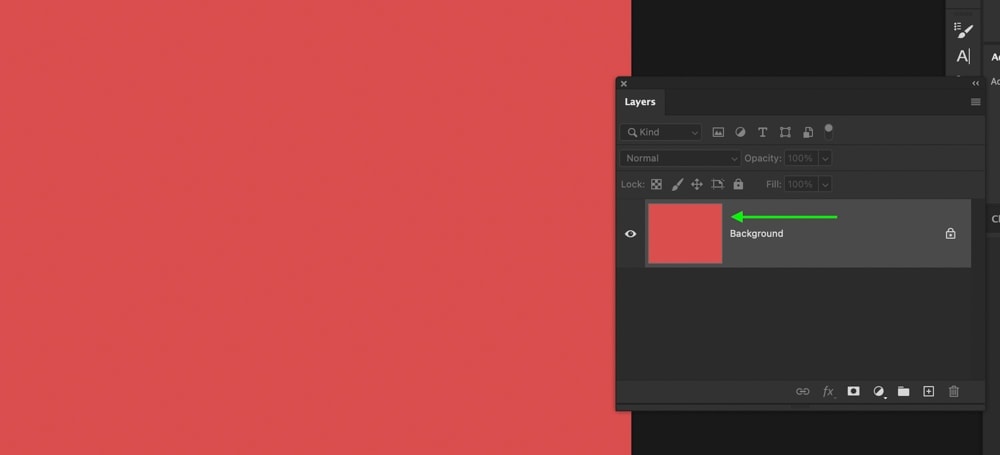
It’s simple to change the background color of an existing document with a keyboard shortcut. First, click on your foreground color at the bottom of your toolbar and select a new color to fill your background layer with.
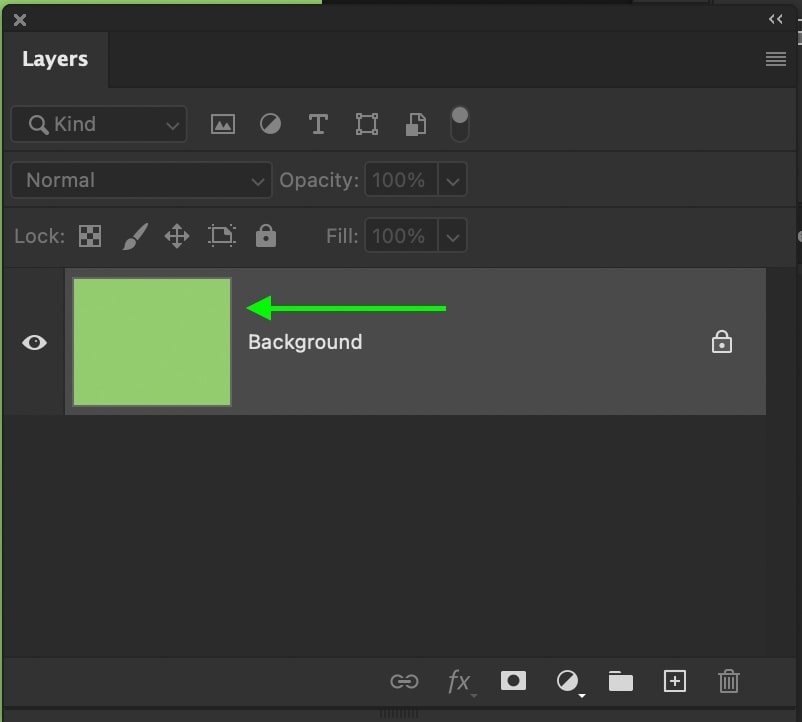
Now that your foreground color is set ensure that your background layer is selected in the Layers Panel. Then, to apply your new color, press Alt + Delete (Win) or Option + Delete (Mac) to fill the layer with your foreground color. Even if your layer is locked, it will fill the background with your updated color instantly.
How To Change The Color Of Fill Layers In Photoshop
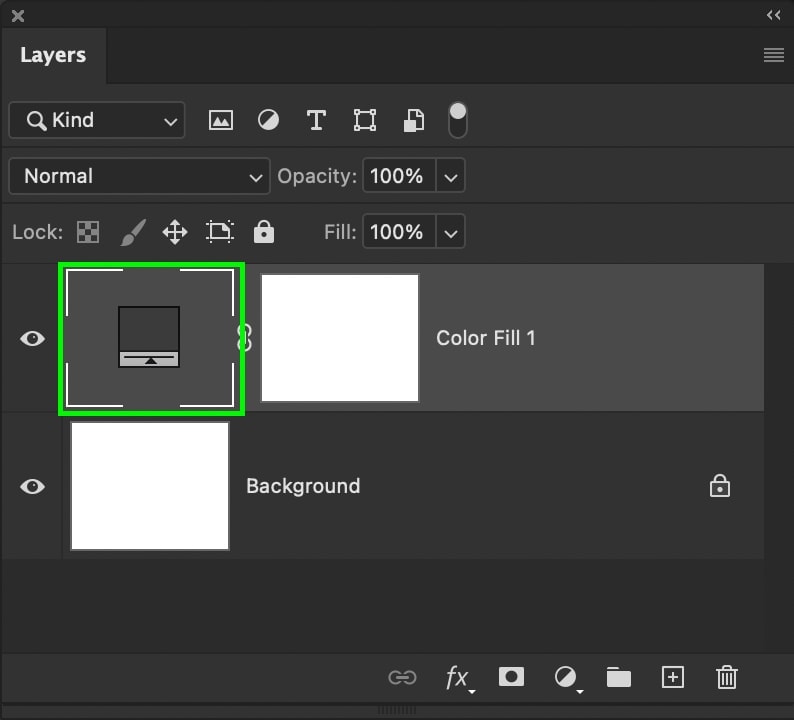
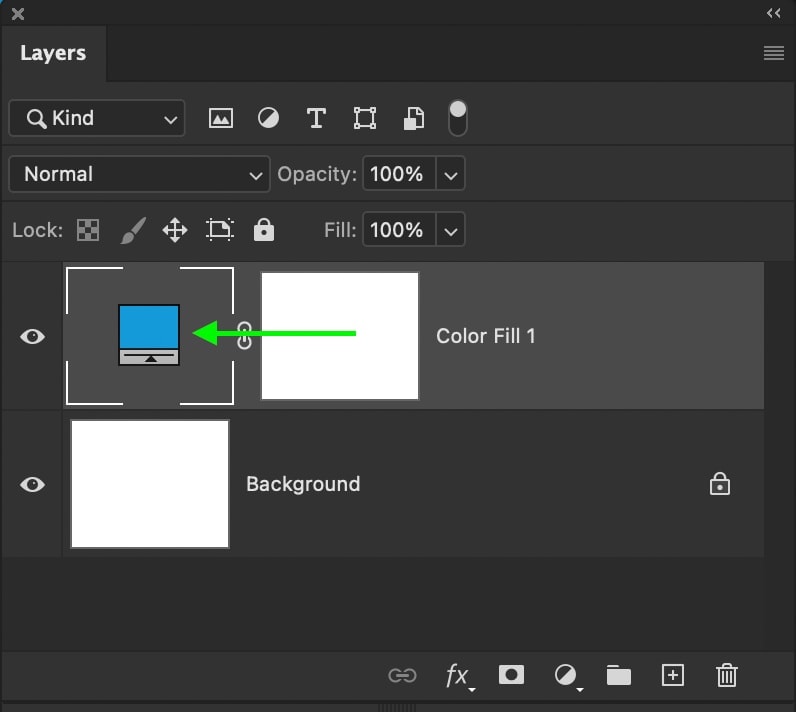
Fill layers are great for changing the color of a background or using a clipping mask to change the color of objects in your project. If you change your mind and want to edit the color, double-click on the fill layer thumbnail to reopen the color picker.
Here, you can update and change the color just like you did when first creating the color fill layer. Click OK to apply the updated color.
How To Fill A Transparent Layer With Color
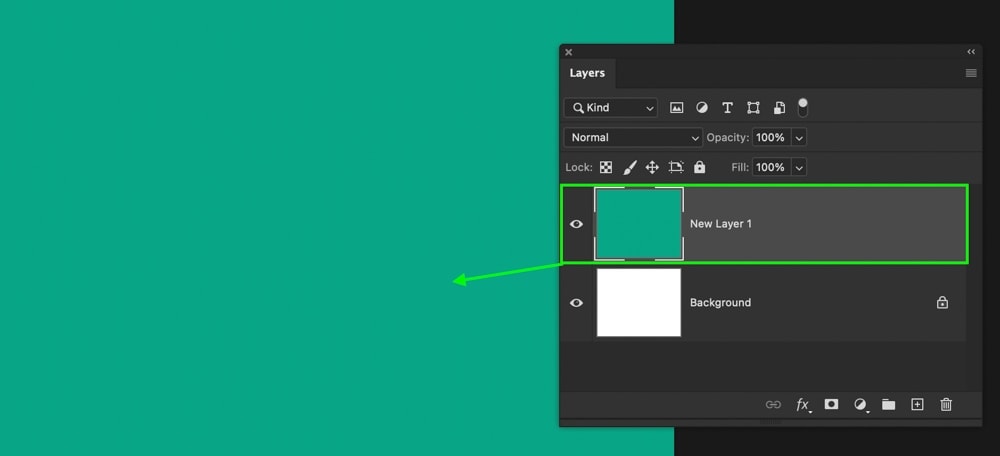
This process is very similar to changing the color of an existing background layer. After creating a new layer, make sure it is selected in your Layers Panel. Then click on your foreground color to reveal the color picker and choose a color to fill your new layer with.
With your color chosen, press Alt + Delete (Win) or Option + Delete (Mac) to fill your selected new layer with the solid color.
Now you know the ins and outs of changing the color of layers in Photoshop from images, shapes, text, and more! The process for each is pretty fast to accomplish once you remember all the steps. After you have everything nailed down, these color-changing tips will come in super handy for all of your future Photoshop endeavors.
Happy Editing!
Brendan 🙂


