

Creating a new document is one of the essential functions of Photoshop — but we all know how many complex settings Photoshop has, so even something that seems simple may have some necessary steps to learn. There are a few different ways to create and save documents and document templates.
How To Create A New Document In Photoshop
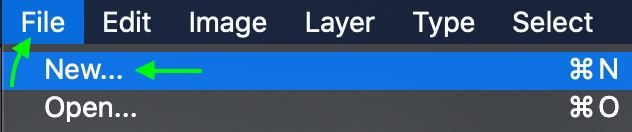
To create a new document in Photoshop, go to File > New to open the New Document dialogue box or press Command + N (Mac) or Control + N (Win). In the New Document dialogue box, set the desired width, height, and resolution for your new project, or choose a preset document option and click “Create.”
Let’s break that down further.
Creating a new document in Photoshop is simple, but there are a few crucial steps and settings to understand that will help you create the best document for your needs. From the start screen, click the New file button.

If you’d like to create a new document and you’ve already opened up Photoshop’s workspace, head to File > New. You can also press Control + N (Win) or Command + N (Mac).
Once you create a new file, either from the Start screen or from the workspace, the New Document window will appear.
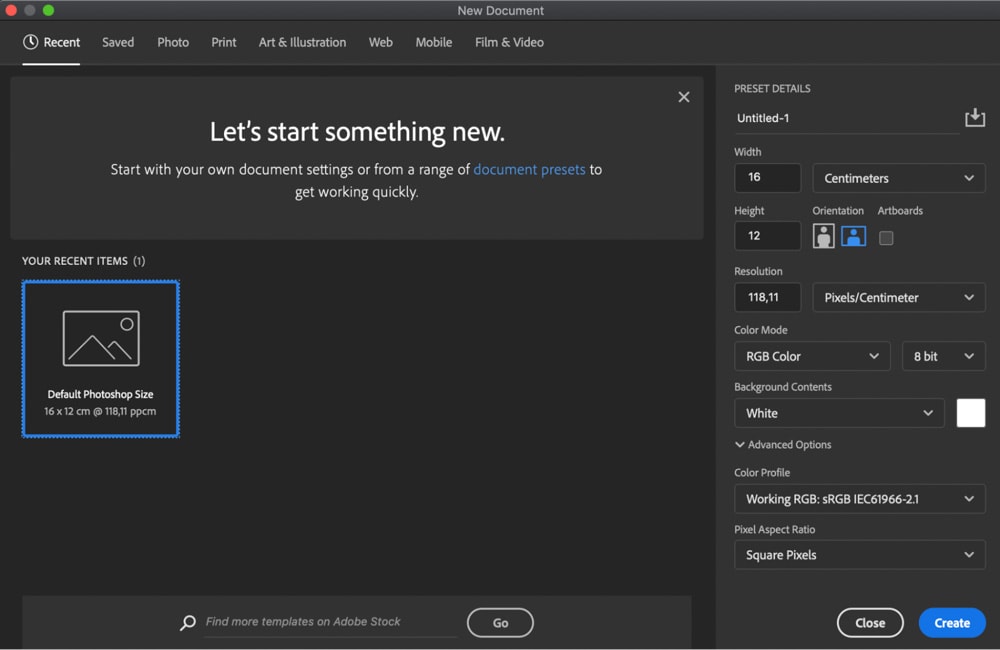
Here, you will see various settings for the new document. Along the top, you’ll find any document templates you’ve saved or used recently and templates that come with Photoshop for Photo, Print, Art & Illustration, Web, Mobile, and Film & Video.
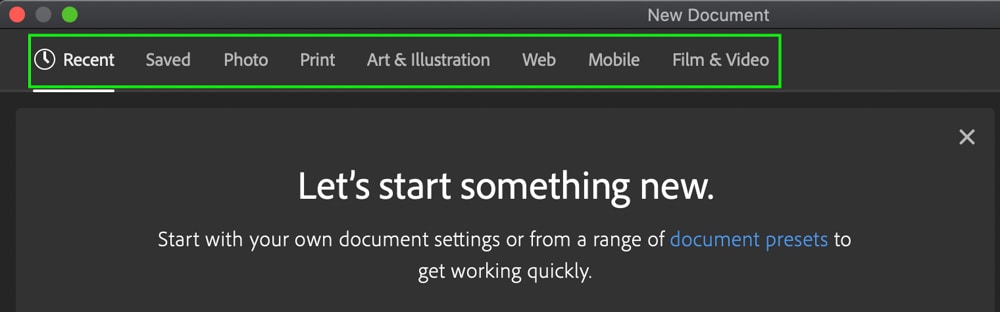
These document templates are already set to reflect specific settings, so browse through them in case they might fulfill your needs. These can be shortcuts that allow you to skip some steps when creating a new project.
Otherwise, you can head to the panel on the right to see various settings you can adjust to fit the type of document you need (we’ll get into how to save these settings as a template in a bit).
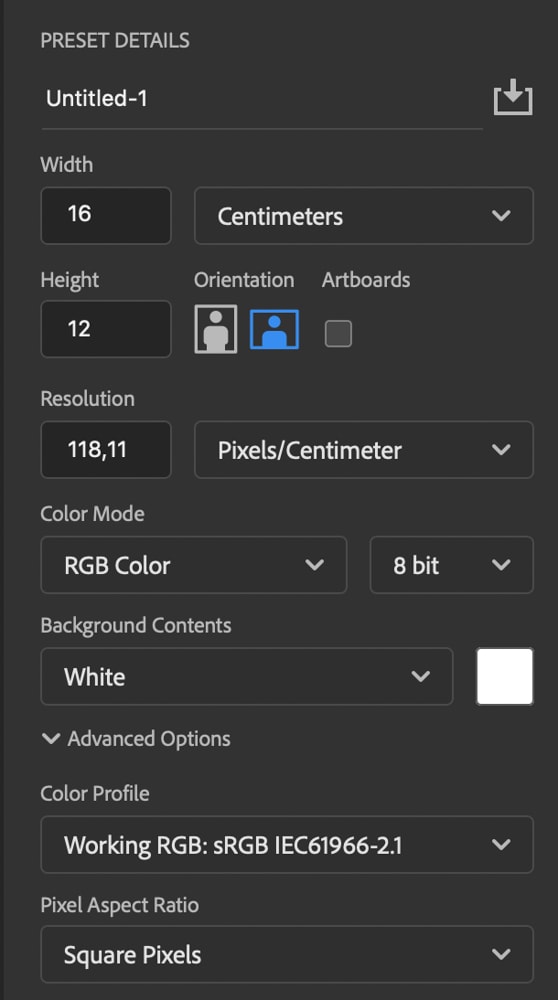
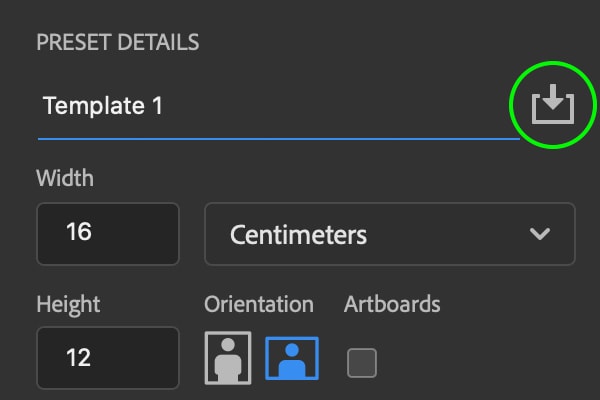
At the top, you can name your document. Under Orientation, you can choose whether you’d like to create a portrait or landscape document.
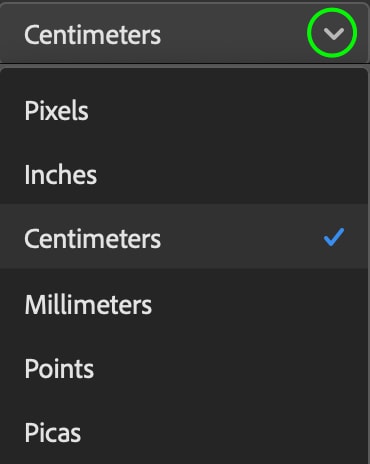
You can also set the Width and Height of the document in whichever unit of measurement you’d like. Click the unit drop-down menu to see the available options: Pixels, Inches, Centimeters, Millimeters, Points, or Picas. Check the block next to Artboards to create a project using Artboards instead of one canvas.

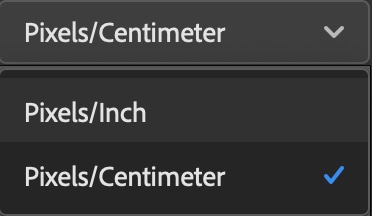
Next, you can set the resolution of your document. Click the drop-down arrow to select whether you’d prefer to use pixels per centimeter or pixels per inch as your unit of measurement. Then, you can edit the text box to change the resolution.
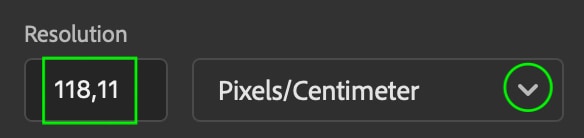
The resolution will likely already be set sufficiently, but feel free to change it to meet your needs. Keep in mind that the higher your resolution, the larger the file size.
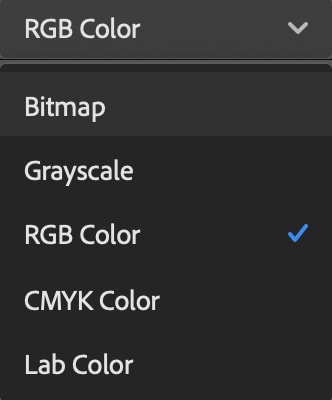
Below the resolution settings, you can set the Color Mode. Unless you’ve changed it before, it will automatically be set to RGB Color. Click the drop-down arrow to see the other options. Each color mode will give your image a slightly different appearance color-wise, but generally, RGB is the one you should use.
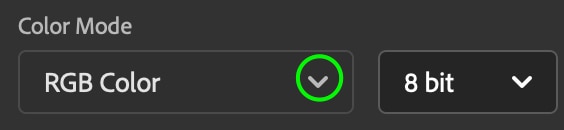
Unless you’re familiar with color modes or need to use a specific mode for a project, it is best to leave this set to RGB Color because this color mode will maintain color integrity without leaving you with distorted colors.
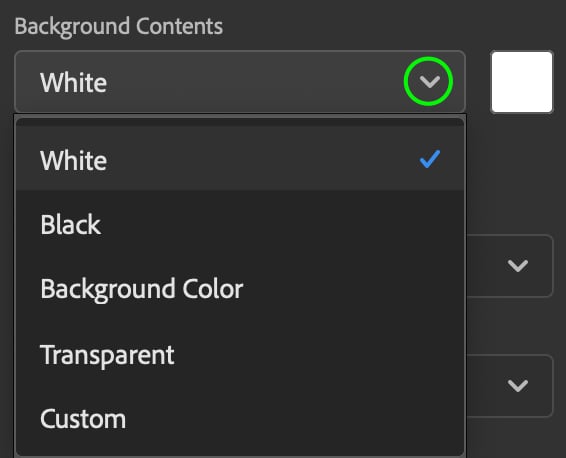
Next, you can click the drop-down arrow next to Background Contents to set the background color of your document. Unless you’ve set this setting differently, the background color will automatically be set to white, but you can change it to black, transparent, or any custom color you’d like.
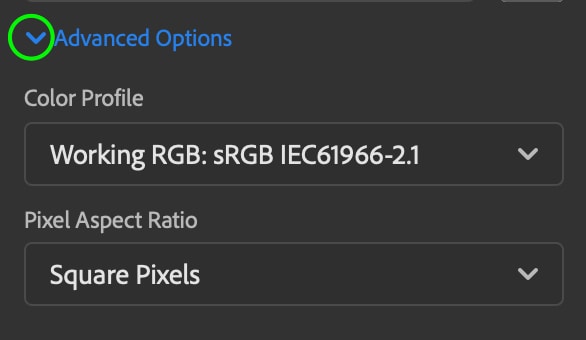
At the very bottom, you can click the arrow next to Advanced Options to see a few more complex settings. Here you can set the Color Profile and Pixel Aspect Ratio, but these settings are only recommended for advanced users, as they are pretty high-level and may have unexpected effects on your project and workflow. I suggest leaving the Color Profile to sRGB and the Pixel Ratio to Square Pixels.
Once you’ve set your document settings the way you’d like, click Create.

Your document will appear as a new tab for you to work on your project in the Photoshop workspace.
How To Save New Document Templates In Photoshop
Once you’ve created a document, you’ll have the option to save the document as a template. As I mentioned, templates are documents with all the settings pre-set. You can use one of the templates that come with Photoshop or save documents you’ve made as templates to reuse for other projects. Saving a new document as a template can save you some time and steps if you plan on creating more projects with the same document settings.
To save a new document as a template, first, you’ll need to open a new document and set the settings the way you’d like in the window. Once you’re satisfied with the document’s settings, stay in the window (don’t press Create yet) and click the Save Preset button next to the document’s name.
You will see the Save Document Preset settings appear in this panel. Here you can name your preset whatever you’d like and click the Save Preset button.

This document template will appear under the Saved tab in the New Document window. You can access your templates whenever you’re in this window.
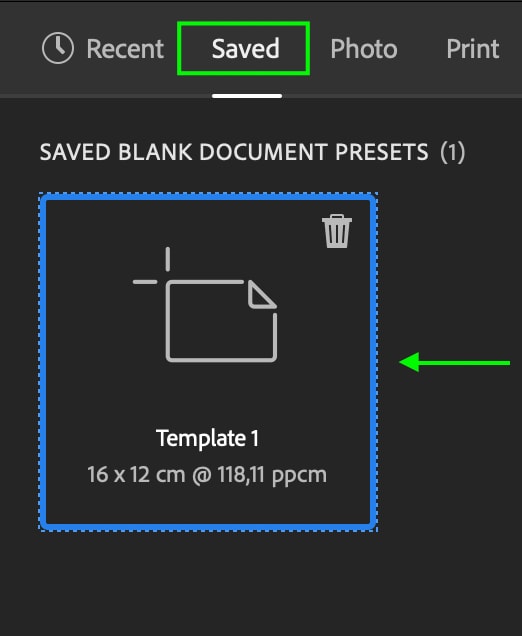
You’ll have the document ready to go the next time you need to work on a similar project.
How To Save An Existing Document And Create A New Document In Photoshop
Photoshop allows you to work on multiple documents simultaneously, keeping track of them using the tabs at the top. The tabs are useful as you can start a new project before finalizing the one you’re working on.
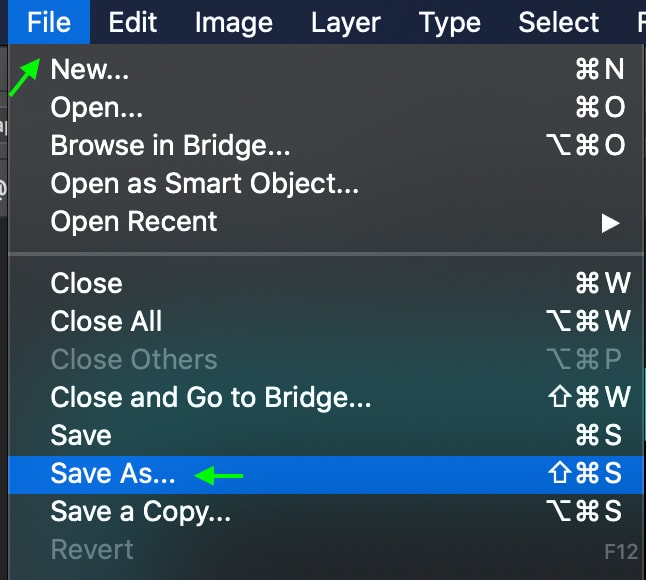
Remember to save your project, so you don’t lose your work, and save it as a .psd file so that you can access your layers and other edits when re-opening the document. If you’ve already got a project open in Photoshop that you’d like to save so you can start working on another, head to File > Save As. You can also press Shift + Control + S (Win) or Shift + Command + S (Mac).
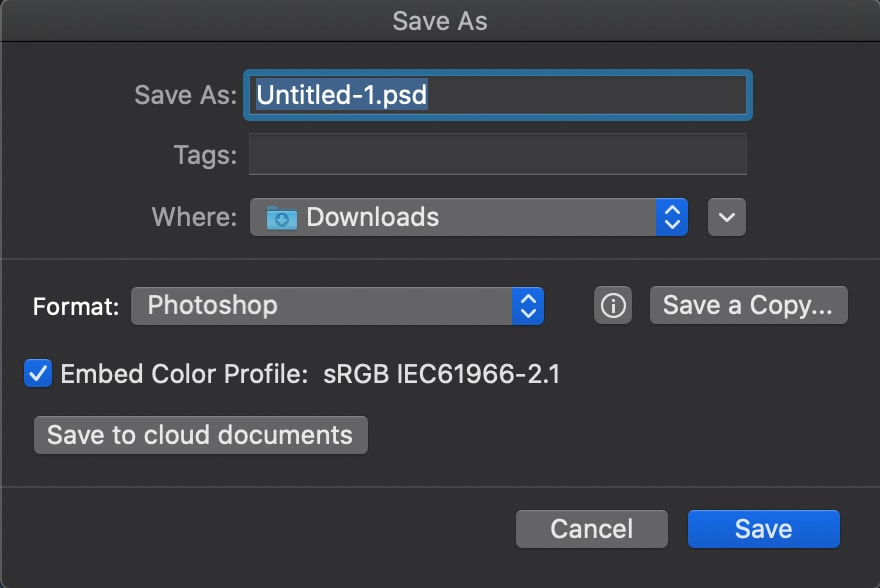
You’ll see the Save As window appear. Here, you can name your project and set its location in your files. Make sure the file ends with .psd before you click Save.
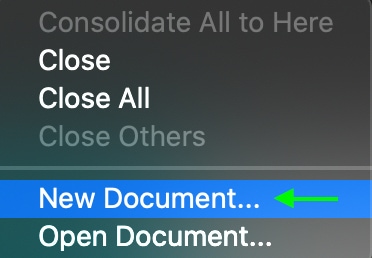
Once you’ve saved your project, you can create a new document in a separate tab by right-clicking the empty space next to the current project you have open.

Click New Document from the options that appear.
Set the document settings the way you’d like when the New Document window appears and click Create. You’ll then see the new document appear in the tab next to the other project. You can switch between these tabs as needed, and rest assured that the first project you started is saved as a .psd file.

Ultimately, creating new documents in Photoshop is pretty straightforward and the settings are easy to adjust. If you’re unsure which sizing to use in your next project, check out this guide to the best canvas sizes to use in Photoshop.
