

Choosing the correct canvas size in Photoshop plays a critical role in the quality of your work. In some cases, you will easily find the right canvas size for a project, such as in guidelines or your project brief. In other cases, you will have to think about where you will display your work and how people will see it before making your decision.
In this article, I will share tips on choosing the right canvas size in Photoshop, no matter where you plan on sharing your work. You will also find some helpful recommendations for the common canvas sizes for specific projects within the program.
For Digital Art & Drawing
The canvas size for digital art and drawing depends on the type of art. For example, a poster may require one size, but an illustration for an ebook requires another size.
However, some canvas sizes guarantee excellent results for both digital art and drawing. I recommend setting your canvas to a minimum of 2000 x 1200 pixels with a resolution of 72 PPI for screens or 3300 x 2550 with a 300 DPI for print. This will reduce pixilated or blurred areas in your drawings.
Another good idea is to set your canvas to a bigger size than the size you need and scale it down when exporting it. That will allow you to work on your piece with higher efficiency and still export a high-quality image.
However, it is important to consider that a large canvas may cause Photoshop to run slowly, causing lags and other similar issues.
For Logos
Since logos are usually designed with vectors, the choice of your canvas size can vary in these cases. That’s because you can stretch or shrink vectors to fit different areas, and they won’t lose quality. I recommend you set your canvas to a size that gives you enough space to experiment with different elements. Thus, a minimum size of 500 x 500 pixels is preferable.
For Website Images
Canvas sizes for website images depend on the website section you intend to display the images. For example, if you want to use an image in the header section, you should choose an appropriate size for that section. Most websites nowadays work with headers at 1024 x 768 pixels.
All other website images should range between 300–3000 pixels wide. However, if the image is a logo or thumbnail, the size can drop to 100 x 100 pixels.
Furthermore, set the resolution of website images to 72 PPI, so that images don’t have a bloated file size.
For Instagram
Like any other social media platform, Instagram has strict image size requirements. For example, posts on the news feed must be at least 1080 x 1080 pixels. Thus, when you are creating a post for the news feed, you should set your canvas to that size.
You can set images to higher resolutions as long as you maintain the 1:1 aspect ratio for the news feed posts. For example, if you set your canvas to 2160 x 2160 pixels, the image will still fit the platform’s required size. As for vertical images, the dimensions don’t matter as long as the image has a 4:5 ratio.
You can learn how to change the aspect ratio in Photoshop here.
Ultimately you must follow Instagram image size requirements for this. That is because if you post images in smaller sizes than those specified by Instagram, they will have borders around them. If you post images at a different ratio than those recommended, they may be cropped.
For Facebook
Facebook has strict image size requirements that you need to consider while creating your canvas in Photoshop to ensure optimal responsiveness.
For example, when you upload your file as a cover photo, it will be shown as an 820 x 312 pixels image on the web and as a 640 x 360 pixels image on mobile.
Because of this, the ideal canvas size for a cover photo is 820 x 360 pixels. However, you shouldn’t fill all the canvas with content because some portions of the cover photo won’t be visible on one device or another.
The space that you should fill with content is 640 x 312 pixels, which is a safe zone because it is an area that will be visible across different devices.
The profile picture recommended dimension on Facebook is 180 x 180 pixels with an aspect ratio of 1:1. You can also create a larger canvas size as long as you keep the aspect ratio.
For Twitter
On Twitter, your canvas size should follow the platform image size guides. For example, the standard Twitter profile picture has to be at least 400 x 400 pixels with a 1:1 ratio. The best Twitter header size is 1500 X 500 pixels with a 3:1 ratio, while posted images are best at 1024 x 512 pixels.
For Youtube Thumbnails
The YouTube recommended resolution for thumbnails is 1280 x 720. You can set your canvas to this size or bigger, but the aspect ratio should be kept at 16:9.
For Merch Printing
Canvas size for merch printing should be based primarily on the physical size the design will occupy. Although this size will depend on your project, these are general guidelines on how to size your canvas based on the print size of your project.
- A 5 x 7-inch print, needs a minimum canvas size of 1024 x 768 pixels.
- An 8 x 10-inch print, needs a minimum canvas size of 1536 x 1024 pixels.
- A 16 x 20-inch print, needs a minimum canvas size of 1600 x 1200 pixels.
As for the resolution, always keep it at 300 DPI when designing for print.
How To Change Canvas Size In Photoshop
You can set and change the canvas size when creating a new document or working on a project in Photoshop.
– Set The Canvas Size When Creating A New Document
After opening Photoshop, click the New File button on the top left corner of the home screen.
Alternatively, if you are already in the Photoshop workspace, go to File > New or press Control + N (Win) or Command + N (Mac).
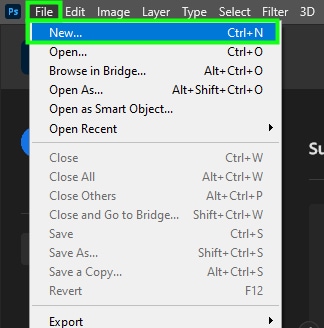
This will open up the New Document panel.
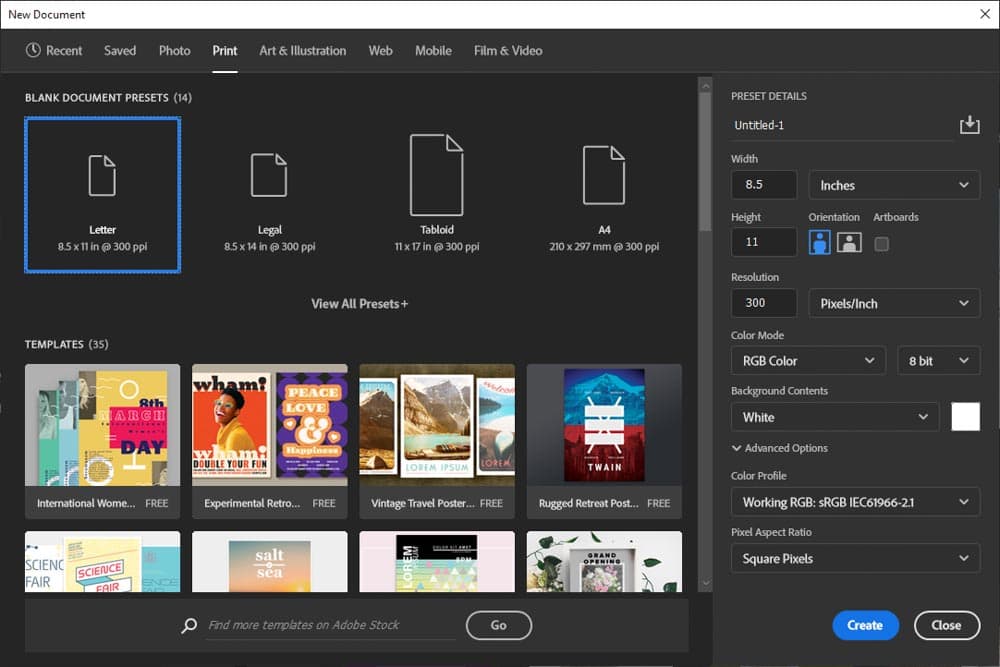
You can find canvas presets by clicking the menus at the top of the panel.

Each menu has several default canvas size options for you to choose from.
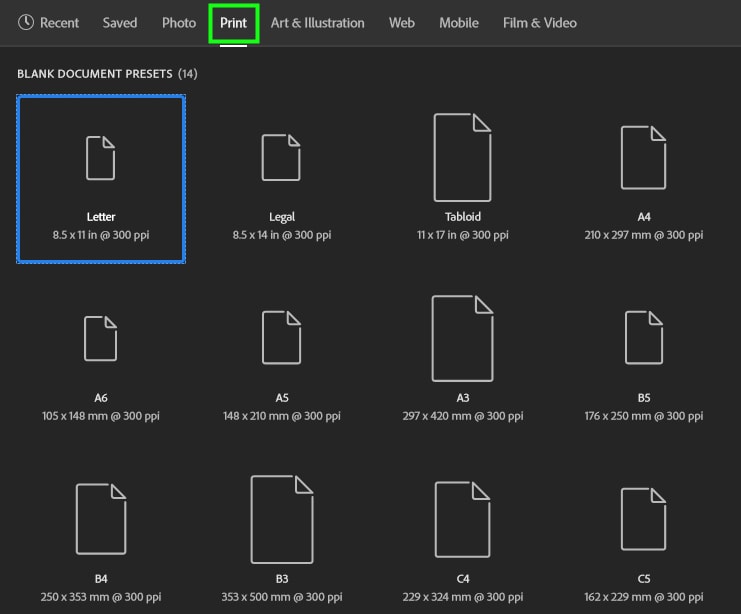
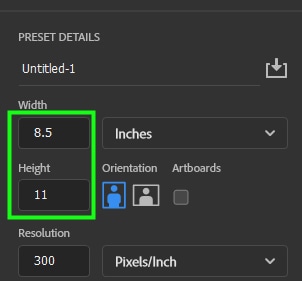
Once you click any of these options, Photoshop will display the new canvas dimensions on the right side of the panel. If you want a more customized canvas, you can alter its dimensions in this panel.
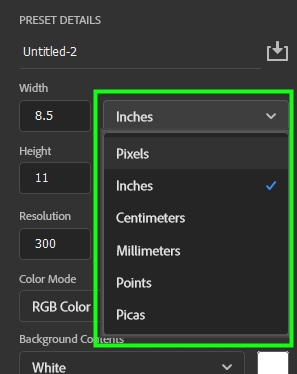
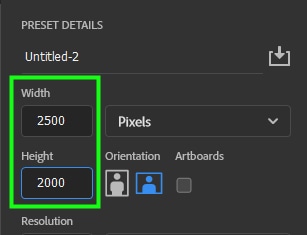
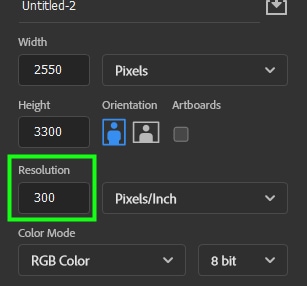
Since most canvas size guidelines are in pixels, you should change the unit of measurement in the drop-down menu.
Next, enter the desired values for the Width and Height of the canvas.
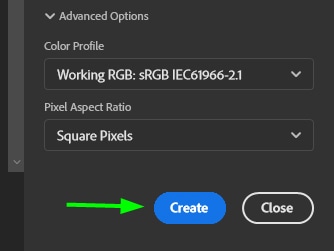
Lastly, change the resolution to the correct size for your project and click Create to make a new custom document.
How To Resize An Existing Canvas To A New Dimension
There are two methods to change an existing canvas to a new size.
Method 1: Change The Canvas Size
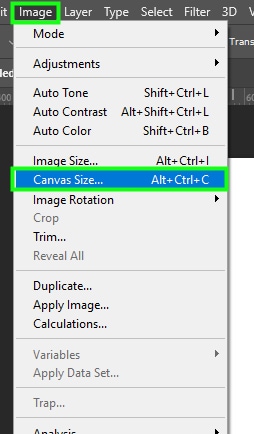
Go up to Image > Canvas Size or press Alt + Control + C (Win) or Option + Command + C (Mac).
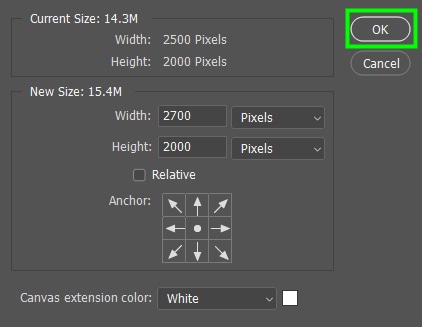
Then, enter the new canvas dimensions in the Width and Height options.
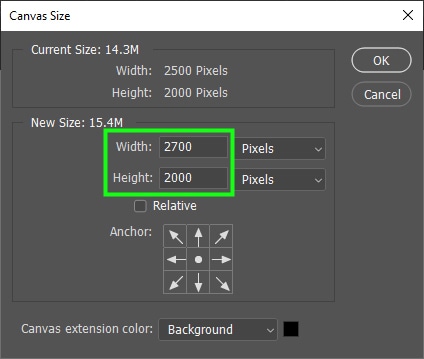
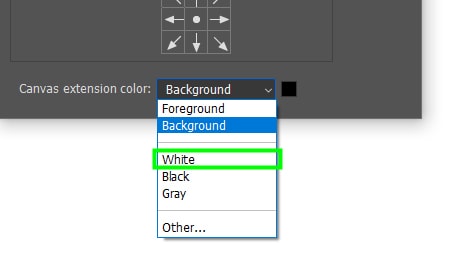
Next, change the Canvas extension color to the color of your existing canvas such as white.
Lastly, click OK to confirm the changes.
Method 2: Crop Tool
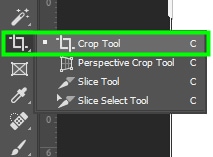
You can also resize your canvas by using the crop tool. To do that, go to the toolbar and select the Crop tool (C).
This will create handles around the canvas.
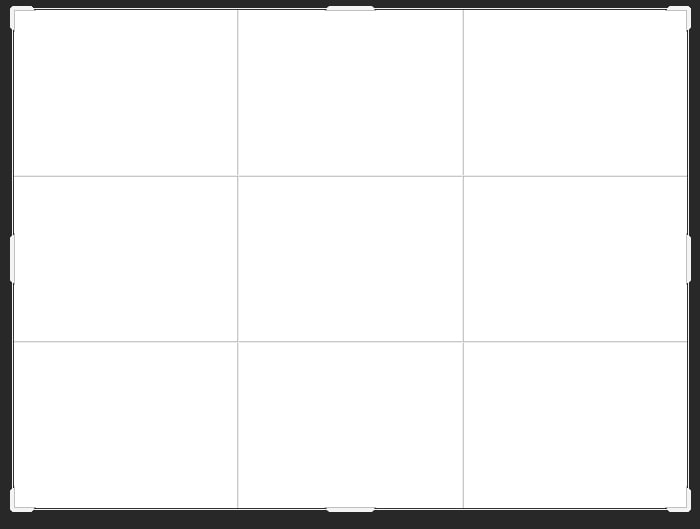
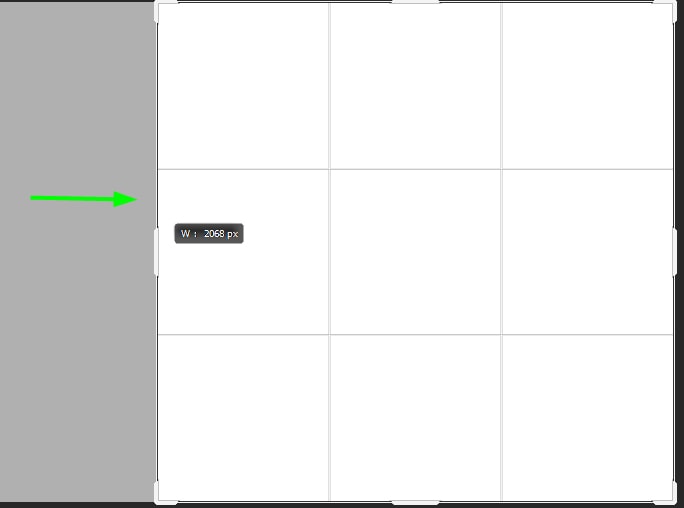
Move the side handles to the left or to the right to alter the width.
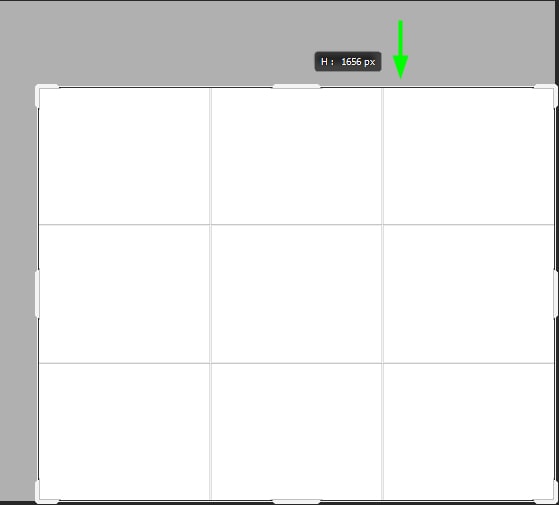
Move the top and bottom handles up or down to alter the height.
Which Resolution To Use In Photoshop
Resolution is vital for both photography and graphic design. A blurred or pixelated image can cause many issues, such as compromising its visibility. But before choosing the right resolution for your image, you should know what resolution is.
Images are composed of pixels or dots depending on how the image will be used. Digital images are made of pixels while printed images are made of dots. Resolution is measured in PPI – Pixels Per Inch, or DPI – Dots Per Inch. PPI is used to measure digital images and DPI measures images for print.
The number of pixels or dots per inch determines an image resolution. The more pixels or dots per inch, the higher the resolution, and vice versa.
Resolution For Printing
The best resolution for printed images is 300 DPI. This resolution works with any printed material and guarantees that printed images are fully visible and sharp.
Resolution For Digital Images
Digital images require a smaller resolution than those printed because they take longer to load on browsers if they’re too big and still look clear on screens at a lower resolution. Nowadays, the best resolution for digital images is 72 PPI, which guarantees your image won’t be pixelated on digital displays.
What Happens If Your Canvas Is Too Big Or Small?
There are some downsides to choosing an extremely big or small canvas to work with.
If you work with a small canvas, Photoshop will reduce the resolution of the image to fit it on the new canvas, which often results in a pixelated image.
If you work with a big canvas, Photoshop will stretch your image, making it look blurred. Besides, an extremely big canvas might slow down Photoshop and even cause your computer system to crash.
That’s why it’s important to choose a canvas size that’s in a reasonable range for the purposes you intend to use the image for. Rather than making the biggest canvas possible for the best quality of image, simply consider the minimum requirements of where you’ll be sharing the photo or design. That way you can guarantee a good quality image while having a project size that doesn’t strain your computer.
Happy Editing!
