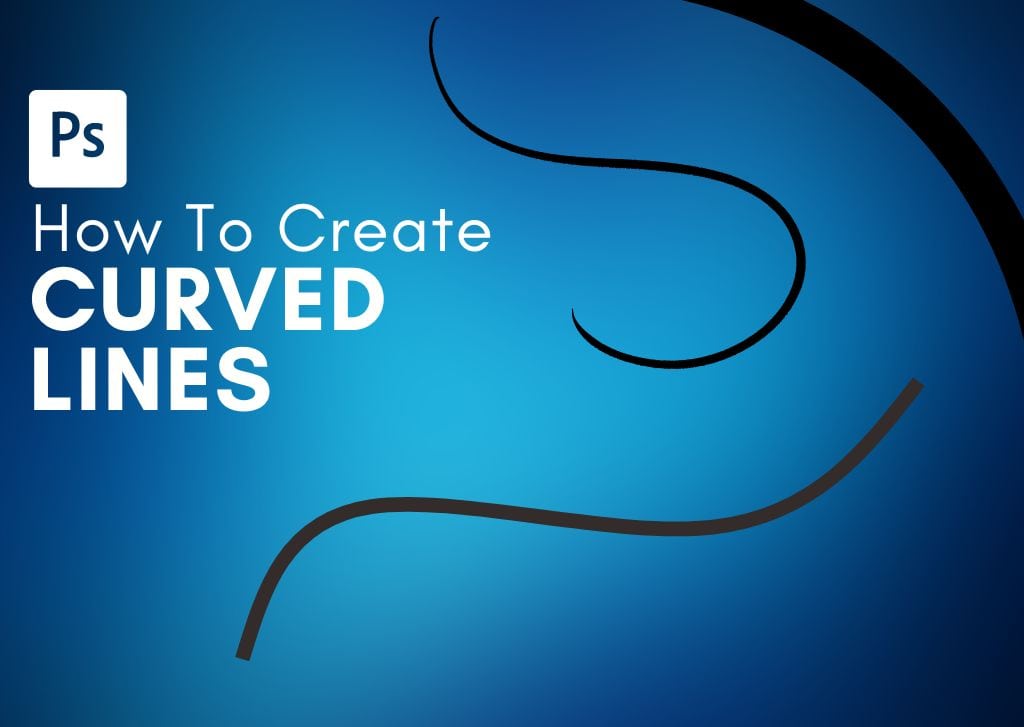

The Line Tool is great, but it doesn’t offer much when you need to draw a curved line in your Photoshop projects. Luckily, there are easy ways to create curved lines in Photoshop with the help of a path.
The first method you’ll learn here is the fastest way of doing things, while the second gives you some more creative freedom with how your curved line looks with the help of brushes.
How To Draw A Curved Line In Photoshop
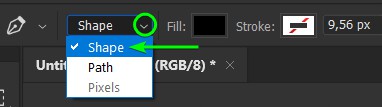
Step 1: Activate The Pen Tool (P) And Set The Mode To Shape
Start with an open project or new document and head to the Pen Tool (P) in the Toolbar.

In the Options Bar, click the Mode drop-down arrow and change the mode to Shape.
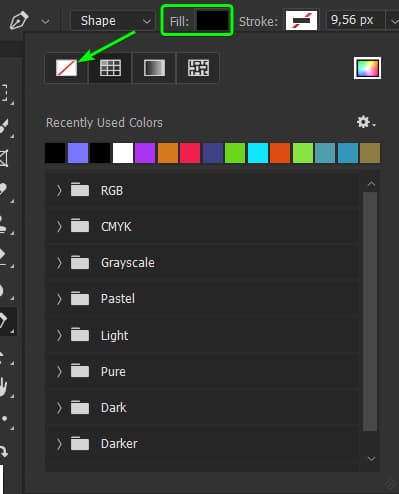
Step 2: Set The Shape Fill To Transparent And The Stroke To A Color
Now, you’ll need to set the shape’s Fill to transparent. Click the Fill box in the Options bar. At the top, click the Transparent icon, the first from the left, to ensure the shape fill is transparent.
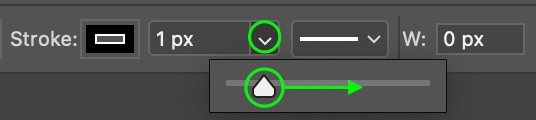
At this point, you can set the appearance of your line by adjusting the stroke settings. In the Options bar, you can change the stroke’s Color by clicking the Stroke Fill Box and choosing from the options.
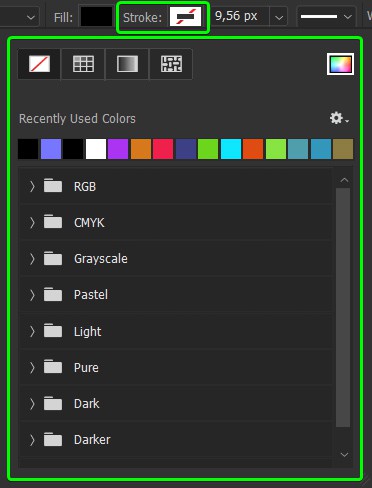
You can then set the line’s thickness in pixels by entering a number or dragging the toggle along the width slider.
Step 3: Add Anchor Points To Create A Path
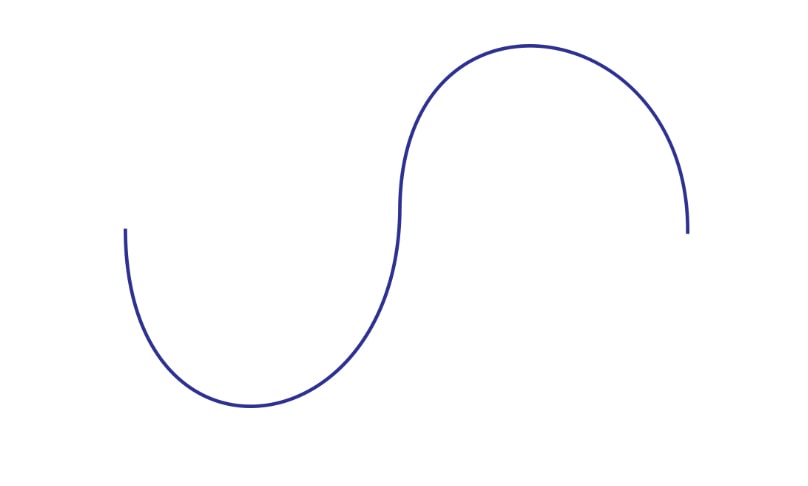
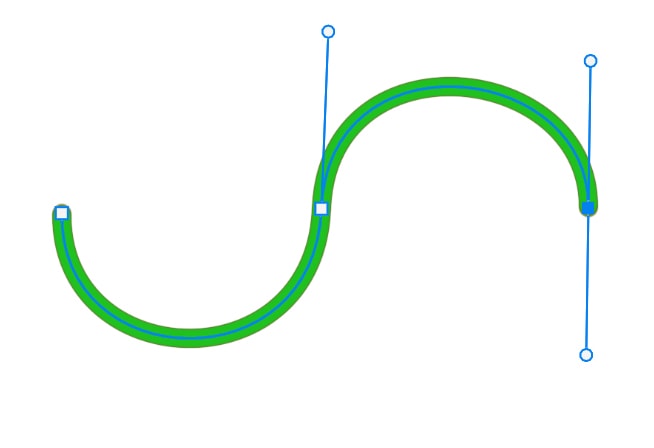
Now, click on your canvas to add an anchor point that sets the starting point of your line. Then, click on another area of your canvas and drag up or down to curve your pen path. This will create a curved line on your project since a stroke fill is applied to your pen path.

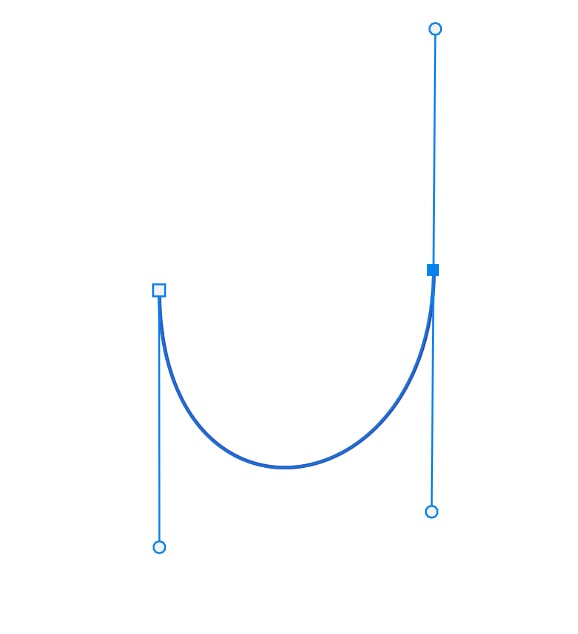
If you’d like, add more anchor points to continue the curve. Once again, just click and drag as you add additional anchor points to curve your line. The line will appear with the stroke settings you chose.
Step 4: Change The Line’s Appearance Within The Stroke Settings (Optional)
You can alter the appearance of the line once it’s created by heading to the Options Bar and further adjusting the stroke settings.

For instance, if I want to change the color and thicken the line, I can change the stroke fill and increase the thickness within the stroke width setting box. Now, the line looks different despite still following the same path as before.

How To Draw A Curved Line With The Brush Tool (Alternate Method)
The other method of curving a line uses the Brush Tool (B) to give you more customization options. For instance, lines made with the Brush Tool can have a rounded end, while otherwise, you’d only have a boxy end. You can also decrease the brush’s Hardness to give the line a softer edge.
Follow the previous method to create a path on the canvas. However, set the Pen Mode to Path for this method to work.

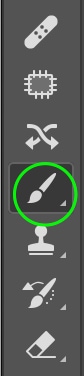
Step 1: Select The Brush Tool (B)
Once you have a path on the canvas (use the following section for details), select the Brush Tool (B) from the Toolbar.
Step 2: Set The Brush’s Appearance
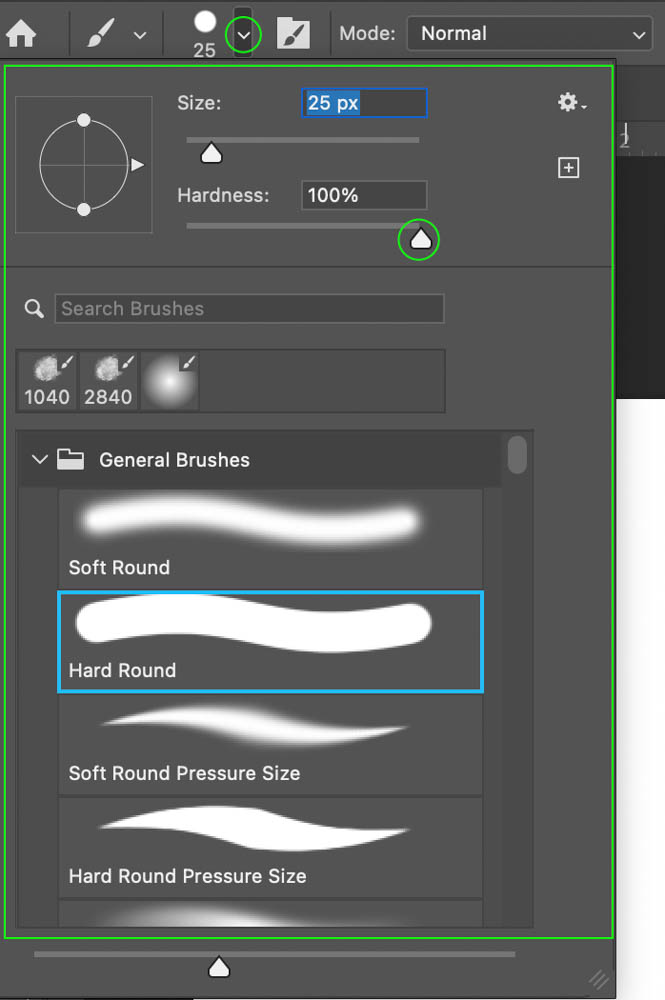
In the Options bar, set the Brush tip by clicking the icon and selecting the type of brush in the panel. The brush you choose depends on how you want your line to look.
For my purposes, I’ll choose a Hard Round brush with the Hardness set to 100. Reduce the hardness if you’d like a more feathered line.
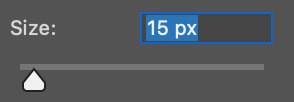
You also want to ensure the line doesn’t end up too thick by setting the width of the brush stroke. You want something relatively small. This will dictate the thickness of your line.
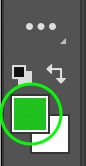
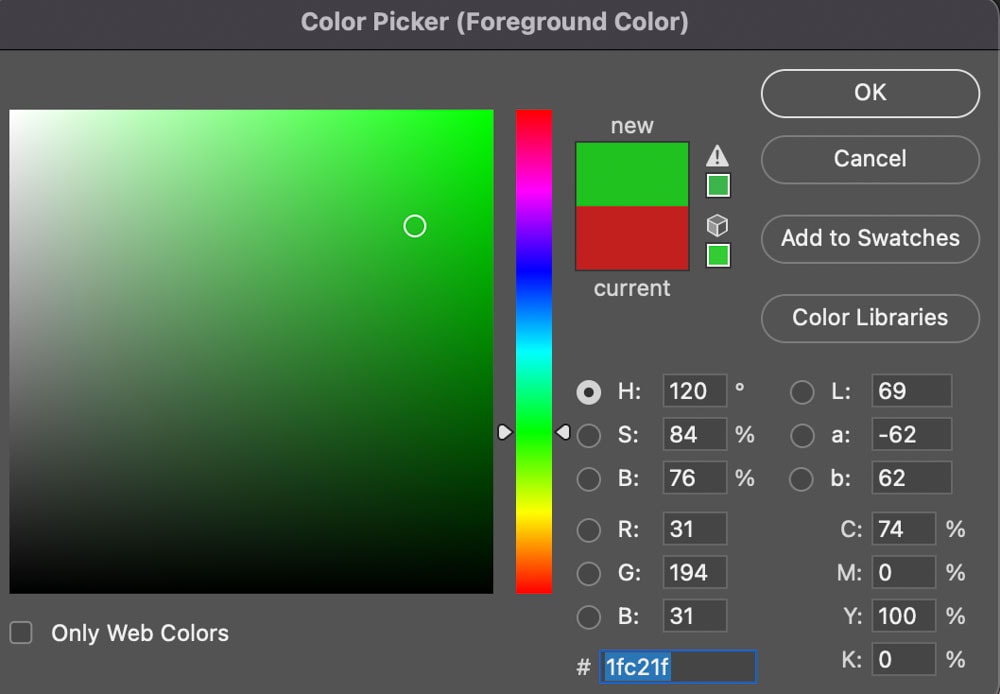
Finally, you can set the color by clicking the Foreground Color Picker in the toolbar and selecting the color from the Color Picker Window. Click OK, and the settings will save as your default brush style.
Step 3: Open The Path Panel And Stroke The Path
Once you’ve set the brush’s appearance, it’s time to add a stroke to the path. Open the Path Panel by heading to Window > Paths. At the bottom of the Paths Panel, click the Stroke Path icon, which looks like a hollow circle.
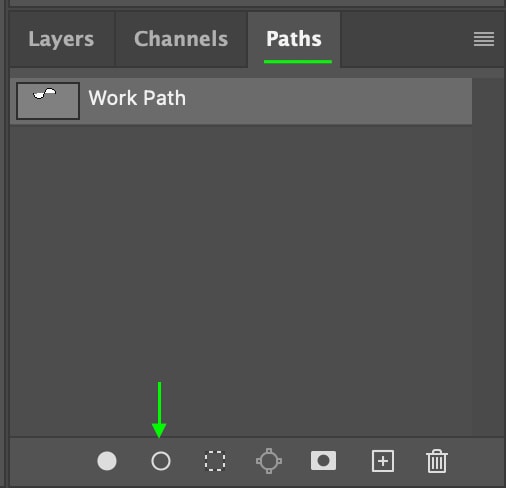
Once you click this, the brush settings you set before will be applied to the path on your document.
Step 4: Adjust The Appearance (Optional)
If you’d like to, you can further adjust the look of your line by returning to the Brush Settings and adjusting the appearance of the brush.
Once you’ve adjusted the brush settings how you’d like, such as changing the color and the type to a soft brush, return to the Paths Panel and click the Stroke Path icon again. The line will change to match the new brush settings.

Creating curved lines has nothing to do with the regular Shape Tools in Photoshop, which has always surprised me. Luckily, with the help of the Pen Tool, they are still quick and easy to draw on any project!


