

The Brush Tool in Photoshop is a great way to add certain elements to your project. However, if you don’t know how to change the color, you’re going to be limited in your creative options. Luckily, learning how to change brush color in Photoshop is quick and easy.
To change the color of your brush in Photoshop, first select your Brush Tool (B), then click on the top color swatch of the color picker found at the bottom of the toolbar. In the color palette that appears, select your desired brush color, click OK, and begin painting with your new brush color.
There are many different ways to change the color, so let’s get started!
Lesson Summary
- Step 1: Select The Brush Tool (B)
- Step 2: Click The Foreground Color Swatch
- Step 3: Select A Color In The Color Picker And Click OK
Option 1: Change Brush Color In Photoshop Using The Foreground Color Swatch
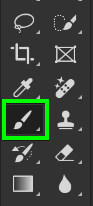
Step 1: Activate The Brush Tool (B)
To change the brush color, ensure the Brush Tool (B) is active.
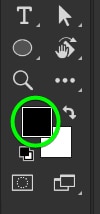
Step 2: Click On The Foreground Swatch
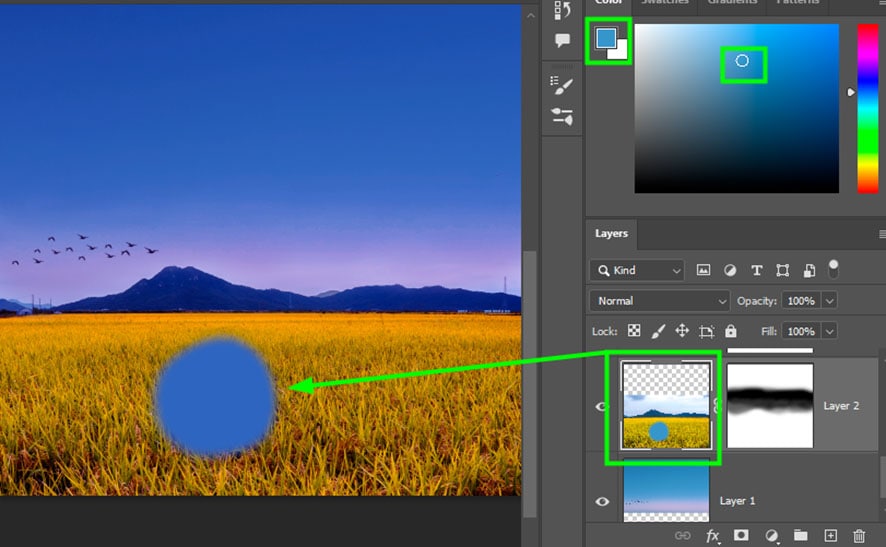
Click the foreground swatch in the Toolbar to open the Color Picker. You can also hold in Alt (Win) or Option (Mac) to temporarily access the Color Picker and quickly change the color.
Note: The foreground color affects the colors of pencils and brushes that you use and fills the shapes you create. The background color is used to apply gradients and other effects.
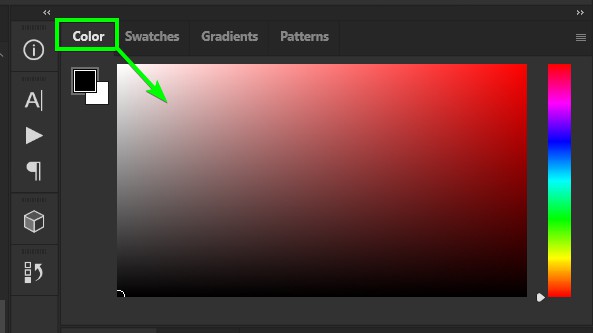
Step 3: Select A Color Using Color Picker
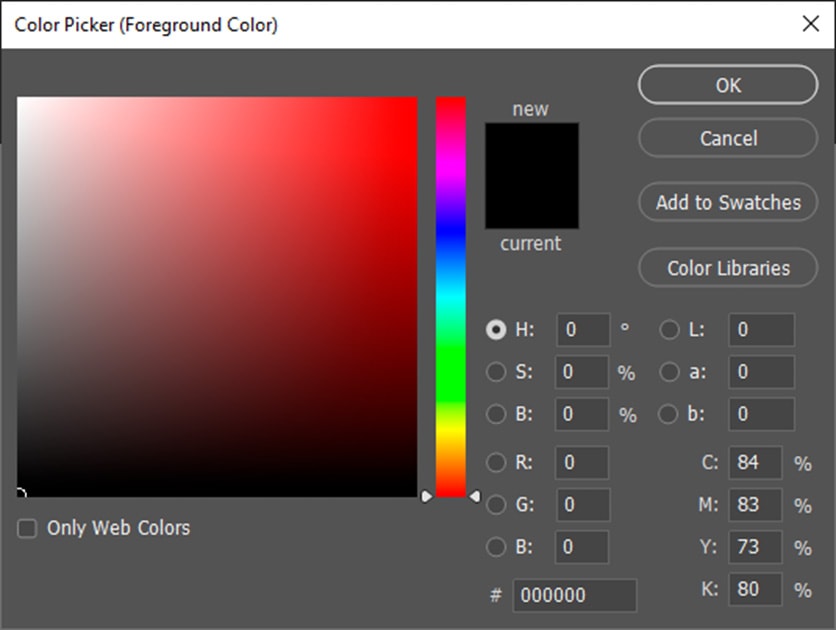
Now, you can pick a color from the Color Picker by clicking the slider in the middle of the panel. Then, click anywhere in the color fill to pick a shade of the color. Click OK to confirm the new color.
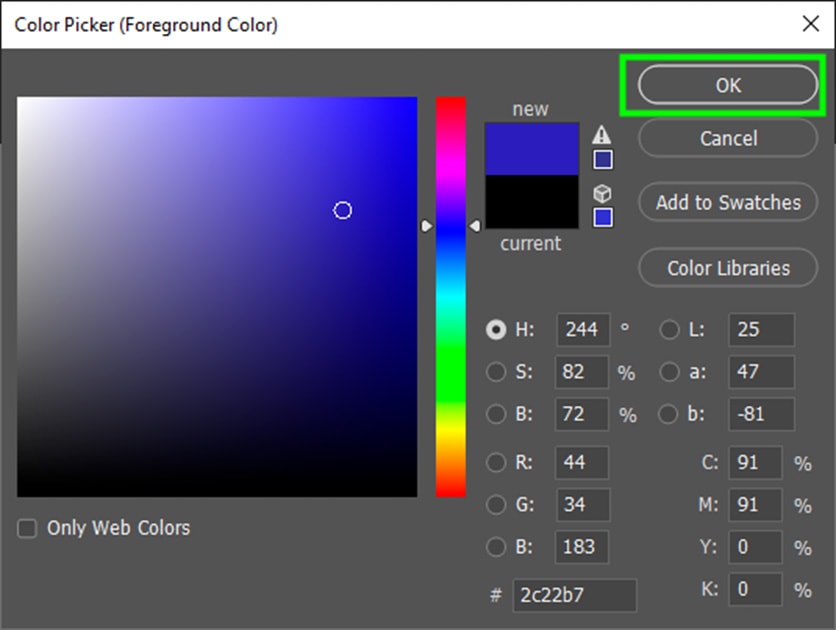
When projects require specific colors, you can input certain color values using the different color models that are available in the Color Picker. I explained these models later in the article.
Option 2: Change The Brush Color In Photoshop Using The Color Palette Panel
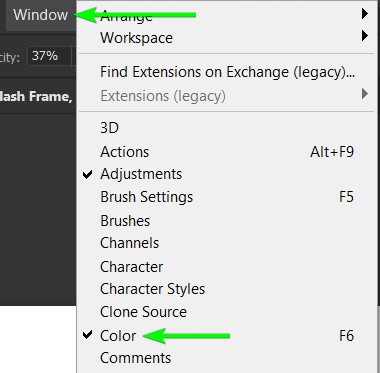
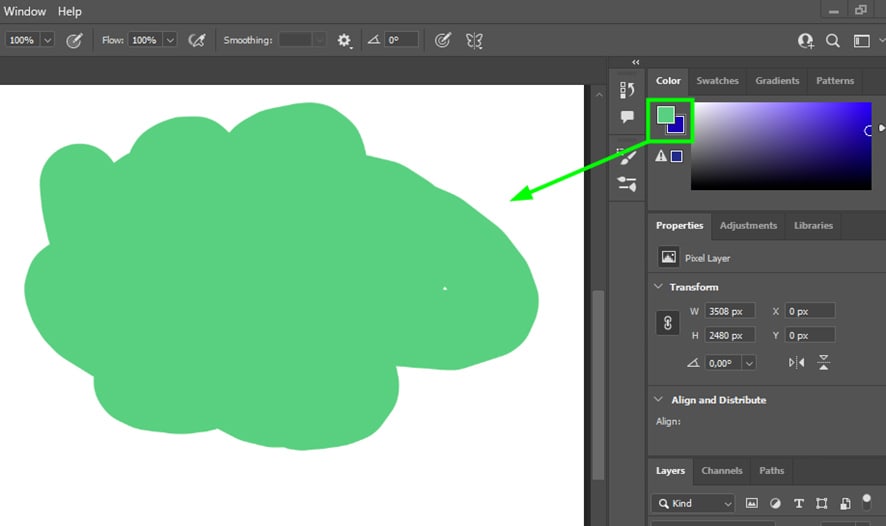
Step 1: Open The Color Palette In The Workspace
You can find the color palette panel on the right side of your workspace. If you can’t see the color palette panel, navigate to Window > Color (F6).
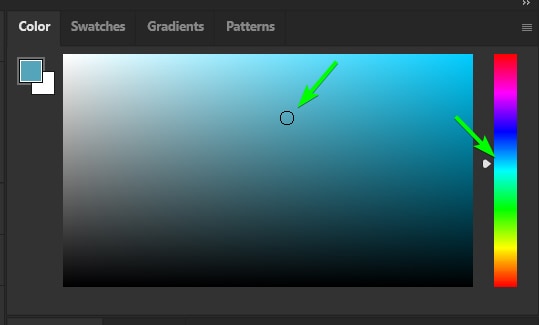
Step 2: Select A Color From The Slider And Fill Box
You can pick a color from this panel the same way you do in the color picker panel.
Step 3: Open The Color Picker Panel (Optional)
To enter any codes for colors, you can double-click the foreground color swatch on the left side of the panel. This will bring up the color picker panel, and you will be able to enter your desired codes.
What To Do When You Can’t Change Your Brush Color
Reason 1: You’ve Selected A Layer Mask
When you’re working with layer masks, the color swatch may be greyed out. This is because layer masks only recognize black and white. Any shades of gray in between black and white simply represent different levels of transparency.
To fix this, select the layer thumbnail linked to a layer mask, and the brush will paint your chosen color correctly.
Reason 2: You’ve Changed Brush Color In The Wrong Place
You need to select a foreground color for the color of your brush to change. If you change the background color instead, your brush color will not change. The brush will always paint the foreground color onto the canvas, so ensure you have changed the foreground swatch to the color you want to use.
Now, these are the most common issues with brush color in Photoshop, but if you are having other brush-related problems, see this guide to troubleshooting the Brush Tool.
The Color Models Explained
If you need a specific color for your project, it’s best to use one of the color models that are found within the color picker, which are HSB, RGB, and Hexadecimal.
1. HSB
HSB stands for Hue, Saturation, and Brightness. It‘s an intuitive color model that allows you to customize specific colors.
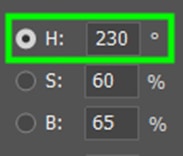
Hue
Hue is measured in degrees, so you can enter a value between 0 to 360. The degree corresponds to the color position in the color wheel, which is a tool used for choosing colors.
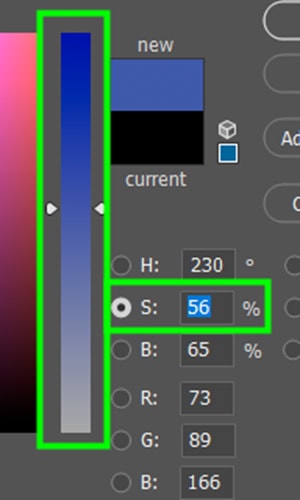
Saturation
Saturation determines the intensity of a color. A more saturated color is vibrant, while a less saturated color is dull. You can move the color sliders up to increase saturation or down to decrease it.
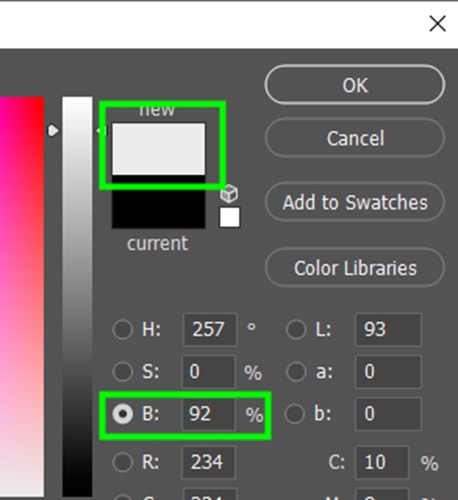
Brightness
Brightness determines the amount of white in a certain color. Like saturation, brightness is measured in percentage. The closer to 100%, the brighter the color.
2. RGB
RGB stands for red, green, and blue. This color model portrays how RGB colors are combined to create all the other colors we see on digital screens.
You can type in values between 0 and 255 for each RGB parameter. The closer to 255, the brighter the color. You can use an online RGB color generator to choose the right RGB color.
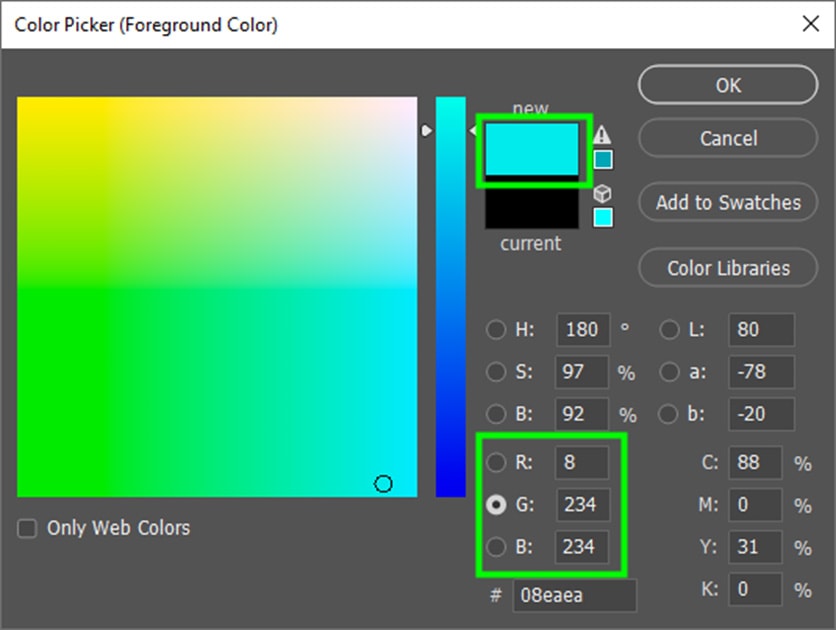
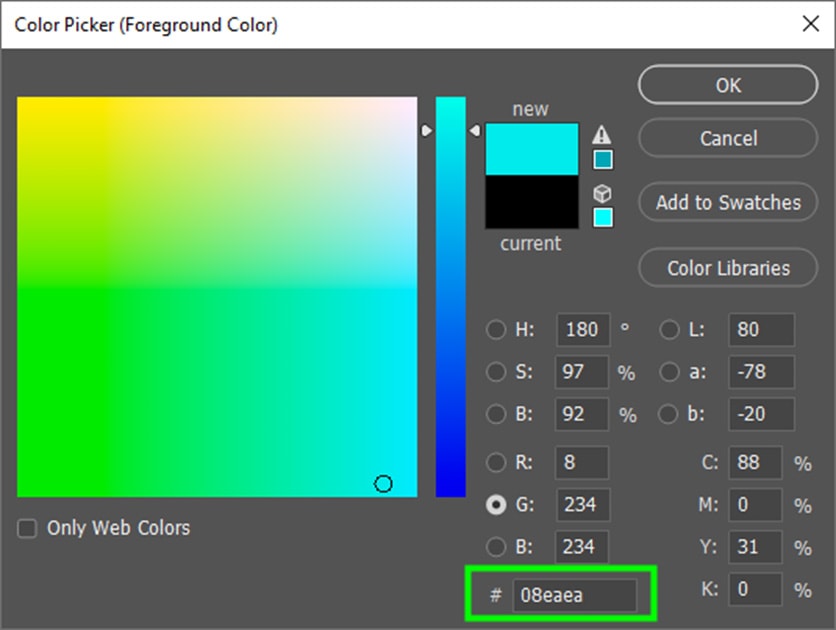
3. Hexadecimal
For the Hexadecimal model, you can simply copy their codes from a color code list/hexadecimal color picker and paste them in the hexadecimal input box in the color picker panel. Keep in mind that hexadecimal colors are composed of numbers (0-9) and letters (A-F).
Colors in Photoshop are highly customizable. Of course, with so many options available, you can get confused and end up changing your brush color in the wrong place, but as you learned here, these problems are easy to fix.
Happy Editing!
