

The Warp Tool in Photoshop is an excellent tool for portrait and commercial photography, although you can use it on any image or image elements, such as text and shapes. The tool manipulates the image or an object in a photo by warping it. You can produce creative or corrective results when you know how to use this tool.
There are various types of warping tools in Photoshop, such as the Puppet Warp Tool, Perspective Warp, or the one you will learn about today, the Transform Warp. Each tool has its own strengths, and the Transform Warp best suits minor corrections and simple warp adjustments. However, you should know the settings and controls to get the most out of this feature.
What Is The Warp Tool In Photoshop?
The Warp Tool is a feature in Photoshop which allows you to warp an image in multiple ways. Once the tool is active, a grid appears over the image or a part of the image. You can then manipulate the image by pulling on the anchor points or handles.
You can warp the image manually by dragging the anchor points where you’d like them to go. When the tool is active, you can also distort the image based on preset shapes available from the Options bar.
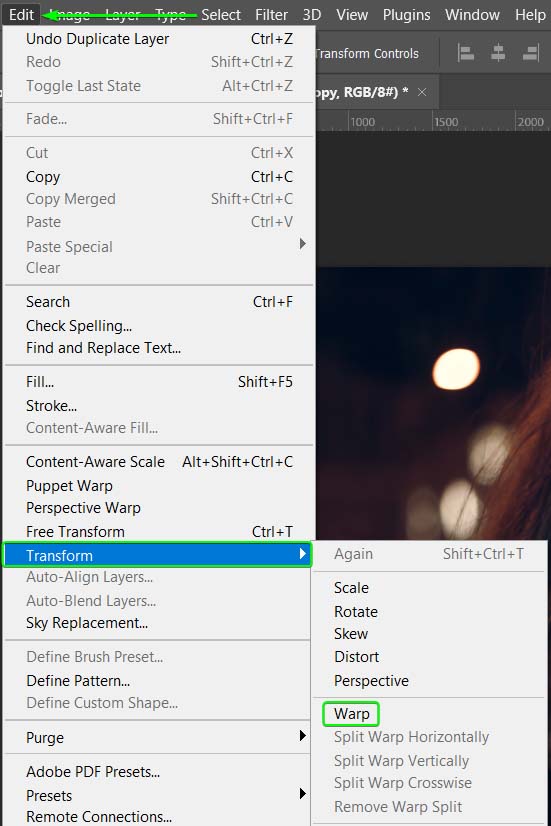
There are two ways you can access the warp tool. You can find this feature by going to Edit > Transform > Warp.
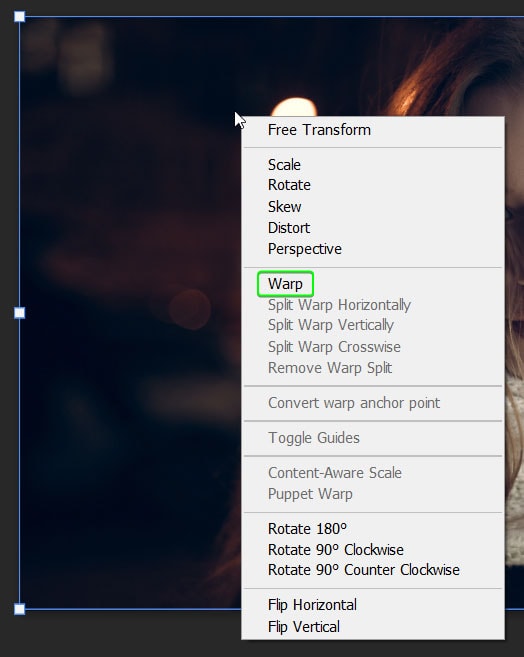
Alternatively, press Control + T (Win) or Command + T (Mac) to activate the Free Transform box. Then right-click or Control + click in the box and select Warp. Or once Free Transform is active, you can click on the warp icon on the Options bar to toggle the warp on and off.

Once the tool is active, you can change the settings for more control and warp your image using the anchor points and handles.
The limitation of the Warp Tool is that you can’t use it on a background or locked layer. Select a normal layer or duplicate your background layer to use the tool.
In the most basic sense, the Warp Tool is helpful for manual image corrections, manipulating the look of elements, or even slimming subjects in a photo.
Warp Tool Settings Explained
Once you have activated the Warp Tool, you can adjust various settings to ensure you can warp the image exactly how you intend to.
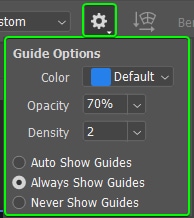
You should first click on the gear icon in the Options bar if you activate the tool and don’t see any gridlines on the image. Then ensure that the Always Show Guides option is checked. You can also adjust the guide color and opacity here.
The Warp Grid Settings
The warp grid settings enable you to choose how many control points you want on the image. The more control points and grid lines you have, the more you can isolate areas of the image to warp.
Select the drop-down menu next to Grid to choose from the options.
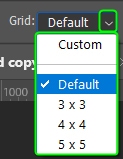
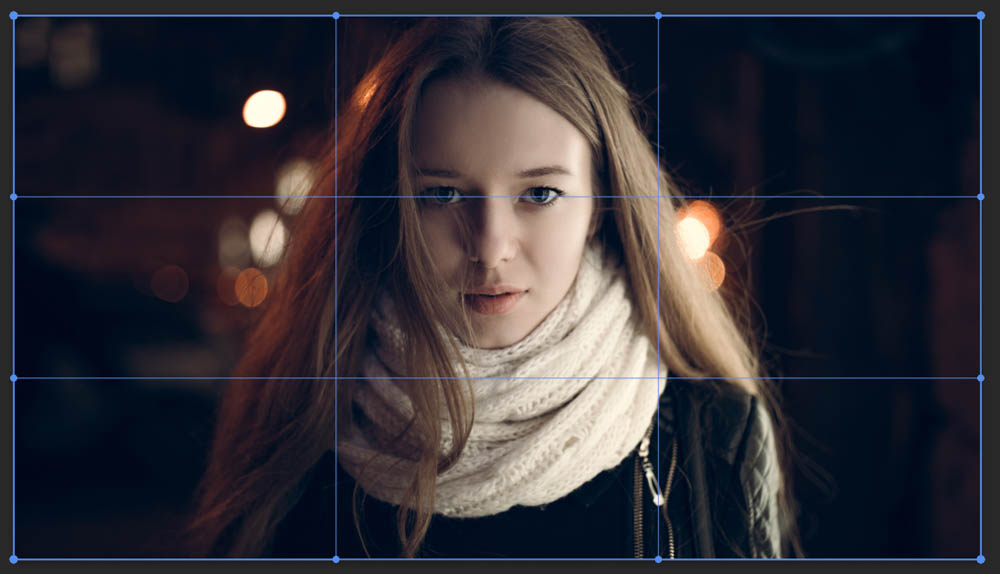
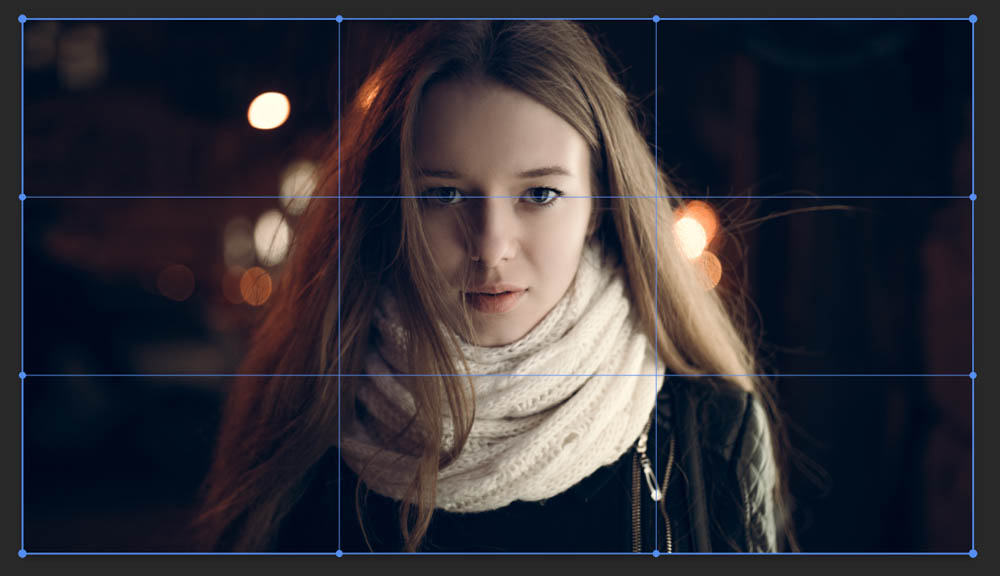
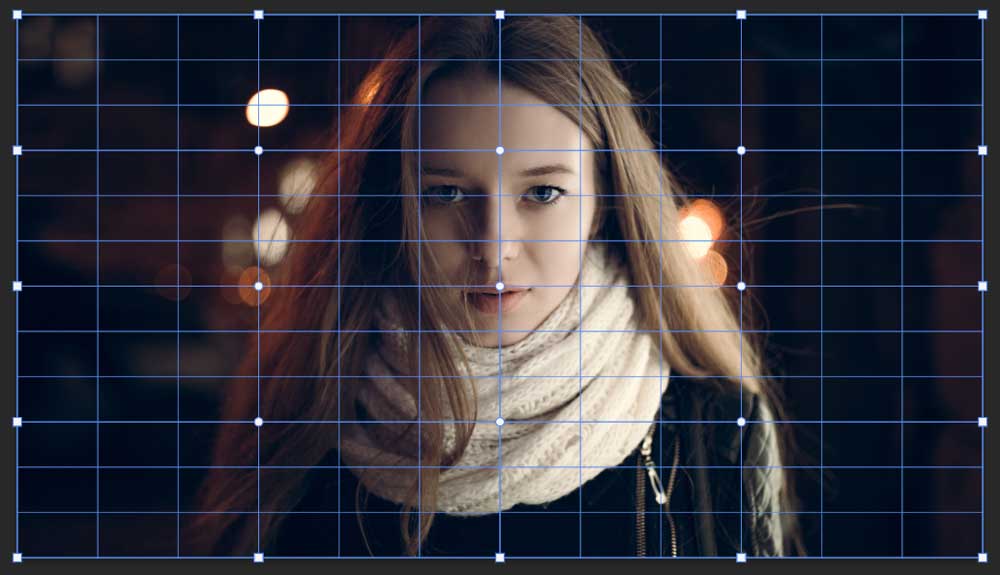
Initially, the Default grid (1×1) is added to the image, with two vertical and two horizontal gridlines in the Rule of Thirds shape.
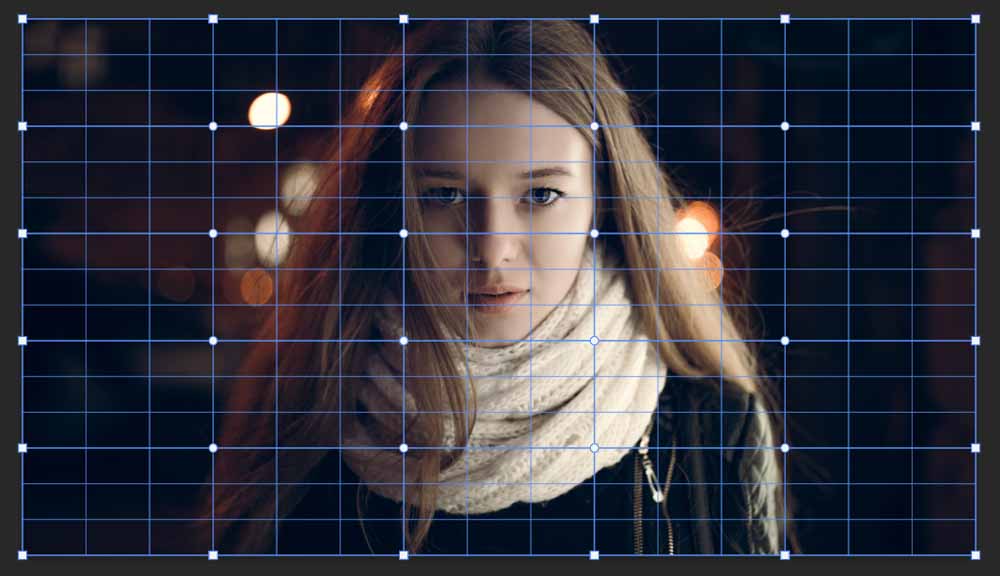
You can also add a 3×3, 4×4, or 5×5 preset grid. Each preset adds more gridlines to the image, adding more control points for you to use. The extra gridlines also control how much of the image you can warp, isolating certain areas.
You can also set a custom grid setting if none of the preset grids work for your image. Select Custom from the drop-down menu to do this.
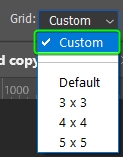
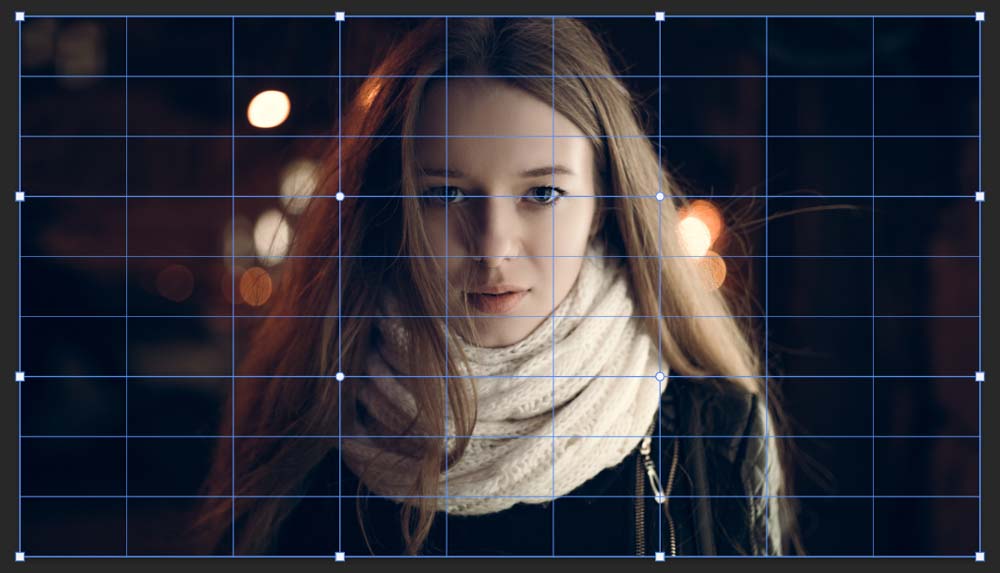
When the Custom grid Size dialogue box opens, add in the number of columns and rows you want your grid to have. For instance, I want to add seven columns and seven rows.

Click OK, and the mesh grid on the image changes to the custom settings you set.
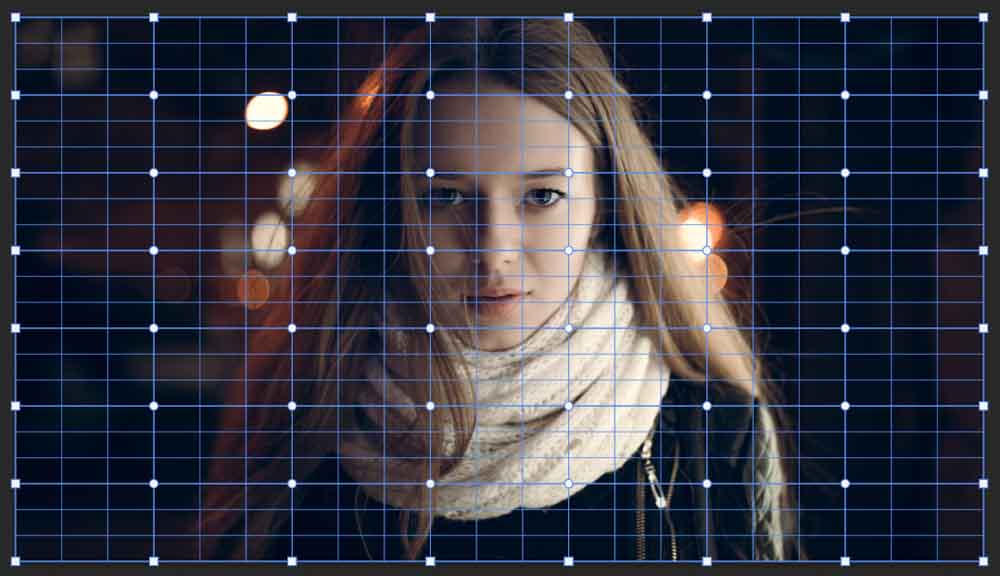
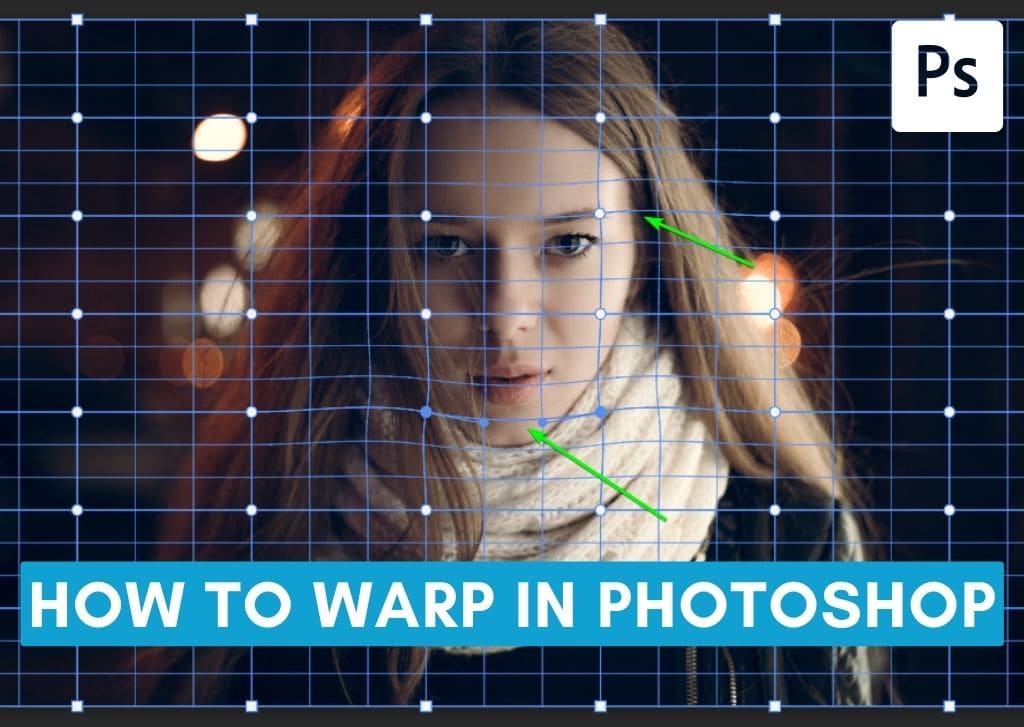
You can warp the image in isolated areas when there are more grids. For instance, when I slightly distort the woman’s chin and eye, only those areas are affected, while the rest of the image remains untouched. You can see where I warped the mesh in those areas and nowhere else.
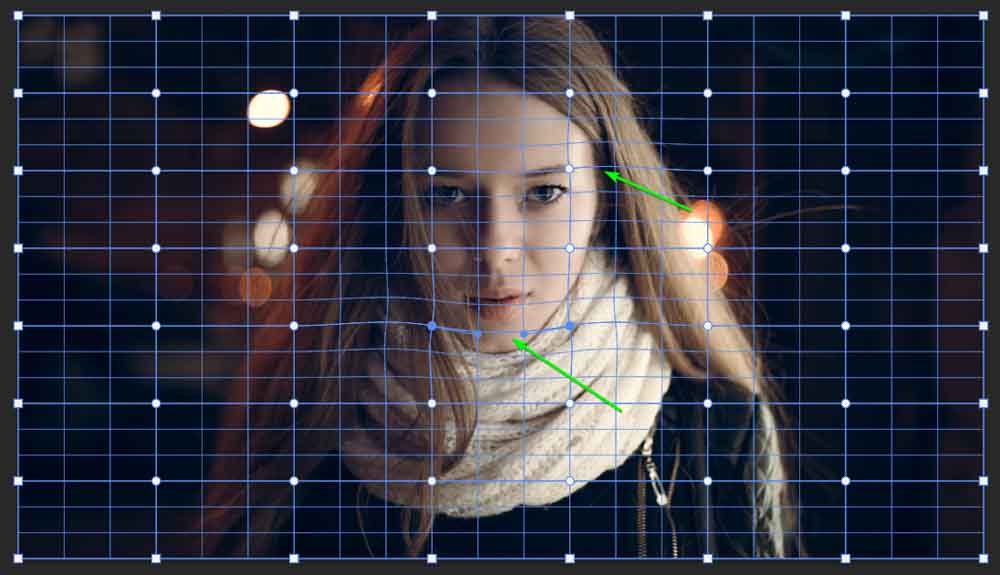
Adjusting the grid settings enables you to make minor adjustments to images, especially portrait photos, without distorting the subjects unnaturally. This method is often used to slim subjects of an image and to emphasize certain features. You can also change the grid settings to warp isolated areas on an image.


Warp Split Settings
You can customize the grid mesh even more precisely if the presets or custom grids don’t work. The warp split settings enable you to add gridlines exactly where you need them. There are three settings for you to use in the Options bar. The settings are from left to right, Split the Warp Crosswise, Split the Warp Vertically, or Split the Warp Horizontally.

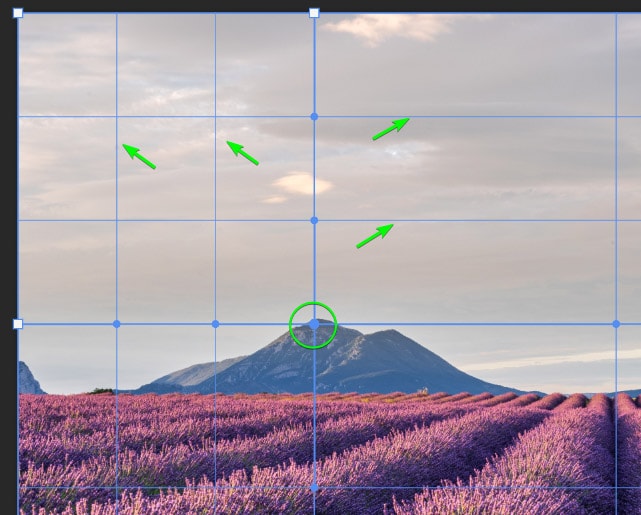
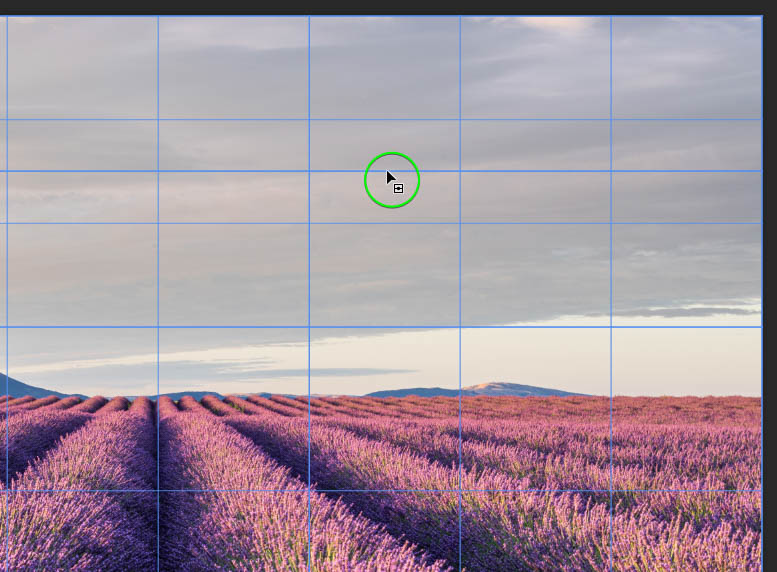
Click on the Crosswise icon to create a new vertical and horizontal gridline.

You can also hold in Control (Win) or Command (Mac), and the Crosswise gridlines appear where your mouse is on the image.
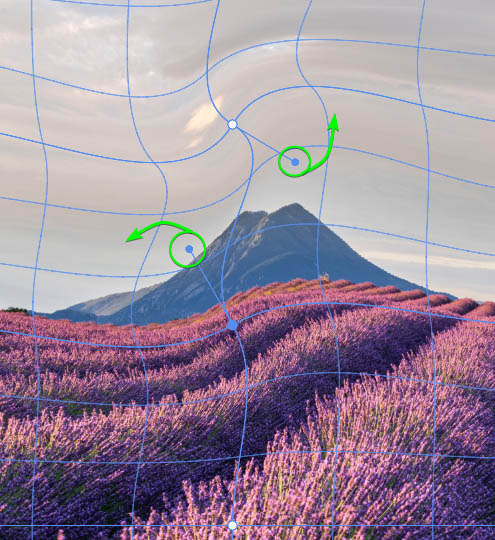
Move your mouse around and click to place the gridlines where you want them. When I clicked on the mountain to add the gridlines, the tool added columns and rows to the left and top of the new gridlines.
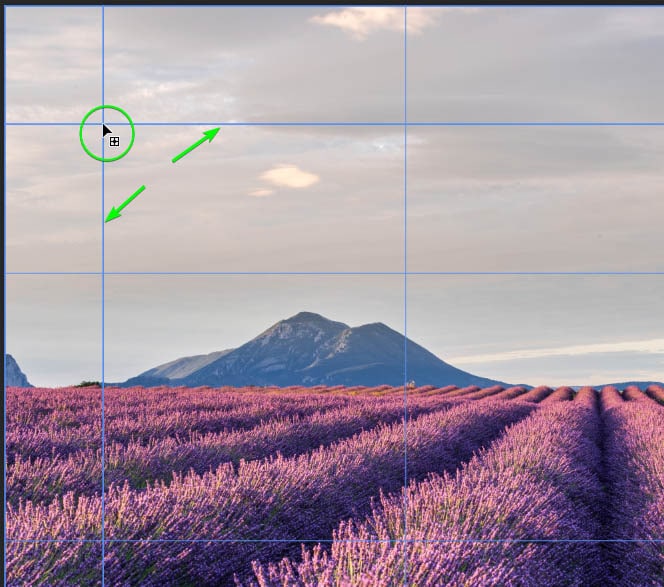
If you only want to add a vertical gridline, click on the second icon and position the gridline on the image.

The new gridline and one extra vertical gridline are added on either side.

You can also add a horizontal gridline by clicking the last icon and positioning the gridline on the photo.

The warp split settings are perfect for creating a custom mesh for your image.
Warp Preset Options
There are several warp-presets you can use on your image, text, or shape elements. These options warp the elements into preset shapes, giving you a quick warping solution if you don’t need to have too much control over the warp.
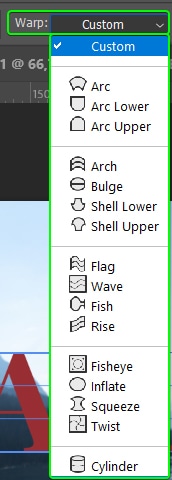
You can find the preset warp options by opening the drop-down menu next to Warp in the Options bar.
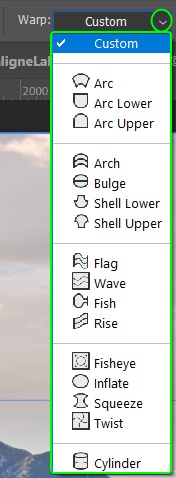
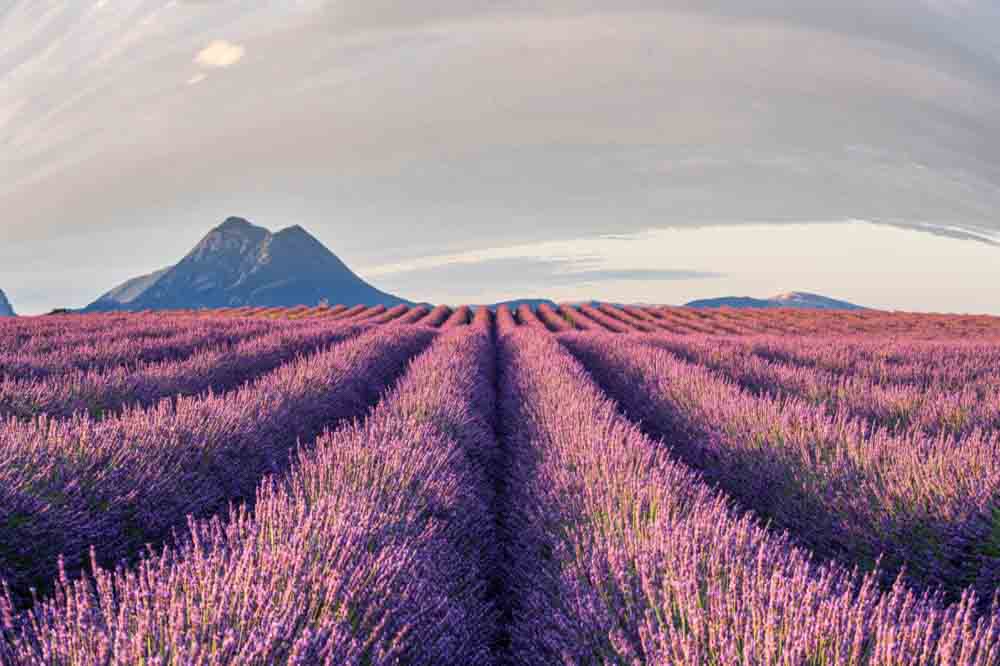
You can test several preset options to see which fits your image or element best. The preset options are best suited for warping text and shapes. However, some preset options work well on images, too, whether you are creating a fish-eye appearance or using the photo creatively.
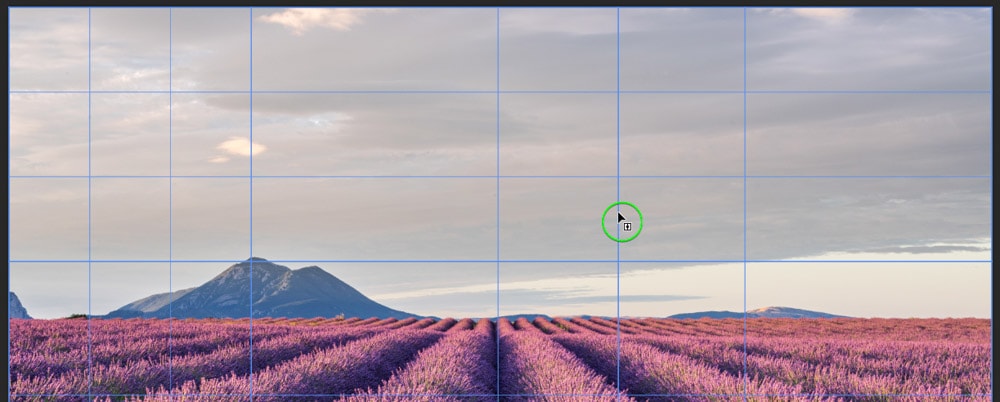
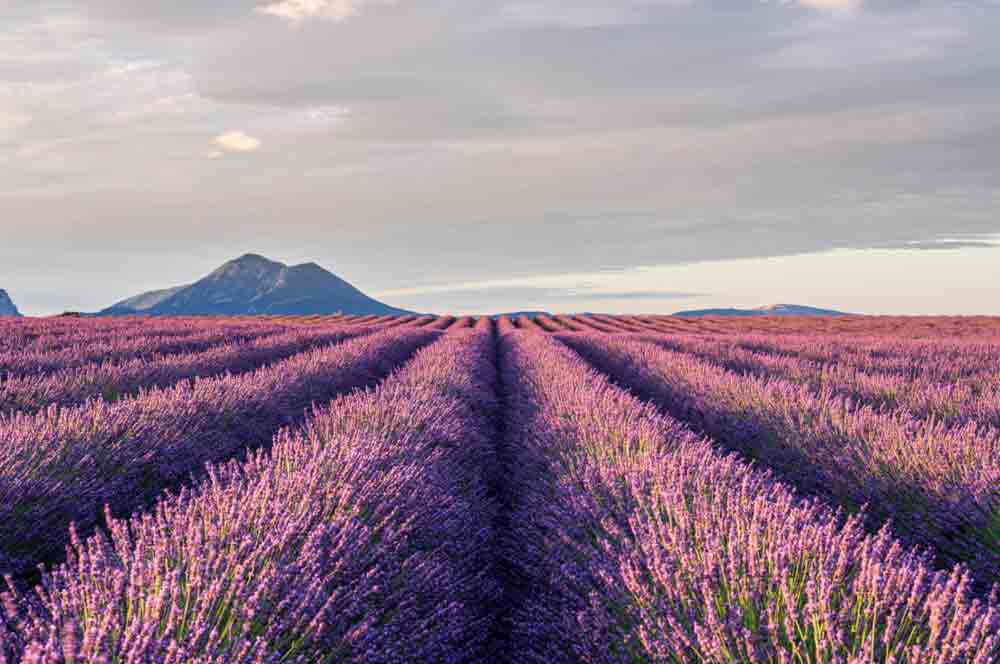
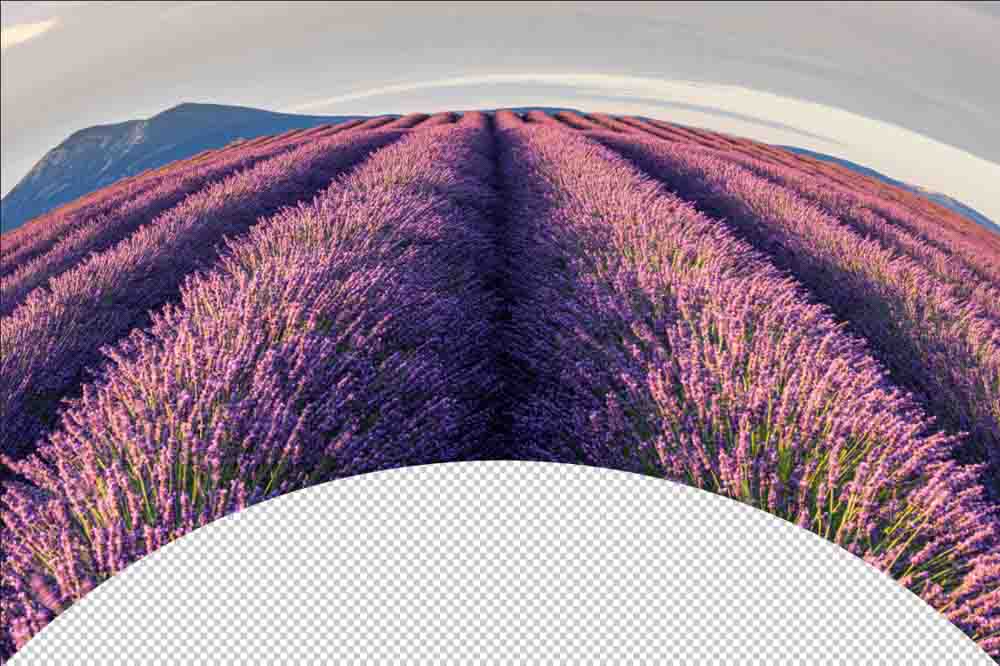
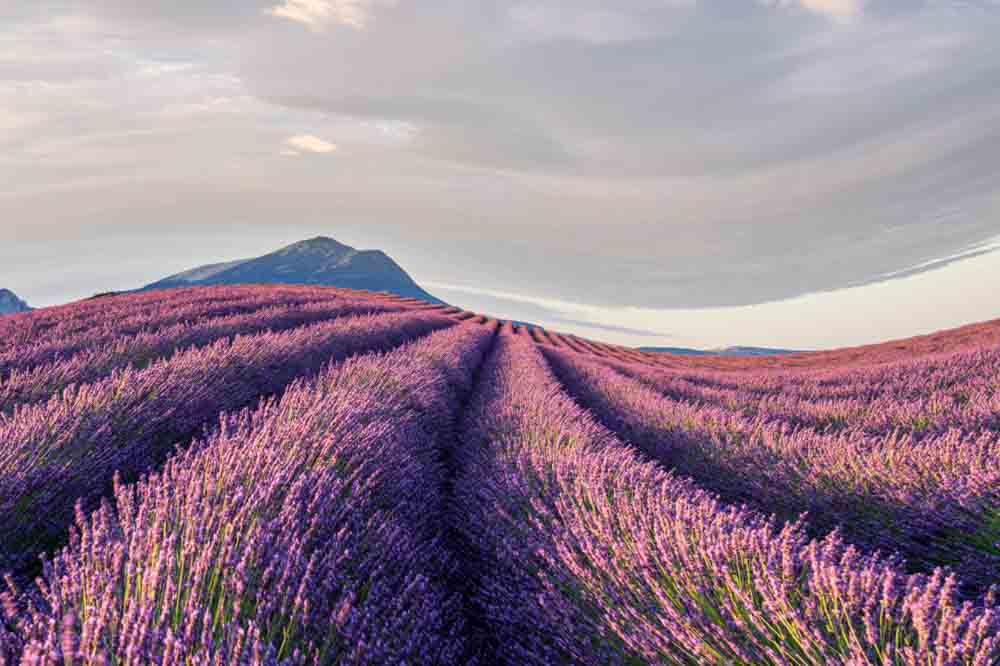
Here are a few of the presets in action on the image of lavender plants in a field.

If the preset option you’ve chosen almost creates the look you are after, but it’s not quite perfect, you can alter it. Add warp splits as described in the previous section and further distort the warp as needed.
How To Use The Warp Controls
Once you’ve activated the Warp Tool, the mesh grid contains the controls you need to distort to warp the image. There are a few ways to distort the image or element using these controls, so it’s a good idea to know all the ways you can use them.
Once you have activated the tool and chosen the settings for your project, you can begin using the warp controls.
The grid settings you choose determine how many control points you have on the mesh. For instance, I have selected the 4×4 grid for the photo.
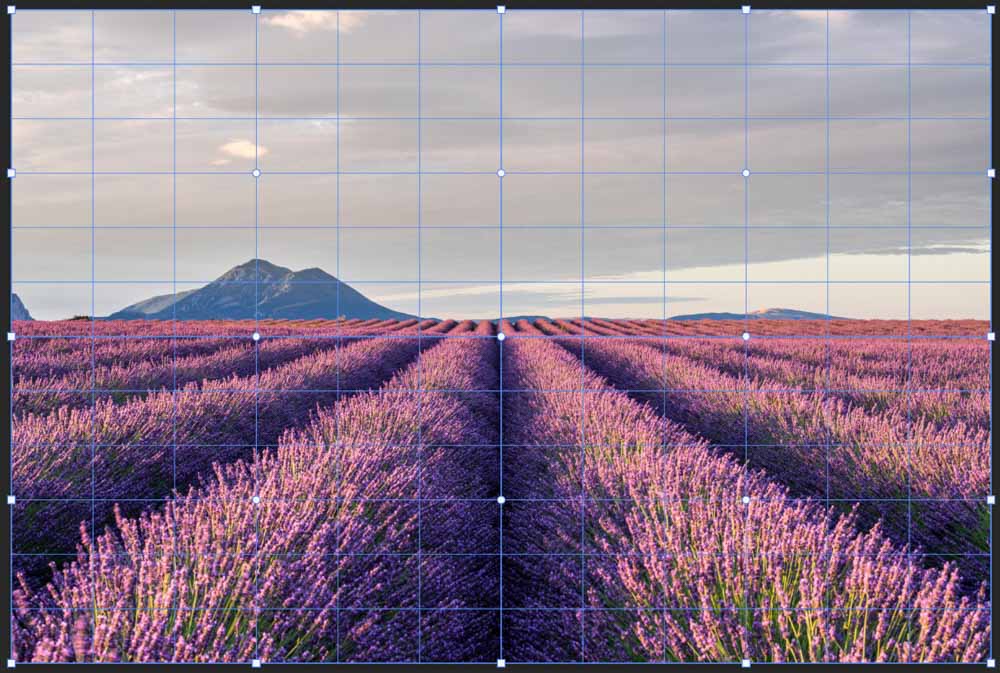
To use the warp controls, click on a gridline and drag it to warp the image. You can click on the line or next to the line. I clicked on the line in my picture and dragged it up to make the mountain larger.

Once you distort an area, two handle points appear on the line.
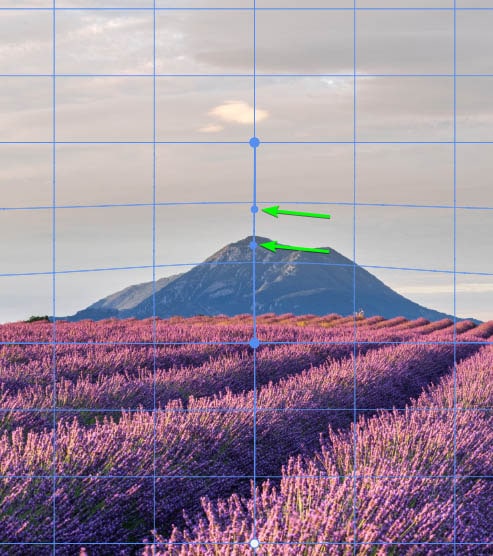
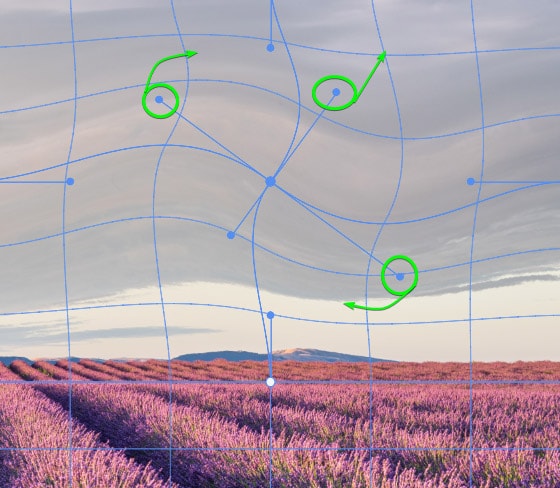
Click on one of the handles and drag it to twist the image in that area.
Each white anchor on the grid has four handle points. To see the handle points, click on a white anchor, and the handles appear on either side.
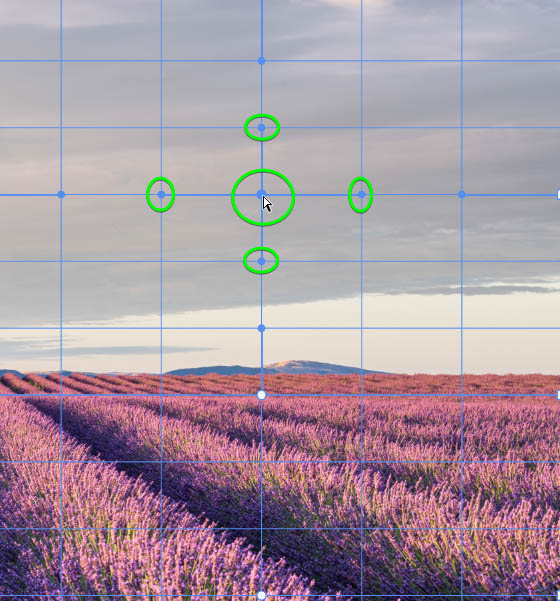
As shown previously, you can distort the image using any handles.
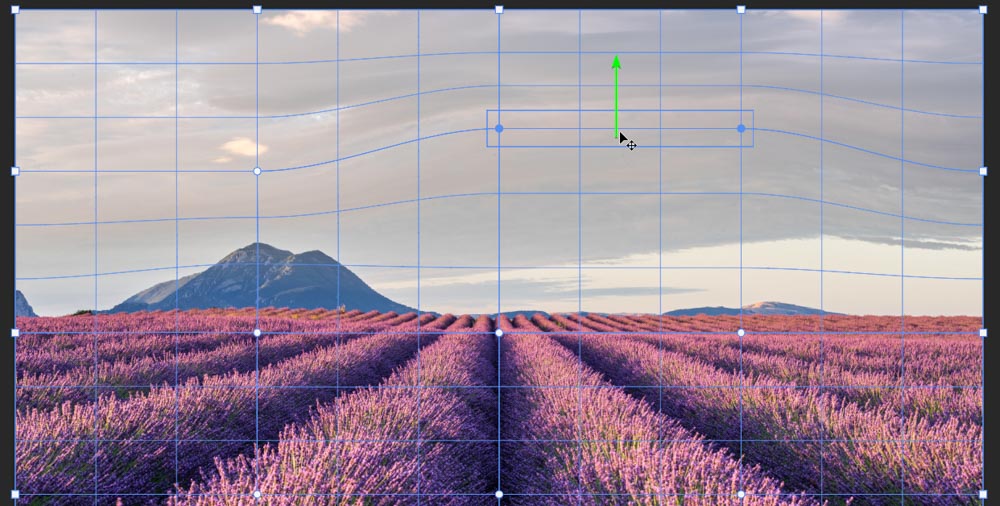
You can also move more than one control point at a time. Hold the Shift key to select the control points while you click on multiple points. You can also click and drag a box around the points you want to be selected while holding the Shift key.
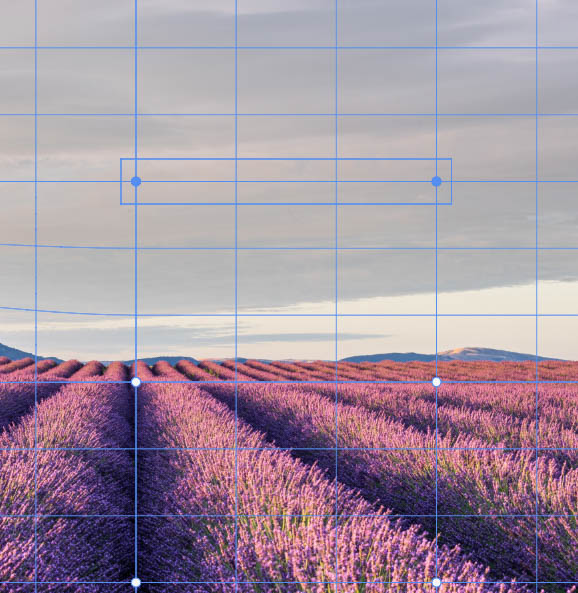
Then, you can click and drag the points around together, such as pulling them up.
You can also rotate the selected points by moving the mouse just outside the box until the mouse cursor turns into the rotate icon, then click and rotate the points.
You can undo any warp you’ve made by pressing Control + Z (Win) or Command + Z (Mac) to undo one warp at a time or reset the entire warp by clicking on the reset button in the Options bar.

How To Warp An Image In Photoshop
While the technique of using the warp feature is the same whether you are warping text, an image, or shapes in Photoshop, there are different things to consider. Here is how to warp an image. In my photo, I want to create a fish-eye effect on the water level to curve it upwards without affecting the kayak.

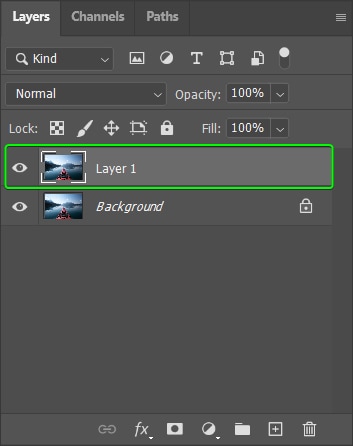
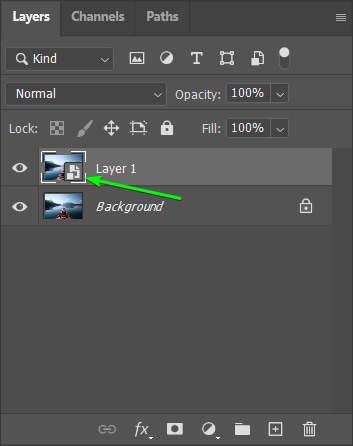
Once your image is open in Photoshop, duplicate the image layer to unlock it and to see the difference between the warped image and the original later. Select your background layer and press Control + J (Win) or Command + J (Mac).
I recommend you then convert the new image layer to a Smart Object. This step allows you to quickly re-open the warp settings and reset or adjust the warp even after you’ve added additional edits to the image.
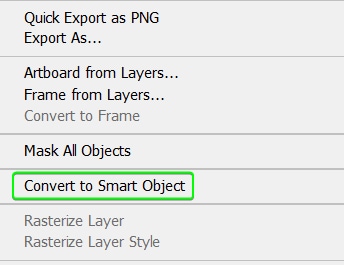
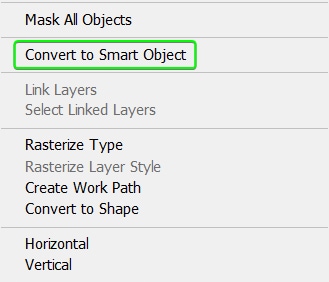
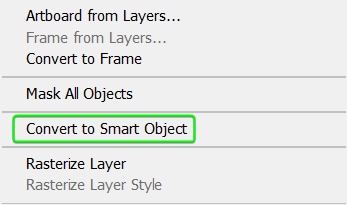
To convert the layer, right-click or Control + click on the image layer and select Convert to Smart Object.
You will notice an icon in the image’s thumbnail, which shows that the layer is now a Smart Object.
Now, you can activate the Warp Tool by pressing Control + T (Win) or Command + T (Mac), then clicking on the Warp icon in the Options bar.
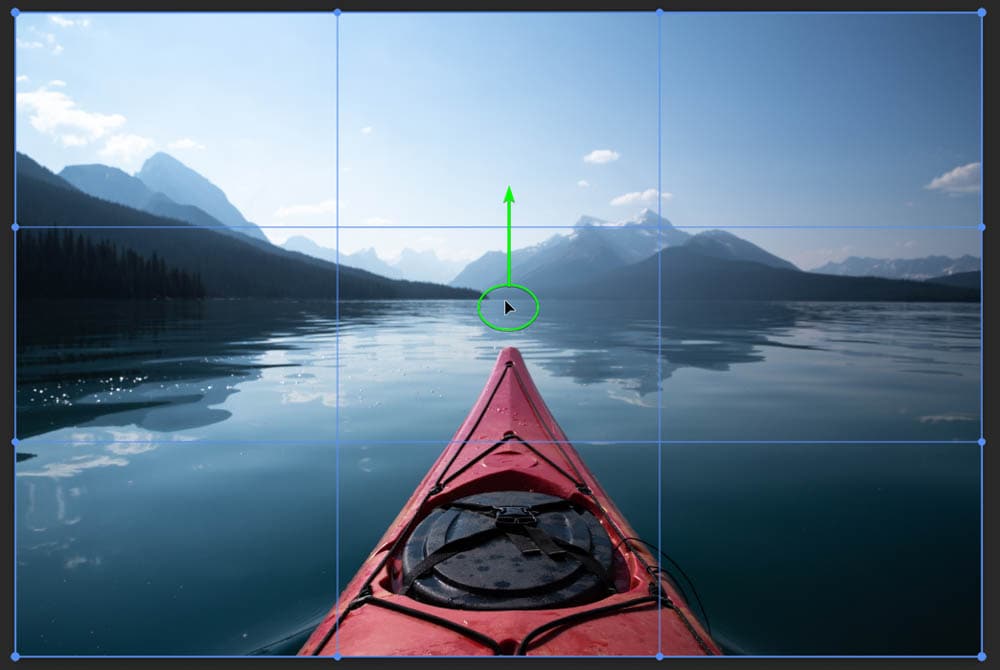
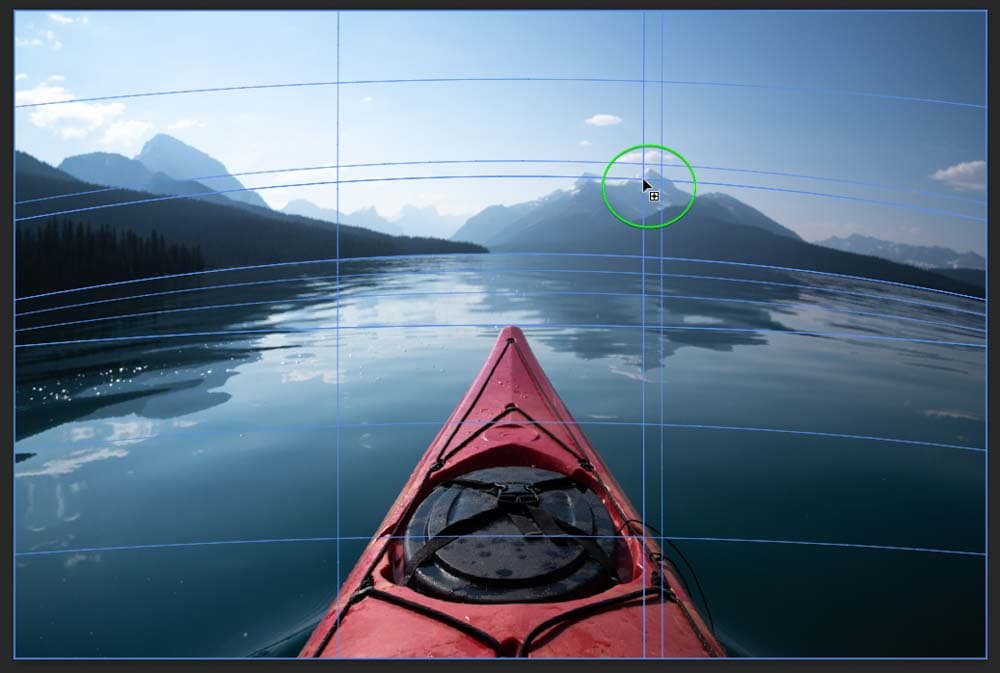
Once the tool is active, you can choose your settings based on the guidelines in the earlier section. For my image, I want to keep the grid on Default so I can distort the entire water line.
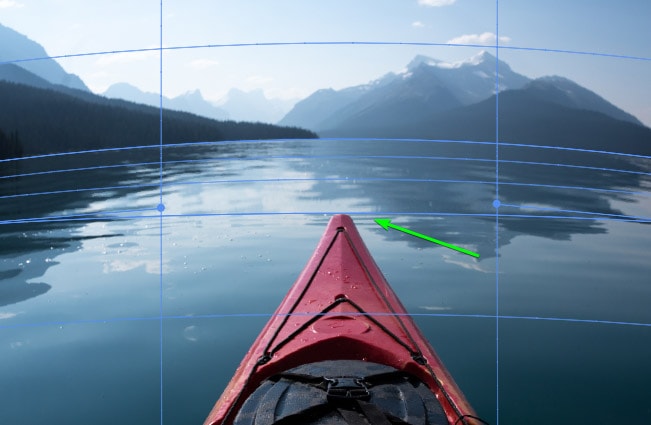
To start, I click on the middle of the image by the water line and drag it upwards to create the curve.

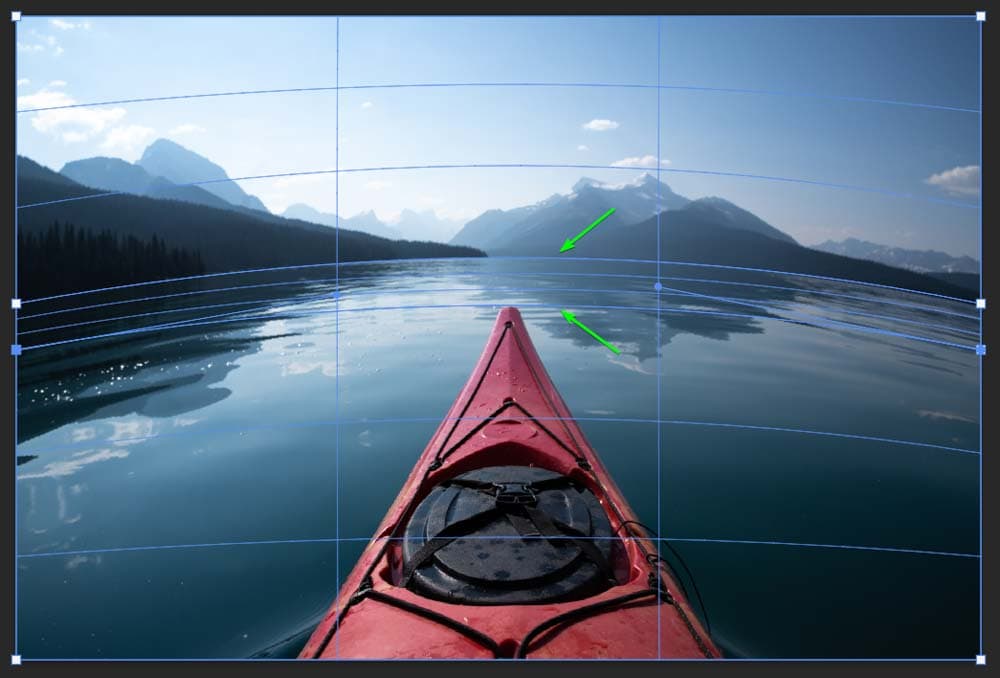
As you can see, the kayak has also been pulled up and looks unrealistic. To fix this issue, I will select the Split the Warp Horizontally icon.
Then add a new guideline on the water line, select the split warp option again and place another guide on the tip of the kayak. These guides create an isolated area between these two areas.
I can now click and drag the guide on the kayak down to correct the extended kayak.
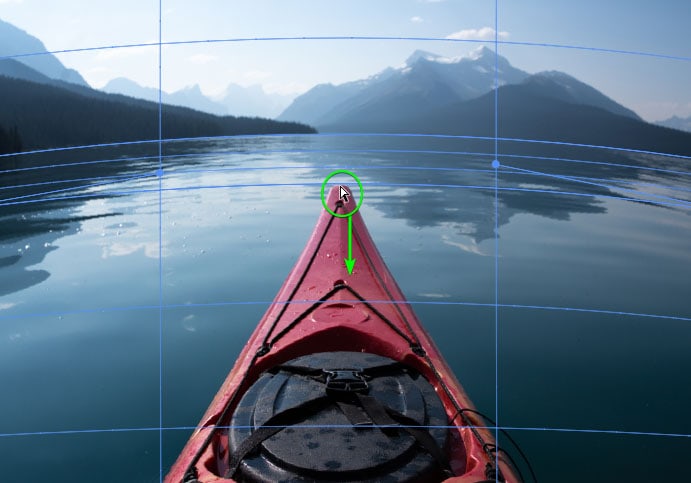
You can see how the kayak is distorted without affecting the new waterline.
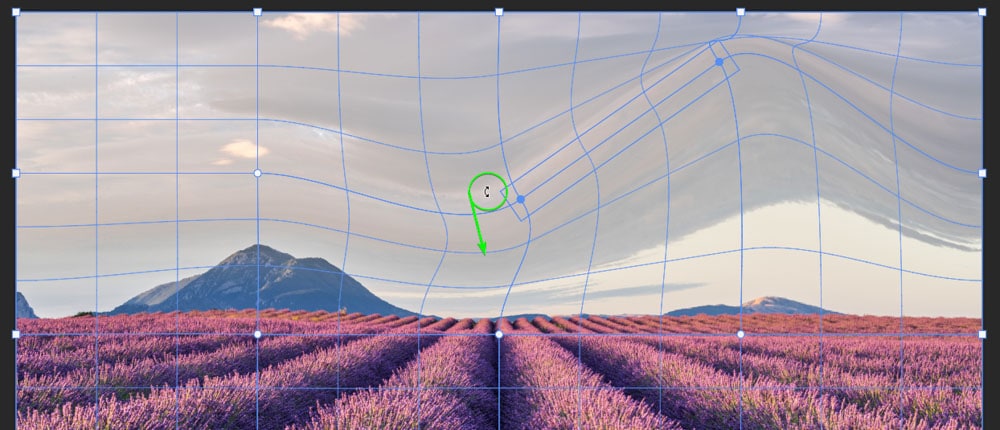
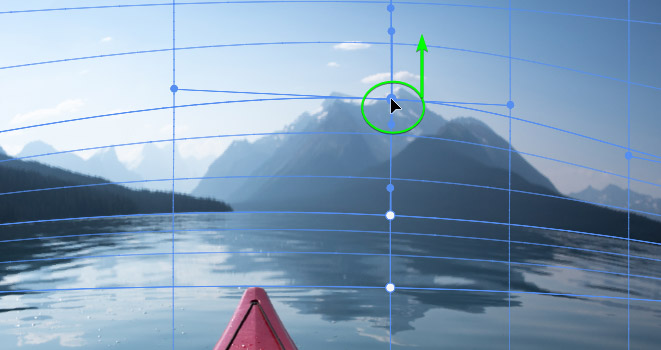
Now, if I want to make the mountain range slightly more prominent, I can continue editing. To isolate the mountain range without affecting the edits I’ve already created, I must select the Split the Warp Crosswise icon in the Options bar.
Add the new guide onto the mountain range to isolate the area.
Click on the new anchor point and drag upwards to increase the mountain range’s size.
Once you have made all the edits, click the Checkmark in the Options bar to save the modifications.

Your image is now successfully warped. Since you converted the layer to a Smart Object, if you re-open the Warp Tool, the mesh grid will be how you left it, and you can continue editing from where you left off.


How To Warp Text In Photoshop
Warping text works slightly differently from an image since your text is on an isolated layer. Here is how to warp text. First, add your text to the canvas using the Type Tool (T) and choose the font, color, and size in the Options bar.

Now, you can do basic warps on the text on its original layer. However, to fully use the Warp Tool, you need to Rasterize the text layer or convert it to a Smart Object. I recommend converting the layer to a Smart Object as this enables you to edit the text even after warping it, and the Smart Object preserves the quality of the text.
Convert the layer by right-clicking or Control + clicking and selecting Convert to Smart Object.
Then, activate the Warp Tool by pressing Control + T (Win) or Command + T (Mac) and select the Warp icon in the Options bar.

You can adjust the settings in the Options bar or begin warping using the Default mesh grid. You can also create a quick warp using the Warp Preset Options.
If you want a customized warp, start clicking and dragging the gridlines, anchor points, and handles as needed.
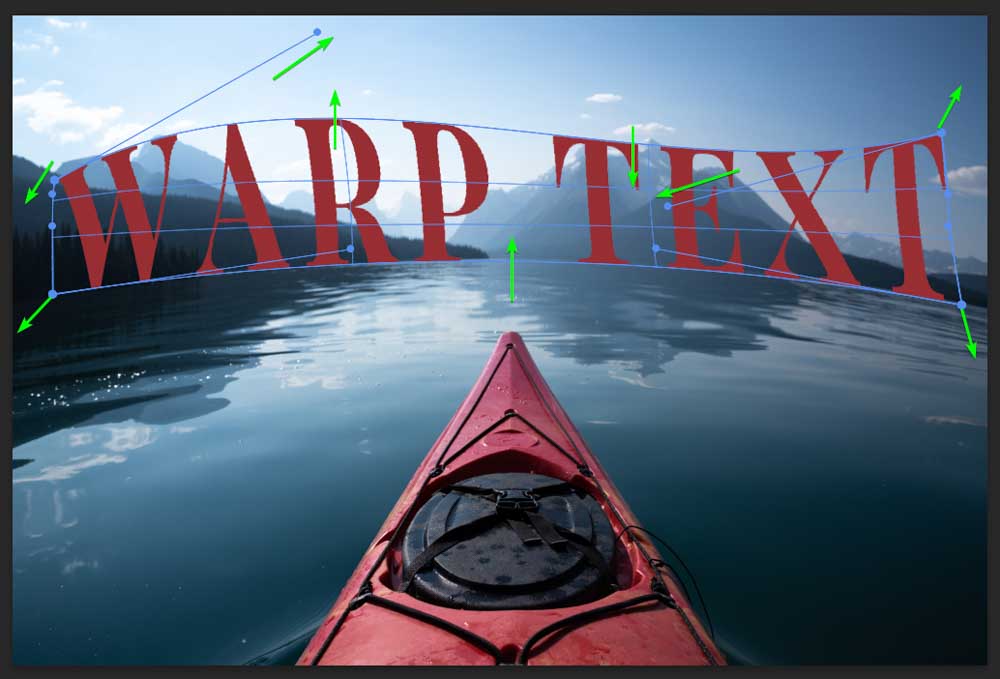
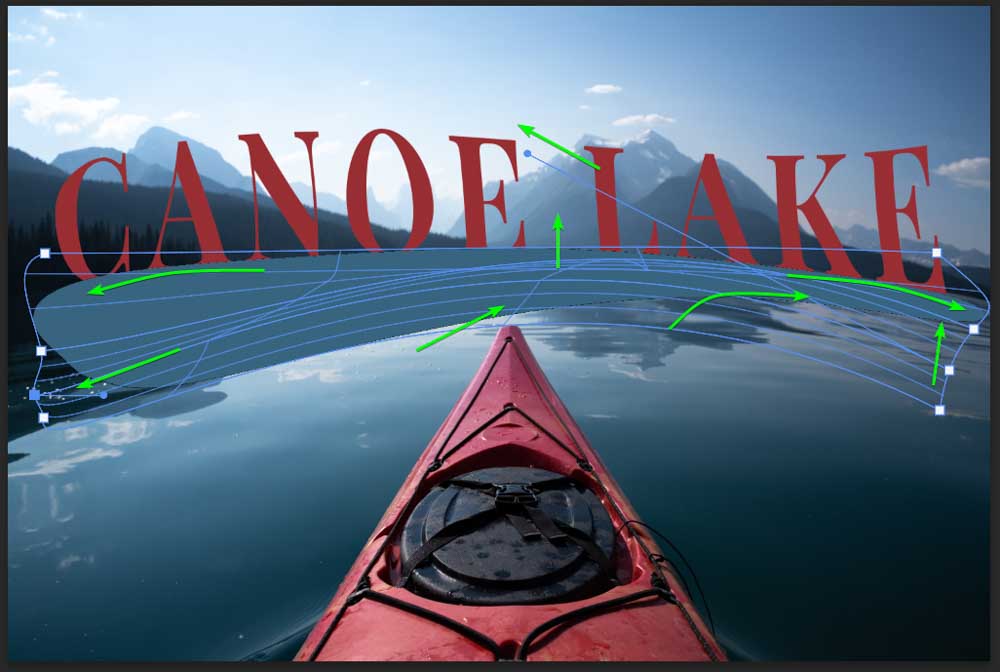
I wanted to match the waterline and create a wave-like warp at the top of the text, so I adjusted it as follows. As you can see, I dragged the gridlines, anchor points, and control handles in various directions to create the unique warp.
Click the Checkmark in the Options bar once you are happy with the warp.
Your text is now warped.

Since I converted the text to a Smart Object, it’s easy to edit and rewrite the wording. Double-click on the Smart Object icon in the Layer’s thumbnail to do this.

The text opens in a new document tab, and you can double-click on the text and re-write it.
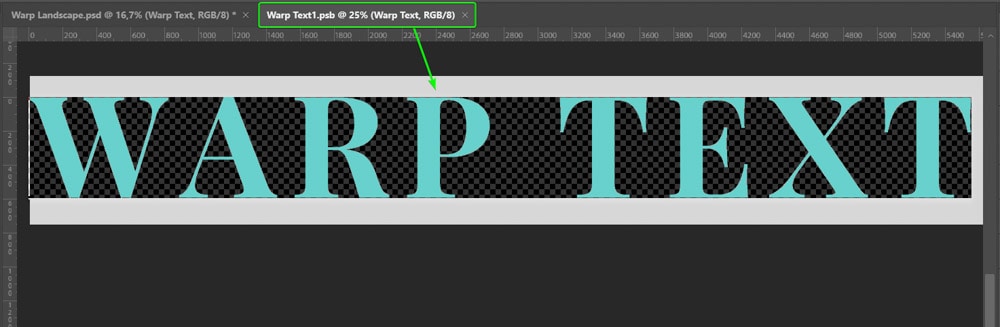
Once you have rewritten the text and changed the size, color, or other edits, you need to press Control + S (Win) or Command + S (Mac) to save the edits.

You can close the tab, and the text is updated when you return to the original tab.

How To Warp Shapes In Photoshop
You can also warp shapes in Photoshop, similarly to the text method. Add your shape to the canvas using a Shape Tool (U) and set the color as you’d like it.


Convert the Shape Layer to a Smart Object by right-clicking or Control + clicking and selecting Convert to Smart Object. This step enables you to avoid rasterizing the layer to keep quality and editing capabilities.
Open the Warp Tool by pressing Control + T (Win) or Command + T (Mac) and select the Warp icon in the Options bar.
Change the settings and begin warping the shape in the same manner as the previous section. For my image, I wanted to match the water line and create a unique shape along the water, so I adjusted the shape as follows. I also added extra grids using the Split the Warp Horizontally option.
Click on the Checkmark in the Options bar when you are happy with the warp. You now have a warped shape.

You can now edit the shape by opening the Smart Object as explained in the text section, adding blend modes, or adding other elements to your project along with your warped image, text, and shape.

Now that you know how to use the transform warp tool in Photoshop, you can take advantage of additional warping tools with Puppet Warp and Perspective Warp!
