

Especially when shooting architecture or any object with straight lines, lens distortion can skew how certain things look in a photo. Regular cropping and rotating of the image won’t do much to fix this, so it’s time to call upon the help of the Perspective Warp Tool in Photoshop.
Using Photoshop’s Perspective Warp Tool, you can align the planes of your image to correct any distortion. It may seem daunting, but I’ll break it down into manageable steps that any photographer can take to fix an image’s perspective.
What Is Perspective Warp In Photoshop?
While you may like the effect of an image taken from far above or below, different perspectives can distort areas of an image. The same is true for wide-angle lenses, which can cause straight edges to look slightly curved.
Photoshop’s Perspective Warp feature allows you to correct the distortion created by your shooting angle or focal length to make edges look straight and true to real life once again.
The Perspective Warp Tool works by aligning the planes of your image along vertical or horizontal lines. This is most useful when your image features straight lines, such as buildings or horizon lines, as the distortion here is most noticeable. It is also helpful for interior shots, particularly with real estate photography.
How To Use Perspective Warp In Photoshop
Step 1: Open Your Image
You can open the image you’d like to edit by clicking the Open button on the Photoshop start page or heading to File > Open.
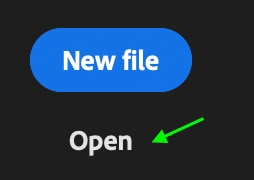

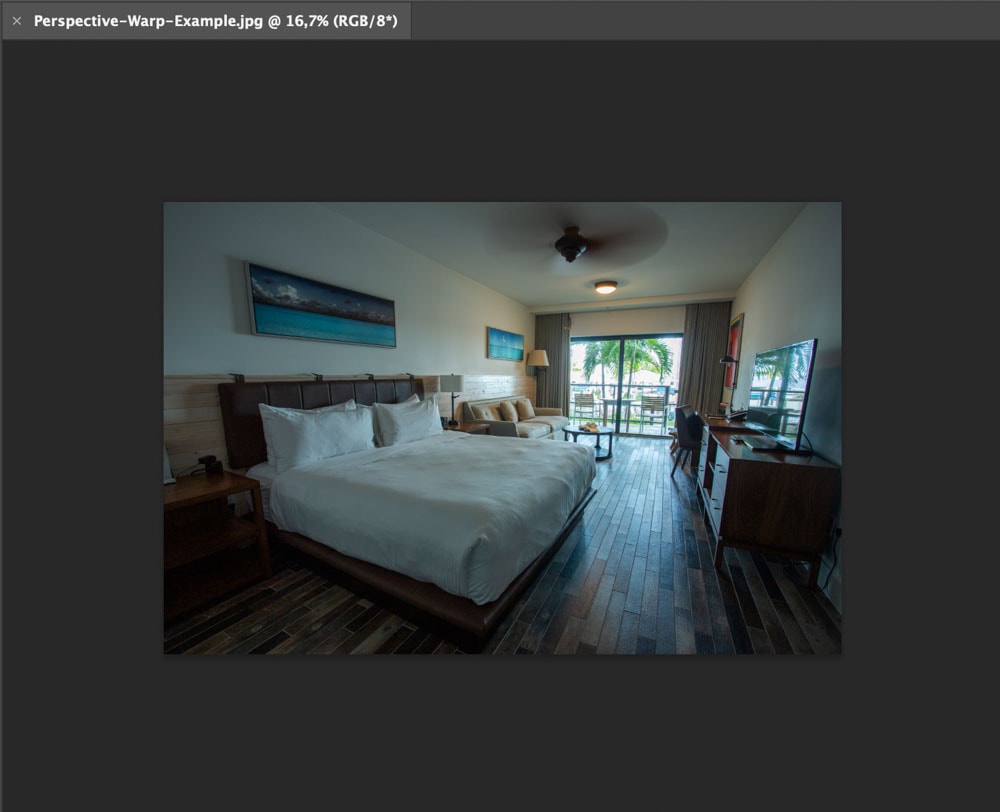
Select the image you’d like to use and double-click to open it as a new document in Photoshop.
Step 2: Define The Planes
Now, you’ll need to let Photoshop know which are the relevant planes in your image. These are often areas like windows, ceilings, floors, and sides of buildings, as these are the areas with the longest straight lines most susceptible to distortion.
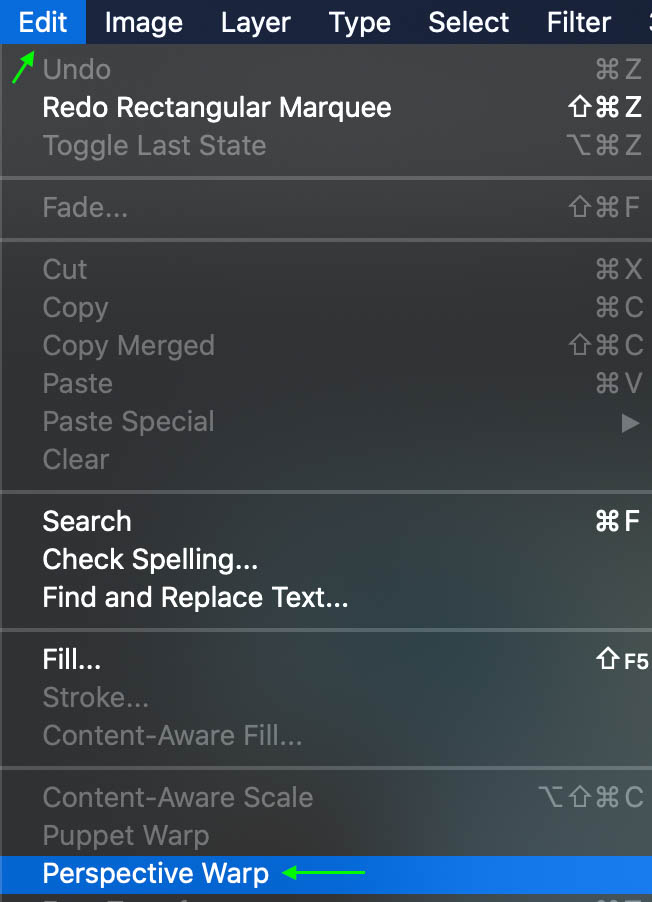
Select Edit > Perspective Warp.
A window will appear, giving you tips on using the tool. Close the window and click anywhere in your image to create an initial rectangle shape with the tool.
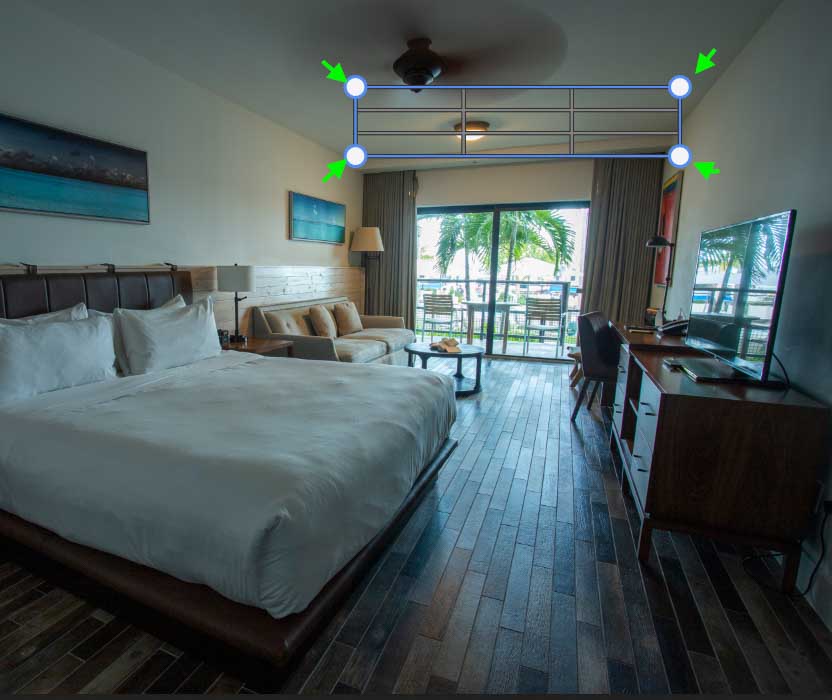
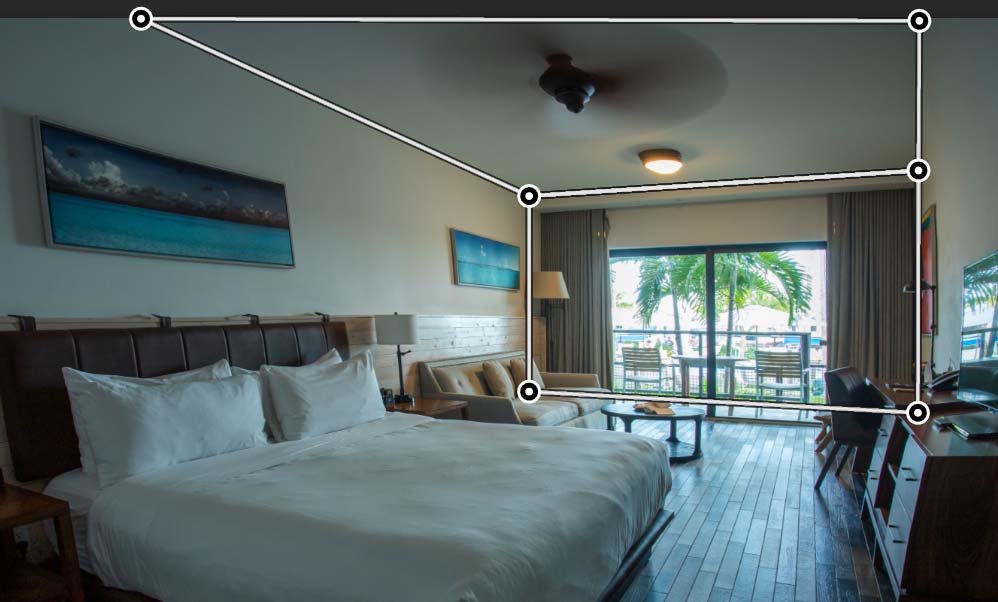
This won’t match up with the planes of your image yet. So, drag the toggles at each corner until the four sides of the rectangle match up with the planes of the image that are distorted. It is best to use a few of the most distorted planes. In the below example, I’ve selected the window, moving the toggles to match the perspective of the window.
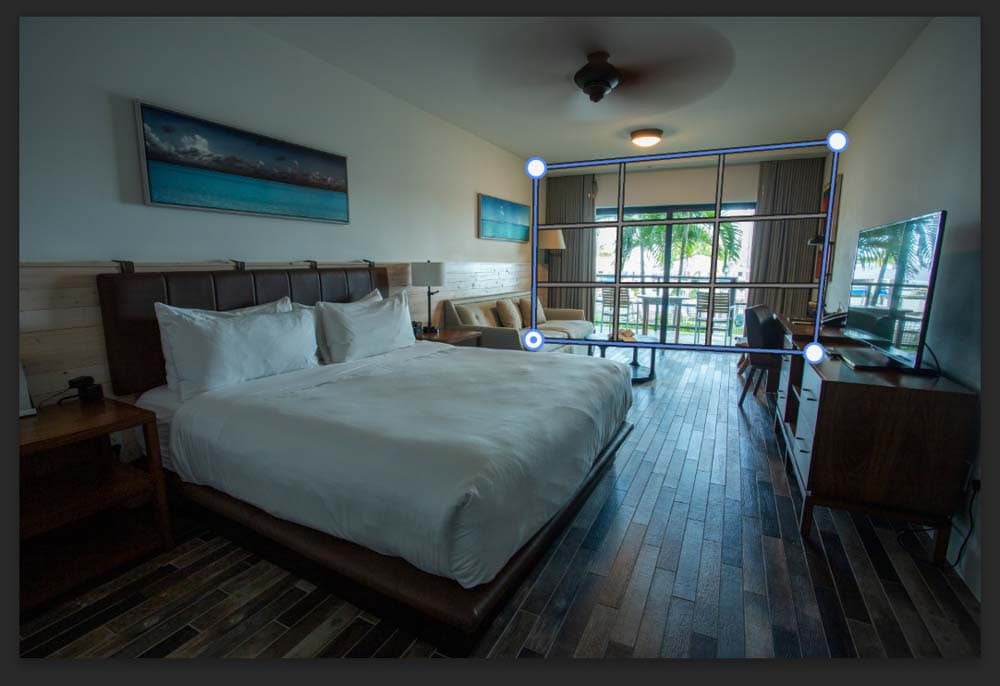
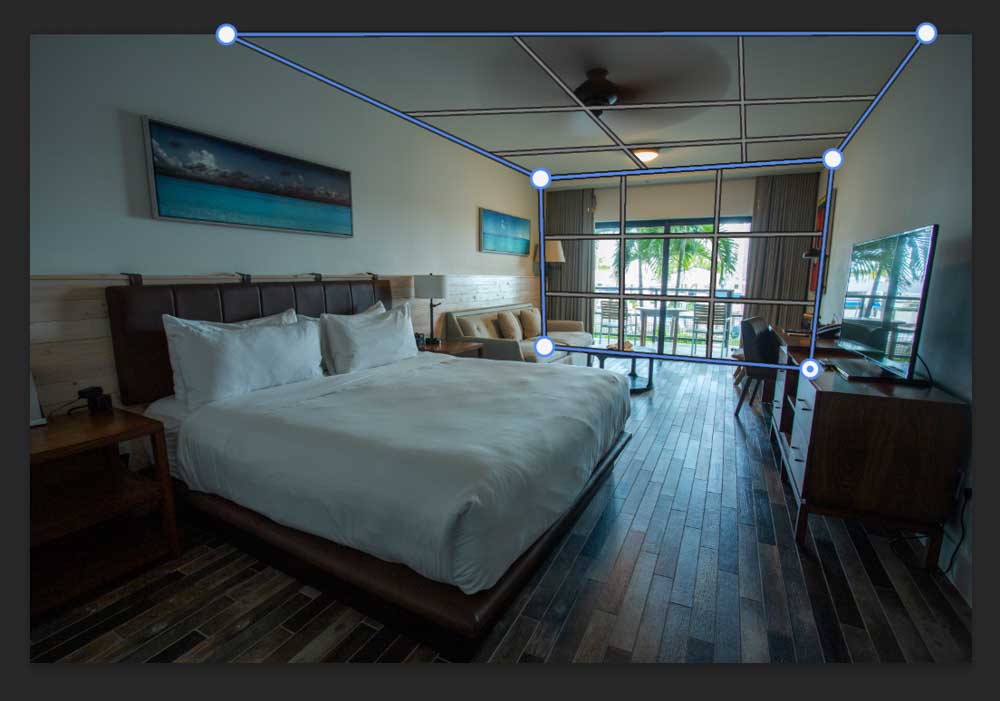
Now click on a new area of the image to create a second rectangle to define the next plane; in this example, that’s the roof in my photo. When you move the two layout rectangles together, they snap and connect.
Step 3: Switch To Warp Mode.
Once you’ve defined the planes, you can switch from the Layout mode (which allows you to create the rectangular layouts along your planes) to the Warp mode in the Options bar.

This allows you to manipulate the perspective based on the lines you’ve made. You can also press the Enter key in Layout mode to immediately change to Warp mode. You’ll see another Photoshop tip come up — you can close it.
Step 4: Adjust The Perspective
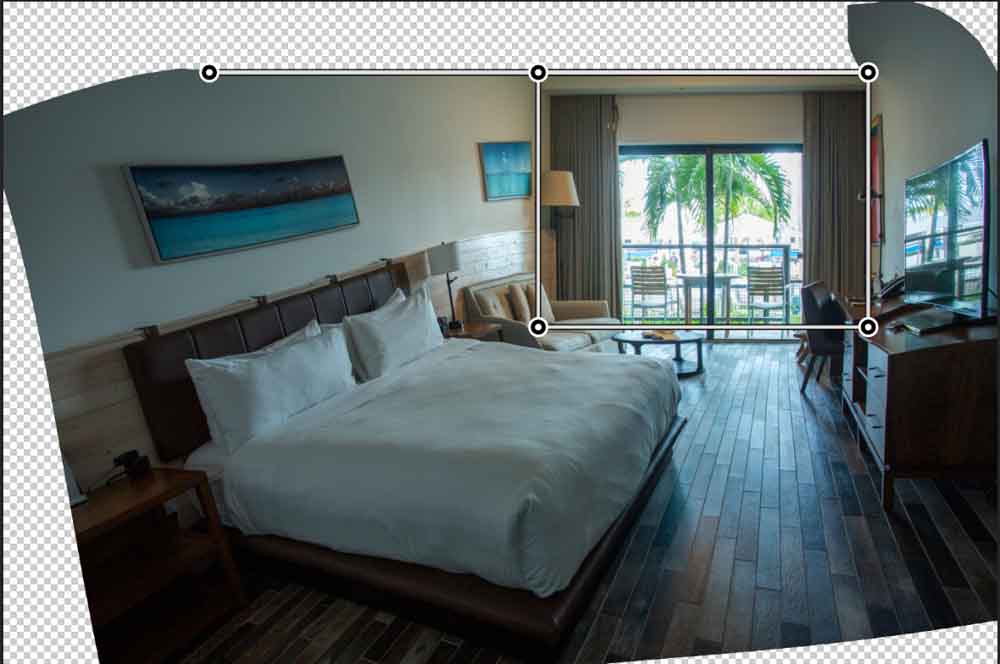
Now it’s time to adjust the perspective of the image. There are several ways to do this. You can drag the toggles on the corners of the planes, showing the perspective change in real time. As you adjust the toggles, the image will warp in relation to the selected plane you have defined.
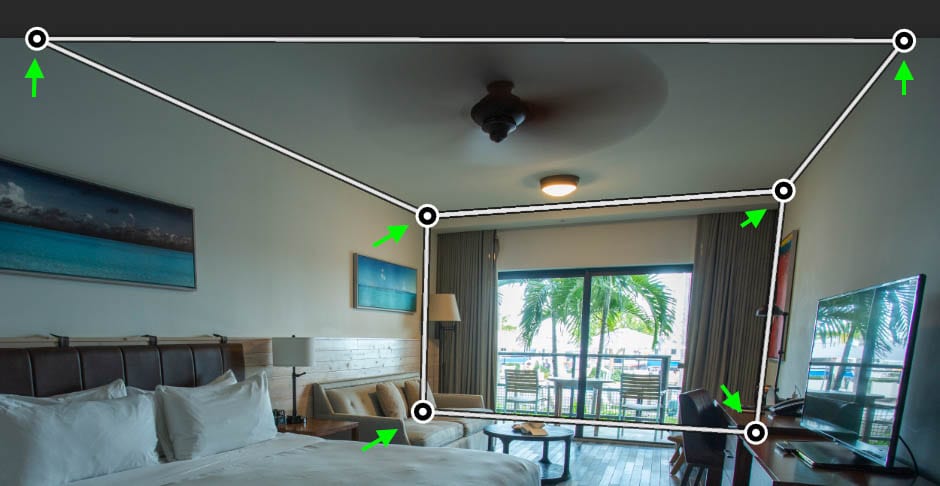
You can hold Shift while clicking to the edge of the quad while you change the perspective. Use the Arrow Keys to move a corner of a plane a few pixels at a time for the finest adjustment.
Step 5: Use Automatic Perspective Adjustment (Optional)
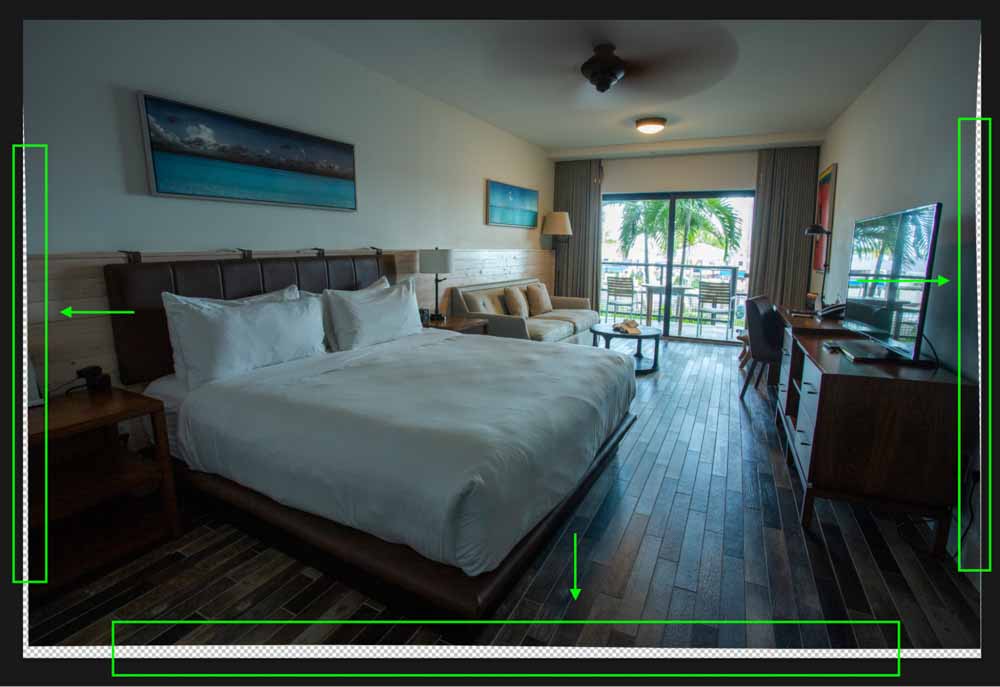
The other way to adjust your image’s perspective is to use one of the Automatic Perspective Adjustment settings. The Perspective Warp Tool has three settings that automatically change your perspective along vertical or horizontal planes. Click the icons to try them out.
The first icon will automatically straighten out the planes horizontally.

The middle icon will automatically straighten the planes along vertical lines.


The last icon will automatically straighten the planes both vertically and horizontally.

Remember that some of the automatic perspective settings could distort other areas of your image you haven’t set a grid for (like the painting and the wooden backboard on the left side of the above photo).
Step 6: Commit To The Perspective
You can click the Commit Perspective Warp icon when you’re happy with your image’s perspective.


You can also press the Enter key while in Warp mode to commit to the current perspective.
Step 7: Crop Your Image
You’ve probably noticed the edge of your image has turned uneven and jagged. You can crop this portion away by heading to the Crop Tool (C).

Crop your image so that the edges are within the jagged areas. You can do this by clicking and dragging the white toggles on the corners and sides of the crop overlay.
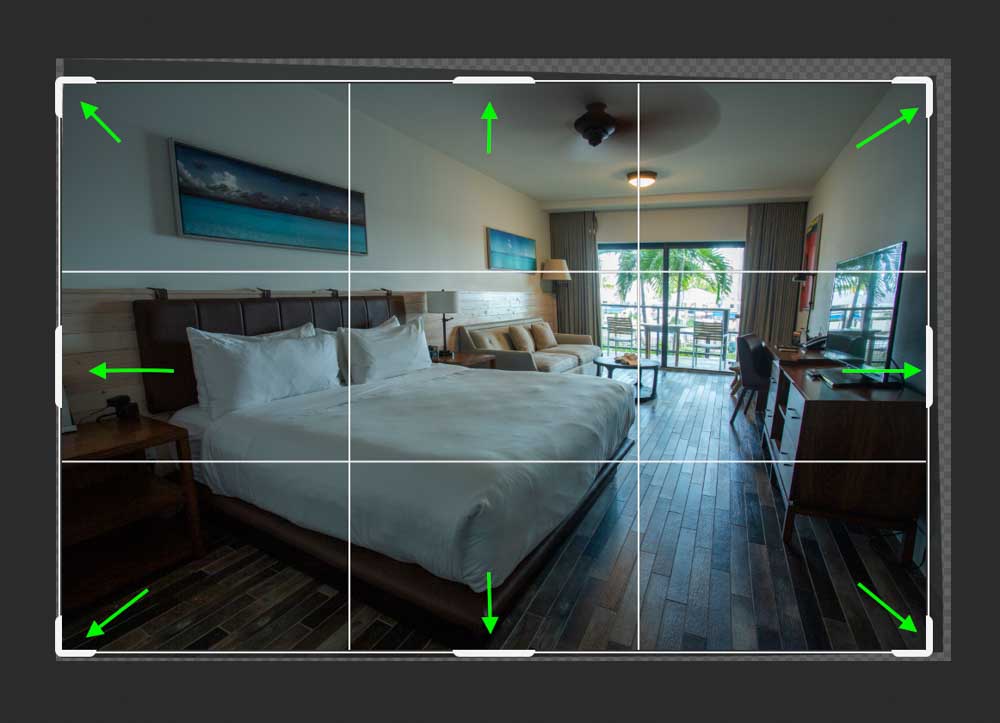
This may mean you have to crop a bit of your image out, so play around with different perspectives until you find one that balances fixing the perspective while preserving the image. You can see the difference in perspective when compared to the original image, particularly when looking at the ceiling and window.


Although the final result may not be a massive difference every time, the perspective warp tool in Photoshop is a fantastic tool for making any distorted edge look straight once again.
