


When working on any project, whether editing an image or creating a website layout, you need to know how to select layers in Photoshop.
Whenever you need to move an element or multiple objects, you must select the layer before you can move it. If you need to add an effect to text or add an adjustment to an image layer, you must select the layer before applying the effect.
Since selecting a layer is one of the most common actions you’ll take while working on your project, you should take time to understand the process. Here are all the ways to select layers to give you the best method depending on your workflow. You will also learn why using the shortcut is essential at certain times.
How To Select Layers In Photoshop
As soon as you add a layer to a Photoshop document, you will likely need to move a layer or multiple layers during the process. I have a document with multiple layers to show you the various ways to select a layer. Each method has its uses and benefits.
Selecting A Single Layer
There are several ways to select a single layer, and your method depends on the elements on the page and how you work.
The most common way to select a layer is to click on the layer in the Layers Panel.
Once you click the layer, it turns a lighter grey, and you can edit the layer by adding brush effects with the Brush Tool (B), adding Layer Styles, changing the blend mode, and more.
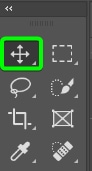
Another method to select a layer is to click on the layer in the document. However, you need to ensure a setting is active. You can do this by activating the Move Tool (V) from the Toolbar.
Then, check the box next to Auto-Select in the Options Bar and select Layer from the dropdown menu next to the auto-select option.

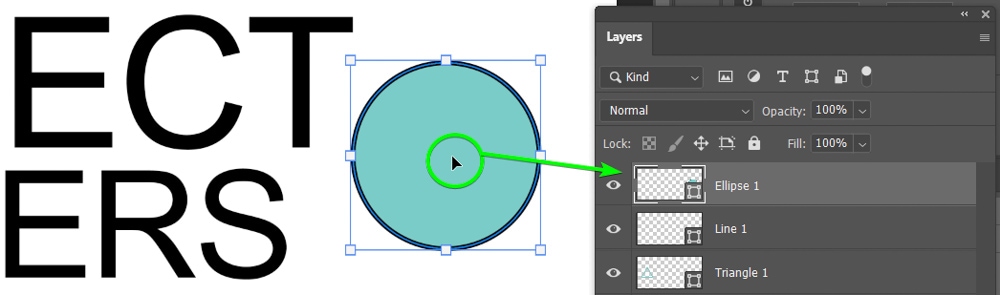
Now, you can click on a layer on the document to select it. Once you click on it, you will notice the layer is also selected in the Layers Panel. You can then drag it to move it around or add effects to it.
Note: When clicking on a layer within the document, the auto-select function will select the layer with the pixels you directly click on that are at the top in the case of overlapping layers.
The auto-select method is useful if you have spaced out elements on a page. This method is not helpful if you have overlapping objects and want to select the layer underneath or if you have smaller objects with thin edges or edges close together.
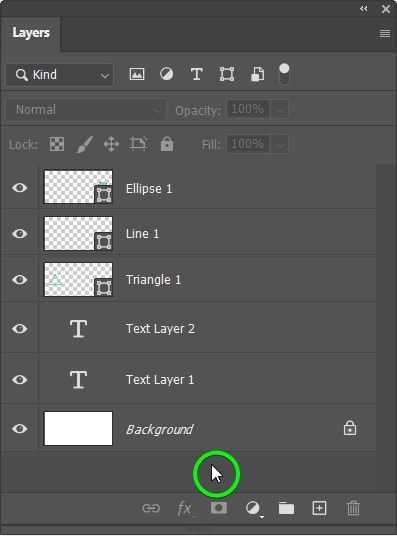
If you want to deselect all the layers so that no layers are selected, click on the empty space at the bottom of the Layers Panel.
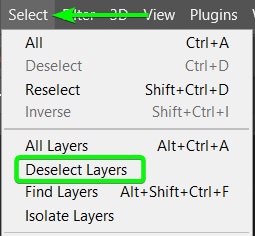
If there is no space at the bottom of the panel, go to Select > Deselect Layers to have no layers selected.
Selecting Multiple Layers At Once
You can easily select multiple layers at once to move several objects together or apply edits to multiple layers. There are three ways to select multiple layers:
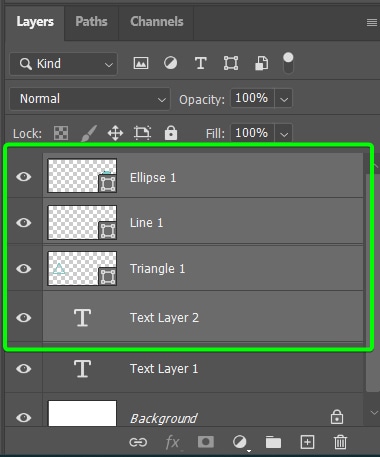
Firstly, if you want to select multiple contiguous layers (placed directly underneath each other), click on the first layer, then hold in Shift and click on the last layer. All the layers between the two you clicked on will be selected. For instance, I click on the Ellipse 1 and Text Layer 2 layers.
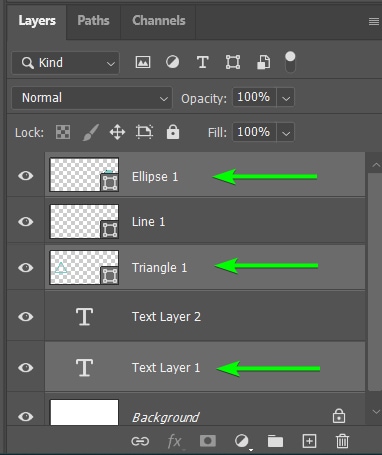
Secondly, if you want to select noncontiguous layers, and skip layers in between, click the first layer, hold in Control (Win) or Command (Mac), and click on the layers you want to select together. For example, I want to select the Ellipse 1, Triangle 1, and Text Layer 1 layers.
Thirdly, if you want to select all the layers at once (especially if you have several layers in the panel), go to Select > All Layers or press Alt + Control + A (Win) or Option + Command + A (Mac) and all the layers will be active.
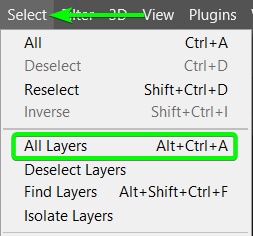
All the layers in the Layers Panel will be selected, excluding any locked layers.

Selecting Layers Within A Group
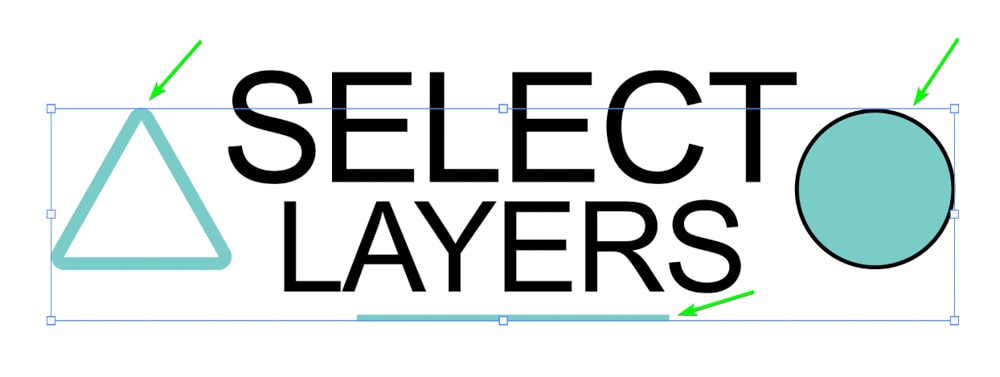
If you group layers (Control + G/Command + G) in the Layers Panel, you can still select individual or multiple layers within the group. Here I have added the shapes into a group to organize the panel.

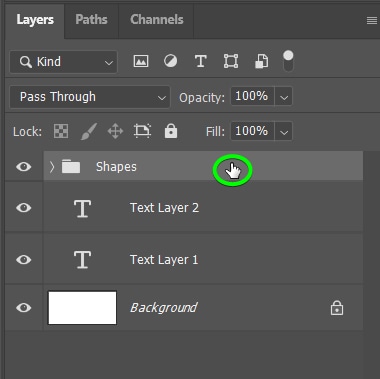
To select all the layers within the group, click on the group layer.
All the layers inside the group will be selected.
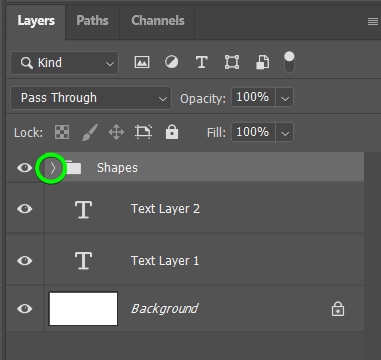
If you want to select individual layers inside the group, open the group by clicking on the arrow to the left of the group.
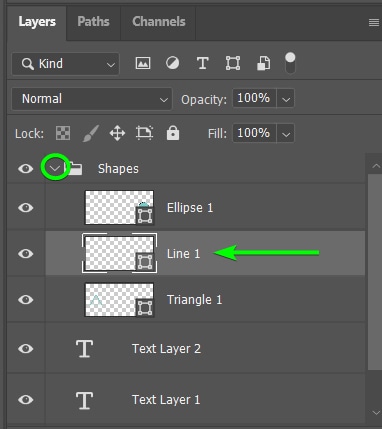
Once the group is open, you can select individual or multiple layers by clicking on them.
Selecting Linked Layers In Photoshop
Linking layers is an excellent technique to keep layers together on the canvas. Once two layers are linked, if you move one of them, the other will move as if they are one element, but they are still on separate layers.
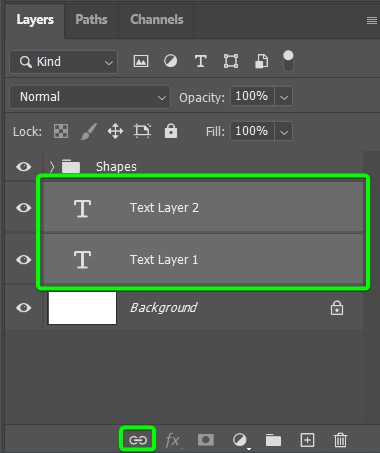
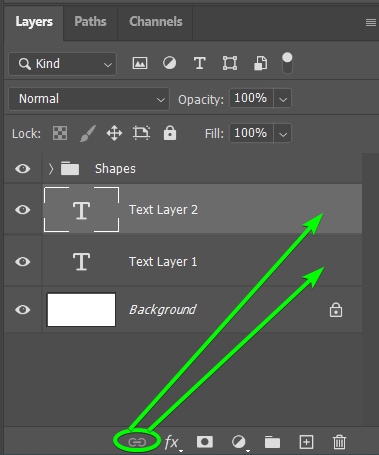
You can link two layers by selecting them both and clicking on the link icon at the bottom of the Layers Panel.
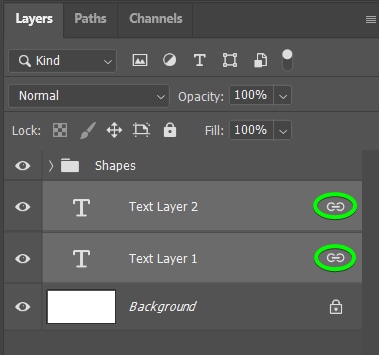
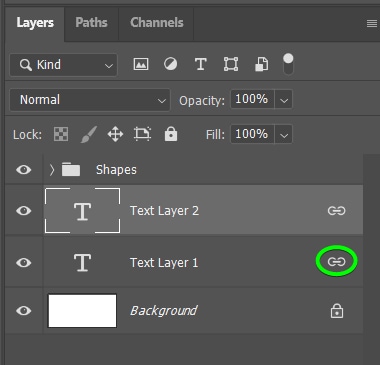
When two layers are linked, a link icon is visible to the right of both layers when one or both are selected.
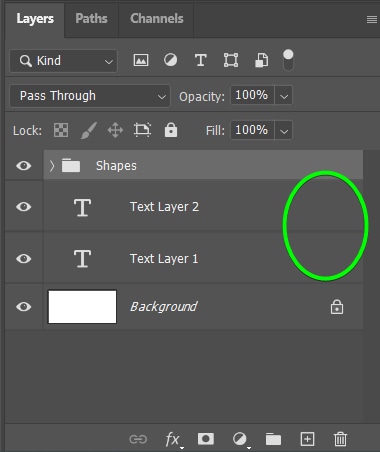
When neither of the linked layers is selected, the link icon won’t be visible, even though the layers are still connected.
When you click one of the linked layers, both link icons will appear to indicate that both layers are selected. You can only select the two layers together when they are connected.
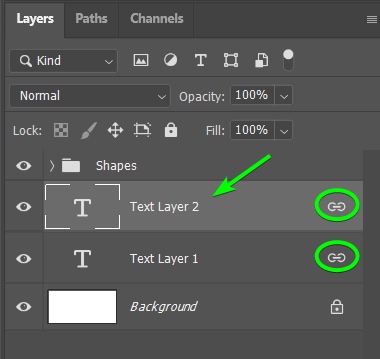
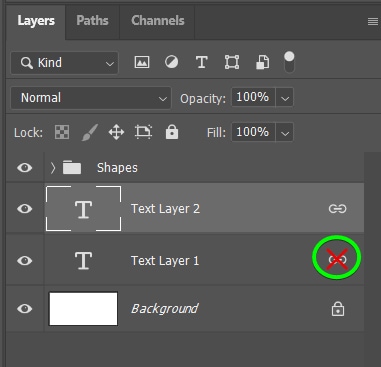
If you want to select one of the layers individually without deleting the link, hold in Shift and click on the link of the layer you don’t want to be selected. A red cross appears across the link, and only the selected layer will move.
You can relink the two layers to select them together again by holding Shift and clicking the link with the red cross to reactivate it.
To delete the links, select one of the linked layers and click on the link icon at the bottom of the Layers Panel.
The Shortcut To Select Layers In Photoshop
You can also use a shortcut to select any layer in the Layers Panel. The main benefit of using the shortcut is when you are recording a Photoshop action.
When recording an action, selecting a layer won’t be recorded in the action, so if you want the action to include moving to a lower or upper layer to add a new effect, you won’t record this selection unless you use the shortcut.
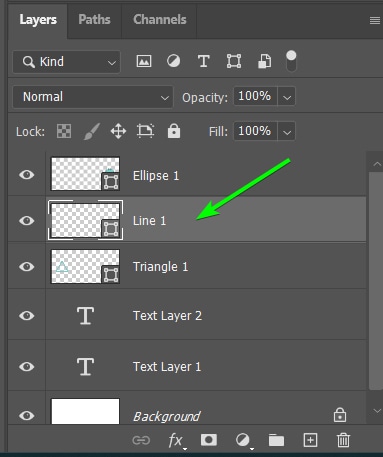
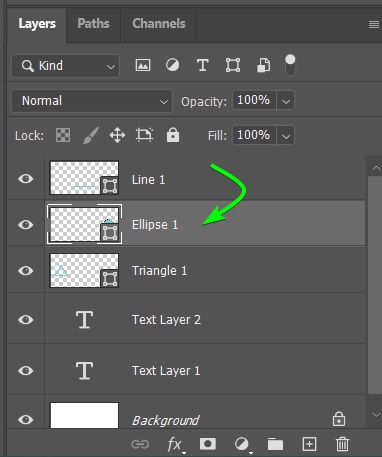
The shortcut scrolls through the layers, so depending on which layer you want to select, you can press Alt + [ (Win) or Option + [ (Mac) to select the layer below the currently active layer. So with the Ellipse 1 layer selected, pressing the shortcut once, the Line 1 layer is selected.
You can keep pressing the shortcut to scroll down to the other layers.
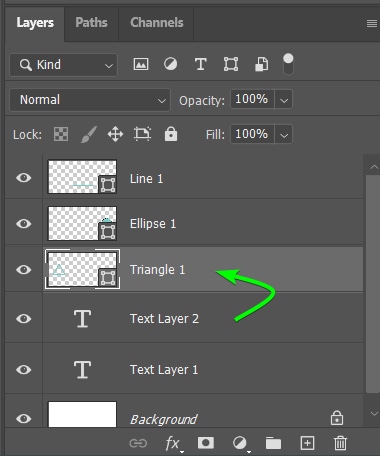
You can also use the shortcut Alt + ] (Win) or Option + ] (Mac) to scroll up to layers higher in the Layers Panel. With Text Layer 2 selected, pressing the shortcut once, I land on the Triangle 1 layer. Keep pressing to move up to higher layers.
How To Turn Selected Layers Into A Selection In Photoshop
You can quickly turn a selected layer into a selection on the canvas. This is useful if you want to add selective edits to that image that only affect the selected area. This technique also works if you use the layer contents as a layer mask for another layer.
You can only use this method on layers that have a transparent background. For instance, you can create a selection from a shape layer, as it only selects the shape(s) you created.
If you try this method on an image, the entire canvas or photo will be selected, which doesn’t serve much purpose. If you need to select the subject within an image, you must use one of the selection methods, such as the Select Subject function.
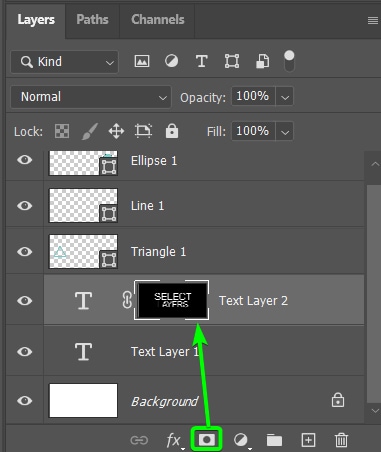
To turn a selected layer into a selection, hold in Control (Win) or Command (Mac) and hover over the layer’s thumbnail. You will notice a selection box appear, and you can then click to create the selection.
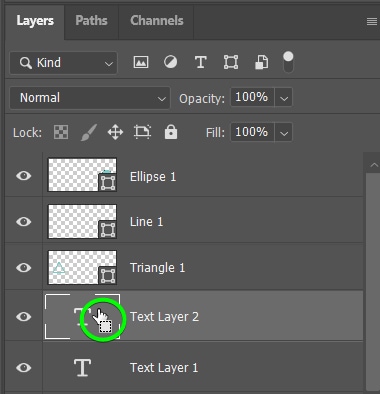
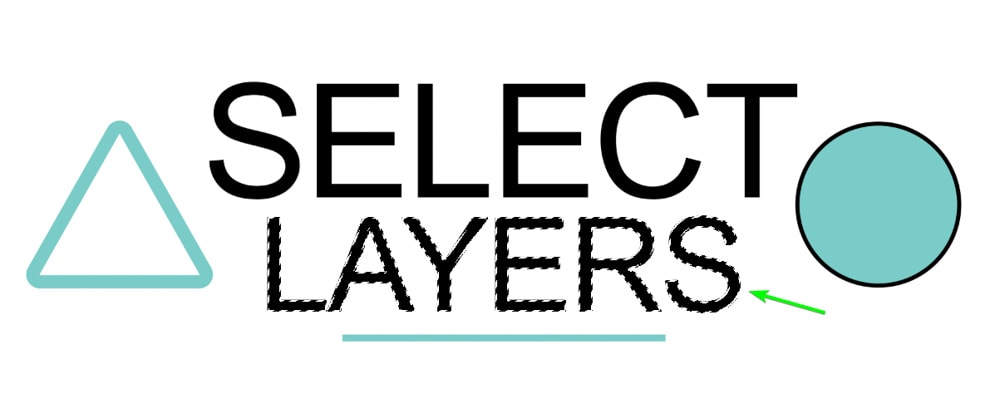
Once you click inside the thumbnail, the selection will automatically cover the layer contents on the canvas. Since I clicked on the second text layer’s thumbnail, the second line of text now has a selection around it on the canvas.
How To Make A Selection From Two Layers At Once
If you want to make a selection from two layers at once, you can create a selection using more than one layer. This is useful if you want to create a layer mask to add edits using the objects or contents from two layers.
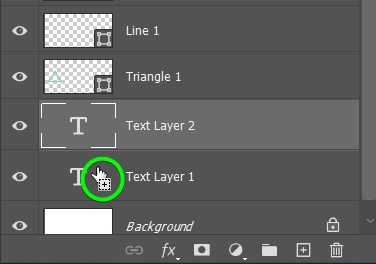
First, you need to select the contents of the first layer, as shown in the previous section, by holding in Control (Win) or Command (Mac) and clicking on the layer’s thumbnail. I have selected the “Layers” text first.
Now, if I want to add the other text which says “Select” to the selection on the canvas (which is on a separate layer), I can do this by holding in Shift + Control (Win) or Shift + Command (Mac) and hovering over the next layer’s thumbnail. You will see the selection box with a plus icon appear. Click on the thumbnail when the icon appears.
On the canvas, the contents of both text layers will have a selection around them.
You can now add a layer mask to one of the text layers (or another layer), and the layer mask will be created using the selection of both layers.
With all these layer selection tricks in mind, you can finally get back control of your Layers Panel without too much of a headache!
Happy Editing 🙂
