

It can be tedious to constantly head to the Layers panel to select different layers while working. Luckily, Photoshop has a lesser-known tool to help streamline your work, and it’s hidden right in one of the tools you probably use the most. Here is how to auto-select layers in Photoshop to speed up your workflow.
To active auto-select in Photoshop, select the Move Tool by pressing V, then check the “Auto-Select” option found in the upper settings bar. With Auto-Select enabled, you can choose to auto select groups or individual layers simply by clicking on an element on your canvas.
The Auto-Select feature allows you to select layers automatically by simply clicking an element on the canvas that is on the layer you need to work with. This means that, rather than constantly returning to the layers panel, you can switch between layers directly on your document. There are even ways to automatically select layer groups or multiple layers at once.
Let’s dive into Photoshop’s Auto-Select feature, and discover some tips to make Auto-Select work best for you.
How To Turn On Auto Select In Photoshop
As easy as it is to turn on Auto-Select, you might not even need to bother; these days, Auto-Select comes automatically turned on in the most recent versions of Photoshop.
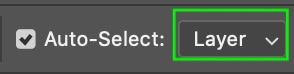
However, you may still want to find the Auto-Select feature and check whether or not it is activated. To do this, head to the toolbar and click the Move tool icon or press V.

On the Options bar, you’ll find the Auto-Select option. If the option is active, the box to the left will be checked. If it isn’t, click to check the box and activate the option.

You’ll notice the difference between having Auto-Select on and off in the way you move elements in your project. If Auto-Select is on, clicking and dragging any element will move it along with your cursor, regardless of whether you’ve selected the layer beforehand. If Auto-Select is off, you’ll have to return to the Layers panel to select a new layer before clicking and moving anything in that layer.
Auto Selecting Layers Vs Groups
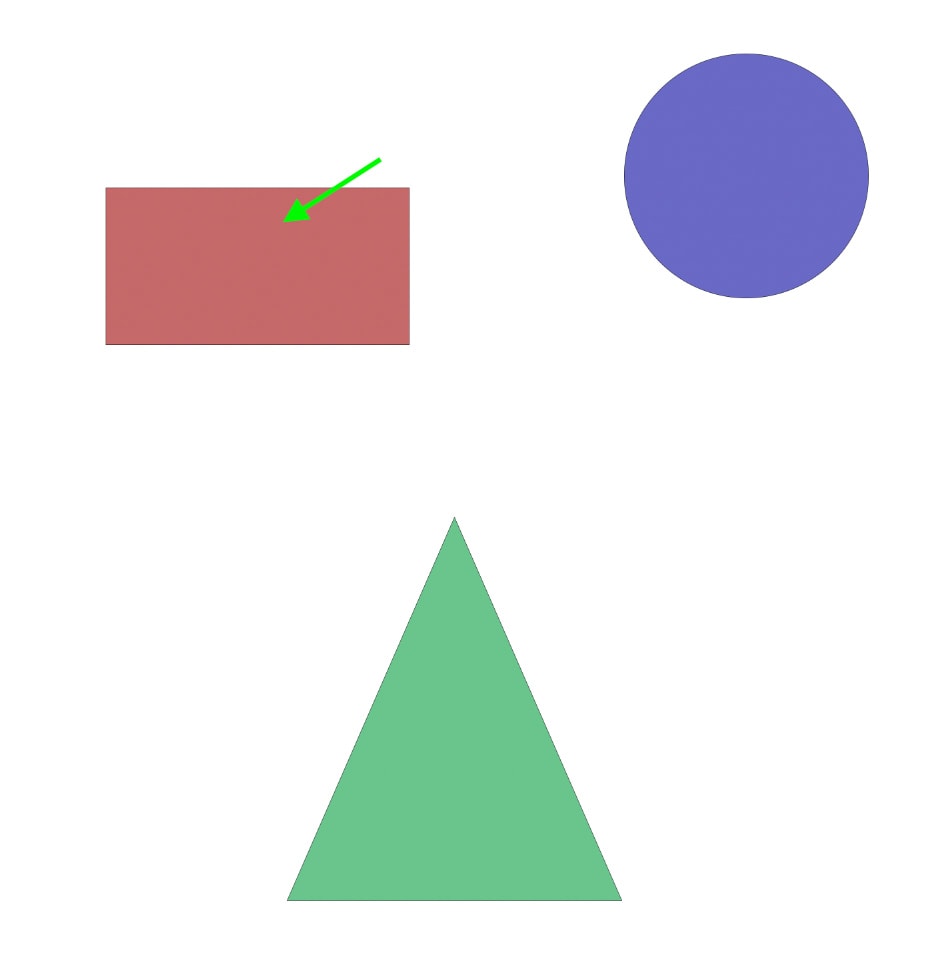
Auto-Select has several different uses, from selecting one layer at a time to selecting an entire group of layers. Let’s use the below document as an example.

In the Layers panel, we can see that each shape has its own layer.
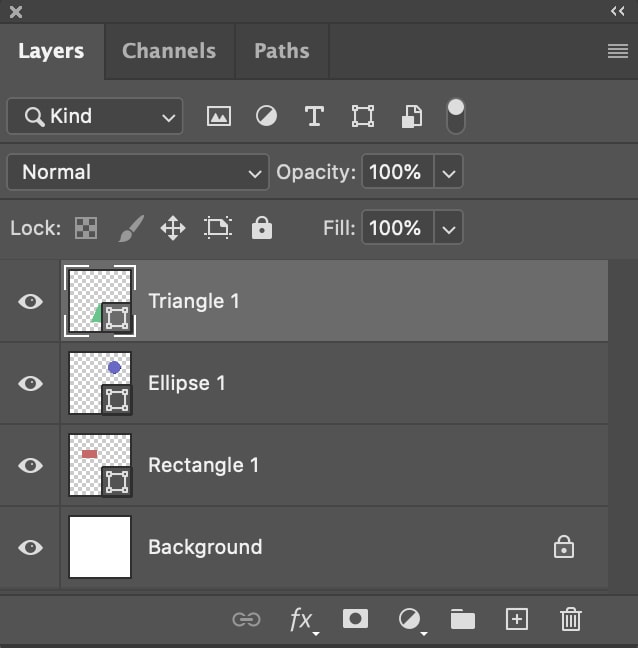
With Auto-Select turned on, you can activate any layer to work with simply by clicking an element in that layer. For instance, if I’d like to activate the Rectangle Layer, I just click the rectangle.
You’ll see that the active layer is now updated in the Layers panel (active layers are visible as a lighter gray).
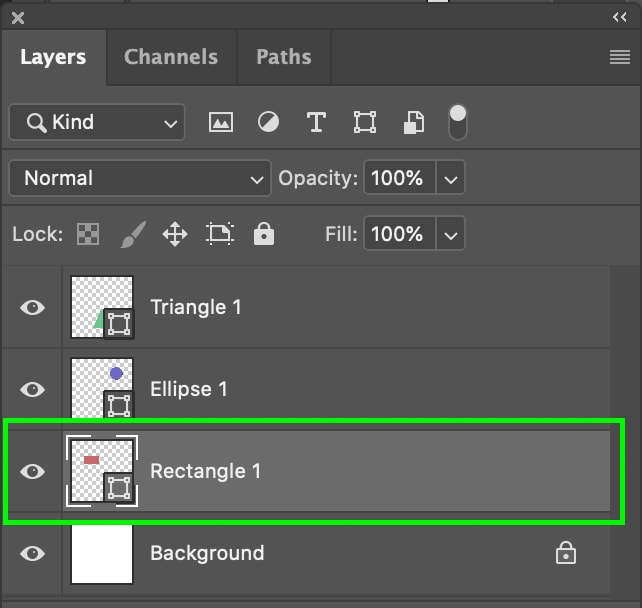
Any edits you make will apply to this layer. You can choose a different layer by simply clicking an element in that layer.
Note that you can’t select the locked background layer. If you click the background you’ll find it automatically deselects all other layers and you won’t be able to edit any of the elements until you click them again.
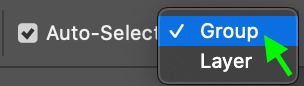
Now, if you head to the upper toolbar, you’ll see that Auto-Select is set to Layer. But you can also use Auto-Select with Layer Groups, by clicking the drop-down menu and selecting Group.
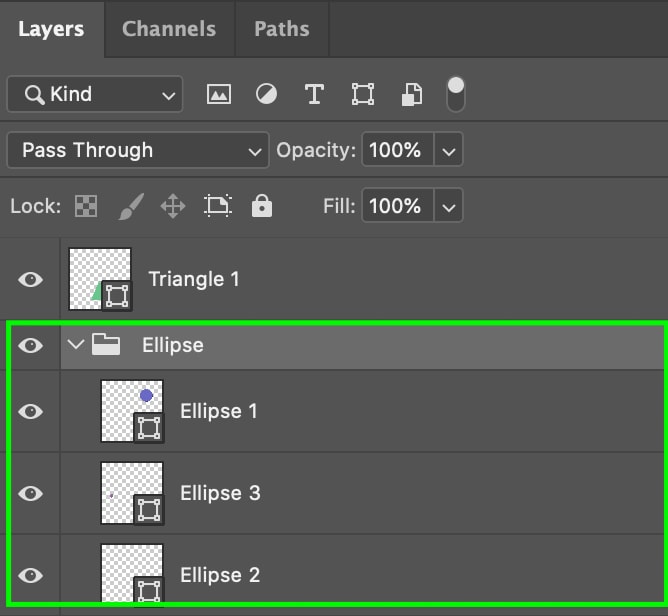
In the image below you’ll notice I’ve added a few extra circles to the project, which now form the Layer Group, Ellipse.

Now with Auto-Select set to Group, all you have to do is click any element in a layer group to activate that entire layer group. So by clicking one of the circles, I can move them all at once around the document.
Being able to auto-select layers and layer groups is useful to allow you to move from layer to layer with only a click. However, you won’t be able to use Auto-Select for several elements at once if they aren’t in the same layer or layer group (there is another trick to help you do this, but we’ll get into that in the next section).
You’ll also have to be careful that you don’t accidentally click a different layer than the one you’re working on, as this could disrupt your workflow.
How To Auto Select Multiple Layers At Once With The Move Tool
Now, what if you’d like to edit multiple elements in different layers at the same time? You can easily select several layers at once using the move tool – but only when the Auto-Select feature is turned on.
To do this, first head over to the Move tool (V) and click to activate it.
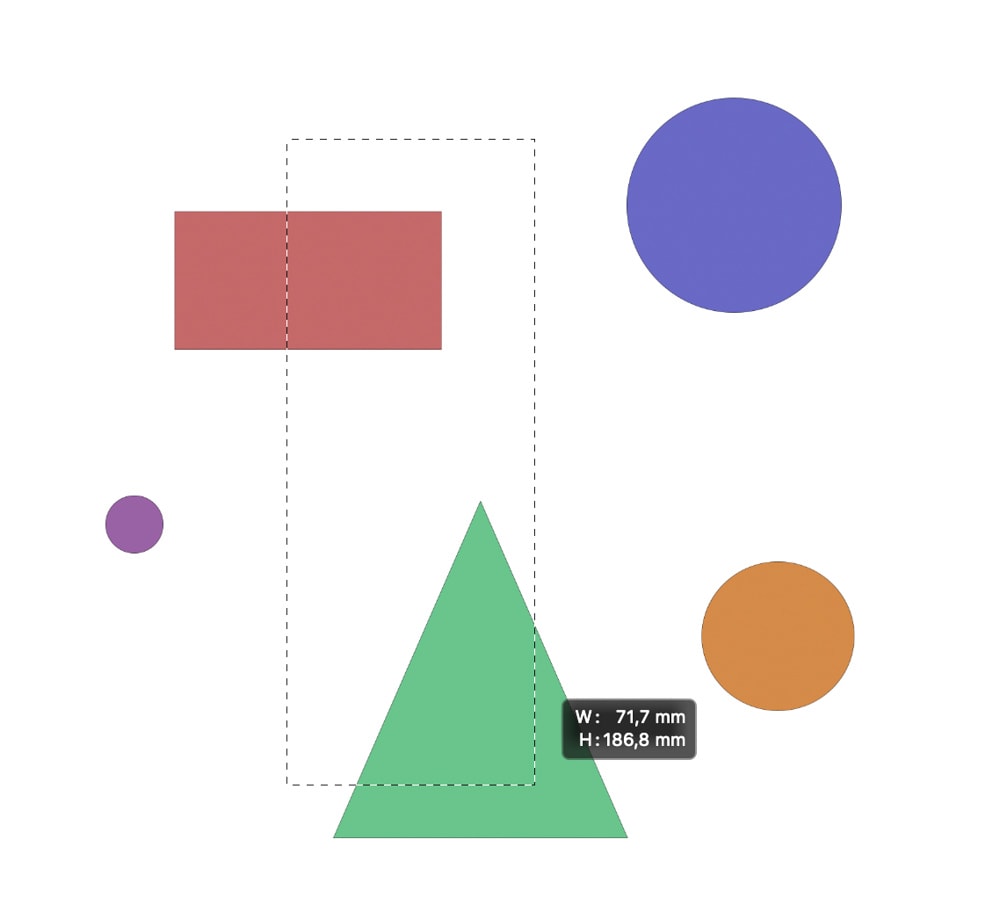
Now, click and drag to create a selection that contains several elements in different layers. Below, the selection I drew covers both the rectangle and triangle shapes.
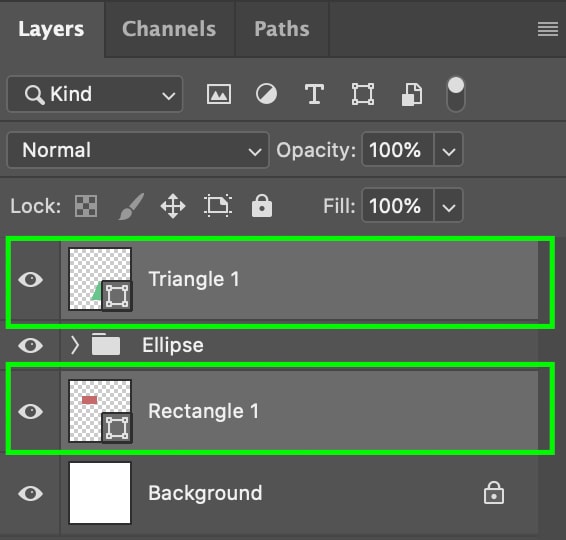
You’ll notice that, when a selection is drawn around these elements, the layers they belong to are both selected in the Layers panel.
This is useful as, like the Auto-Select tool, it allows you to select multiple layers quickly. However, it may not always be easy to make a selection while avoiding other elements in layers you don’t want to select, so this trick might not apply to all projects.
In some cases, this click and drag method will not work unless you start from outside of your canvas. By clicking outside of your canvas, then dragging inwards to select the desired elements in your project, you can take advantage of this multi-select feature.
Should You Leave Auto Select Layers On All The Time?
As we’ve mentioned, Auto-Select is turned on automatically in newer versions of Photoshop, like Photoshop CC. But do you need to keep the Auto-Select setting on all the time?
I recommend that you don’t keep the Auto-Select on at all times. As convenient as Auto-Select can be, its ease of use means it is also easy to click the wrong layer accidentally or switch to another layer without meaning to. For this reason, it is best to leave it off. However, you can take advantage of it when you need it as it can help speed up the process when moving between different elements in your project.
You can turn Auto-Select off the same way you turned it on: activate the move tool, head to the Auto-Select area on the Options bar, and uncheck the option.
The time it takes to individually select layers in Photoshop can add up. Learning to use Auto-Select with layers is a simple way to reduce the overall time it takes to edit your projects.


