
In every project you work on in Photoshop, there comes a point where you need to edit multiple layers at once. Sure, you could make the same adjustment multiple times, but who wants to spend the effort doing that? I know I sure don’t. Luckily there are several easy ways to edit multiple layers at once with adjustment layers, or layer styles. Here’s one of the easiest ways of doing it.
To edit multiple layers at once, hold Command/Control and click on your desired layers. Once selected press Command or Control + G to group the layers. To adjust the grouped layers, add an adjustment layer, then right-click and choose Create Clipping Mask. Now you will edit every layer at once.
Grouping layers is a great way to edit multiple layers at once since you can edit the entire group at once. Best of all, none of the layers are merged so you can still edit them individually if needed.
Now throughout this post you’ll learn more about editing images in groups, along with two other helpful ways to edit multiple layers. With these three techniques, editing multiple layers at once is a breeze! Let’s get started.
4 Ways Of Editing Multiple Layers At Once In Photoshop
1. Editing Multiple Layers With Groups
In this method, you can combine different layers into one group to add adjustments that edit all the layers within. This will get more clear as we move forward. In this section, I’ll show you how to create a group in Photoshop and then add adjustments to it.
How To Make Groups In Photoshop
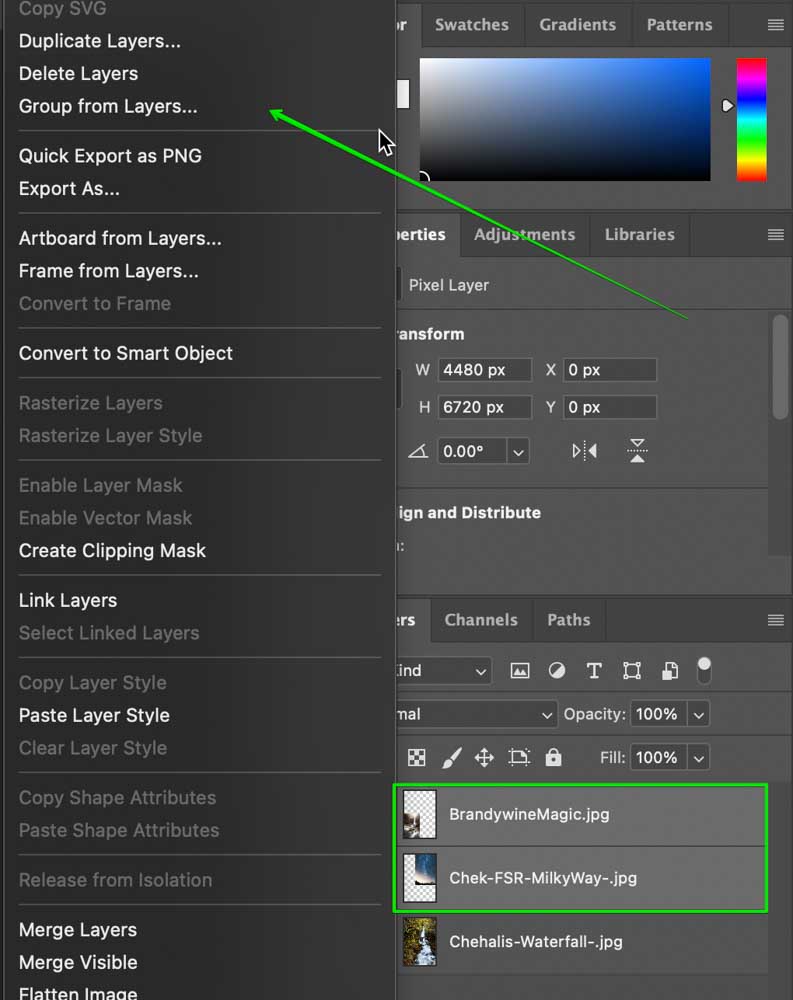
Once you have multiple layers created in your project, select all the images you want to group by pressing Command or Control and clicking on them.
After that right-click and select ‘Group from Layers’.
Now name your group if you wish. Otherwise, it will default to “Group.”
Once you have done this, you will see that you have a new folder created with all the images inside it. This is what a group looks like in your layers panel.
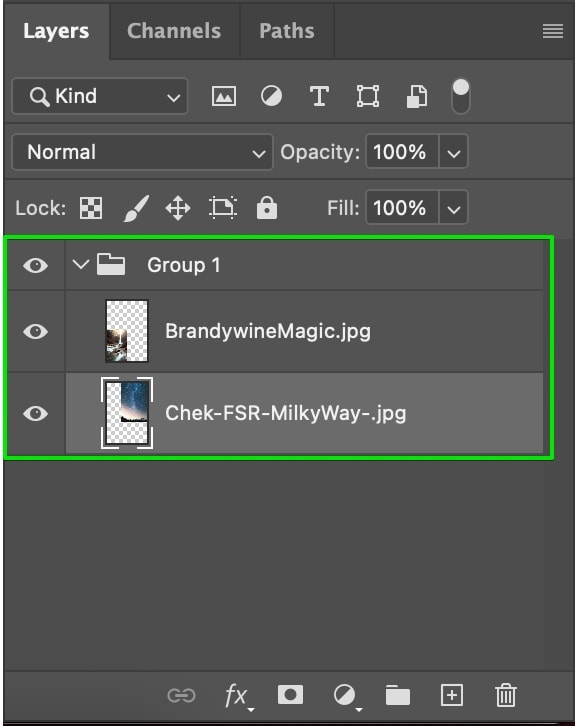
If you hide this single group folder, then all the layers inside it will also get hidden. However, you can toggle the visibility of individual layers within the group without changing the visibility of the entire folder.
So now with the help of groups, you can edit multiple layers within the group by editing the group folder.
How To Make Adjustments To All Layers Within A Group
For this example, I will make a color adjustment using adjustment layers. If you don’t know what an adjustment layer is, it basically adds various kinds of effects to your image without destroying the original file. You can turn these adjustments on and off and they are very helpful for editing your images!
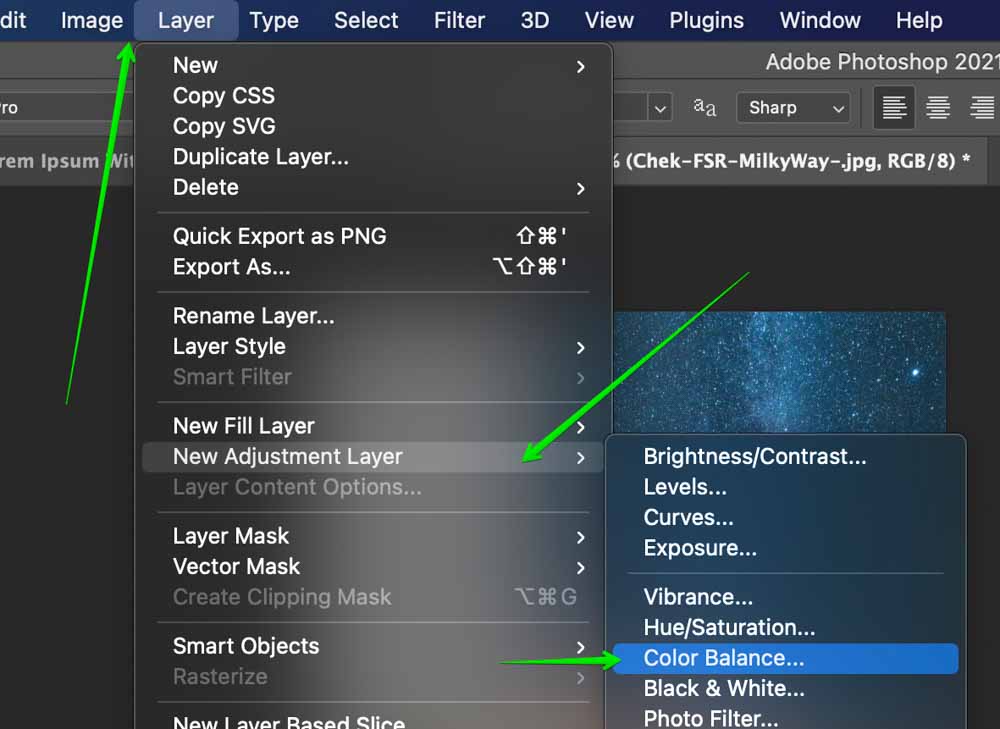
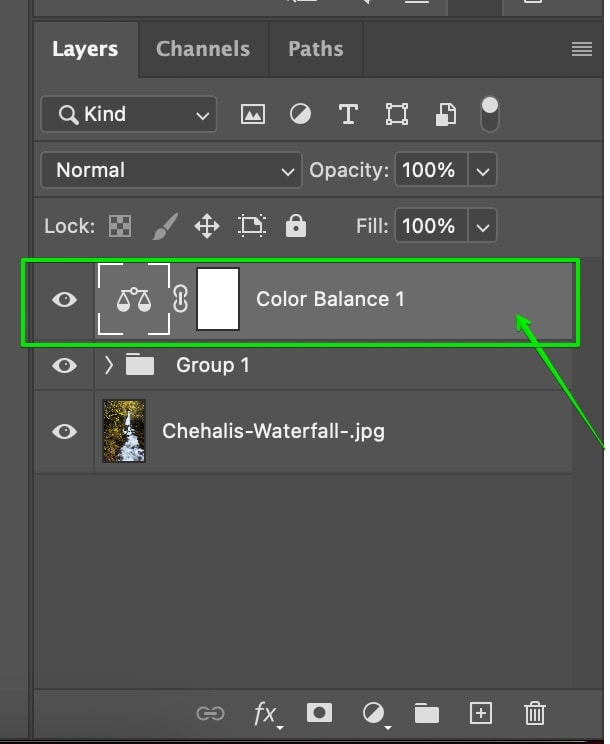
To add an adjustment layer, go to Layers > Add New Adjustment Layer or select one from the adjustment panel. I will select ‘Color Balance’ in this example.
Once the Adjustment Layer is added, drag it to the top in the Layer Panel.
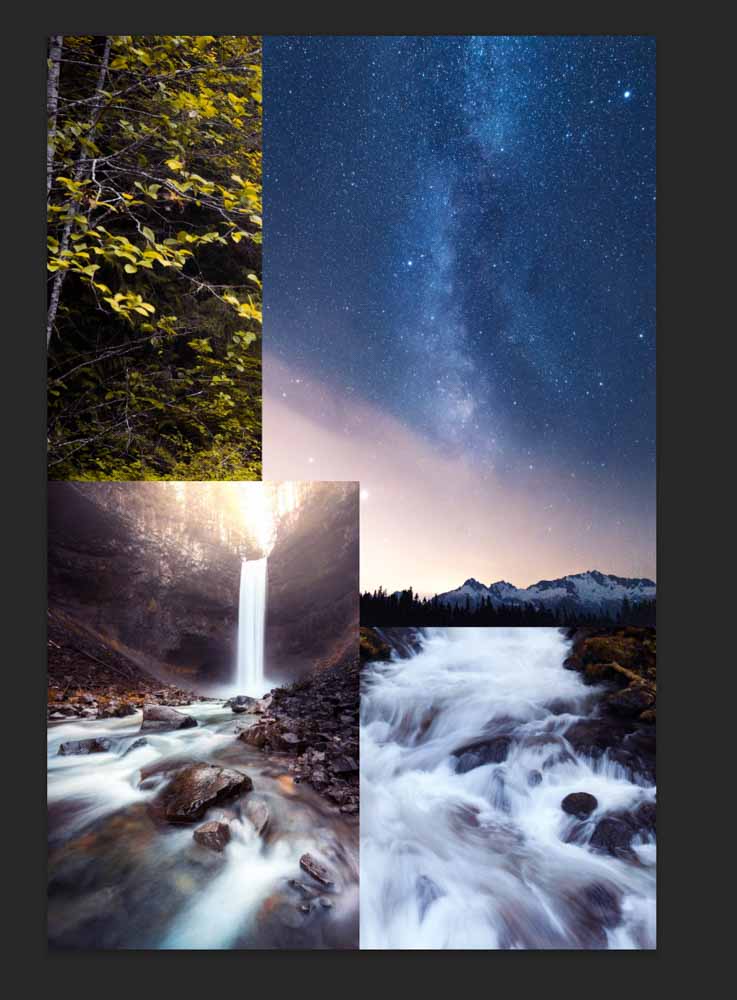
Now you will see an adjustment panel for your specific adjustment layer. Here you will be able to edit your image depending on your adjustment layer. In this case, I am editing the colors of the images. By adjusting the sliders as needed, I can easily update the colors in my collage.

Once you make adjustments, you will notice that your entire canvas is being edited by the adjustment layer. In this case, I only want these adjustments to apply to the layers within the group.
The reason every image in the project is getting affected is that the Adjustment Layer is at the top of the layer stack. That means it affects all the layers underneath it too.
To fix this problem we will have to use a clipping mask.
By using a clipping mask the Adjustment layer will only affect the layer directly beneath it. In this case, the layer underneath the Adjustment Layer is our Group Layer. So it will affect every layer inside of the group.
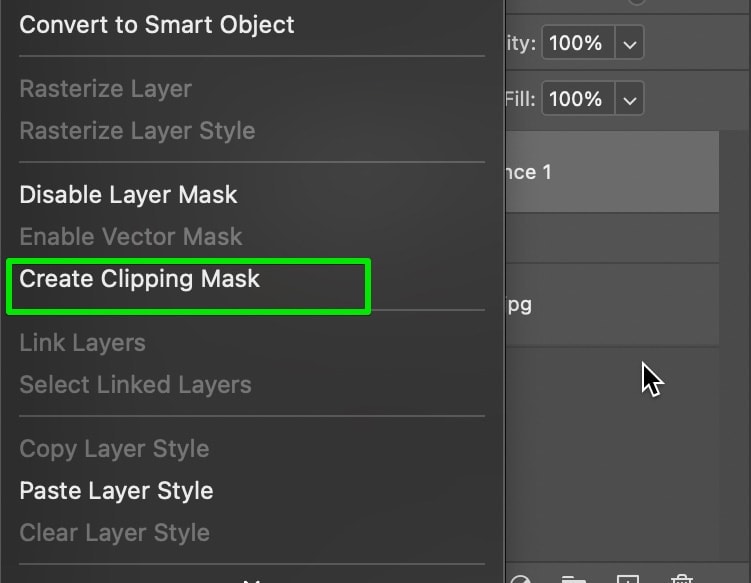
To add a clipping mask, select the Adjustment Layer, right-click and select ‘Create Clipping Mask’.
Now your adjustment will edit multiple layers at once since it’s clipped to the group!
You can also add a layer mask to the group to mask the contents all at once. This is helpful for masking out the same area in multiple layers to save a lot of time.
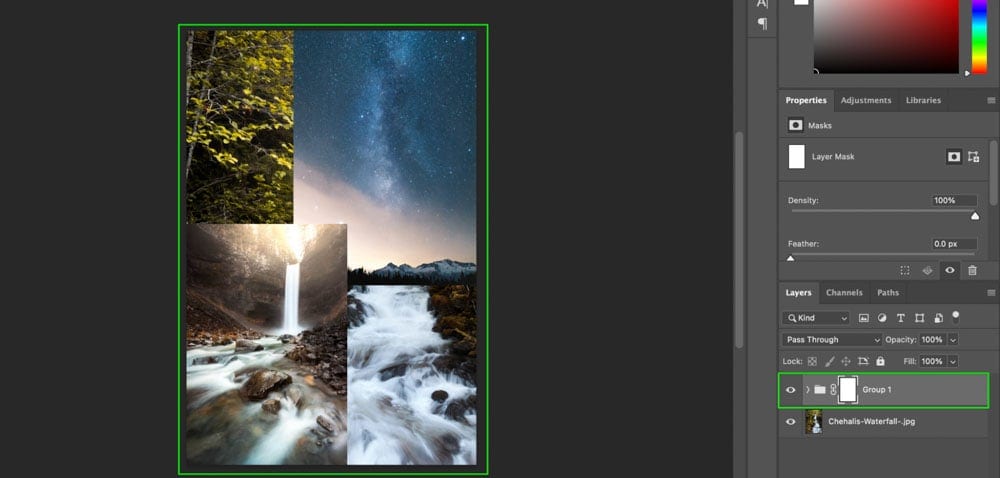
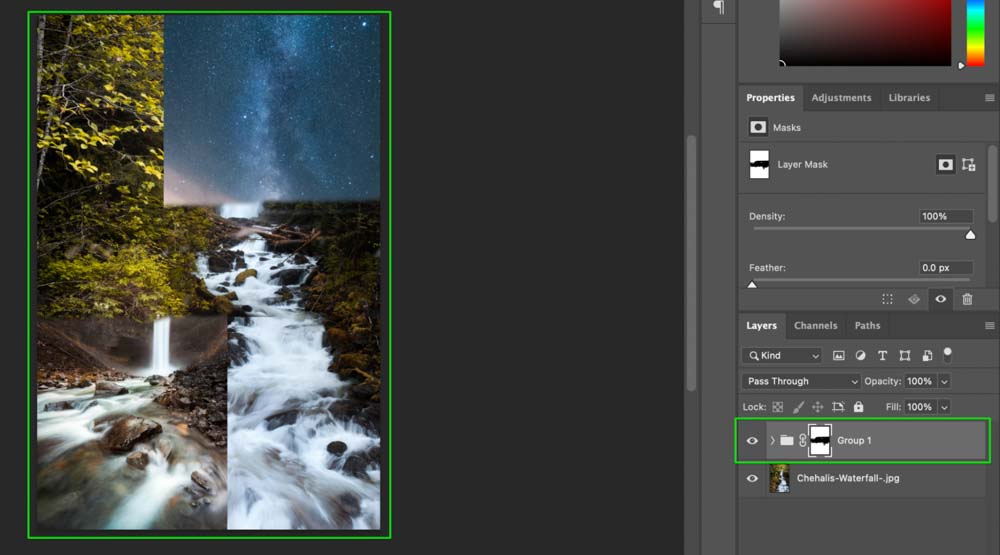
To add a layer mask to the whole group, select the group layer, then click on the small ‘Rectangle with a Circle’ icon in the layer panel (the layer mask icon).
Now a layer mask will be added, indicated by the white box beside your group layer.
If you’re new to using layer masks, here’s the basic rundown. Using the Brush Tool (B), set white or black to your foreground color. White is considered “visible” on your layer mask, while black is considered “transparent.” Depending on which color you paint on your mask, you can easily hide or add back parts of your layer. You can learn more about layer masks here.
For now, let’s quickly go through an example of editing a layer mask applied to a group.
This is what our layer looks like right now without any adjustments. As you can see it’s fully white meaning everything is visible.
Now I’ll select the Brush Tool (B) and set black to my foreground color (press D then X). Painting on my canvas with the layer mask selected, I’ll begin to mask out parts of the collage, making it transparent.
Now any layers within the group will get start getting masked out wherever I brush. In the example below, you can see how sections of each image within my group have been masked out.
If you wanted to add back these masked out areas, painting white will make it reappear. With the help of groups, clipping masks, and layer masks, it’s easy to quickly edit multiple layers at once. In short, groups are the best way to add multiple layers together so you can directly edit them in one place.
2. Moving Or Scaling Multiple Layers With Linked Layers
By linking your layers together it will get easy for you to move them together and transform them in the same way. If you want to edit the position and size of multiple layers at once, this is your best option.
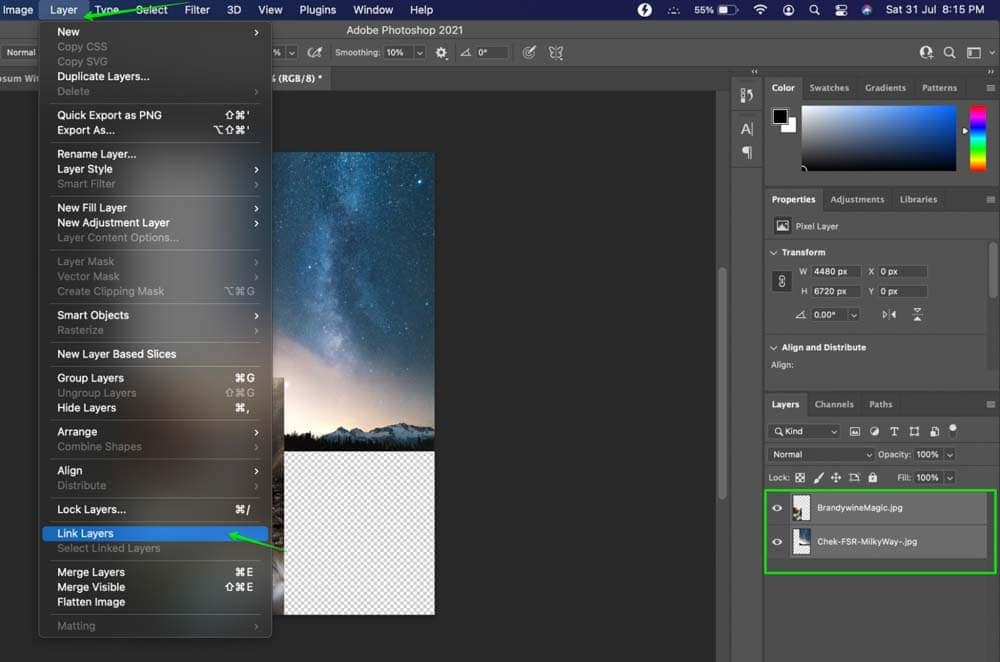
To link your layers, select both layers by pressing Command or Control on your keyboard and click on the layers. With the layers selected, go to Layer > Link Layers.
You can also link your selected layers by clicking on the ‘Link’ icon at the bottom of the layer panel.
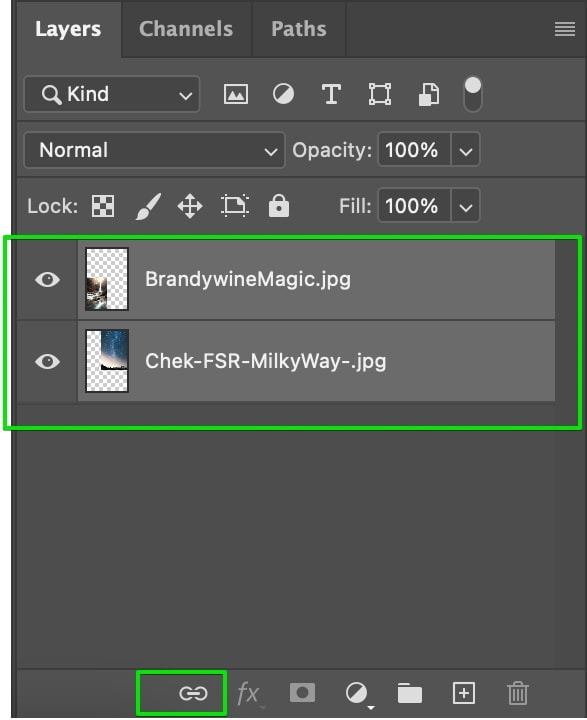
Now your layers will be linked. You will see a link icon next to each layer when they are selected in you aren’t sure.
With both the layers linked and one of the linked layers selected, use the move tool by pressing V on your keyboard and move the layer around and you’ll see that the other layer moves around too. For transforming the layer, press Command/Control + T on your keyboard and make one of the layers big or small. The same thing will apply to each of the linked layers.
Linking is slightly different than grouping but offers an easy way to change the position and size of multiple layers at once.
3. Editing Multiple Layers Using Smart Objects
Smart Objects are very much like groups, but with a twist. Smart Objects act as containers where you can select multiple layers and apply all the effects at once. They too allow for non-destructive editing. Since you are editing the smart object (aka the container) and not the layers individually, it’s an effective way to batch edit layers. You can learn more about the uses of smart objects here.
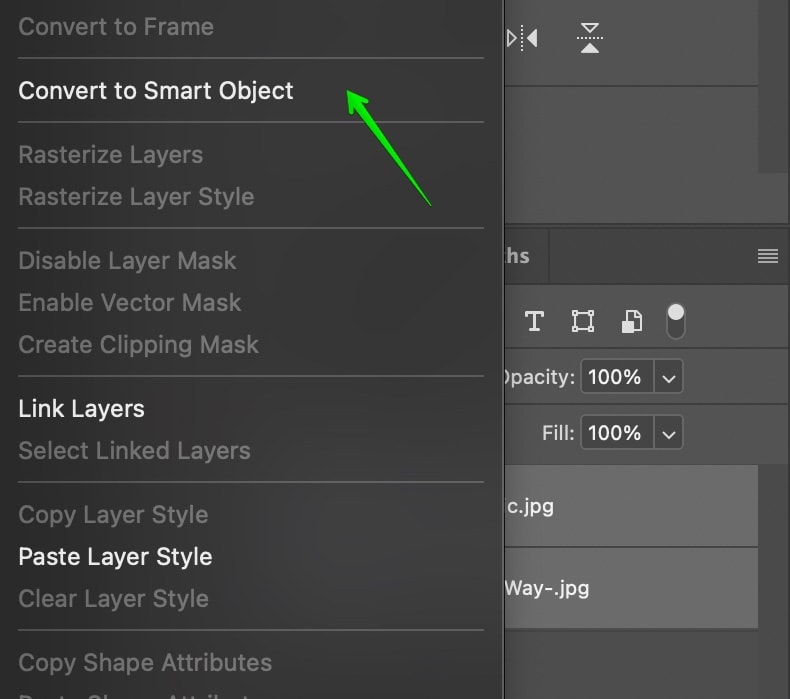
To create a Smart Object select all the layers you want by pressing Command or Control on your keyboard and clicking the layers. Then right-click on the layers and select ‘Convert to Smart Object’.
Now your Smart Object will be created from your selected layers which will be merged into a single “smart object layer.” Here’s what it looks like in the layer panel:

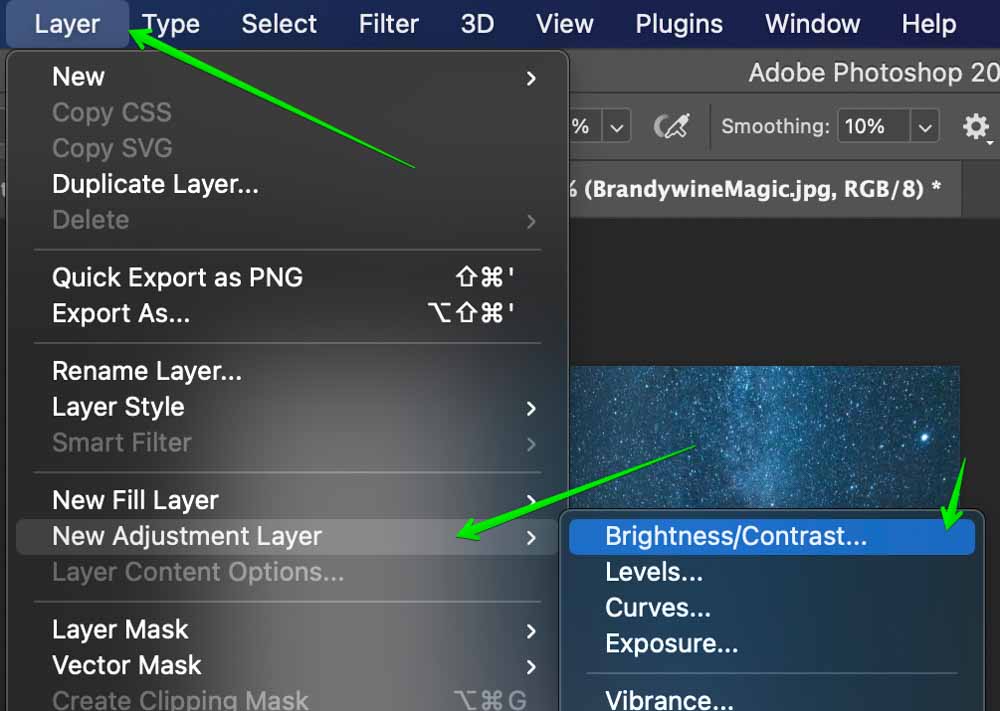
To edit this smart object, I will apply an Adjustment Layer as I did in the group example previously. To apply that, go to Layer > New Adjustment Layer > Brightness/Contrast. The same steps apply for any type of adjustment layer you are using.
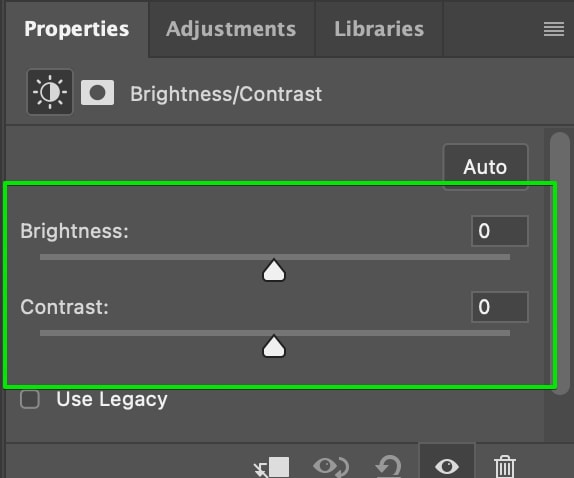
On the right-hand side of Photoshop, you will see an adjustment panel where you can configure the Brightness and Contrast settings. Once again, if you’re using a different adjustment layer, you’ll see different options in the properties panel.
Before making any adjustments, there is one problem here. The Adjustment Layer will apply to all of the layers underneath and not just the Smart Object. To fix this we will have to use a clipping mask.
By using a clipping mask, the Adjustment layer will only affect the layer directly beneath it, which is the smart object.
To create a Clipping Mask, right-click on the Adjustment Layer in the layers panel and select, ‘Create Clipping Mask’.
Now apply the adjustments you want to your smart object and all the layers inside will get edited together.
Smart objects are a great way to preserve image quality when scaling, work non destructively, and save space in your layers panel. By double-clicking on a smart object you can reaccess your individual layers at any time.
If you’re new to smart objects in Photoshop, I highly recommend reading this tutorial to get you up to speed.
4. Copy and Pasting Layer Styles To Edit Multiple Layers
In all of the previous methods so far you learned how to use adjustment layers to edit multiple layers at once. However, these techniques don’t transfer over to layer styles. Luckily it’s very easy to edit multiple layers with the same layer style with a basic copy and paste method.
For this example, I will make two text layers. One with a drop shadow effect and another plain. Then I will show you how to copy that drop shadow effect to the plain layer.
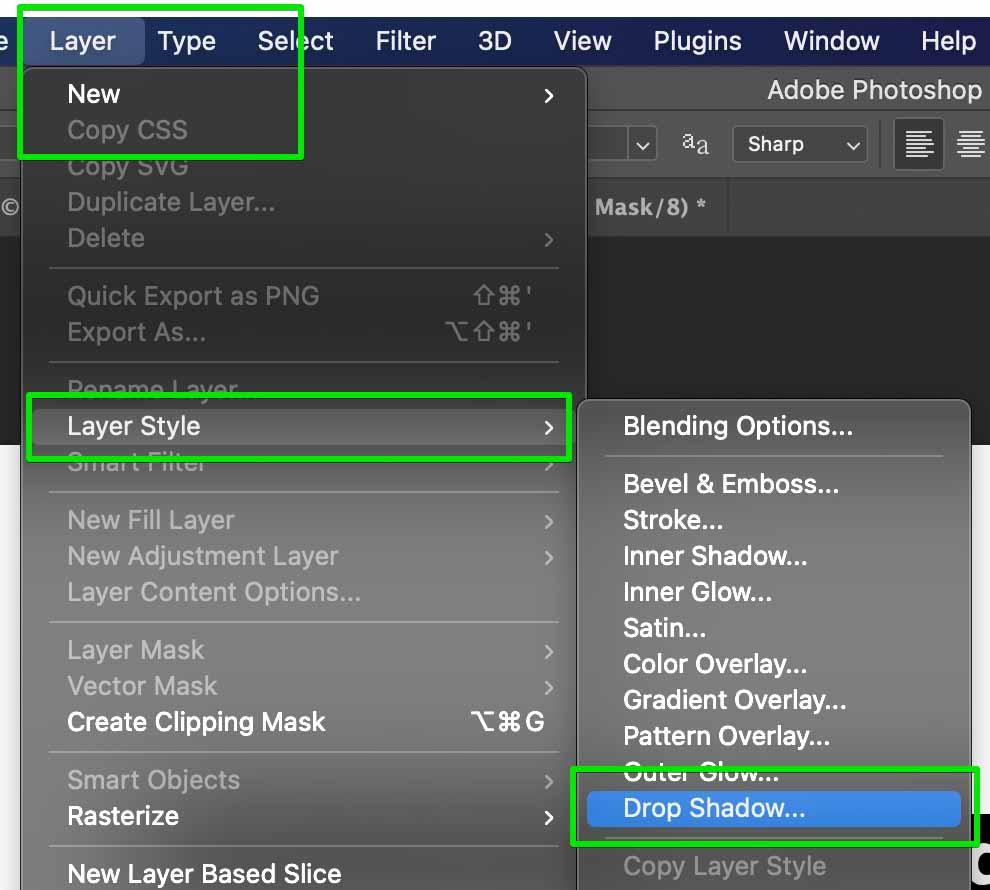
To add a text layer press ‘T’ on your keyboard, click on your canvas, then type something on the canvas. To add a drop shadow effect, select your text and go to Layer > Layer Style > Drop Shadow.
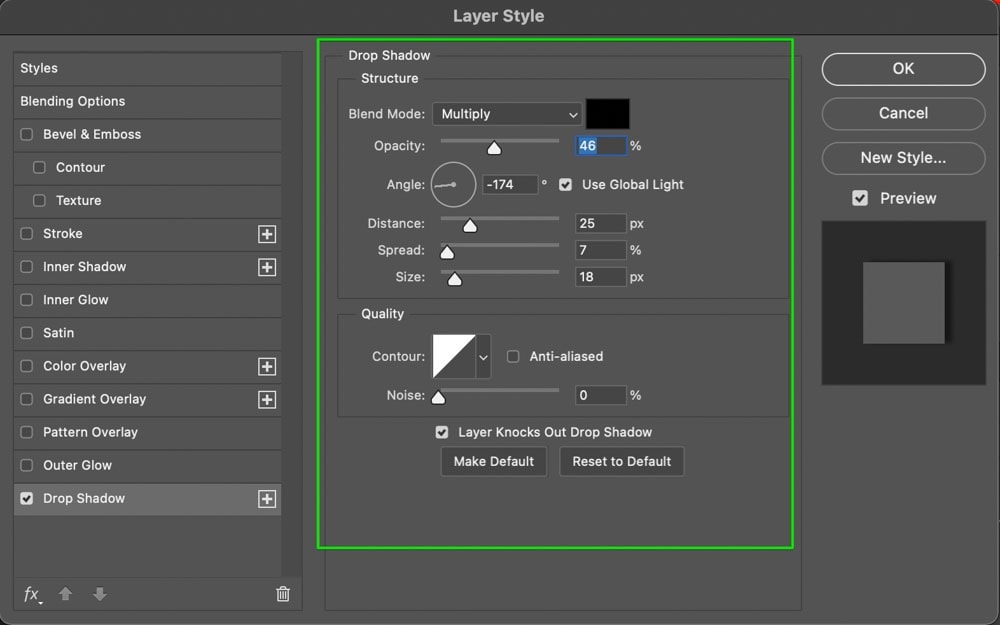
Then a layer style panel will open where you can edit the drop shadow properties. You can adjust the properties such as the distance of the shadow, angle, size, and more. I highlight how to add amazing drop shadows to anything in this post if you want to learn more of the details behind it.
Once you’re happy with your settings, click on ‘Ok’.
Once that is done, I’ll create another text layer without any drop shadow effects.
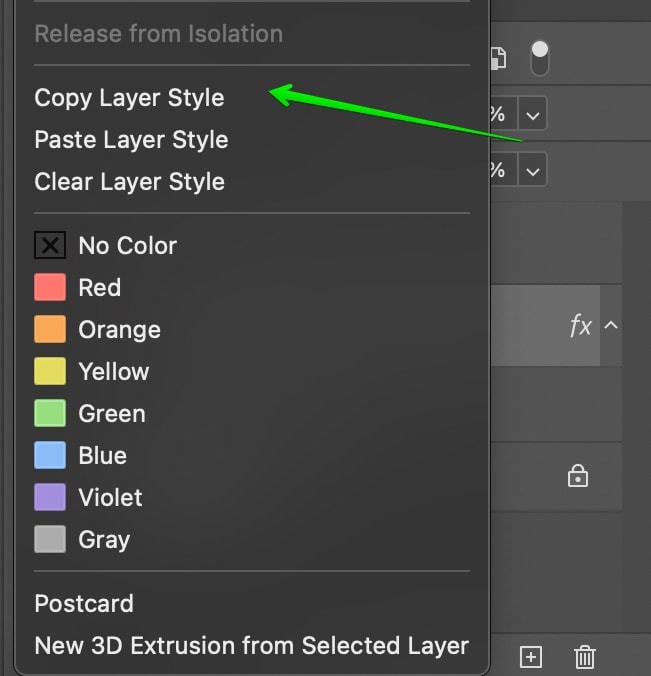
Now I’ll select the original text layer with the text effects, right-click on it, and select ‘Copy Layer Style’.
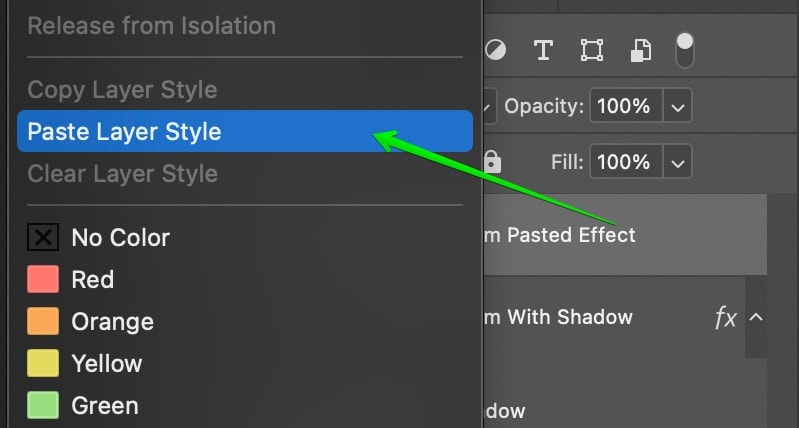
After that, I’ll select the new text layer without effects, right-click on it and select ‘Paste Layer Style’. Now your styles will be pasted.
Here’s what our canvas looked like before copying and pasting the layer style. Notice how only the one line of text has a drop shadow behind it.

And here’s what it looks after we pasted the effects:
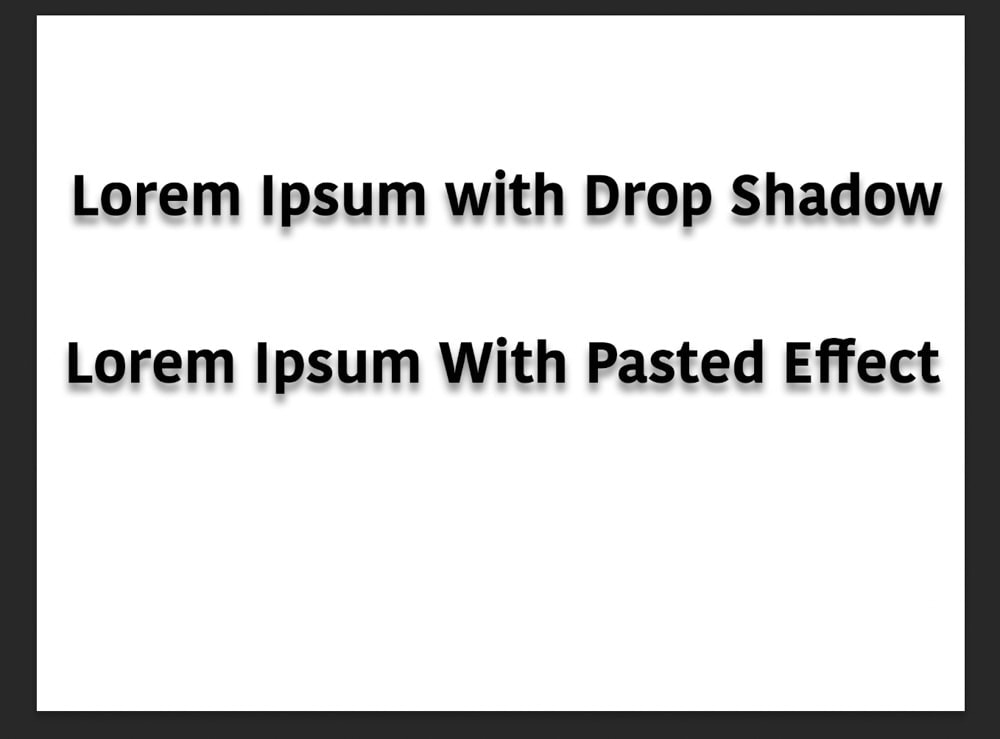
With this simple copy/paste method you can quickly use the same layer style across multiple layers in seconds. Although I used text in this example, you can apply this method to shape or image layers as well!
So now you know 4 easy ways to edit multiple layers at once in Photoshop. With these tips, you can speed up your workflow and save the time of making the same adjustment over and over. Now you can just create one adjustment and edit as many layers as you want with it!
Happy Editing!


