

How To Turn Off Smart Objects In Photoshop With 2 Easy Methods
So what’s the secret to learning how to turn off smart objects in Photoshop? If you’re too far along in your project to use the undo command, you might feel hopeless. Maybe your smart objects are stuck like that forever…
Just kidding.
Learning how to ‘un-smart’ a smart object in Photoshop isn’t hard. With a couple of clicks, your layers will be converted back to normal in no time. In this tutorial, you’ll learn a couple of easy methods to turn off smart objects in Photoshop.
How To Turn Off Smart Objects In Photoshop

There are a couple of different ways you can turn off smart objects in Photoshop, but each gives you a different result.
With one method, you can convert it back to a single layer, while the other can bring back all your original layers.
Regardless of which outcome you’re going for, below shares the best ways to un-smart smart objects in Photoshop!
1. Rasterize Your Smart Object To Turn It Off
Rasterizing is typically used for vectors, but it also works for turning off smart objects.
With this method, you’ll end up with your smart object as a regular layer. Any layers within your smart object will become merged, and they will no longer be editable.
If you’re okay with losing your layers, the rasterize option is an excellent solution to disable smart objects.
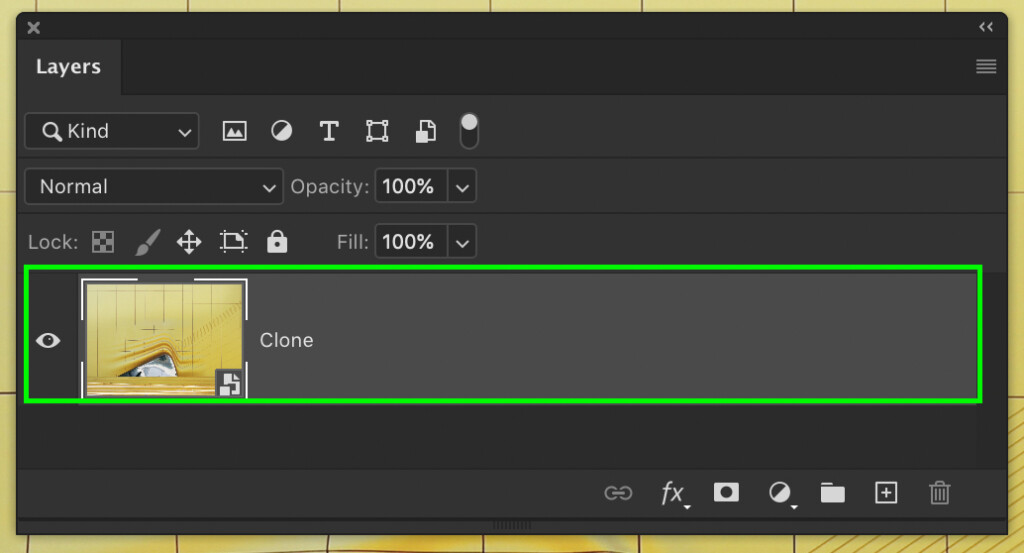
With your smart object layer selected, right-click, and select ‘Rasterize Layer.’
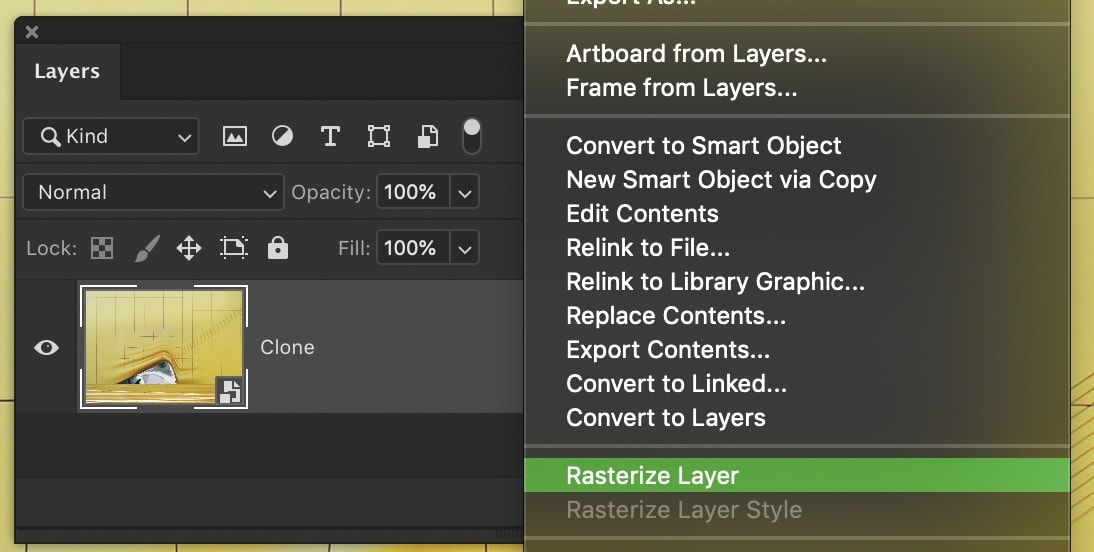
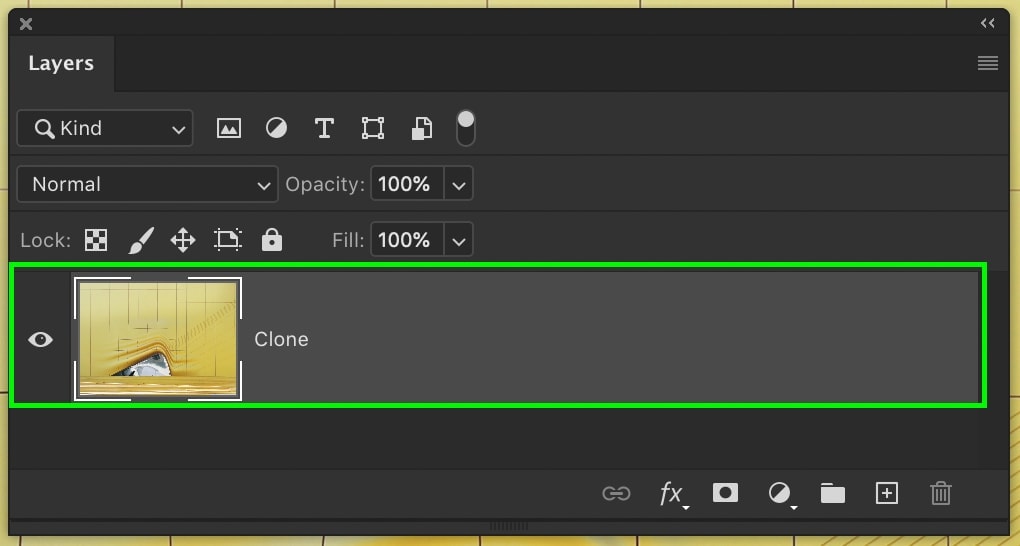
Your smart object will turn off and convert back to a regular layer.
2. Convert To Layers To Turn Off Your Smart Object
In Photoshop CC 2020, a new addition has been made to make smart objects less permanent. Now you can convert your smart objects back to layers with ease.
Unfortunately, if you’re operating in an older version of Photoshop, this method will not work for you.
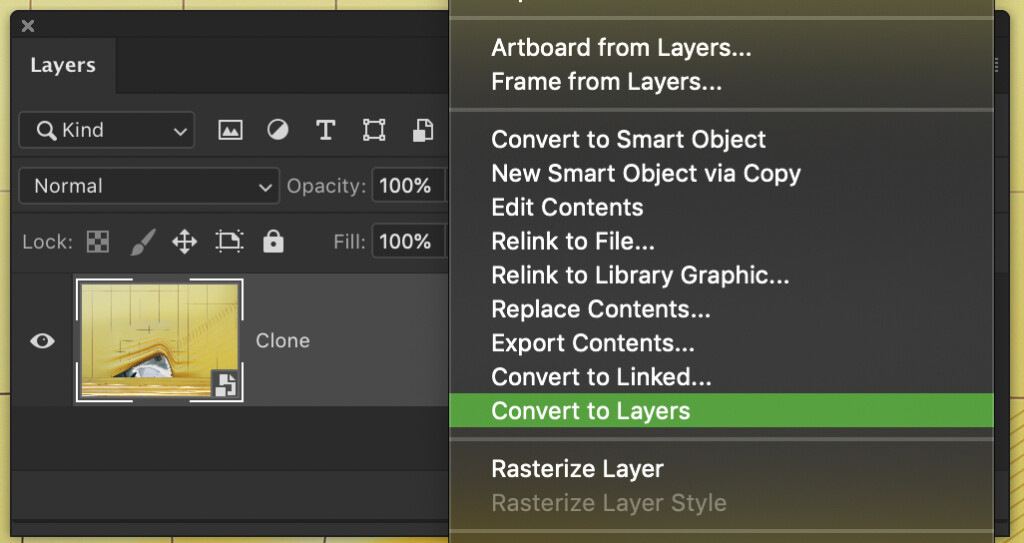
To turn off your smart object and convert it back to layers, first, right-click on your smart object.
Then select ‘Convert To Layers.’
If you only had one layer in your smart object, it will convert itself to a single regular layer.
Now, if there were multiple layers within your smart object, the result is slightly different. With multiple layers, your smart object converts itself into a group.

Within this group are all of the layers that were previously a part of your smart object.
From here you can do what you’d like with the group, but the main job is done. You’ve successfully turned off your smart object!
Conclusion
Besides these two options, there’s not much you can do to get rid of a smart object. The Photoshop 2020 update was a game-changer in that sense, finally allowing you to turn off your smart objects.
If you’re unfamiliar with smart objects and how they work, you’ll love this article on how to use smart objects in Photoshop. Here you’ll learn the ins and outs of smart objects and why they’re so useful in your workflow!
Want more tutorials like this? Subscribe to our weekly newsletter for more photography, and photo editing tips delivered straight to your inbox!
– Brendan 🙂
