

Photoshop brushes allow you to unleash your creativity and create jaw-dropping artwork, graphics, and photo edits. Once you’ve found some that you like, you’ll be eager to install your brushes in Photoshop so you can start using them. So here’s how it’s done in a few short steps.
How To Quickly Install Brushes Into Photoshop
The fastest way to install brushes into Photoshop simply requires double-clicking on them in your files. This works with newer versions of Photoshop, but you may have to manually install them on older versions using a different method (mentioned later in this guide).
Step 1: Download The Brushes You’d Like
First, you’ll have to have some brushes downloaded that you’d like to install. You can find brushes across various websites, both free and paid.
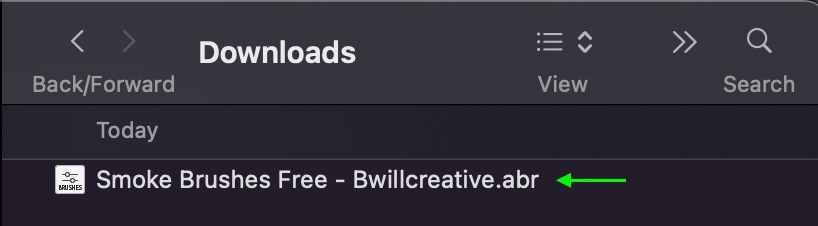
Download them and save them to a location in your files you can easily find. The brushes will be saved as an ABR file.
Step 2: Find The Brushes In Your Files
Once you’ve downloaded some brushes, you can head to the location in your files where you’ve saved them. Double-click the ABR file, and the brushes will automatically be added to Photoshop.
Step 3: Locate The Brushes In Photoshop
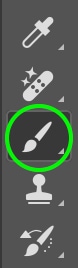
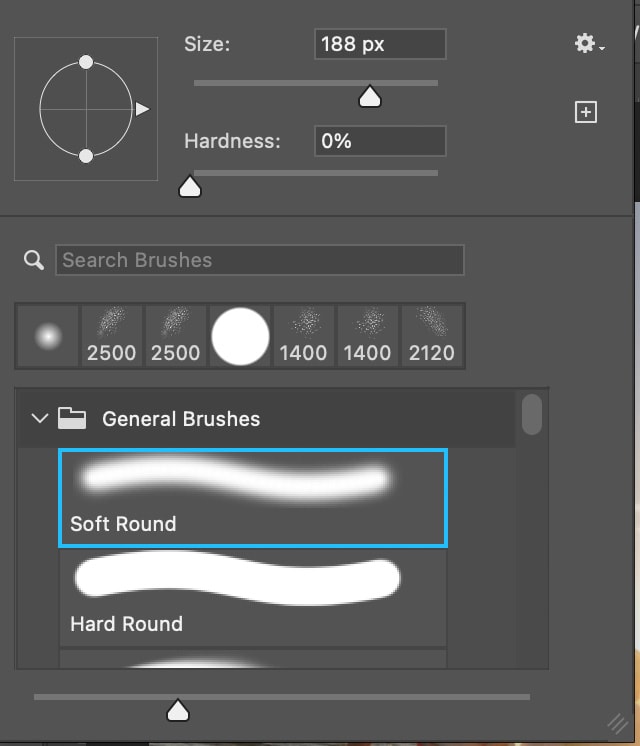
Finally, you can make sure the brushes have been installed correctly by locating them in your Photoshop brush folders. Click the Brush Tool in the Toolbar or press the B key to activate the Brush Tool. Then head to the Brush Preset Panel by clicking the drop-down arrow in the Options Bar.

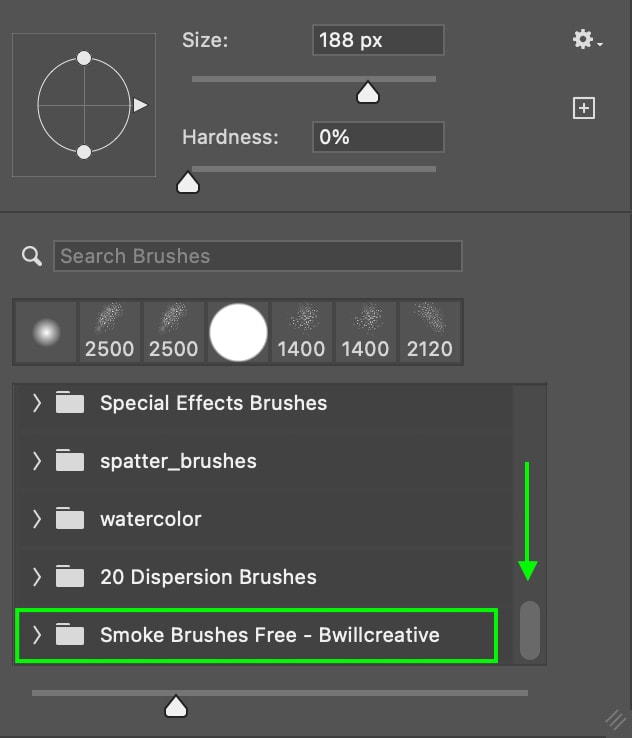
The Brush Preset Panel will open, and you can scroll through the different brush folders until you find the one you just downloaded and installed.
Now, you can use the brushes as you wish, as they are saved to your brush library. If you’re not seeing your brushes, they might not have uploaded correctly. You can easily install them manually by following the directions in the next section.
How To Manually Install Brushes Into Photoshop
If the above method fails, you can install the brushes manually. First, make sure you’ve installed the ABR file, and then use the brush settings to find and select the brush from your files using the steps below.
Step 1: Activate The Brush Tool
Click the Brush Tool in the Toolbar, or press the B key to activate the Brush Tool.
You’ll see the Brush Settings menu in the Options Bar. Click the drop-down arrow next to it to open the Brush Preset panel.
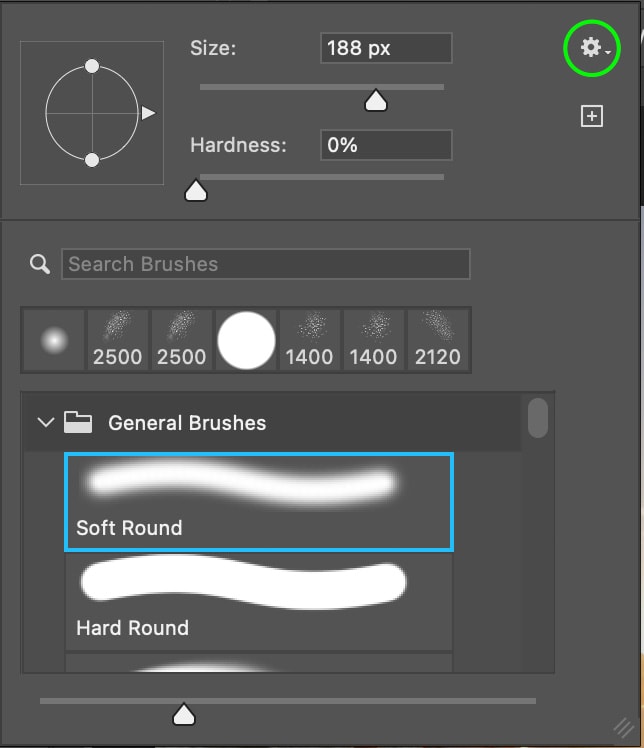
Step 2: Open The Settings Menu (The Gear Icon)
In the top right of the panel, you’ll see a gear icon. Click on it to open the menu, then select Import Brushes.
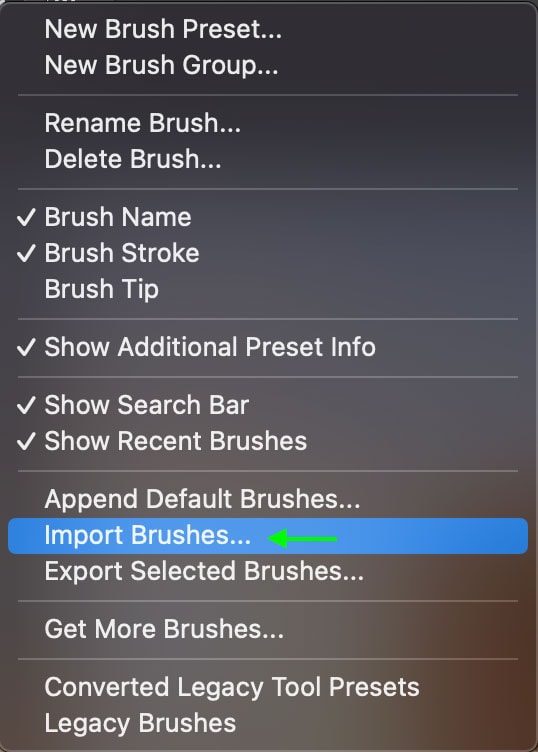
The brush import window will open.
Step 3: Find And Select The Brushes In Your Files
Head to whichever folder you saved the brushes to and find the XMP file. Double-click the file, or click the file and then click Open. The brushes will automatically start installing into Photoshop.
Step 4: Locate The Brushes In Your Preset Library
Finally, you can find and use the brushes by heading back to the Brush Preset Panel and scrolling through the brush preset library until you find the brushes you added.
You can now use your brushes as you wish and make any adjustments to the brush settings in the panel.
If you’re looking for brushes to add to your Photoshop library, there are endless opportunities to find them online. A few places to get high-quality free brushes are Brusheezy, Creative Market, and Envato Elements. Some of these require subscriptions, but you’ll be able to find plenty of free brushes to build up a brush collection that inspires you.
Now that your brush packs are installed in Photoshop check out this guide to master the brush tool to get more creative!
Happy editing!
