
The Smudge Tool is a lesser-known tool in Photoshop used primarily for blending colors or pixels together. Although it can be used with images, it’s most often used with drawing or digital art to smudge edges or create unique blends of colors that are impossible with other tools. To help you get a full understanding of this tool and how it works, this tutorial breaks down everything you need to know before using this tool.
What Is The Smudge Tool Used For?
You can use the Smudge Tool to push pixels in a given direction, causing them to become distorted. The effects are similar to what you get when brushing over a wet painting.
Besides blending pixel colors, this tool can also stretch or blur pixels.
For example, I used the Smudge Tool in the image below to push pixels between the two rectangles up and down, distorting that area.


How To Access The Smudge Tool In Photoshop
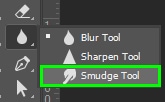
You can find the Smudge Tool in the Toolbar under the Blur Tool.
Smudge Tool Settings Explained
The Smudge Tool settings appear in the Options bar after you enable the tool.

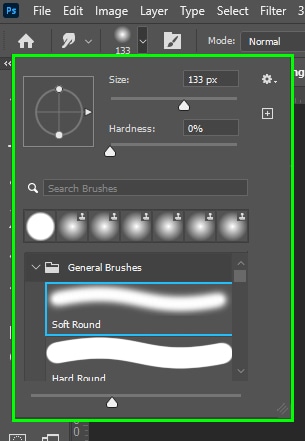
1. Brush Settings
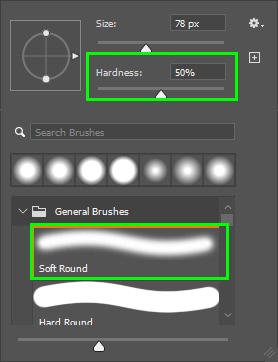
The Brush Settings panel allows you to customize your brush.
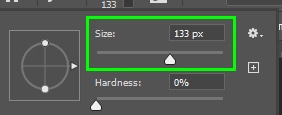
The brush Size should be proportionate to the area you want to be distorted.
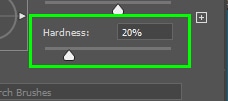
Hardness controls the amount of blur added to the edges of your brush. The lower the Hardness, the more blur will be added to the edges of your brush. When using the Smudge Tool in photography projects, it’s ideal to use a low Hardness value.


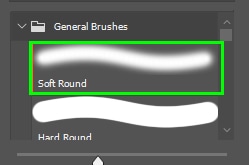
For most cases, especially when using the Smudge Tool in a photo, you should use a round brush, ideally a Soft Round brush.
2. Blend Modes
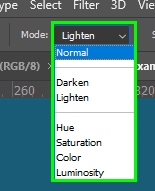
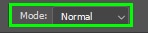
The Blend Mode can significantly change the effect of the Smudge Tool in your project. It changes how colors interact with each other.
The choice between blend modes will depend on the effect you want to achieve. However, for most cases, you will need to set Blend Mode to Normal so that you can blend colors without changes in their light or color values.
3. Strength
Controls the intensity at which the pixels are distorted. For most cases, you should set Strength to 50%.
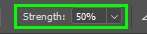
Setting Strength to 100% will make the Smudge Tool behave like a regular brush, producing a harsh effect.


4. Brush Angle
You can change Brush Angle to access hard-to-reach areas. However, this setting won’t affect the round brushes.

5. Sample All Layers
The Sample All Layers option allows the Smudge Tool to distort pixels from any layer found in the Layers panel.
6. Finger Painting
When you turn on this feature, Photoshop blends the Foreground Swatch color with the colors of the area you are painting.

7. Pressure
When this option is enabled, the Smudge Tool distortion is determined by the pressure you apply to the pen while using a drawing tablet.

Using The Smudge Tool In Photoshop
Now that you understand the Smudge Tool settings, I will show you how to use this tool to create organic patterns made of different colors. You can apply these patterns to wallpapers, fonts, and so forth.
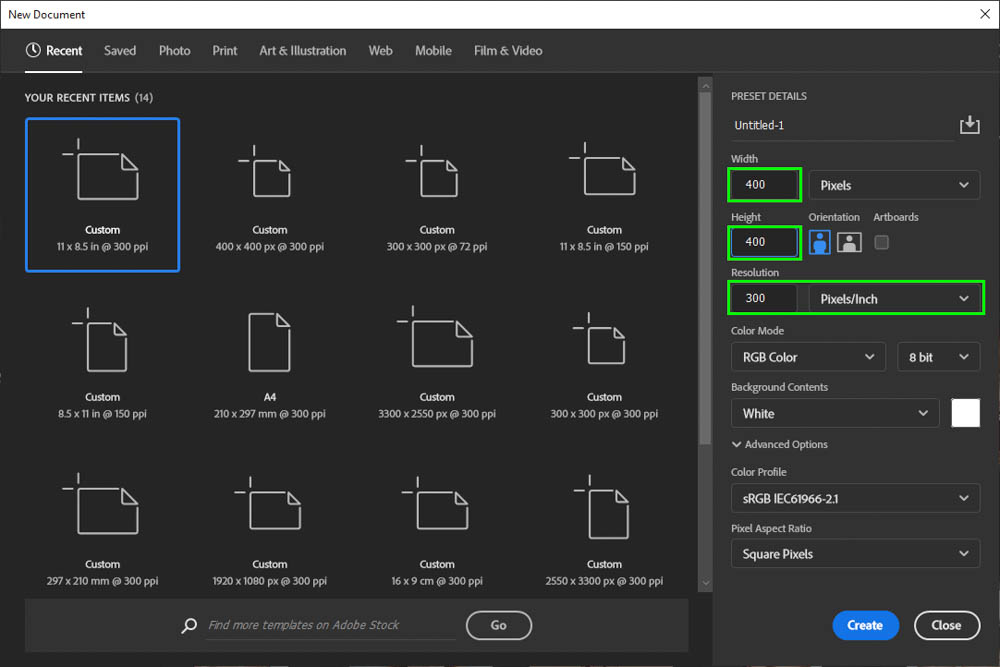
First, you have to create a new document. To do this, press Control + N (Win) or Command + N (Mac).
Within the New Document dialog box, enter the following values.
- Width: 400 px
- Height: 400 px
- Resolution: 300 PPI
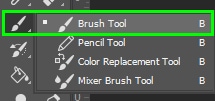
With the document created, select the Brush Tool (B) in the Toolbar.
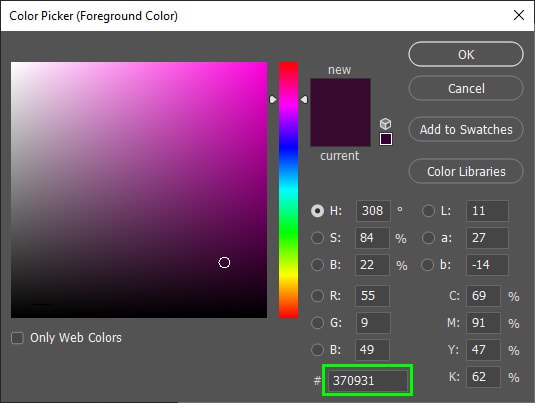
Then, click the foreground swatch in the Toolbar and choose any color you want from the color picker.

Next, paint over a portion of the canvas in any way you like.

Repeat the step above and add a second color to your canvas.

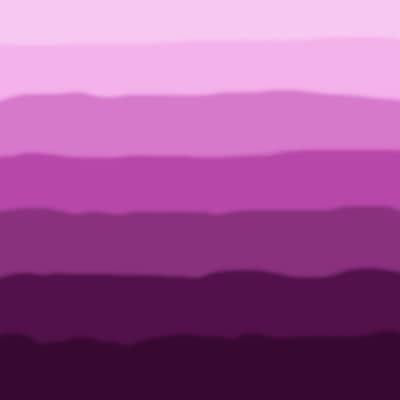
Add as many colors as you want to your pattern. In my case, I added seven.
Next, select the Smudge Tool in the Toolbar.
Adjust the tool settings in the Options bar, as you learned in the previous section of this tutorial.
In my case, I chose a Soft Round brush and set Hardness to 50% because I wanted a slightly blurry effect.
I set my Blend Mode to Normal because I didn’t want any changes in the color I chose.
I also enabled Sample All Layers because I applied brushstrokes to different layers. That way, I could use the Smudge Tool in all layers simultaneously without selecting a different layer every time I used the tool.
Finally, I set the Strength to 50% so that the smudge effect could be moderate.
After choosing the Smudge Tool settings, click one color spot and drag toward another color spot vertically to blend the colors.
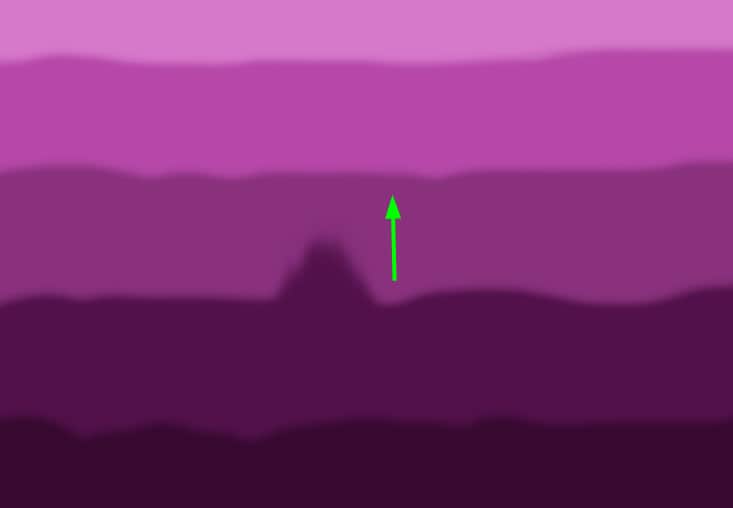
You can also drag the area diagonally.
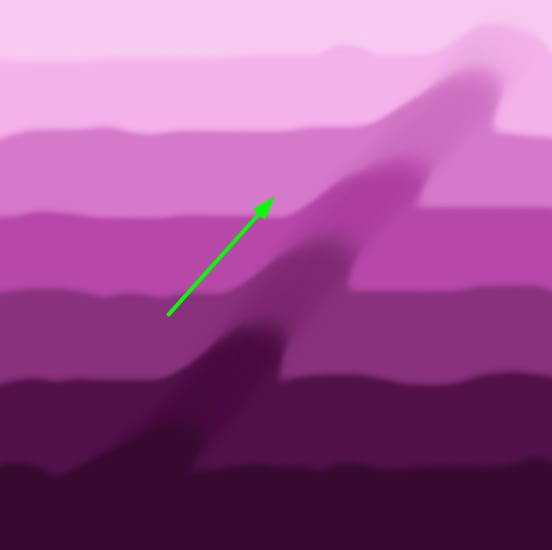
You can also move your mouse in a more disorganized manner to produce other effects. The possibilities are endless. For example, you can create swirl effects, blurry effects, etc.
Change the brush size according to the area you want to cover by pressing the right bracket key ] to increase the brush size or the left bracket key [ to decrease it.
Keep in mind that your hand movement influences the appearance of the effect.
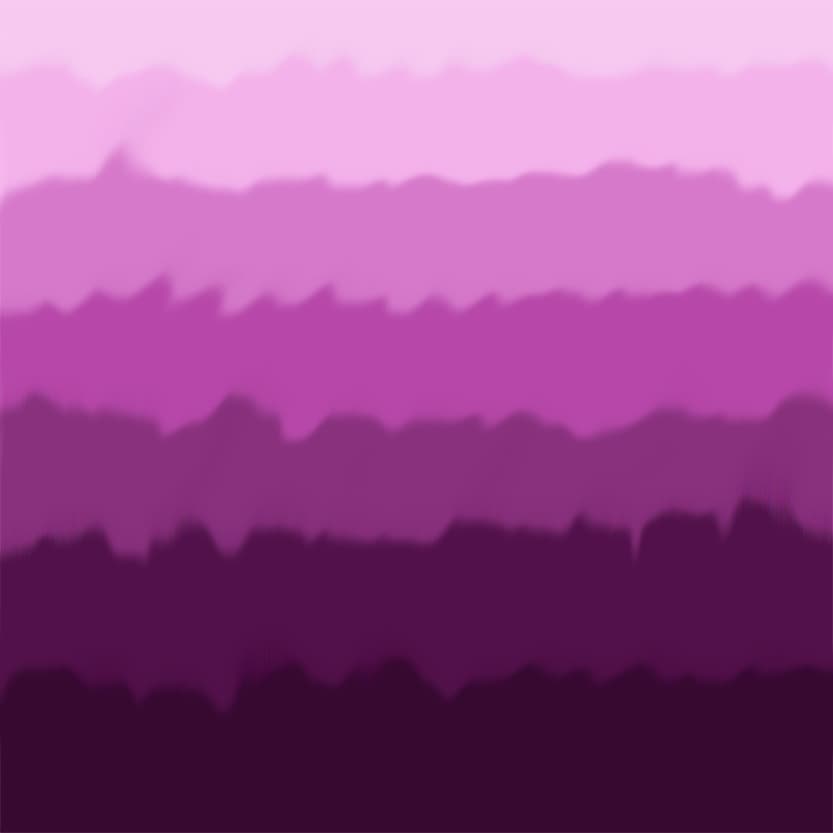
In the example below, I blended colors slowly and carefully by pulling one color toward the other vertically with the Smudge Tool.
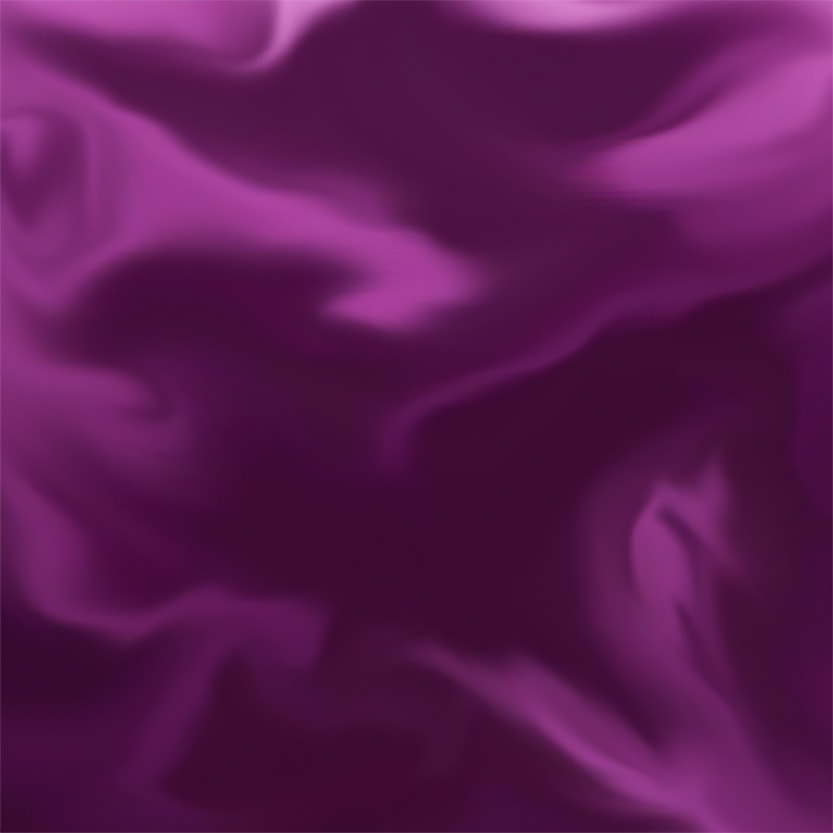
For this other example, I used the Smudge Tool faster and moved the mouse in a disordered manner to give the colors a much more blended appearance.
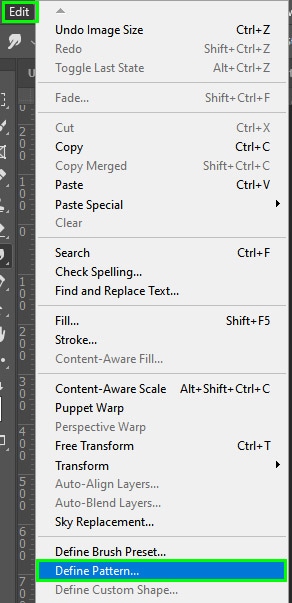
If you want to save the effect you created as a pattern, go to Edit > Define Pattern.
In the Pattern Name dialog, name your new pattern and click OK to confirm your choice. Your pattern will be created, and you can use it in any way you like.
The Smudge Tool is very versatile and super simple to use. Aside from creating patterns, you can use this tool to smooth sharp lines in photos, extend fur, apply digital makeup, and much more!


