

When speaking about channels in Photoshop it is basically the color components that make up the images you see on the screen. The standard channels on every image make up the RGB color profile of the image. Yet you can create a new channel called an alpha channel, to make certain tasks easier. So what are alpha channels and how do you use them?
An alpha channel in Photoshop is created as an additional channel alongside the RGB color channels and allows you to save the transparency settings of an image or selection. Alpha channels are used to save selections for later use or to share selection information between editing programs.
Learning how to work with alpha channels can improve your workflow by simplifying the selection process. Selections allow you to isolate certain elements of your image or change the opacity on specific areas. Creating an alpha channel is a way of saving your selections to use later if needed.
This is especially helpful when you need to use tricky selections throughout a project. So let’s dive into everything you need to know about using alpha channels.
What Is An Alpha Channel?
An alpha channel is an extra channel placed on the image to allow you to edit certain elements without affecting the rest of the image. It allows you to easily create transparent areas and lets you save a selection to use later.
Simply put, an alpha channel is a type of mask that makes editing your images much easier. To understand how an alpha channel works, you first need to know what regular channels are and how they function on an image.
Every image you edit in Photoshop has three channels by default. These channels consist of red, green, and blue to make up RGB. When selecting these channels, you will be able to see how much of each color is in the image.
You can also add a new channel, known as an alpha channel which lets you edit the image more creatively. You can do a few things using an alpha channel:
- Change the opacity of certain elements of your image
- Isolate elements of the image to create a transparent background
- Save difficult selections to use at a later stage
Essentially, learning what alpha channels are and how to use them properly will make your workflow easier, faster, and increase your editing abilities.
The main benefit of using an alpha channel is to create transparent areas that will transfer to other programs that support alpha channels. This helps if you need to isolate an object in an image to use in other programs, such as video editing software.
Once you have created your selection you can save it as an alpha channel. When you transfer the image to another program it will pick up the alpha channel and you can then continue working with the selection.
What’s The Difference Between An Alpha Channel And A Layer Mask?
While an alpha channel provides similar capabilities to a layer mask, alpha channels give you a permanent selection that you can access later on.
Even though you can easily create a selection and keep it in your layer mask, you may accidentally lose this by merging your mask or deleting it.
An alpha channel is saved within the program. You can retrieve it when you need to use it again or delete it when you are finished with it.
Using layer masks is beneficial as it is a non-destructive form of editing, allowing you to preserve the original pixels in case of any errors. Alpha channels help you save these selections to use later for your non-destructive editing.
Lastly, the layer mask is directly linked to the layer it is placed upon and becomes the alpha channel of that layer. Creating an alpha channel is a separate selection that exists independently of any layers in your workspace.
How To Create And Edit An Alpha Channel In Photoshop
Creating an alpha channel in Photoshop is a fairly easy task. Yet, it creates several new editing opportunities, giving you the ability to take your editing skills to the next level.
In this example you can isolate an object from the background in an alpha channel, this will let you easily use the object on other backgrounds for multiple projects.
Creating An Alpha Channel
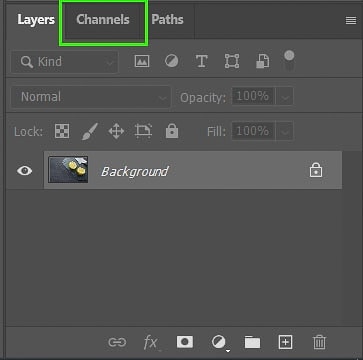
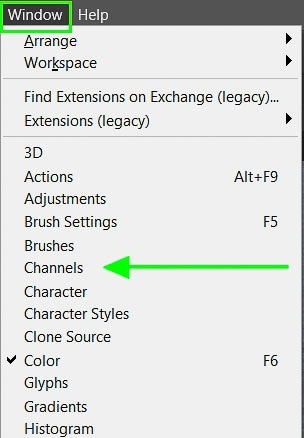
To create a completely new alpha channel, navigate to the Channels panel located next to your layers. If you cannot see this option select Window > Channels and it will appear.
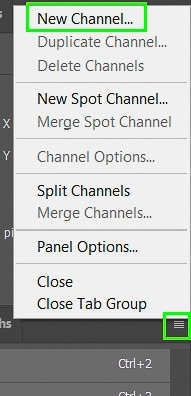
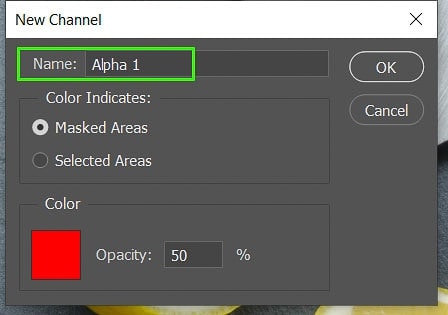
Click on the drop-down menu at the top right of the Channels panel and select New Channel. Choose a name for the channel on the pop-up window.
You can then use the brush tool by selecting the brush tool from your toolbar or press B on your keyboard. This enables you to draw areas that you would like to select by detracting from the alpha channel.

You can then create a selection from your marks by selecting “Save selection as channel” at the bottom of the Channels panel. From there, you can edit the selected area as needed by choosing any of the Adjustment tools.
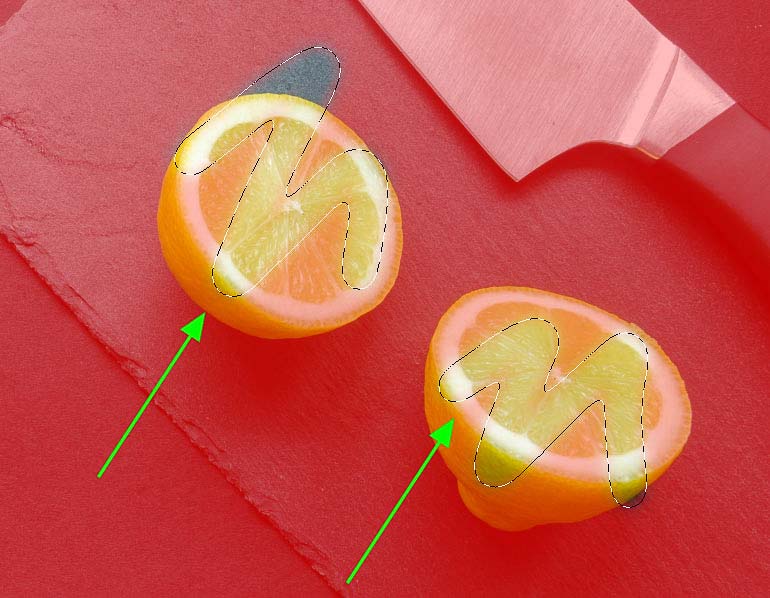
You will see the alpha channel shows as a red overlay at 50% opacity. When you use the Brush tool it removes parts of the overlay to show where your selection is.
Creating An Alpha Channel From A Selection
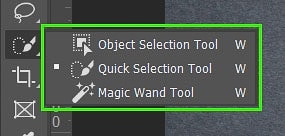
To create the selection first then make an alpha channel, start by selecting your object. This can be done using any selection tool. For this example, I’ll use the Quick Selection tool by pressing press W on the keyboard.
If you want to choose a different selection tool, hold down on the Quick Selection icon until an additional menu pops up.

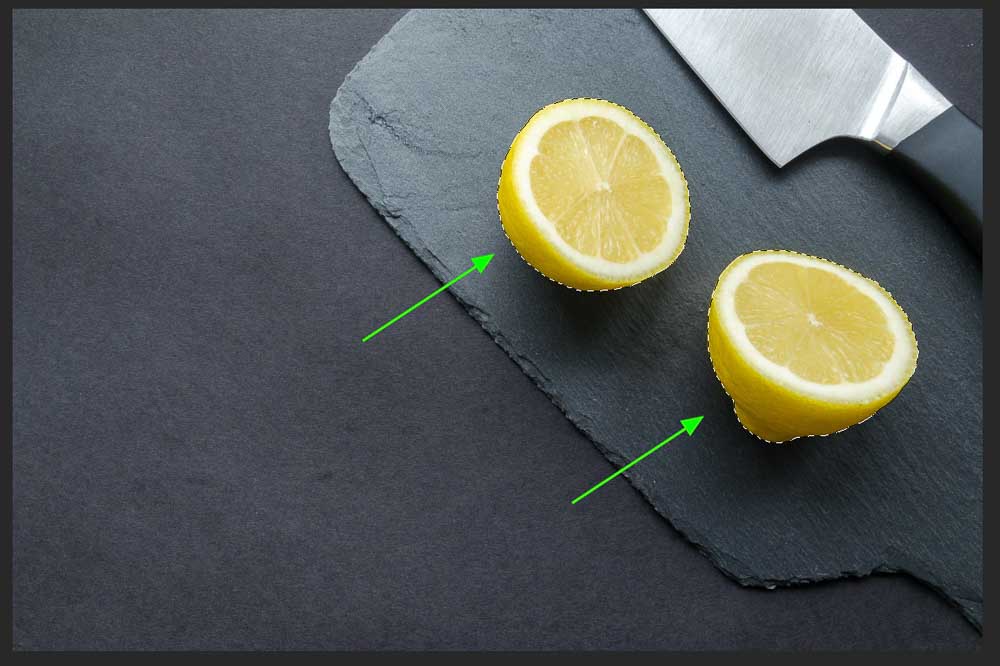
Next, select the object you want to isolate by creating your selection. You will see your selection by the dotted lines.
You can then refine your selection if needed by clicking the “Select and Mask” option on the top options bar. This allows you to smooth the edges or feather your selection. However, once the alpha channel is created we can refine this even more.

Saving Your Selection: Method 1
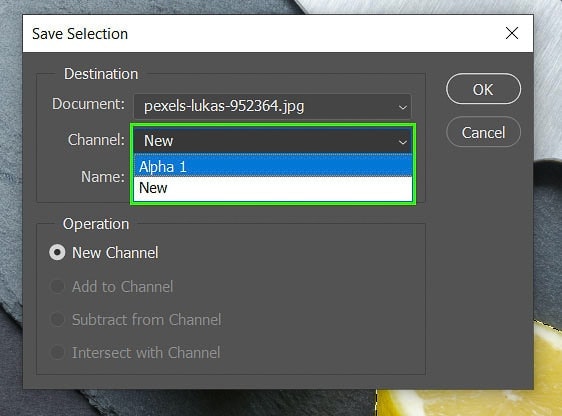
There are two ways to create the alpha channel. The first one is by right-clicking on your image and clicking “Save Selection”. A window will open where you will be able to name your new channel.
This method is helpful if you would like to save the alpha channel in a different document as long as the pixels are the same between both documents.

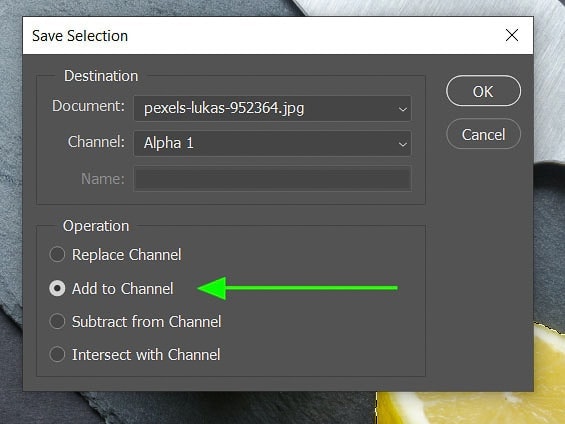
This method is also useful if you would like to add a new selection to an alpha channel that you have already created. To do this select the dropdown menu next to “Channel” when the window pops up, select the channel, and choose the “Add to Channel” option in the bottom section.
Saving Your Selection: Method 2
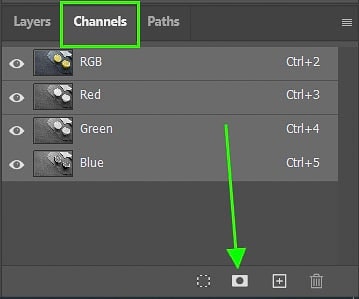
The other method to add your channel is to navigate to your Channels panel on the right-hand side of your workspace. This option is right next to the layer panel. At the bottom, click on “Save selection as channel”.
This will automatically create an alpha channel based on your selection. Click Control + D (Windows), Command + D (Mac) to deselect the object as the selection is now saved.
Editing Your Alpha Channel
If you want to refine your selection even more you can edit your alpha channel to create a more precise selection.
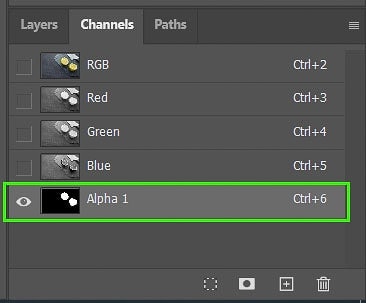
Start by making sure your Alpha Channel is selected by toggling the eye icon next to the channel. You can turn the other channels off to only see your alpha channel in the workspace.
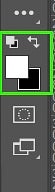
Now, press B on your keyboard to select the brush tool. Using the white and black colors you can either add or subtract from your selection.
Remember
- White: Will add to the selection and this is the area you can edit.
- Black: Detracts from the selection and is the area protected from editing.
You can also change the opacity on the top options bar when adding or subtracting parts of your selection.

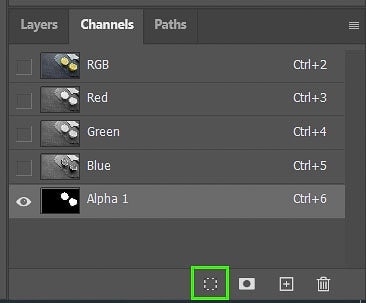
Once you have your new alpha channel you can create a selection from it at a later stage, use it as a layer mask to edit specific areas, or use it in other programs that support it. Simply click on “Load channel as a selection” at the bottom of the Channels panel to load it.
It is important to note that alpha channels will only be saved in PSD, PDF, TIFF, or PSB. Other formats such as JPEG and PNG do not save the alpha channel data as they are compressed versions of the file.
How To Create Alpha Channels From Transparency
If you have an image that already contains a transparent background you can create an alpha channel using two methods.
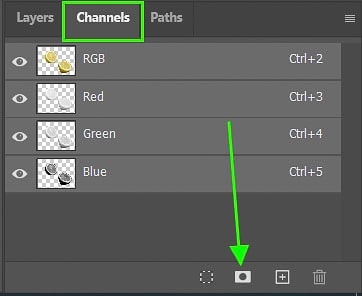
Create a selection by clicking on the layer that contains the object in the layers panel while holding in Control (windows), Command (Mac). This selects the entire object.

Then navigate to the Channels panel and choose the “Save selection as channel” option at the bottom. This will create your alpha channel which you can then transfer to other programs or edit as needed.
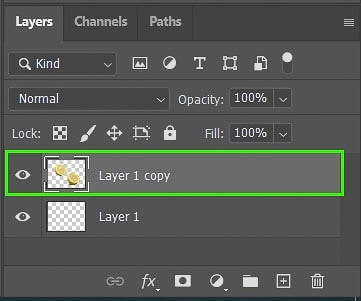
The second method is done by first making sure you have selected the desired layer you wish to create an alpha channel from.
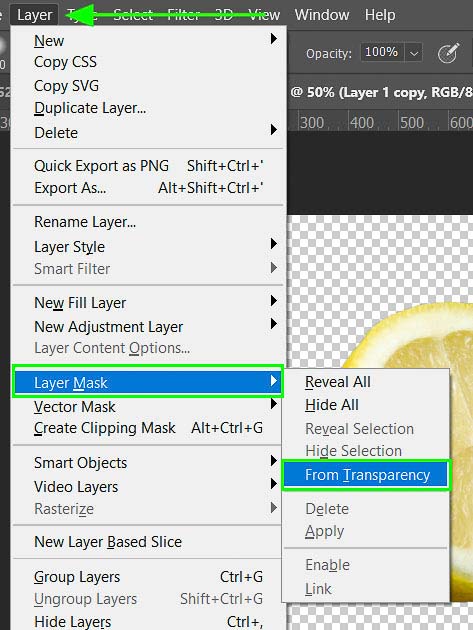
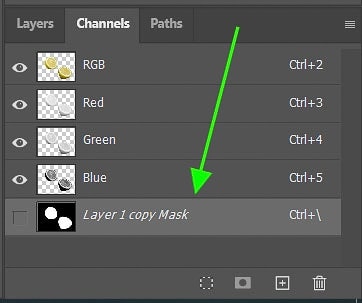
Then navigate to Layer > Layer Mask > From Transparency. This will automatically create a mask on your layer containing the non-transparent elements. It will also appear in the Channels panel as a separate channel.
You can then “Load channel as a selection” at the bottom of the Channels panel and “Save selection as channel” to create a separate alpha channel if you decide to delete the layer mask.
How To Remove An Alpha Channel In Photoshop
To delete an alpha channel in Photoshop, open the Channels tab by going to Window > Channels. Locate the alpha channel you wish to delete, right-click and select delete channel. This will permanently delete the alpha channel and remove any selection information saved to that channel.
Alpha channels inflate your files which can slow down your workflow and your saving speed. While you can create up to 24 alpha channels in a document, it is not a good idea to keep alpha channels when you won’t be needing them anymore.
When you are finished with an alpha channel and you won’t be working on it anymore in the future, you should delete it to keep your document as small as possible.
To delete an alpha channel, navigate to the Channels panel. Then, right-click on the alpha channel you no longer need, and select “Delete Channel”.

Happy Editing!


