

The Liquify Tool in Photoshop allows you to distort areas of your images to change the shape of objects, create abstract effects, and much more. While the tool has multiple settings and options available to create stunning visuals, it’s easy to learn how to use the Liquify Tool.
How To Access The Liquify Tool In Photoshop
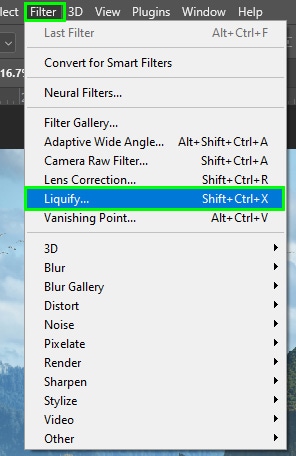
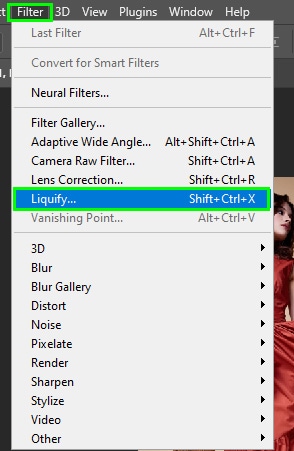
Liquify is one of the Photoshop filters, and you can find it within the Filters menu. You can also use the following shortcut to access it: Shift + Control + X (Win) or Shift + Command + X (Mac).
The Liquify Toolbar Explained
You can find the Liquify Toolbar on the left side of the Liquify workspace containing 12 tools.
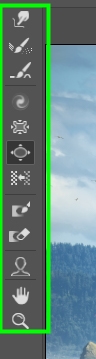
Here is a quick overview of what each of these tools does.
1. Forward Warp (W)

This tool distorts objects by pulling them in different directions. The tool is ideal for distorting areas with irregular edges.

2. Reconstruct (R)

The Reconstruct Tool works as an undo tool as it undoes the distortions you make with other tools. The brush only erases the parts added and doesn’t affect the original image.
3. Smooth Tool (E)

This tool smooths the edges of shapes after being distorted by other tools.
4. Twirl Clockwise Tool (C)

As the name implies, it distorts areas, so they look like a spiral. It’s ideal for creative projects, especially abstract ones.
5. Pucker Tool (S)

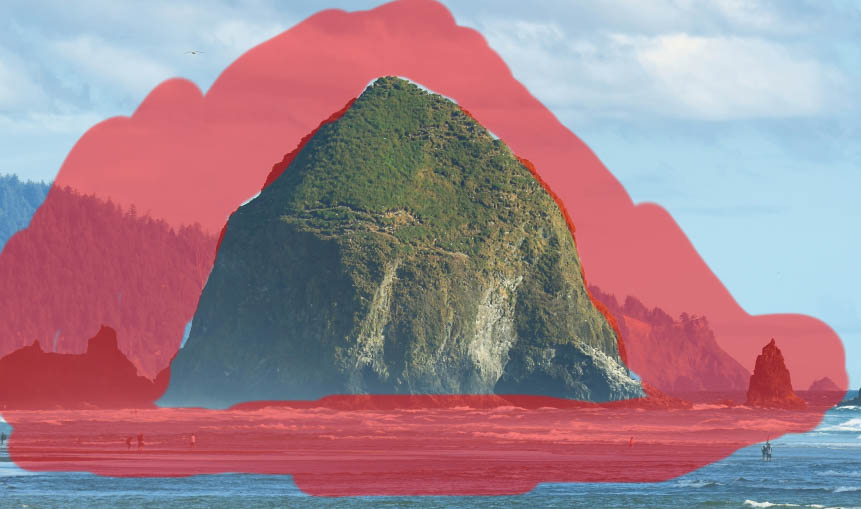
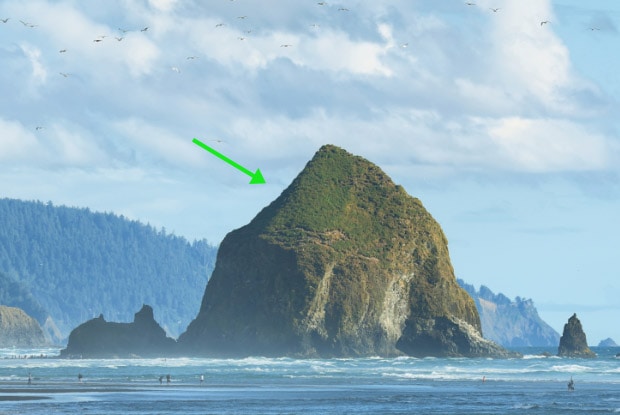
This tool shrinks areas in a photo, so they appear smaller than they are. For example, the mountain in the image below looks a lot smaller after I used the tool on it.

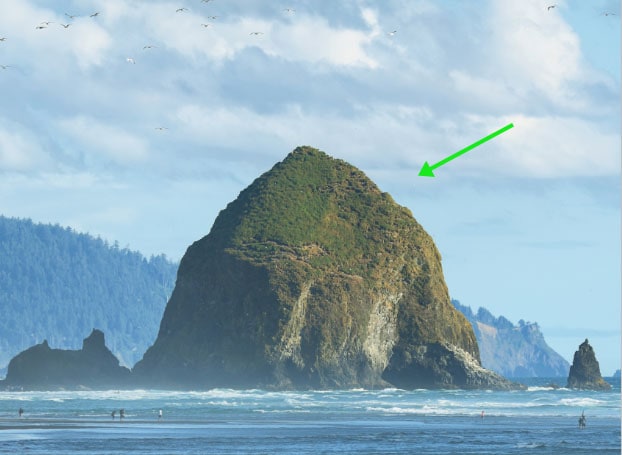
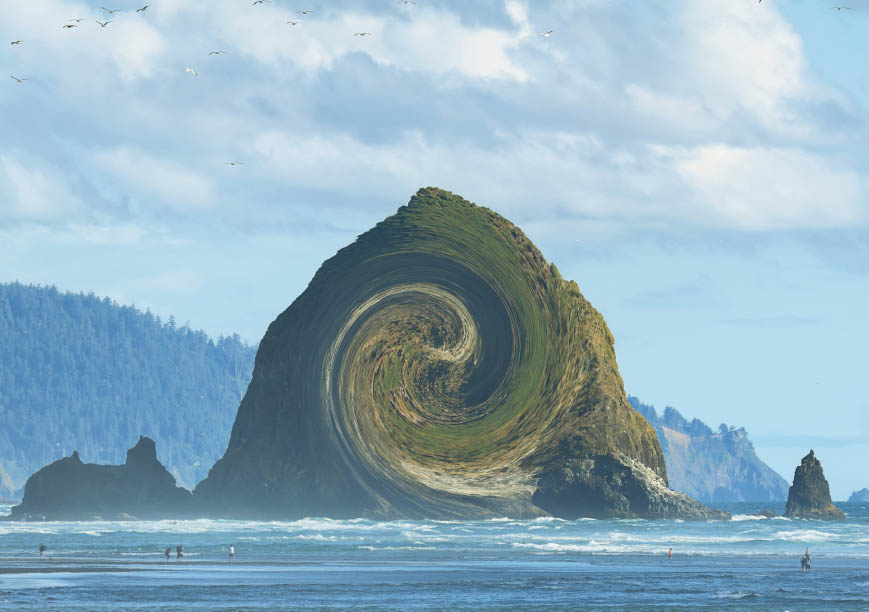
6. Bloat Tool (B)

The Bloat Tool inflates areas to appear larger, such as the mountain in the image below.

7. Push Left Tool (O)

Pushes pixels to the left when you move the mouse up. It also pushes pixels to the right when you move the mouse down.


8. Freeze Mask Tool (F)

This tool protects pixels from being distorted. You should use the Freeze Mask Tool in areas directly adjacent to those you want to distort.
9. Thaw Mask Tool (D)

Erases parts of the Freeze Mask Tool (F), unprotecting areas covered by it and allowing you to distort them again.
10. Face Tool (A)

Recognizes facial features and selects them so you can accurately distort them. With this tool, you can enlarge eyes, reduce a double chin and change a person’s face in many ways.
11. Hand Tool (H)

Allows you to move your image while editing it. Especially useful when you zoom into your image.
12. Zoom Tool (Z)
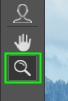
As the name suggests, it enlarges or reduces the size of images on your screen. The good old Control + +/Command + + (to zoom in) and Control + – / Command + – (to zoom out) works in the Liquify workspace as well, so it’s up to you to decide which method to use.
Liquify Tool Settings Explained
The Liquify Tool settings give you more control over some of the Liquify tools. You can find the Liquify settings on the right side of the Liquify workspace.
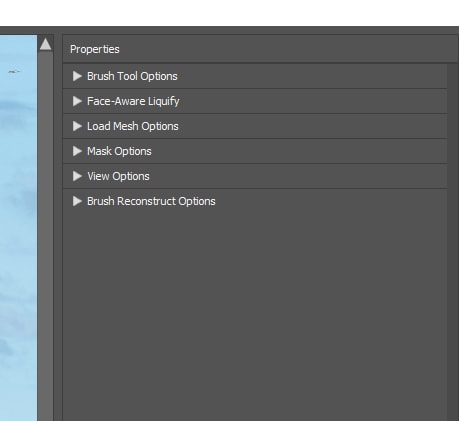
I’ll explain what each of these settings does. Keep in mind that some options are only available for certain tools. In addition, you will only need to adjust a few of these settings when distorting an image, so don’t be intimidated by their number.
1. Brush Tool Options
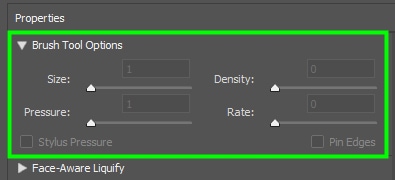
The brush is essential for distorting shapes with the Liquify Tool since most of its tools depend on the brush. Consequently, you must adjust your brush correctly.
The brush tool options section has useful settings for you to set up a highly efficient brush.
You can adjust the brush size in the Size slider. You can also use the right bracket key ] to increase brush size or the left bracket key ] to decrease it.

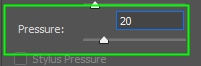
When your brush Pressure is too high, distortions look dramatic. When the pressure is too low, distortions are more subtle. I recommend you set your brush to a low-pressure value for most tasks; that way, you can build up effects and achieve more natural and precise results.

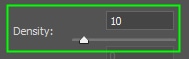
Density works like a feather for the tip of the brush. When you set Density to a low value, only the pixels in the center of the brush are distorted.
This allows you to distort areas with great precision since you are less likely to affect the surrounding pixels of the target area. The surrounding areas get a slight distortion which blends the change into your image without making the changes obvious.
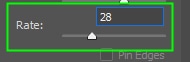
Rate controls the speed at which certain brushes distort pixels. Remember that some brushes work with rate controls while others don’t.
2. Face-Aware Liquify
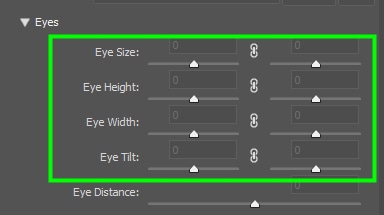
The Face-Aware Liquify section displays options for the Face Tool (A). The section has subsections that are divided into Eyes, Nose, Mouth, and Face-Shape.
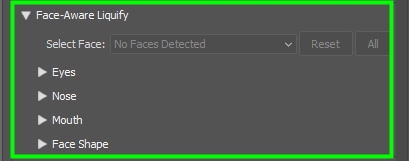
Within each subsection, you find options to distort facial features. For example, in the Eyes subsection, you can change a person’s eye size, eye height, and eye width.
You can use these tools to enhance a person’s features or to make caricatures.
3. Load Mesh Options
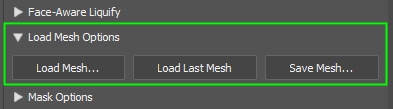
The Liquify Tool has a mesh, just like the warp tool found in Photoshop’s default workspace. In the Load Mesh Options section, there are three options.
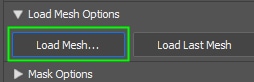
In Load Mesh, you can load a mesh saved on your computer if you don’t want to use the default liquify mesh.
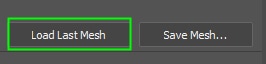
In Load Last Mesh, you can load the last mesh you used.
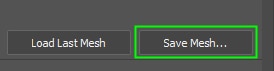
In Save Mesh, you can save the mesh you are currently using.
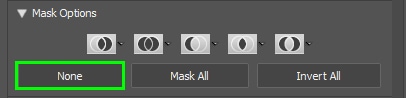
4. Mask Options
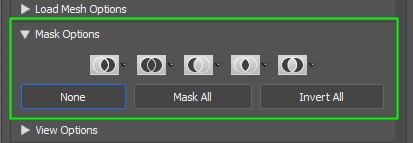
You can find options for the Freeze Selection Tool (F) within the Mask Options section. These options are similar to the layer mask options in Photoshop workspace, such as Add to selection and Subtract from selection.
You can also use shortcuts for the Mask Options. Use Shift to add to a selection and Alt (Win) or Option (Mac) to subtract from a selection.
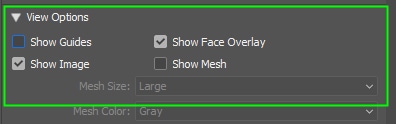
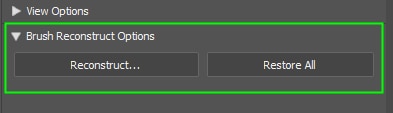
5. View Options
Allows you to choose what you see in the preview while editing your photo. Enable any option by clicking its checkbox.

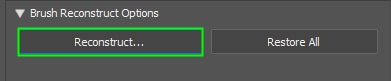
6. Brush Reconstruct Options
This section gives you options to revert distortions you make with the brush.
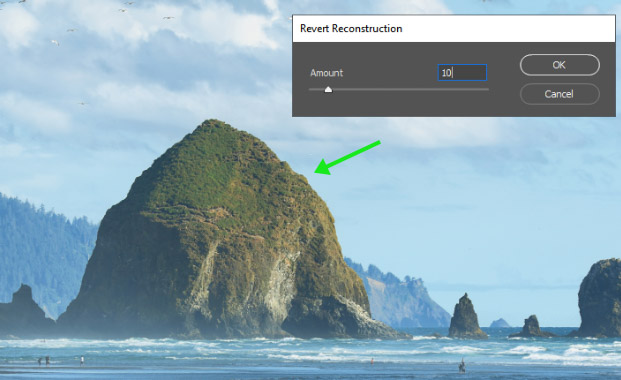
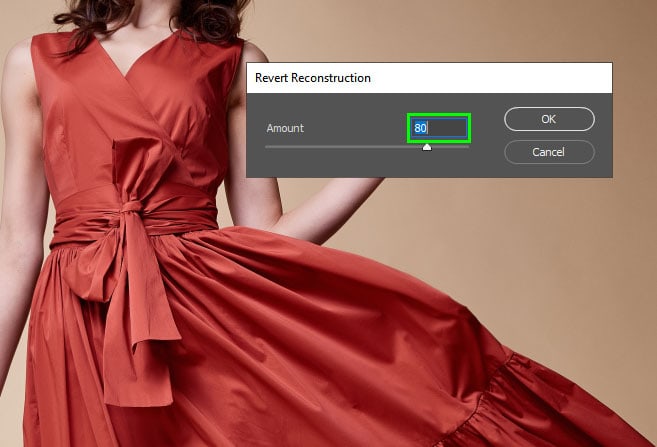
A dialog box pops up when you press the Reconstruct button.
You can keep distortions to any amount by dragging the Amount slider to the right or left. If you choose 80, 80% of the distortions will be kept.
The Reconstruct feature is also helpful for checking images before and after because, sadly, there isn’t a Before/After section in the Liquify workspace.

By pressing the Restore All button, all the distortions you made will be reversed.
How To Use The Liquify Tool In Photoshop
Now that you have learned the Liquify Tool basics, you will see how all these tools and settings work in a real-case scenario.
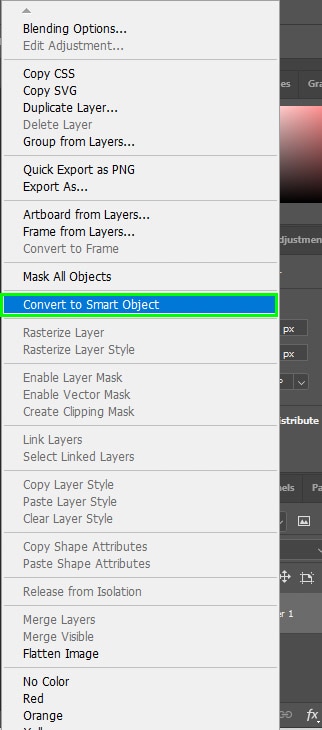
Before using the Liquify Tool, you must turn your image into a Smart Object. This allows you to remove the filter from the photo easily. Additionally, you can return to the Liquify workspace anytime and resume distorting your image from where you stopped. If you don’t turn your photo into a Smart Object, the liquifying effect will be applied destructively.
To turn your image into a Smart Object, right-click (Win) or Control + click (Mac) on it and choose Convert To Smart Object.

Next, go to Filter > Liquify. Alternatively, press Shift + Control + X (Win) or Shift + Command + X (Mac).
Press Control + + (Win) or Command + + (Mac) to zoom in on your image. Keep zooming in on the area you want to distort until you have a broad view of it.
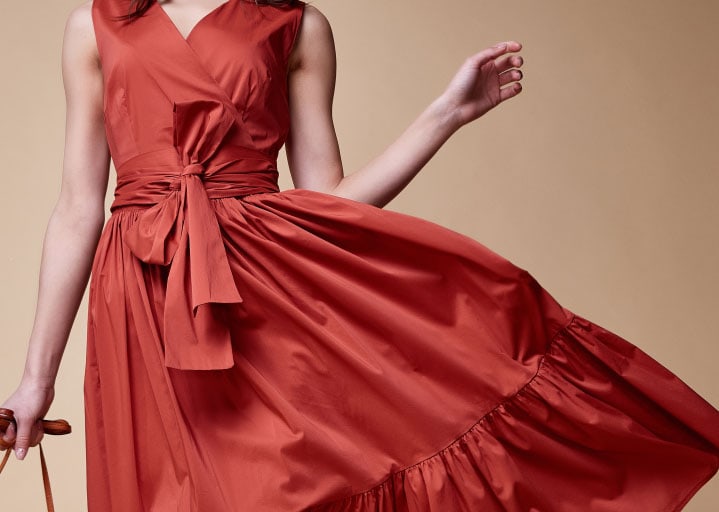
In my case, I will distort the curve in the model’s dress to make that part of the dress look more even.
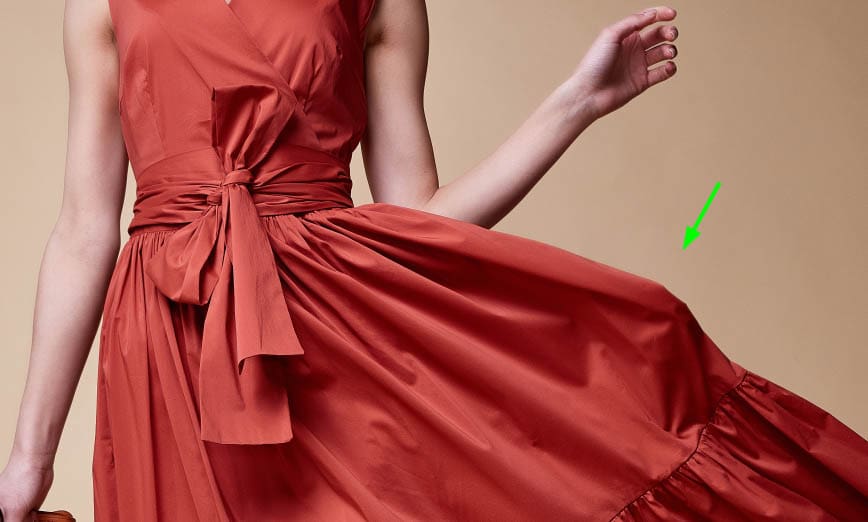
To distort areas with irregular edges like the one in the image above, grab the Forward Warp Tool (W).

But before using the tool, you must adjust the brush settings correctly. To do this, open the Brush Tool Options on the right side of the panel.
Not all the settings are worth adjusting, so I will tell you the ones you absolutely need to change.

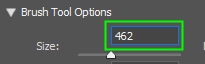
First, adjust the brush Size according to the area you want to cover.
If the area you want to warp is too large, you can still use smaller brush sizes and cover the area bit by bit to have more precision while distorting it.
In my case, I chose 462 for the brush size.
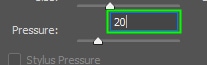
Then adjust the brush Pressure. I recommend setting the brush to a low-pressure value to avoid harsh effects. Something between 10 and 20 is ideal.
Set the brush Density to a low value so you can distort areas more precisely. In my case, I set it to 20. By choosing such a value, only the center of my brush will distort pixels, making me less likely to distort the pixels around the target area.
With all the necessary settings adjusted, position your brush on the area to be distorted.
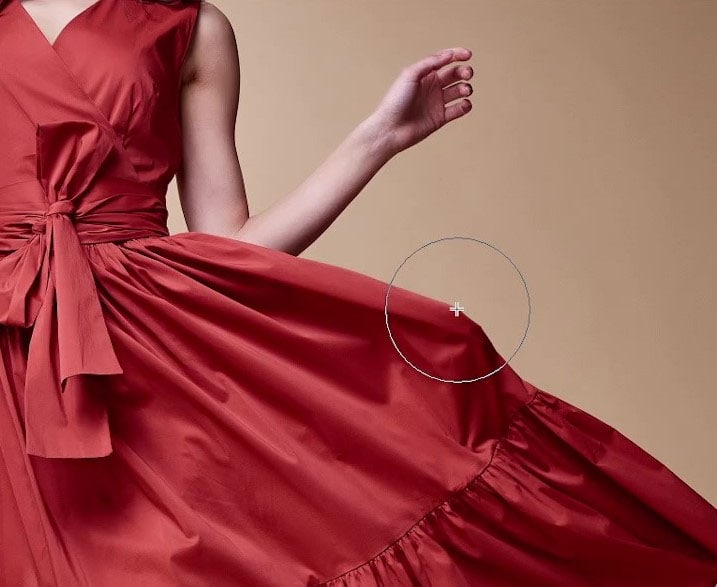
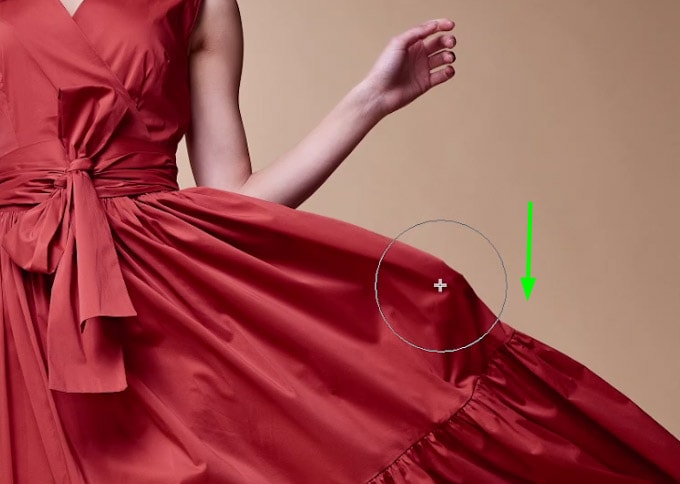
Then, push the area in the direction you want. In my case, I pushed it down.
If you distort your image too much, go to the Brush Reconstruct Options section and click Reconstruct.
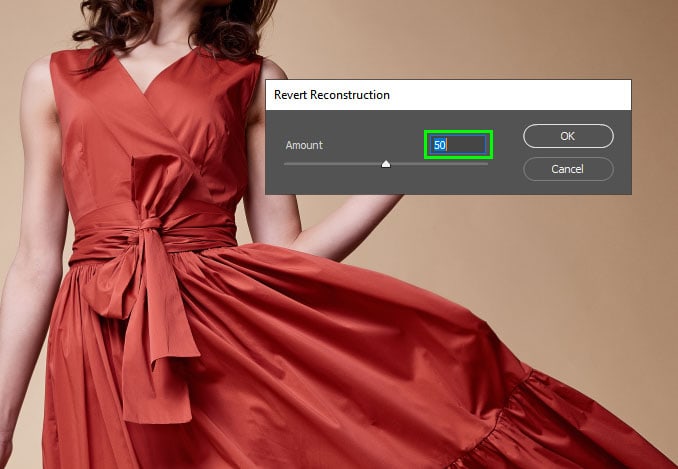
In the dialog box that appears, decide how much effect you want to keep and click OK. After evaluating two options (80% and 50%), I chose to maintain 80% of the distortions.

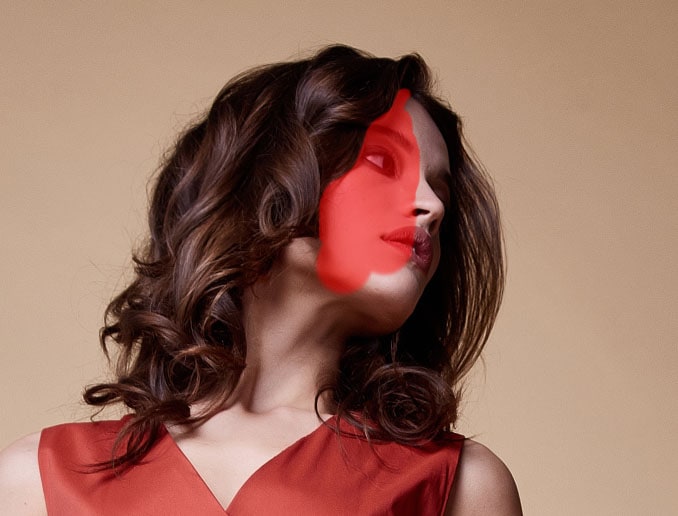
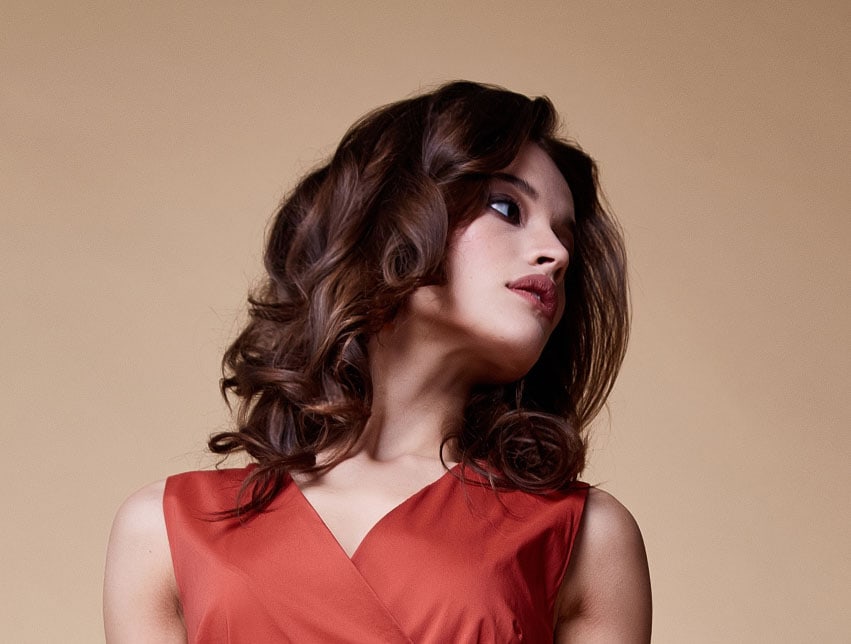
The next area I will distort is the model’s hair.
To distort someone’s hair is to risk distorting their face. So it’s a good idea to isolate the face when touching up hair with the Liquify Tool. To do this, paint the area you want to protect with the Freeze Mask Tool (F).

Set the brush size proportional to the area to be painted. Use the right bracket key ] to increase the brush size and the left bracket key [ to decrease it.
It doesn’t have to be a super precise selection. Just apply the mask strategically to protect areas very close to the target area.
If you accidentally paint more than you should, hold Alt (Win) or Option (Mac) on your keyboard and paint over that extra selection to remove it from the Freeze Mask.
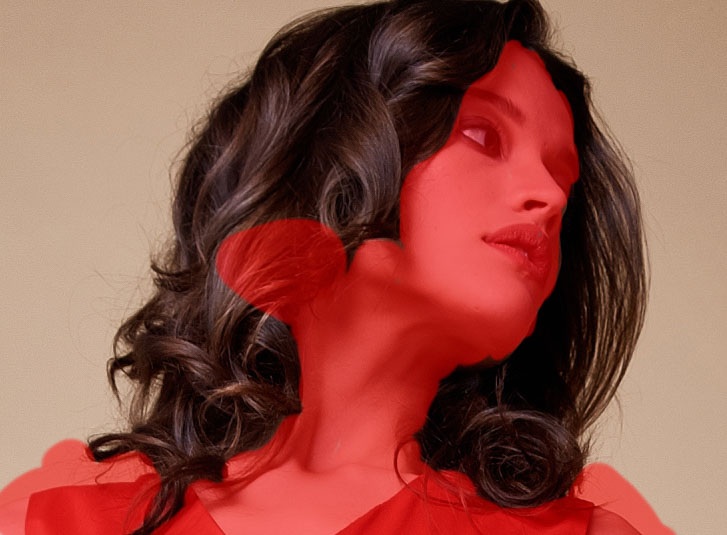
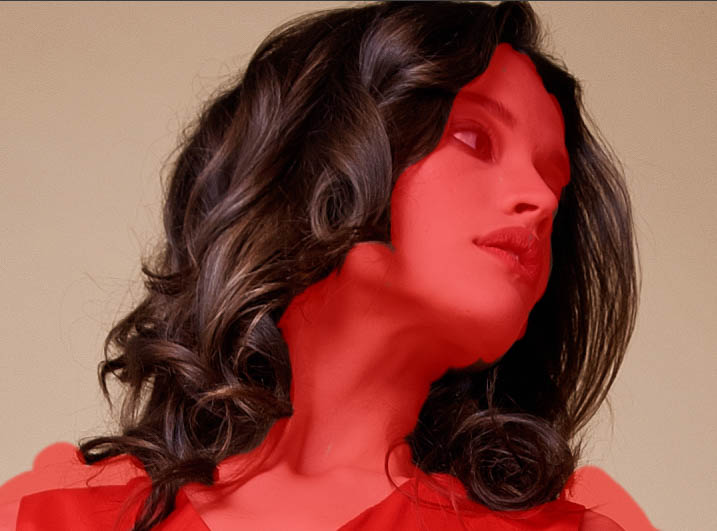
After painting the areas to be protected, grab the Bloat Tool (B) in the Toolbar. This tool will inflate the hair, giving it more volume.

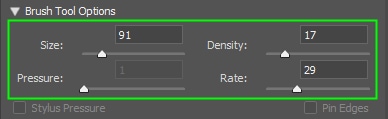
You must adjust a few brush settings for the Bloat tool to work correctly. In my case, I chose the settings values below for the lock of hair I wanted to distort.
The size should be proportional to the area you want to distort. Set Density and Rate to a low value to inflate areas more precisely.
After adjusting the brush settings, drag over the target area. In my case, it was the lock of hair highlighted below.
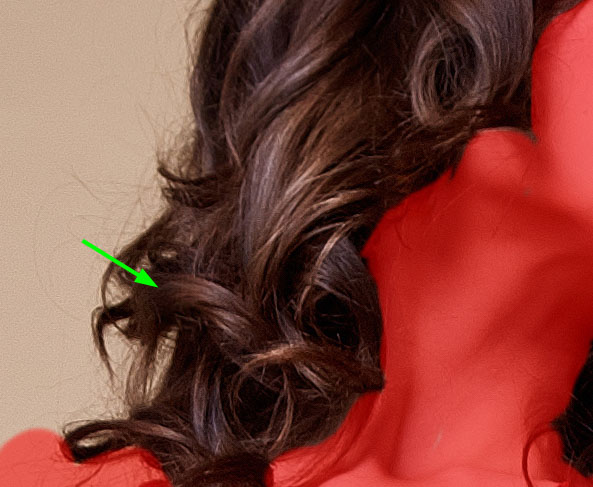
You don’t need to keep changing the brush settings for the Bloat Tool when continuing to use it in other areas of your image. Use the same settings and only change brush size if needed.
When you finish using the Bloat Tool, you can remove the Freeze mask by clicking None within the Mask Options.

The last Liquify filter tool I will use to edit my image is the Push Left Tool (O).

This tool is handy for straightening up areas.
Look at the area in the model’s dress. The fabric is almost straight on that side, but there is a small curve in it.
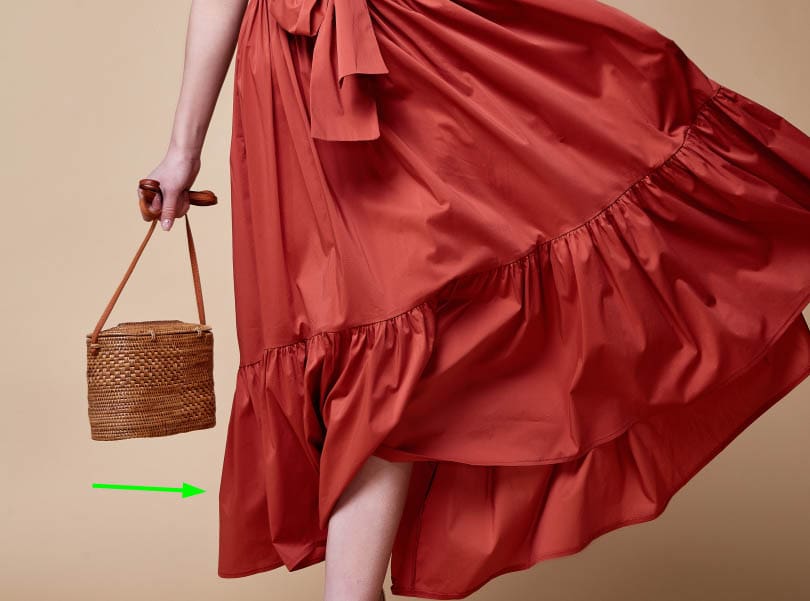
To fix this, enable the Push Left tool (O). Adjust the brush size according to the size of the area to be pulled to the right (with the right or left bracket key). Next, drag the mouse down. This will make the pixels move to the right.


While the changes may be subtle in some cases, the overall photo looks much more appealing.


In most cases, the best way to use the Liquify Tool in Photoshop is to be sparing. It doesn’t take much to make your images or models look completely fake, so only liquify what’s needed without going overboard!
Happy editing!


