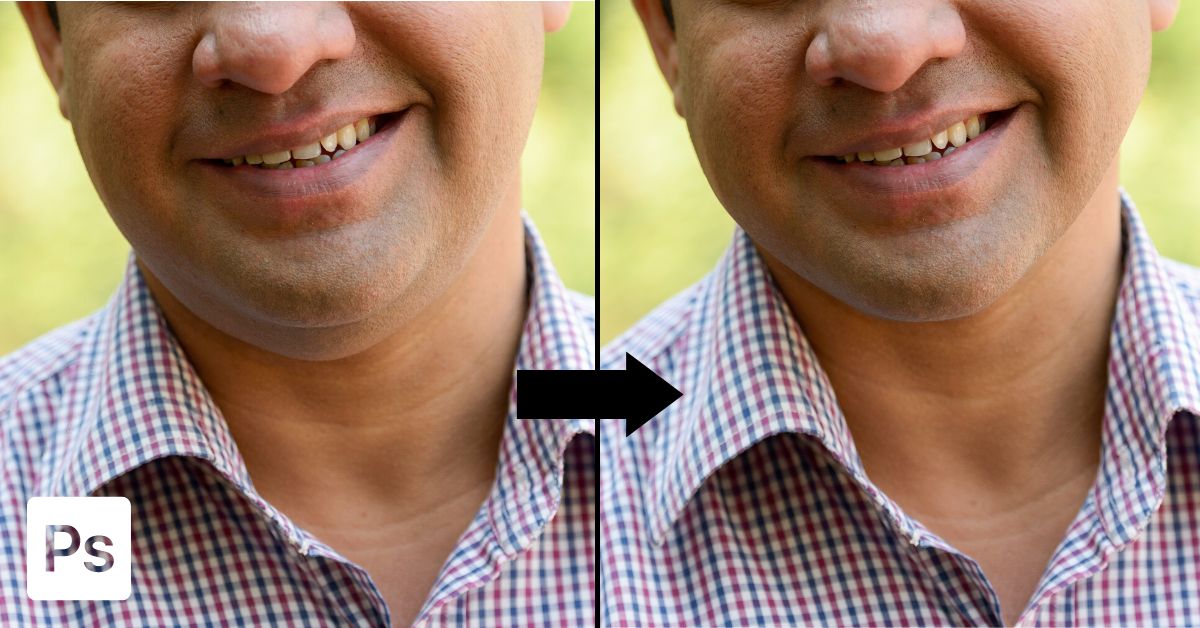

Most people are not fond of double chins, so photographers avoid angles that draw attention to them. However, this is not always possible or convenient. That’s why knowing how to remove a double chin in Photoshop is handy.
Thankfully, removing a double chin is quick and easy. Here’s how to do it in a few simple steps.
Video Tutorial
Step 1: Draw A Path Around The Subject’s Chin
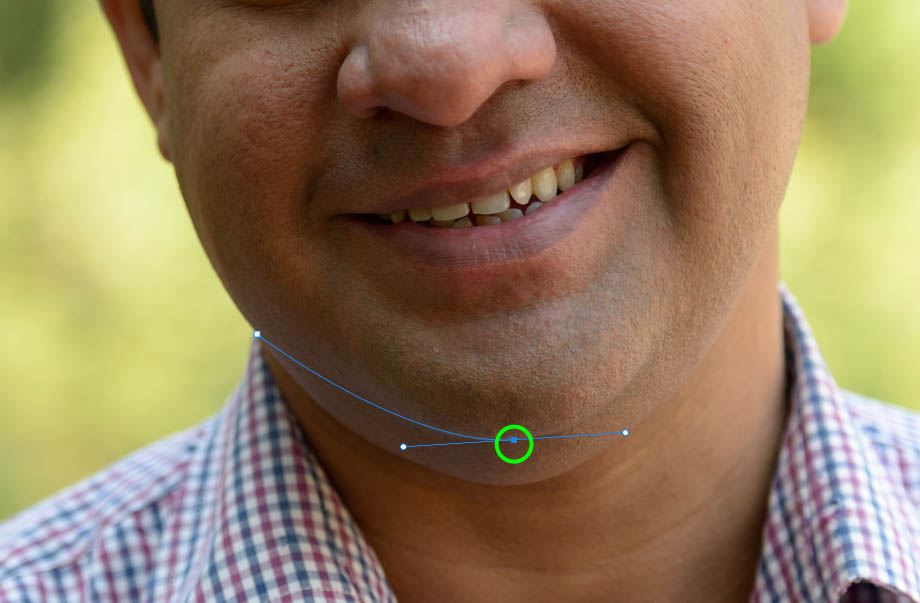
Select the Pen Tool from the Toolbar (P). Then, go to the Options bar and change the Pen Tool mode to Path.


Next, click on the left side of the jawline to create the first control point. After that, hold Shift, click the center of the chin, and hold the mouse down to form a curve. Then, click the right side of the jawline to complete the curved path on the chin.
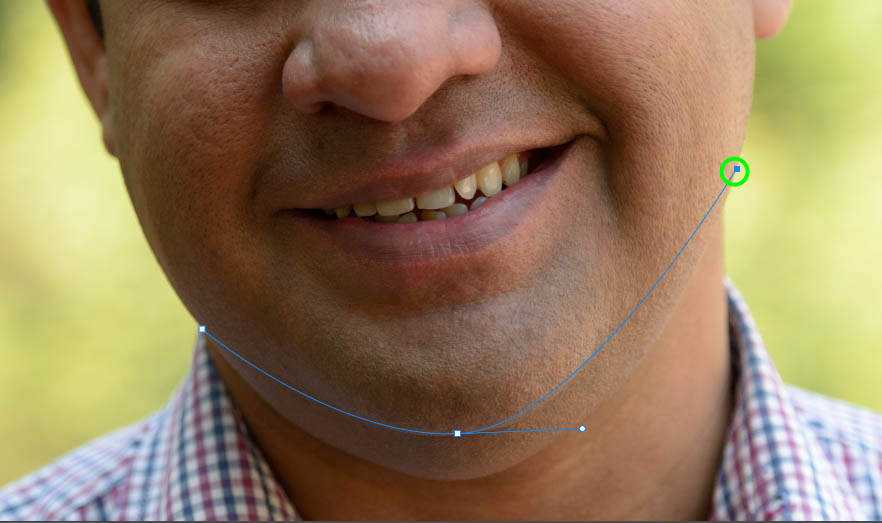
You can adjust the path by moving the handles connected to its control points in any direction. You can add more control points to your path for a more customized look.
After drawing your path, you have to close it. To do this, continue the path by clicking one point after another toward the canvas edges. The aim is to create a path around the bottom of the image from the new chin line. Then, connect the path to its starting point to close it.
Step 2: Right-Click On The Path And Click Make Selection
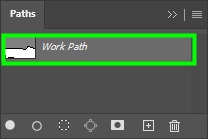
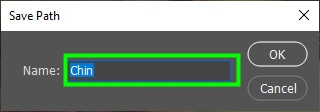
After creating your path, you can name it by going to Window > Paths. Double-click the path’s name in the Paths Panel and rename it. I named it Chin. Click OK to save the path.
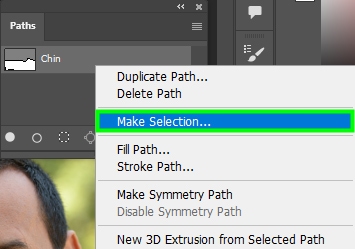
Then, right-click (Win) or control + click (Mac) the path and choose Make Selection.

Step 3: Copy And Paste The Selection To A New Layer
Press Control + C (Win) or Command + C (Mac) and then Control + V (Win) or Command + V (Mac). This will paste your selection above the original image layer.
Step 4: Create A New Layer With The Top Half Of The Image
Now that you have a layer for the chin, you must create a layer for the rest of the image. To do this, open the Paths Panel. Then, right-click the path you created and choose Make Selection.
In the dialog box that pops up, choose a value of about 3 pixels for Feather Radius.
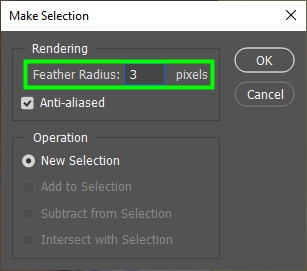
A higher Feather Radius will make your selection smoother, while a lower feather radius will make your selection sharper. Click OK to confirm your choice. After that, press Shift + Control + I (Win) or Shift + Command + I (Mac) or go up to Select > Inverse.
This will invert your selection, and now the selection will cover the remaining top section of the photo.

Now, select the original layer again and press Control + C (Win) or Command + C (Mac) and then Control + V (Win) or Command + V (Mac). This will place the inverted selection on top of the original layer.
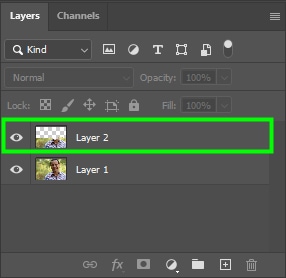
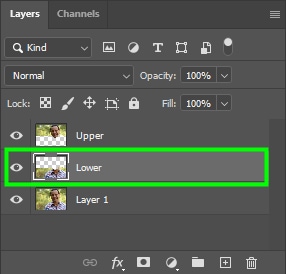
To make it easier for you to identify the layers, you can rename them. To do this, double-click the target layer and rename it. I named the chin layer Lower and the rest of the image layer Upper. After that, drag the Lower layer under the Upper layer.
Step 5: Use The Warp Tool To Eliminate The Double Chin
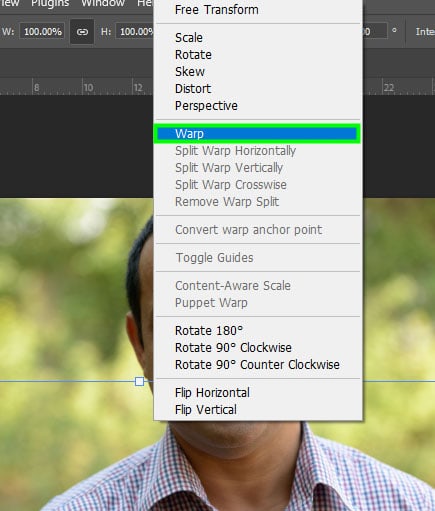
To remove the double chin, make sure the Lower layer is selected. Then, enable the Free Transform Tool by pressing Control + T (Win) or Command + T (Mac). To activate the Warp function, right-click the selection box and choose Warp.
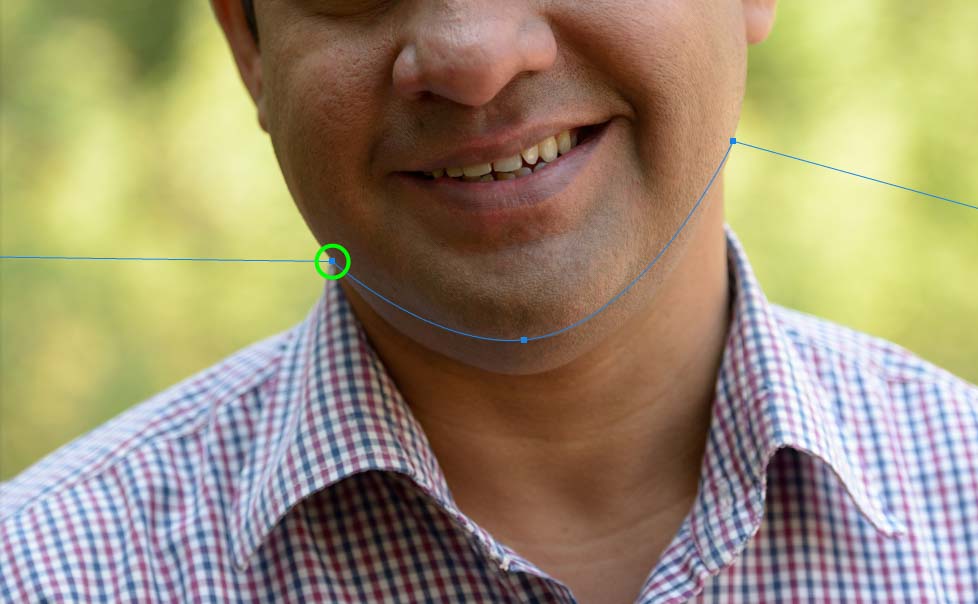
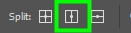
Go to the Options bar and choose the Split-warp Crosswise icon.

Then, drag the grid guides towards the center of the chin.
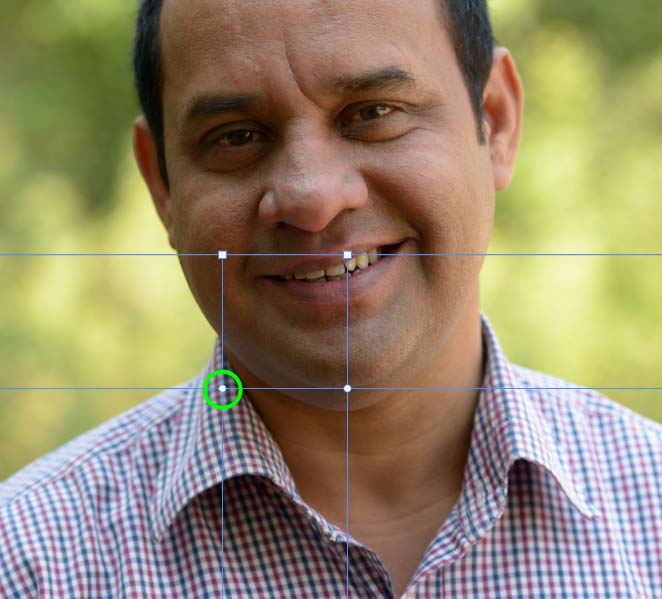
Next, go back to the Options bar and choose Split Warp Vertically.
Place the new guide on the left side of the subject’s neck. Repeat the step above and place the new guide on the right side of the neck.
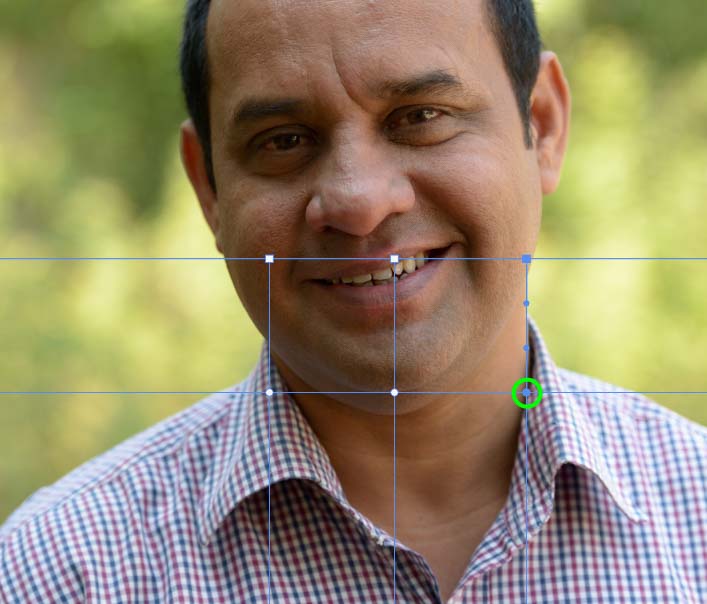
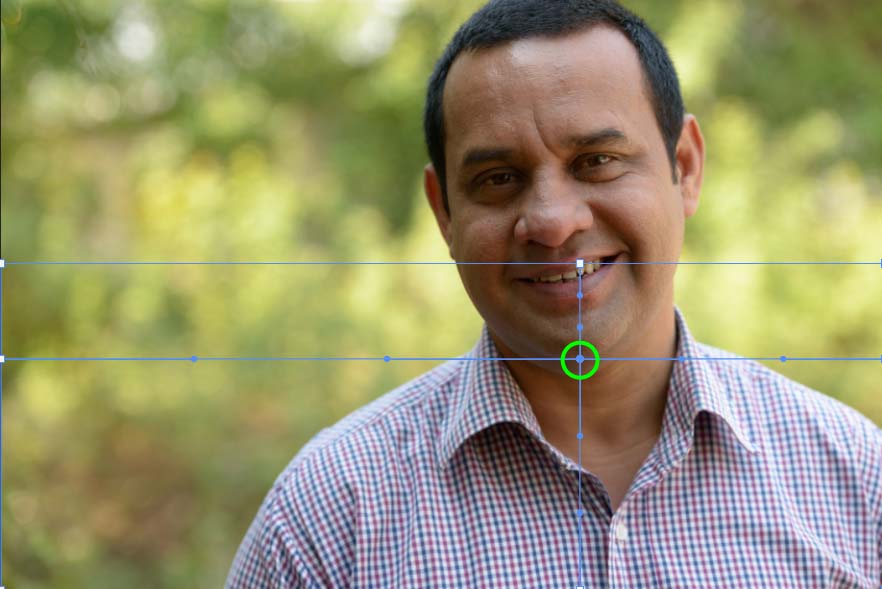
Now, click the control point in the middle of the chin and drag it up.
Keep warping the chin until you are satisfied with the result. You can place more split warp guides strategically in the chin area for more precise results.

As demonstrated here, removing a double chin in Photoshop is effortless. After removing the double chin, you can cast a shadow under the new chin using a curves adjustment layer or any other method you choose. That will make your results look even more realistic.
Happy Editing!


