

Importing images is the start of every Photoshop project you create. It’s quick and easy to do, with many different ways of doing it, as you’ll learn here. In this tutorial, you’ll learn seven of the easiest ways to import images into Photoshop, whether it be one or multiple photos.
How To Import Images Into Photoshop
There are two main ways to import an image into Photoshop. the first method opens the file as a new document, creating a canvas the size of the photo. The second method is when you need to add an image to an existing document, where the photo is added as a new layer and doesn’t affect the canvas size.
Option 1: Importing As A New Document
When you import an image as a new document, it will be placed in the main Photoshop workspace.
To do this, go to File > Open or use the shortcut Control + O (Win) or Command + O (Mac).
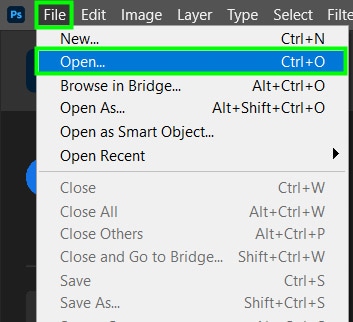
Then select the desired picture from your computer and click Open.

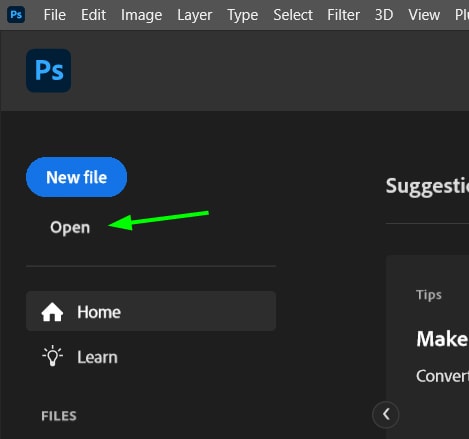
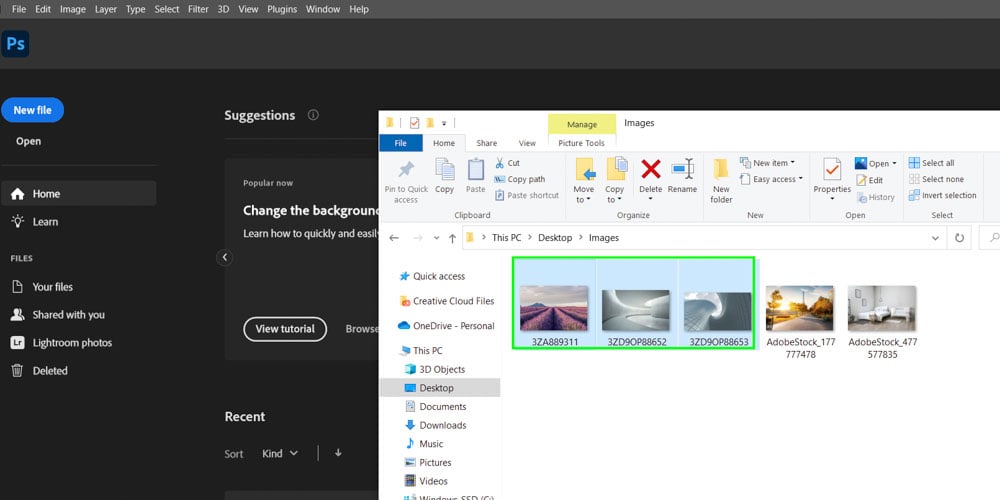
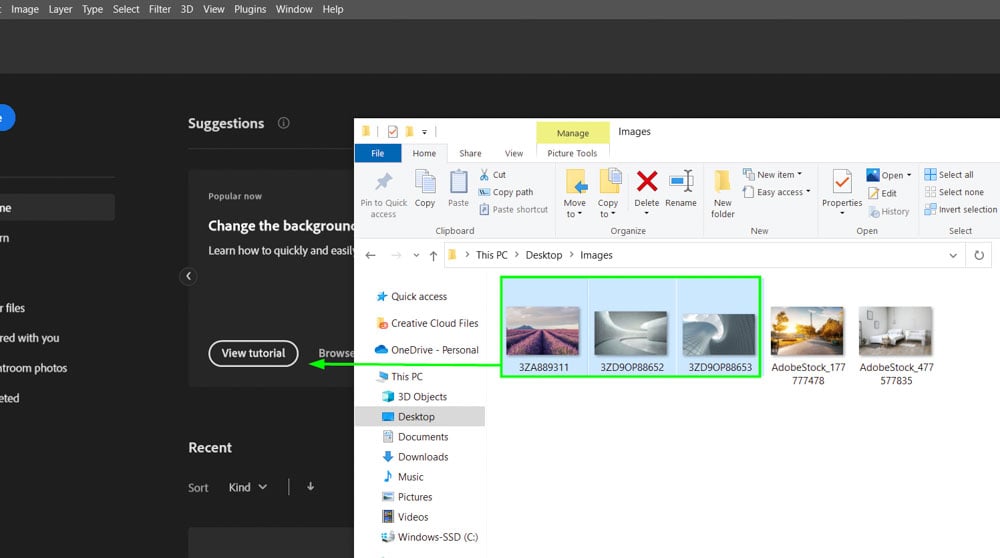
You can also import photos to Photoshop from the Start workspace. It also opens a window from your computer where you can select an image and bring it to Photoshop.
Option 2: Importing To An Existing Document
Placing an image in an existing document can be helpful for many purposes, such as filling a placeholder or combining parts of images.
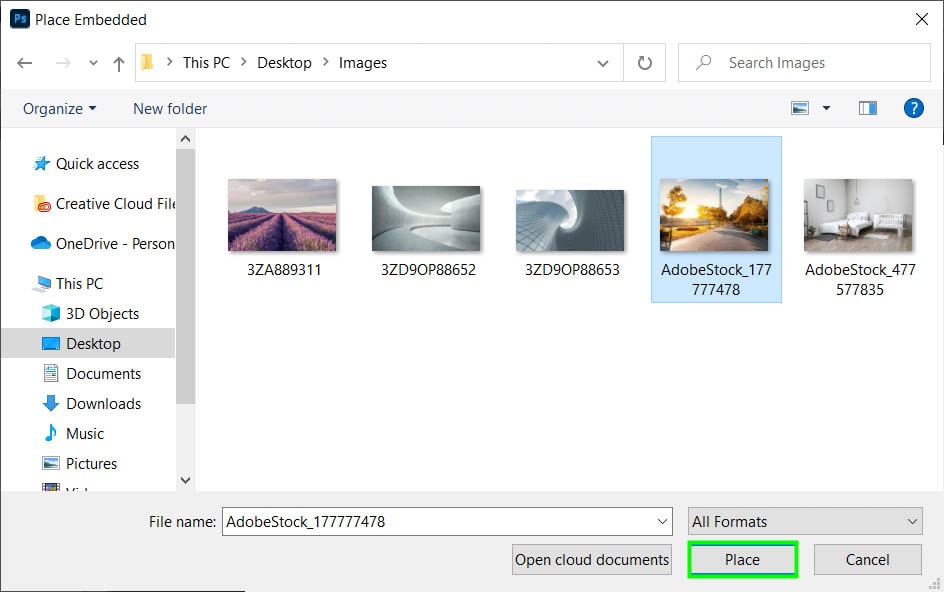
To do this, open a project or create a new document and go to File > Place Embedded.
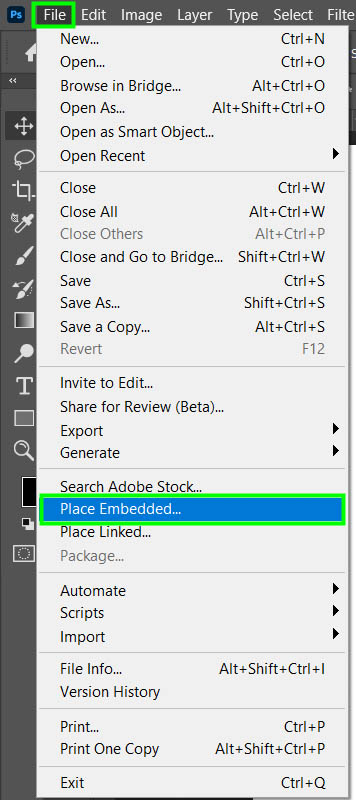
Then, select the desired picture from your computer and click on Place.
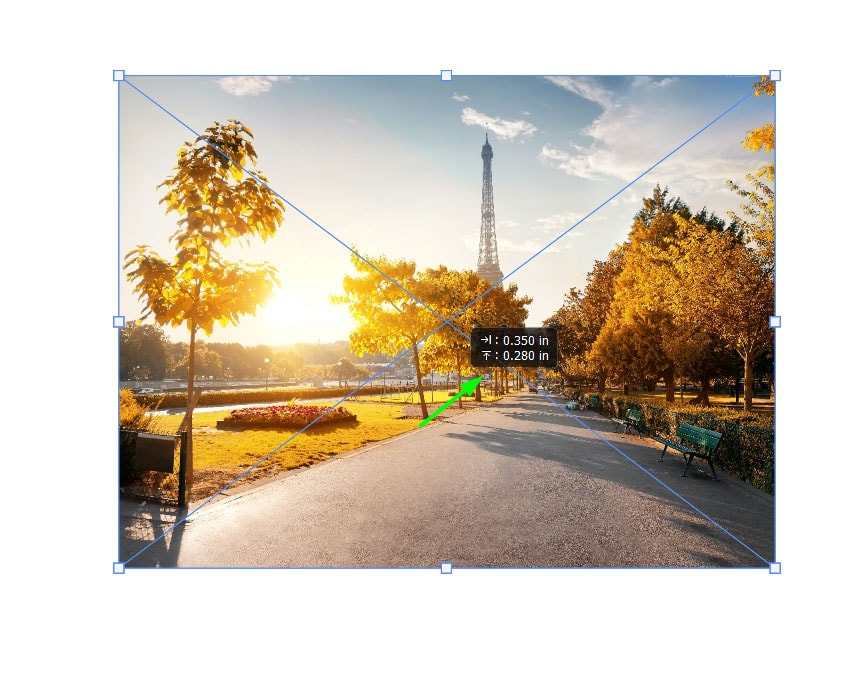
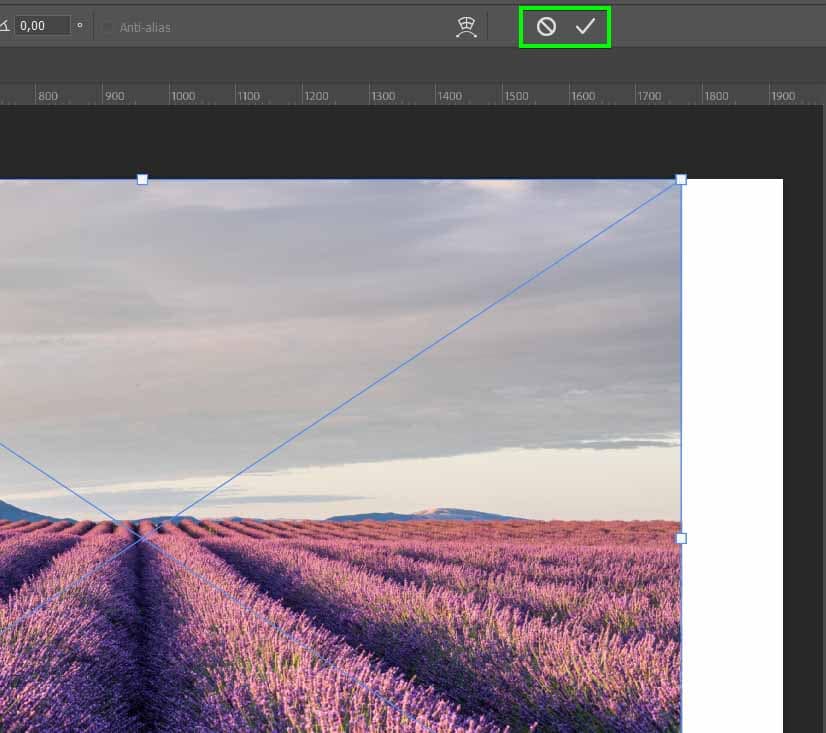
Control handles will surround the picture, allowing you to resize it so you can place it into your document in any size you want.
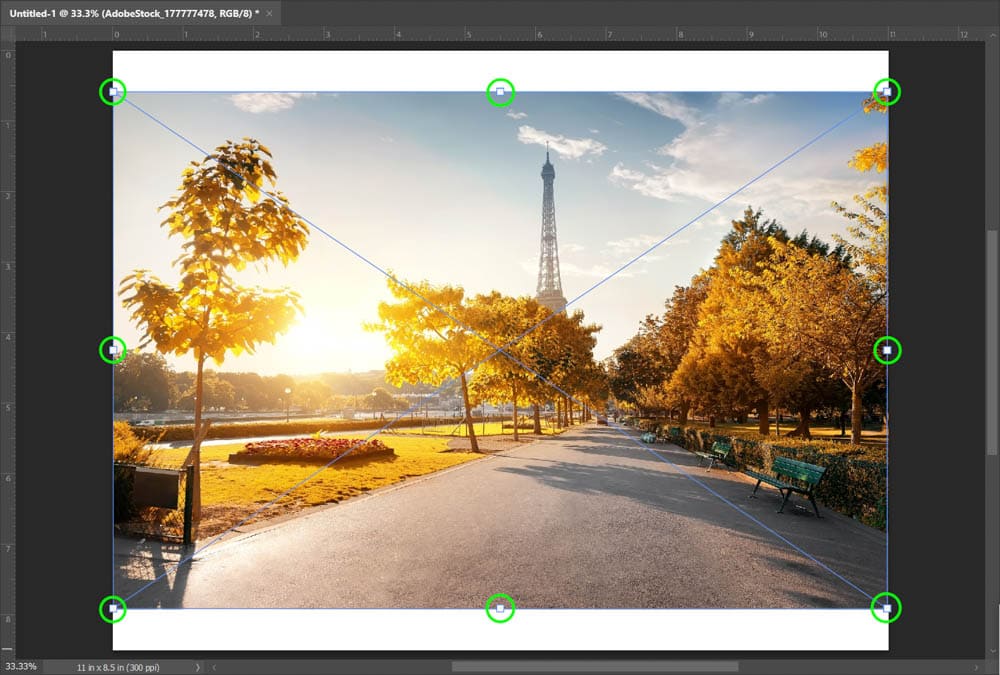
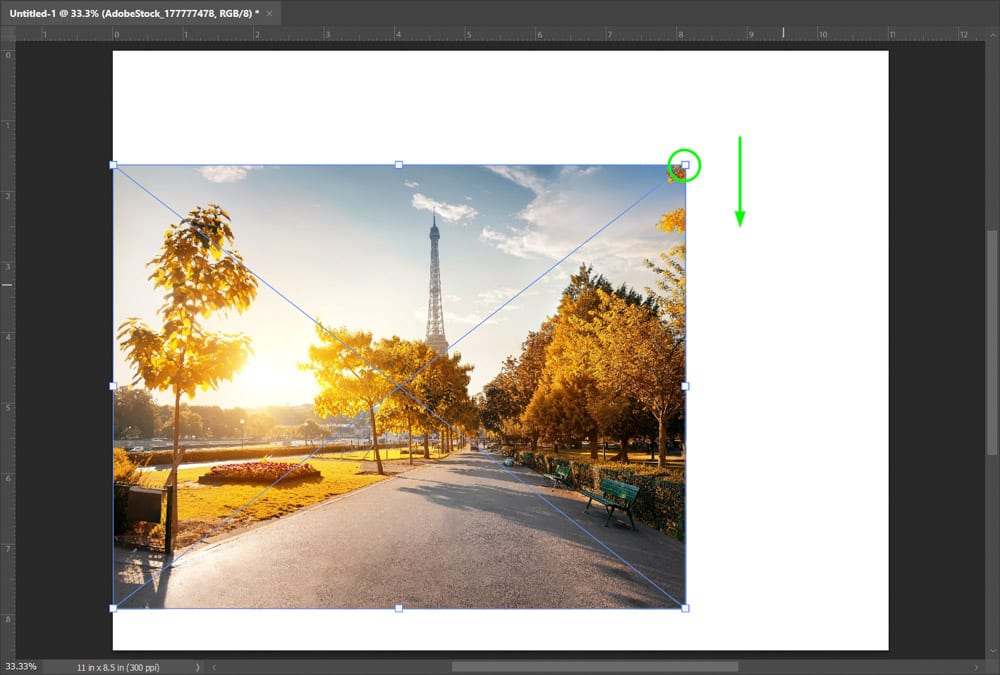
Drag any of the control handles up or down to resize the photo.
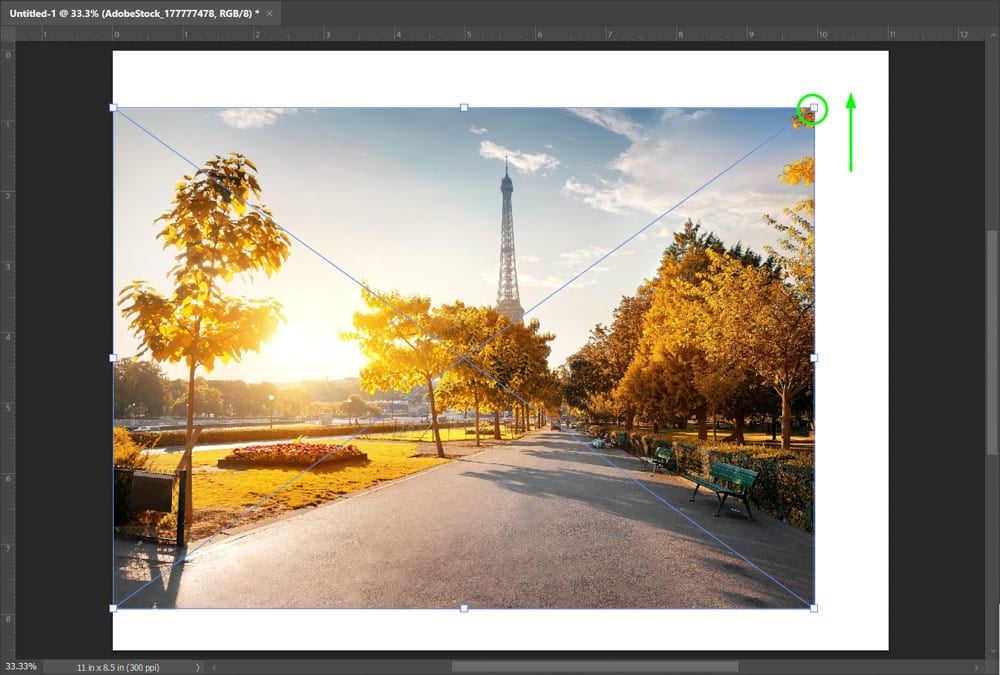
When you finish resizing the photo, you can alter its position by enabling the Move Tool (V) and then dragging the image anywhere you want within the document. While you move the picture, a little black box will appear inside it, showing what direction the photo is moving.
How To Import Multiple Images At Once Into Photoshop
You can quickly load multiple images at once rather than one by one, which helps save time.
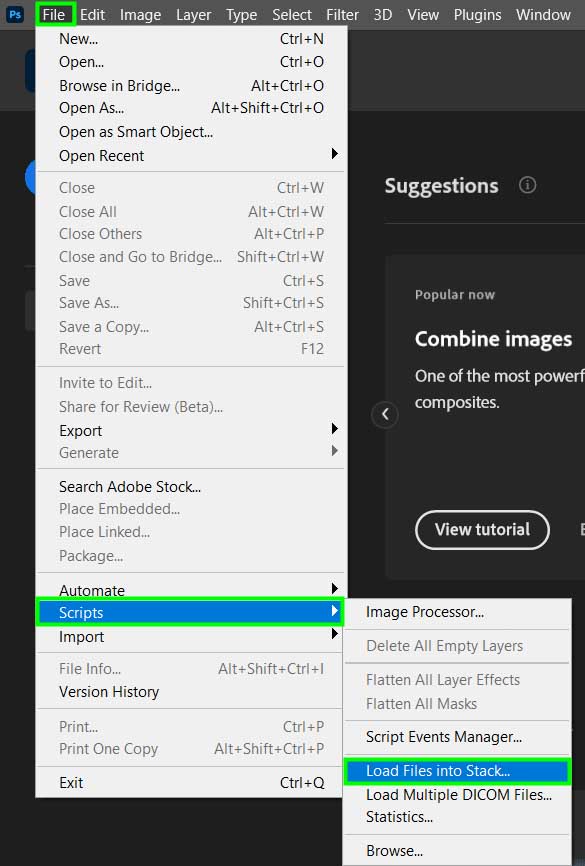
Option 1: File > Scripts > Load Files Into Stack
From the start menu, go up to File > Scripts > Load Files Into Stack.
It will open the Load Layers panel.
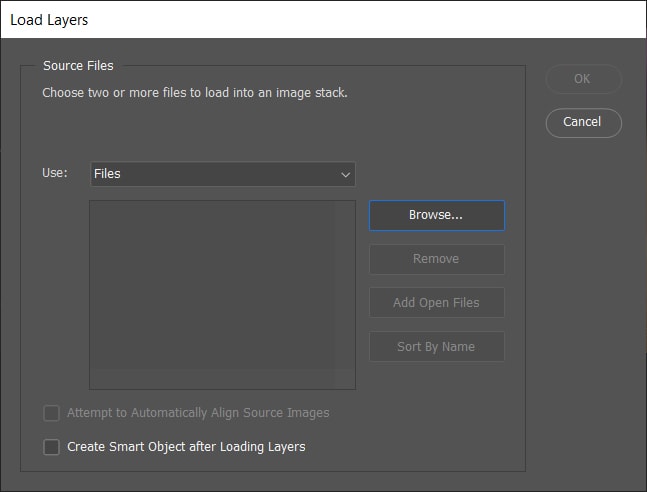
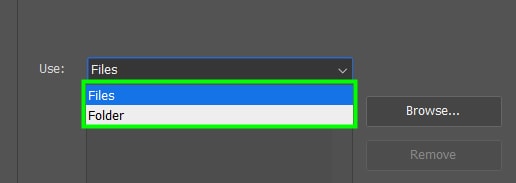
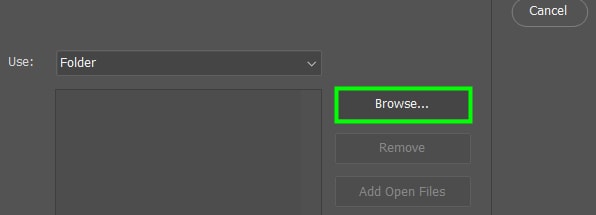
Inside the panel, you can choose between picking multiple files from different locations on your computer or files within a folder. To make the process easier, it’s best to organize files beforehand in a folder.
After choosing the file source, click on Browse.
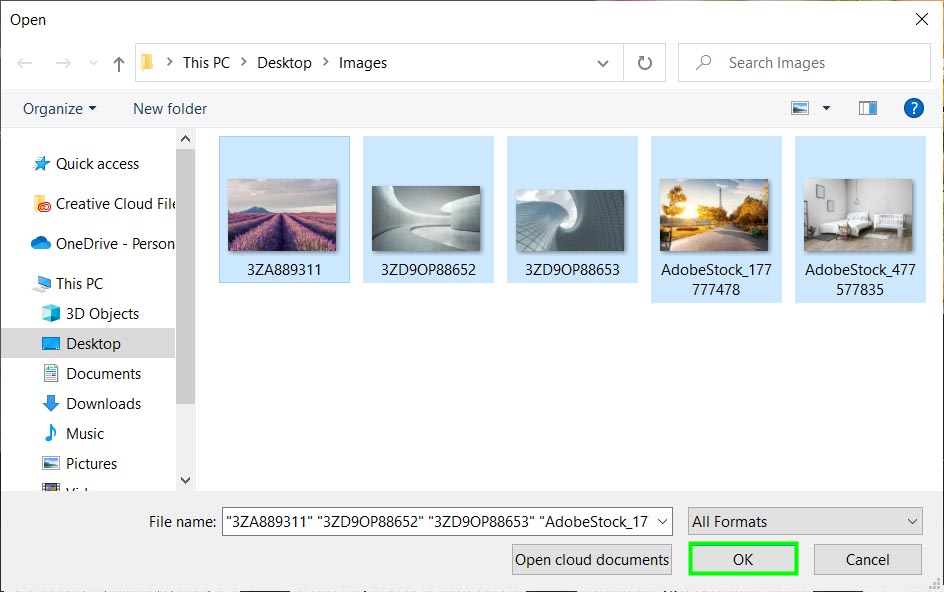
Then, select the files or folder you want to import and click OK.
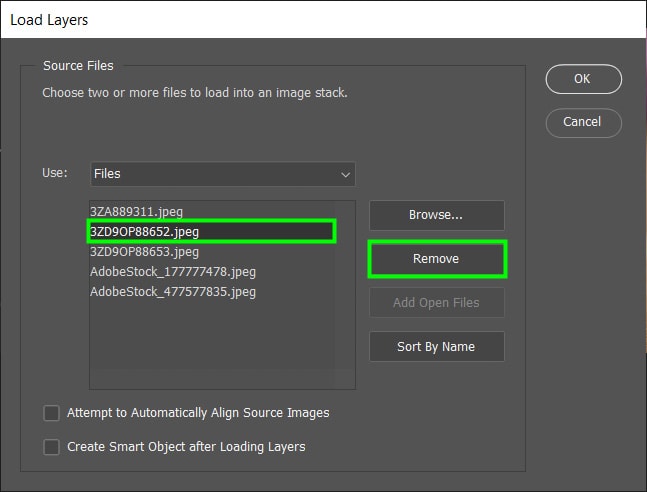
After choosing the desired files, they will appear on the left side of the panel. You can select any of them and remove them from the list if you decide you don’t want to open a particular file.
When you’re finished selecting the files, click OK.
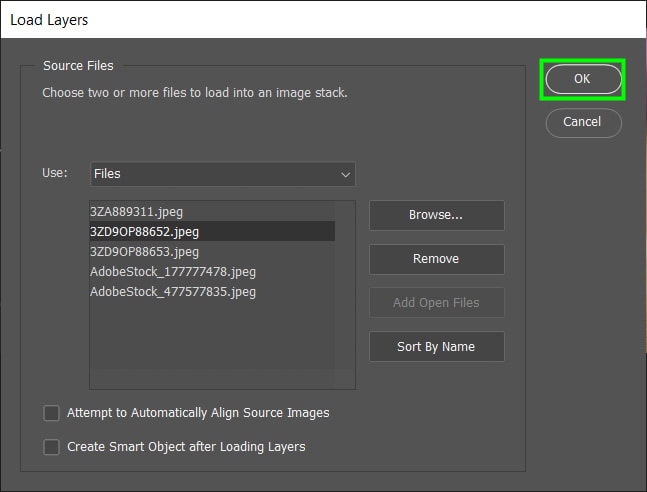
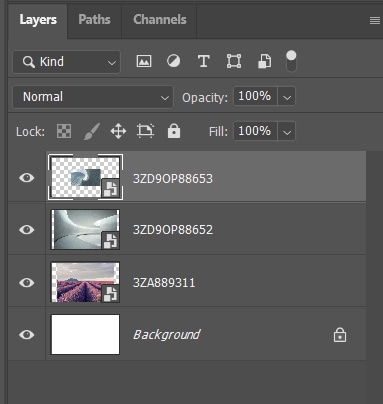
With that done, the photos will appear in the Photoshop workspace on one document as separate layers.

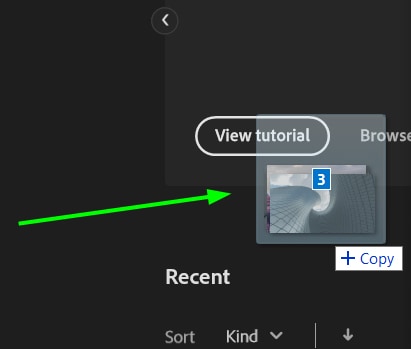
Option 2: Drag & Drop From Your Computer
For this method, open Photoshop and then open your File Explorer or Finder in a separate window and drag it over Photoshop, so you can see both the program and your files on your screen.
You can then select the images you want from your computer and then drag them toward the Photoshop workspace.
A faded thumbnail will appear on your screen, as shown in the image below. It will represent the selected photos and indicate the number of photos imported into Photoshop.
If you drag and drop the images onto the Start screen of Photoshop, the images will open in separate tabs.

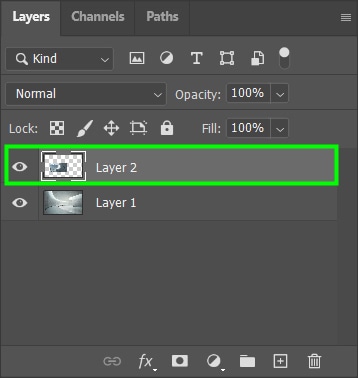
However, if you drop the images onto an open document in Photoshop, they will be added as separate layers inside the document.
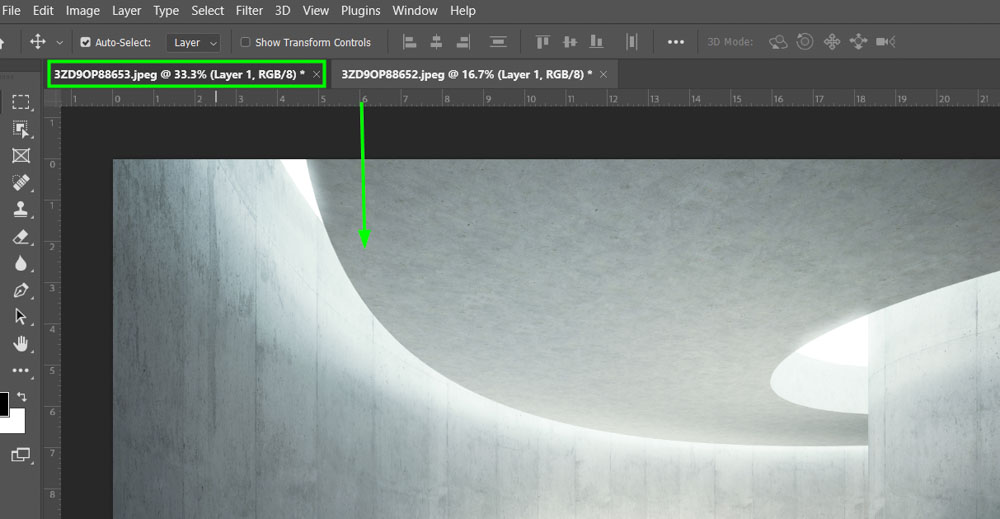
When dropping the files into an open document, Photoshop may activate the Free Transform Tool and ask you to confirm the size and position before loading the next image.
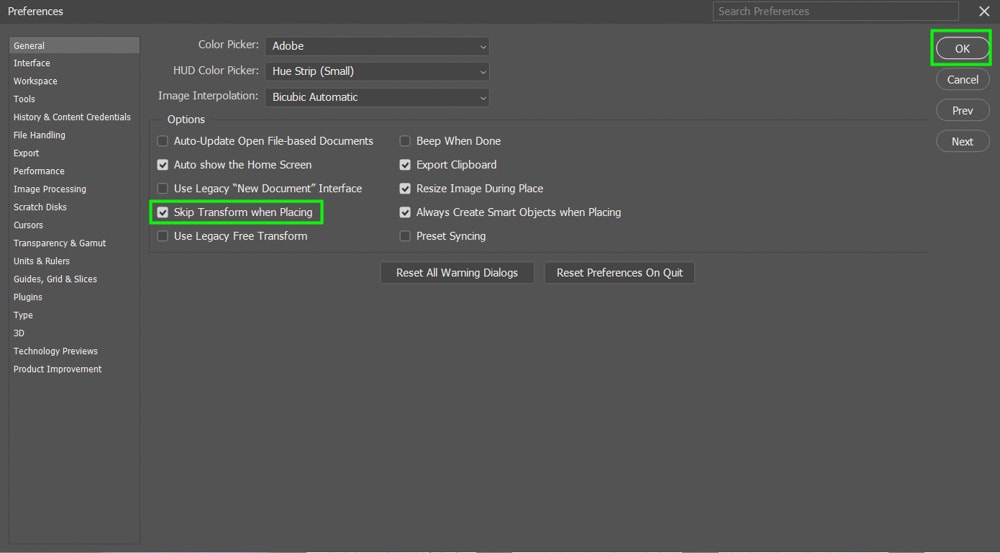
To prevent your images from opening in different project tabs, go to Edit > Preferences > General. You can also use the shortcut Control + K (Win) or Command + K (Mac).
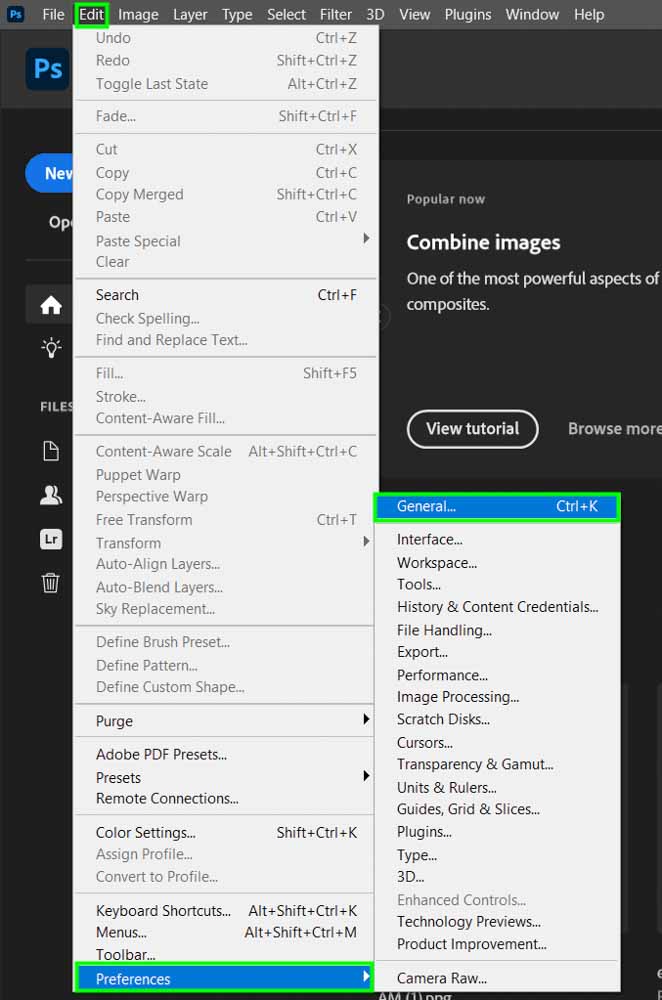
Then, enable Skip Transform When Placing and click OK.
Now, when you drag and drop, the images will be placed in the document automatically.
Overall, the process is straightforward, and photos are uploaded immediately. Just be aware that it requires some computer performance, and some computers may crash depending on the number of images imported and the performance capabilities of the system.
How To Import Images From One Photoshop Document To Another
Working on a Photoshop project often involves moving images from one document to another.
This is a very easy task, as you will see next.
Option 1: Click & Drag
First, click the image’s tab in question, and bring it downwards.
This will remove the document from its position and leave it floating in front of other documents.
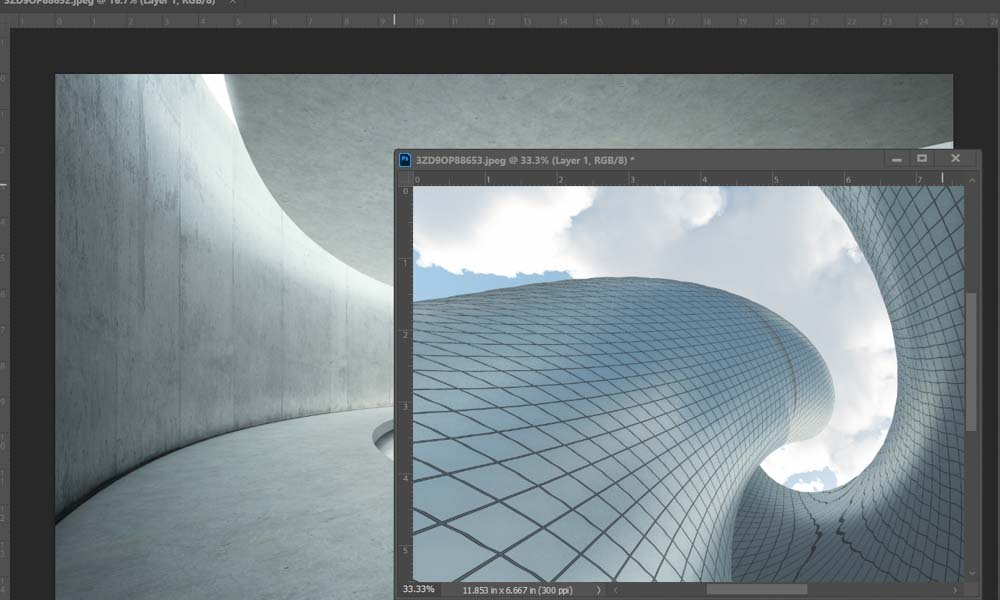
Next, click the image in the floating document and drag it into the desired tab so the photo is placed on the new document.


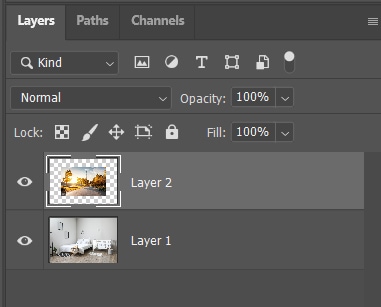
The imported photo layer will be positioned above the layer it was placed over.
Option 2: Duplicate Layer
First, select the photo layer you want to import.
Next, go to Layer > Duplicate Layer.
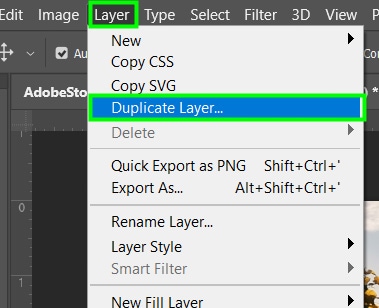
Click the Document drop-down menu on the Duplicate Layer panel and select the target document. Click OK to confirm.
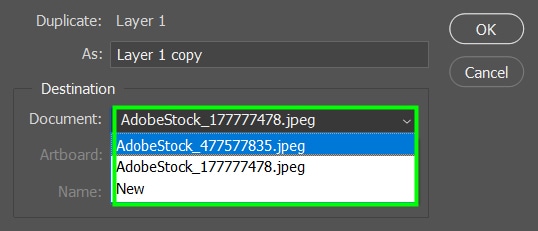
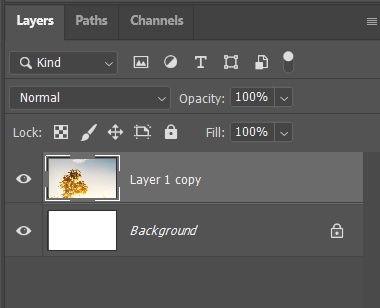
After doing this, a copy of the layer will be imported to the document window you selected. However, the original file will remain untouched.
The advantage of this method is that you don’t have to choose the target document manually. This is useful when you have layers located far from each other.
Option 3: Copy & Paste
Shortcuts are time-savers; luckily, there is a shortcut to import images to documents.
To import one photo into another document in Photoshop, select the layer you want to copy.
Then, press Control + C (Win) or Command + C (Mac).
After that, open the target document and click on the layer you want to add the image above.
Then press Control + V (Win) or Command + V (Mac), and the layer you copied will be pasted into the target document immediately.
Each method for importing photos into documents has its own advantages. You can learn all of these methods so that you can choose the option that is most appropriate for every particular situation.
Now that you know how to open your images, make sure to see this guide on working with Layers in Photoshop to take control of your projects fully.
Happy Editing!
