

Whether you’re working with an image or graphics, changing the DPI of a project in Photoshop will ensure a higher quality of print after export. With that said, it’s important to remember that increasing the DPI will not make a low-res photo suddenly crystal clear. Although getting your DPI settings correct is important, so is having good quality images and graphics to work with from the beginning. If your image is a bit lower quality, first see this guide on converting low res into high res before starting here.
Then once you’re ready to change the DPI of your image in Photoshop, follow these steps:
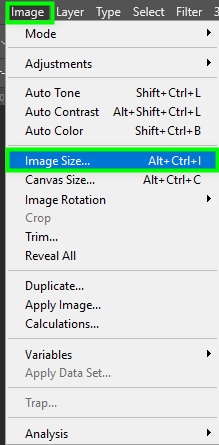
- Go to Image > Image Size
- Set the Resolution measurement to Pixels/Inch
- Type in your desired DPI value in the Resolution setting
- Uncheck Resample
- Click OK to change the resolution of your image.
Now I’ll break down these steps more in-depth below, but let’s first discuss how to see what your current DPI setting is to see what needs to be changed.
How To See Your DPI In Photoshop
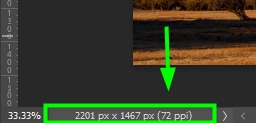
A document resolution is always visible in the Photoshop workspace and you can see it in two ways. Firstly, one way to see the dots per inch (DPI) is when the desired document is open in Photoshop. You will see its resolution at the bottom left of the workspace. On a screen, DPI is converted into PPI which stands for Pixels Per Inch (PPI) rather than Dots Per Inch (DPI). You can think about these values as the same thing for simplicity.
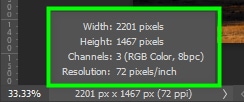
You can click the bar to view more details of your document, such as its dimensions and color channels.
Another way of seeing an image DPI is by going to Image > Image Size.
In the Image Size panel, you will find the DPI in the Resolution box.
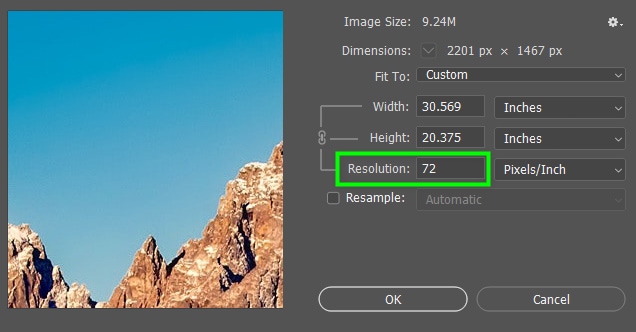
When checking the resolution of your image in Photoshop, note that one pixel in a digital image is equivalent to one dot of ink on a printed image. This means that if Photoshop says your image has 72 pixels per inch (PPI), it means it will have 72 dots per inch when printed. The ideal resolution for most prints is 300 DPI (aka 300 PPI).
How To Change DPI In Photoshop
You can change the DPI of a document in Photoshop at any time in the workflow. Here are two ways to do this. Firstly, when creating a new document and then, while you are working on a document.
Changing The DPI Of A New Document
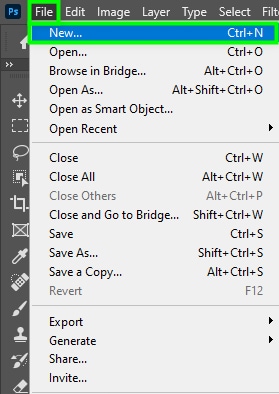
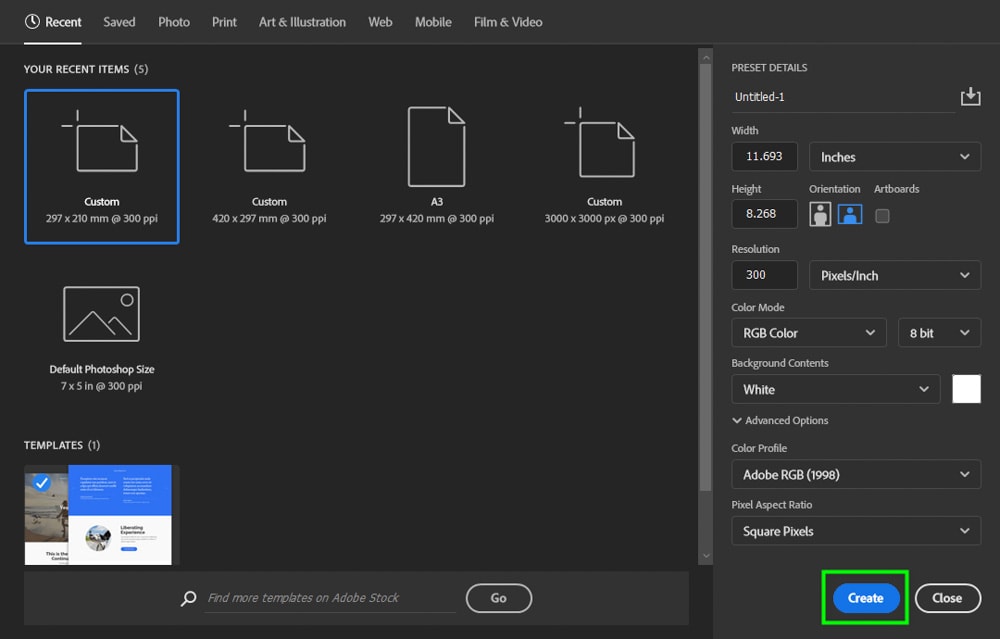
To change the DPI of a new document, go to File > New or press Control + N (Win) or Command + N (Mac).
Then, enter the desired resolution value in the Resolution box.
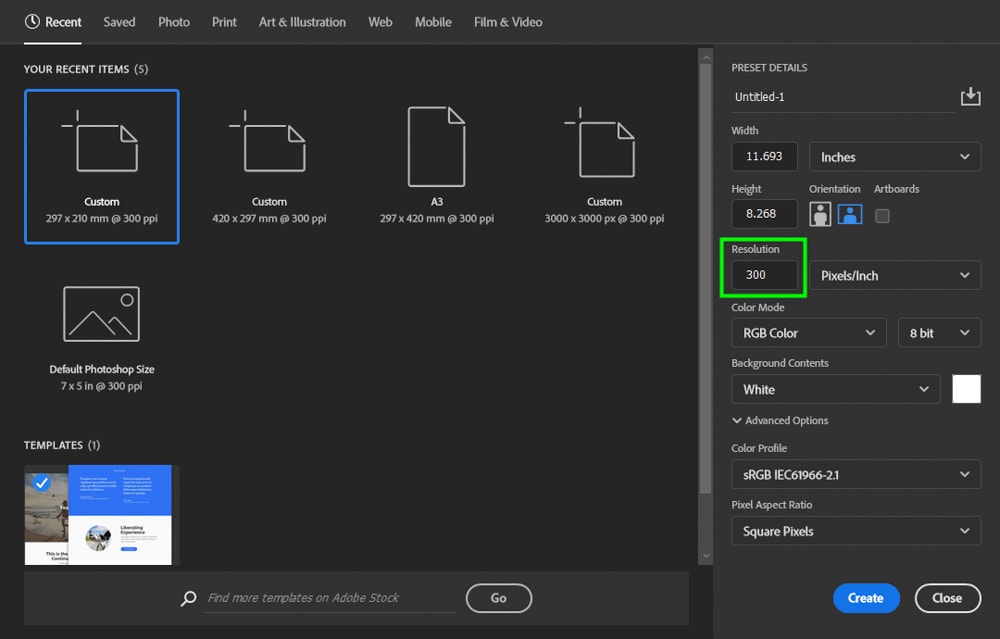
After changing the resolution of your new document, you might also want to adjust some additional settings in the New Document panel. This will ensure the best results for your printed document.
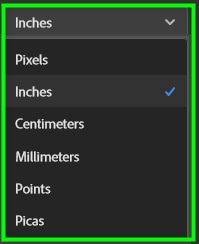
First, choose a unit of measurement for your document, such as inches, centimeters, or millimeters.
The width and height of your document and its orientation will depend on the material you will print it on.
Next, choose a color mode for your document. If you are printing it at home, the best option is RGB. This color mode is compatible with most home inkjet printers, which are common household desktop printers.
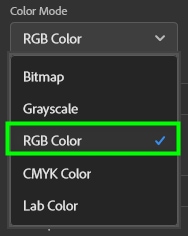
However, when sending your document to an offset printer found in a print shop, for example, you will need to change the color mode to CMYK.
Choosing the right color mode for your document is very important because different printers use different color combinations to produce images. This means if you choose a color mode not compatible with a printer, your printed document will look different from what it looked like on the screen in terms of colors and tones.
Click Create when you are finished setting up your document.
Changing The DPI Of An Existing Document Or Image
To change the DPI of a document already open in Photoshop, go to Image > Image Size or press Alt + Control + I (Win) or Option + Command + I (Mac).

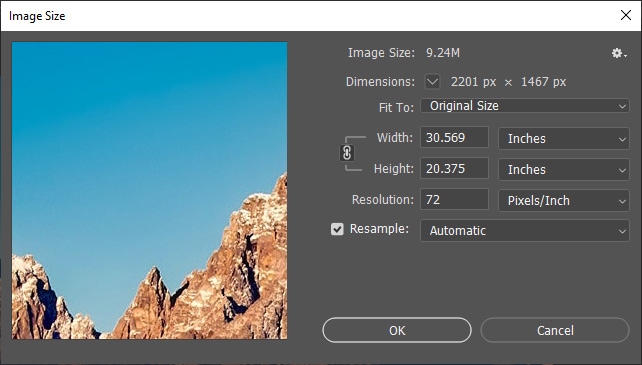
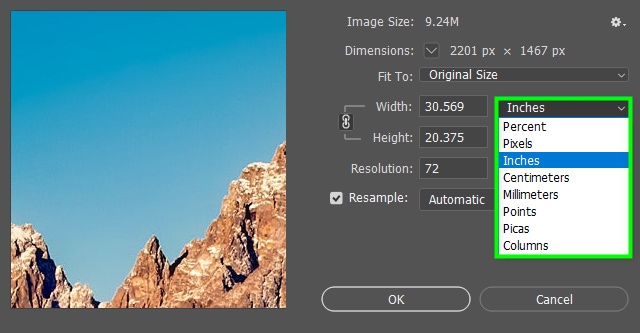
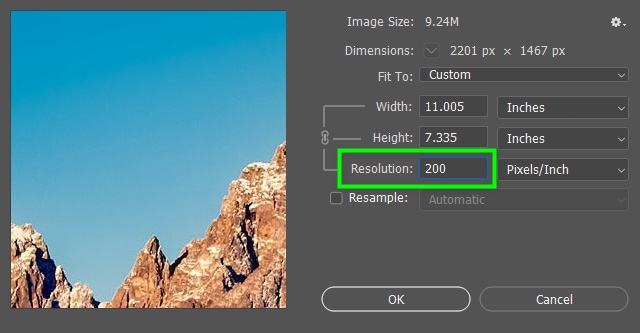
In the Image Size panel, choose a physical unit for the image dimensions.
Next, uncheck the Resample checkbox. If you enable the Resample option, your image will probably have issues, such as blurred areas, since resampling is an artificial way for Photoshop to add pixels to images.

Finally, change the image resolution in the Resolution box. I will set its resolution to 200 pixels per inch for this example. Keep in mind that pixels will be converted to dots once the image is printed, so 200 PPI will turn into 200 DPI in the end.
You’ll notice when increasing your resolution, the image dimensions will increase as well when resample is checked. If resample is unchecked, the dimensions will shrink.
That’s because when you set an image to a higher resolution, there are more dots/pixels in every inch, thereby requiring more material to be placed on. Then, the image looks physically larger in the workspace when new pixels are resampled to create duplicates. However, when the pixels are not resampled, the image must condense the existing pixels, therefore shrinking the image dimensions.
DPI VS PPI – What’s The Difference?
DPI stands for dots per inch, while PPI stands for pixels per inch. The difference between them is that DPI refers to the resolution applied to printing, whereas PPI refers to the resolution applied to images displayed on a digital screen.
Photoshop only has the option to set the PPI because you are working on a digital screen. The resolution will automatically change to DPI when sent to a printer and the conversion is equal, meaning that 300 PPI is equal to 300 DPI.
Are DPI and Resolution The Same
In quantitative terms, resolution corresponds to the number of dots that are ejected by a printer and that occupy an inch of a given surface. In a qualitative sense, however, resolution refers to how sharp and clear an image looks.
With that said, an image with a high DPI will always be a higher-resolution image because the more dots of ink a printed image has, the sharper it will be, and the more details it will have.
However, setting an image to a high DPI is not always necessary. That’s because what matters when it comes to printed images is how far they are from the observer.
This means that if you intend to give an image for a viewer to hold like a business card, for example, you will need to set your document to 300 DPI. But if you are printing something to be viewed from a long distance, you can set your document to a lower DPI and still get excellent results. Many billboards nowadays, for example, are printed at a resolution of 20 DPI, and they still look crisp and clean.
