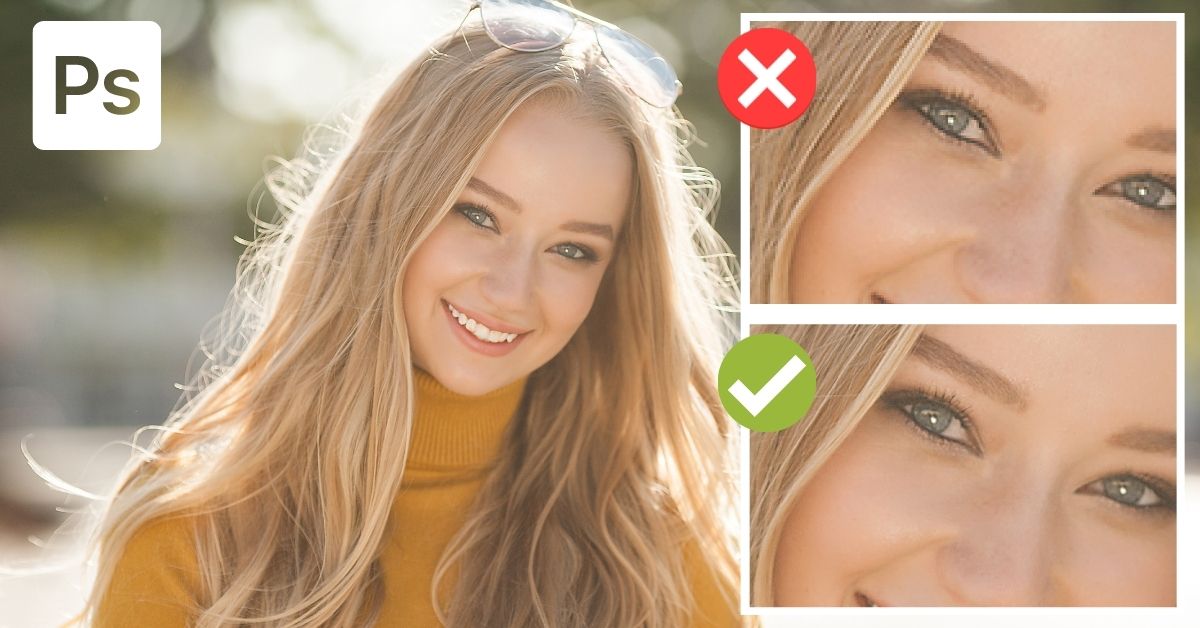

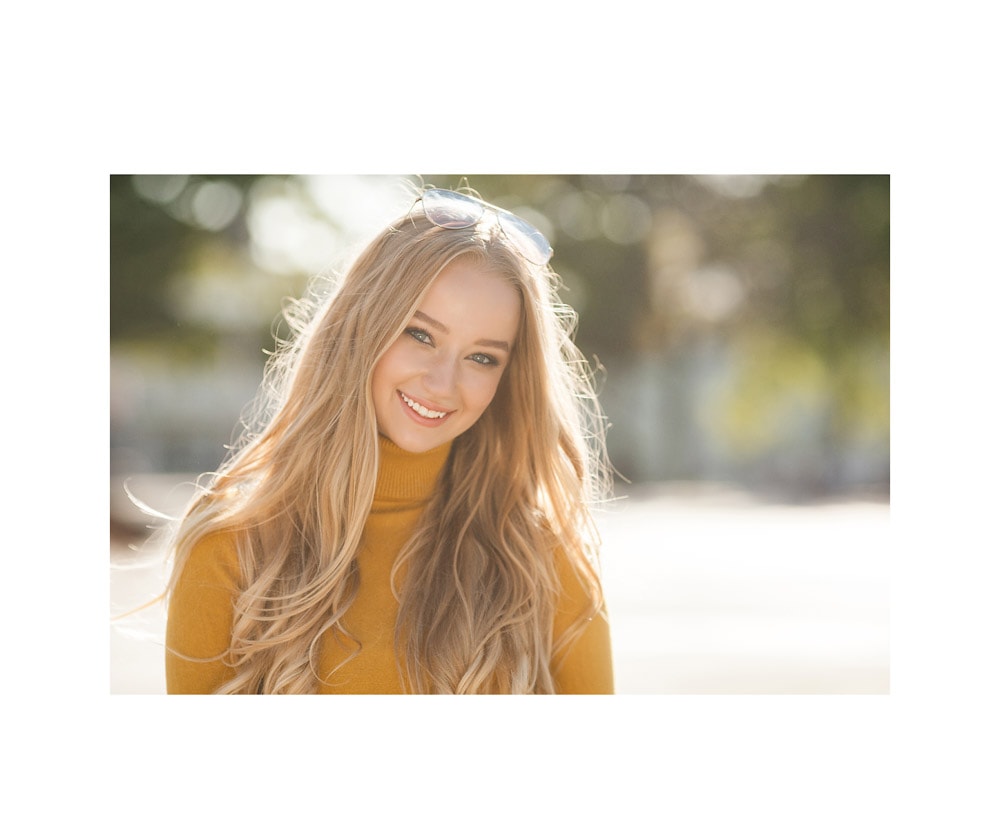
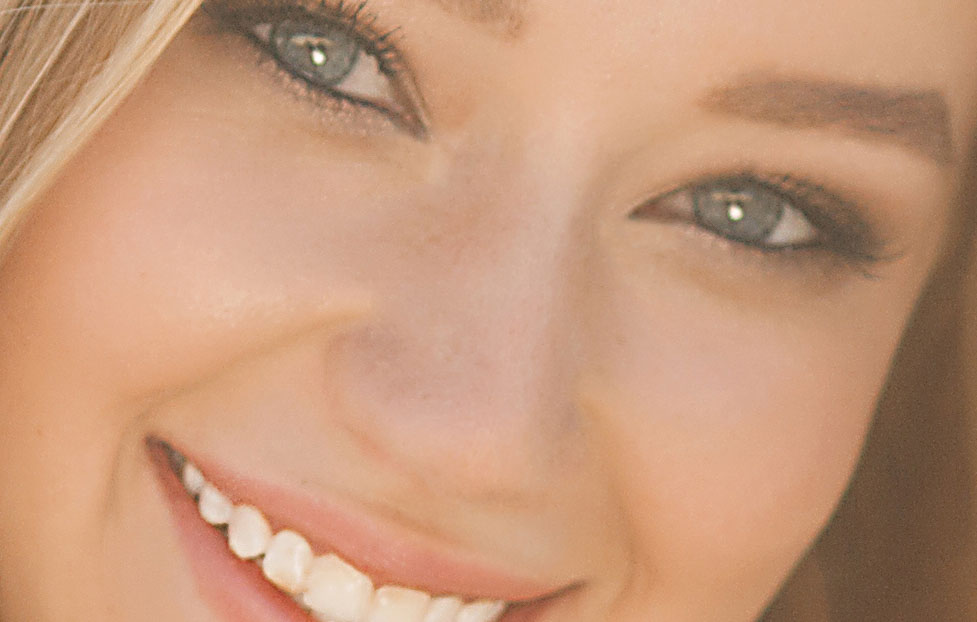
In this tutorial, you will learn how to convert low resolution into high-resolution images in Photoshop so you can print and display them anywhere you want. This is a useful skill to have when you are printing images, upscaling to fit a new dimension, or using your graphics for merchandise design.
Every digital image is composed of pixels, which are tiny color squares that all match together to create the details of an image. The resolution of an image is related to how many pixels an image has based on its dimensions. More specifically, it has to do with pixel density or how clustered pixels are.
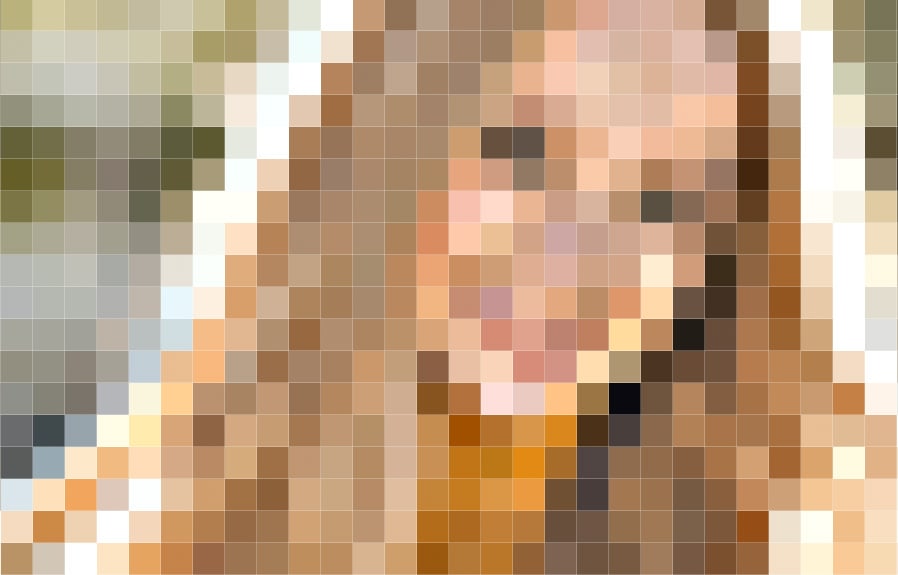
Usually, we measure resolution in pixels per inch (PPI). You can see a digital image at a 3 PPI resolution in the example below. Notice that it is hard to tell what the content of the image is. Moreover, the blocks (or pixels) that make up the image are very noticeable. That’s because there are 3 pixels for every inch of the image (3 PPI).
In the next example, the image has 300 pixels per inch. Thus, you can’t see the pixels that compose it since there are many of them in the image, and they are close to each other. Since there are more pixels to display details, you are left with a higher quality image that can be printed at a larger scale too.

Resolution for printed images works similarly to digital images. But instead of pixels, printed images are composed of dots of ink that come out of a printer. Then, the more dots of ink a printer expels, the clearer and more uniform a printed image seems. This is known as DPI (Dots Per Inch) but you can think of it in the same way as PPI (Pixels Per Inch).
How To Convert Low Resolution To High Resolution In Photoshop
Determining if an image has a good resolution will mostly depend on how you will use the image. But if you feel that the resolution of your image does not meet your needs, you can increase its resolution in Photoshop.
Just remember that this isn’t a silver bullet and won’t necessarily turn an extremely low res photo into the matching quality of a professional camera. These steps will improve the resolution of the image, but the amount it improves will depend on the starting quality. Ultimately you will be limited by the starting resolution of your image, and may still not be able to print at a larger scale in high quality even after these improvements.
With that out of the way, here’s how to improve your resolution in Photoshop with six easy steps.
Step 1: Enable Preserve Details 2.0 Upscale Option
Before doing anything to your image, go to Edit > Preferences > Technology Previews.
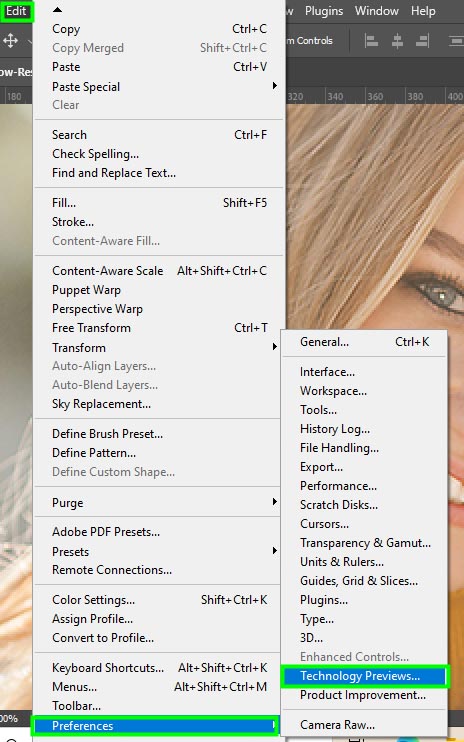
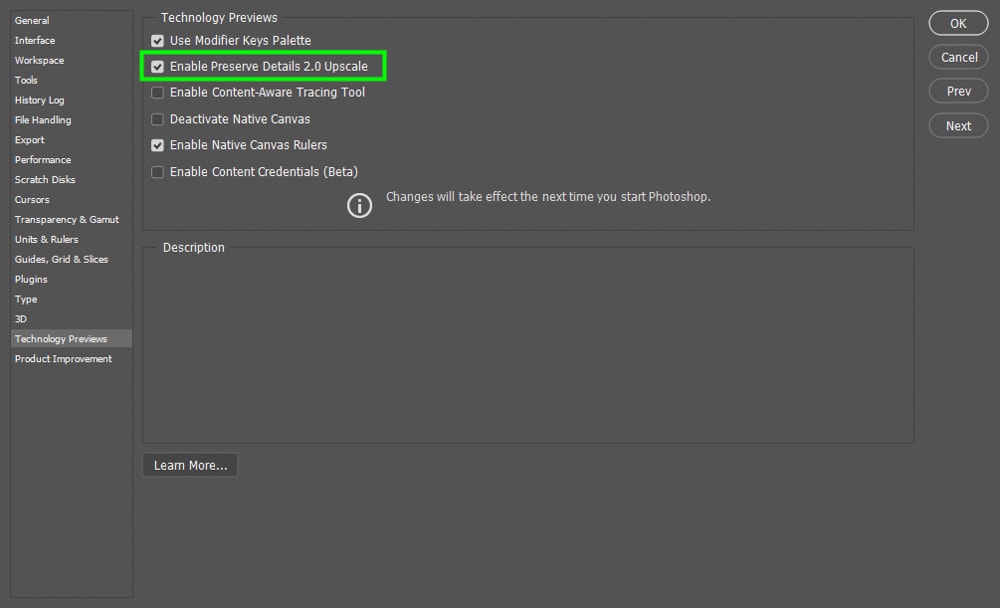
Then, make sure the option Enable Preserve Details 2.0 Upscale is enabled. Click ok when you’re finished. This option, as the name suggests, will preserve the original details in your image when you change its resolution.
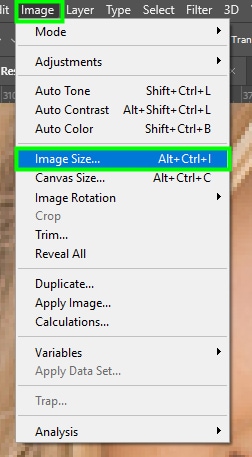
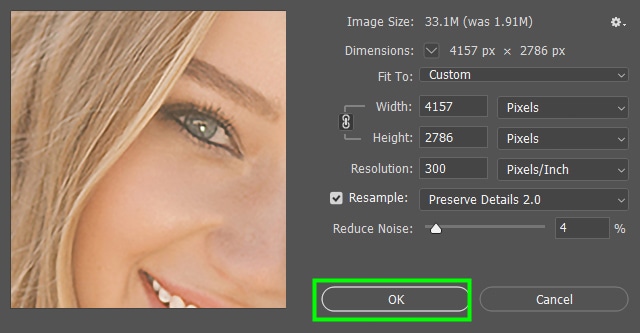
Step 2: Change Settings In The Image Size Panel
Now, go to Image > Image Size or use the shortcut Alt + Control + I (Win) or Option + Command + I (Mac).
This will open up the Image Size panel.
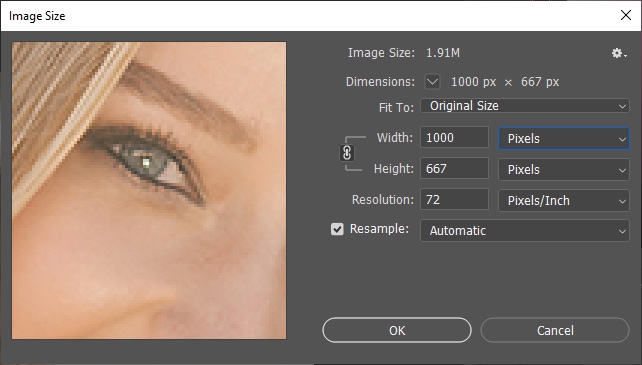
I will tell you what settings to change in this panel. But before that, I’d like you to understand what the options within this panel are for.
Image Size displays how large of a file your image is, pretty standard computer file stuff that I am sure you’re familiar with.
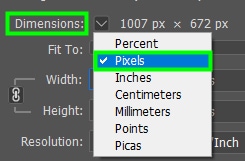
Another option in the Image Size panel is Dimensions. My image has 1000 pixels positioned horizontally and 667 pixels positioned vertically.
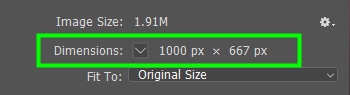
Make sure to set the dimensions to pixels. There are other options available, but as we intend to change the resolution, the dimensions must be set to pixels.
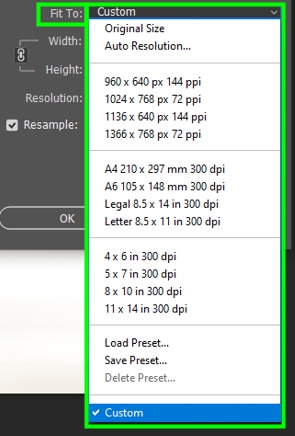
In Fit To you can resize your image to one of the resolutions available in the Fit To drop-down menu. However, I advise you against doing that because you risk converting your image to a resolution with a different aspect ratio, causing your image to crop in some cases.
Step 3: Choose An Interpolation Method
Before changing the resolution of your image, you have to enable the Resample option. Resample changes the number of pixels in an image.

You also have to tell Photoshop how you want the program to do it. To do this, you choose one of the Interpolation Modes found next to the Resample option.
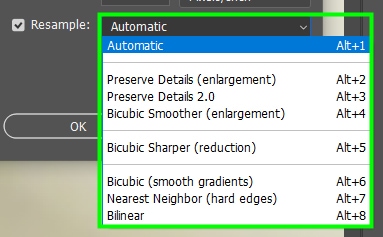
Here is the difference between these interpolation options:
Automatic: Photoshop interprets your image and chooses the resampling method that fits it the most.
Preserve Details (enlargement): Photoshop changes the resolution of your image while trying to keep its original details.
Preserve Details 2.0: this option works the same way as Preserve Details, but it’s a more recent technology (2018) that seems to be more efficient than the previous one.
Bicubic Smoother (enlargement): Photoshop performs polynomial calculations to add more pixels to your image. It samples pixels from different positions to guess the most adequate size of the pixels to be added to your image. Additionally, it smooths the pixels that compose the image. This often makes your image look better at the end of the process. This method is one of the most precise and accurate ones, but it takes longer to load the changes in your image.
Bicubic Sharper (reduction): Photoshop determines in a very precise way what pixels can be removed from your image. Additionally, Photoshop will sharpen some pixels that need sharpening after you resize your image, such as the ones on the edges of it.
Bicubic (Smooth gradients): It’s another bicubic interpolation method, but this option also takes the gradients of the pixels in your image into account while guessing the size of the pixels to be added to it.
Nearest Neighbor (hard edges): Photoshop copies the pixels adjacent to the area where the new pixels will be placed. It’s a less precise method when compared to the other methods available. So if your image is pixelated, chances are this method will not make too much of a difference. I recommend using this method if you are doing pixel art or working with simple graphics.
Bilinear: Pixels added to an image are calculated based on two pixels in different positions but situated linearly to each other. This method is less precise than the bicubic method.
In this case, the best interpolation method is the Preserve Details 2.0 option since we want to retain the original details of the image.
Step 4: Increase Image Resolution
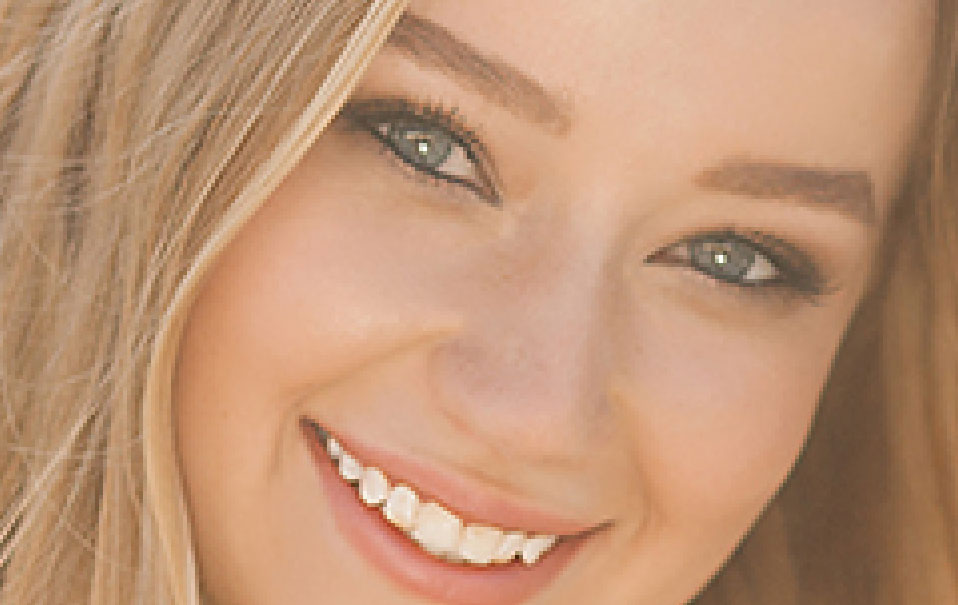
After choosing an interpolation method for resizing your image, you can change its resolution. In the example below, you can see that the original size of my image was 72 PPI. But at that resolution, the image looked too pixelated for a large dimension print.
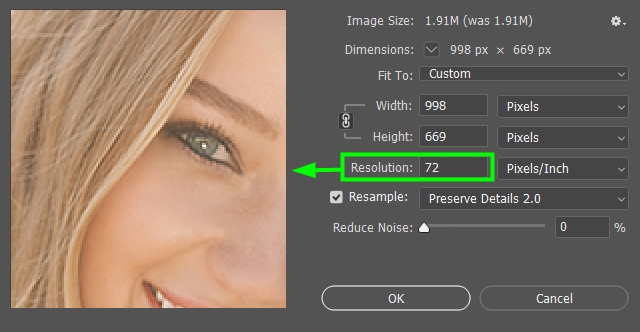
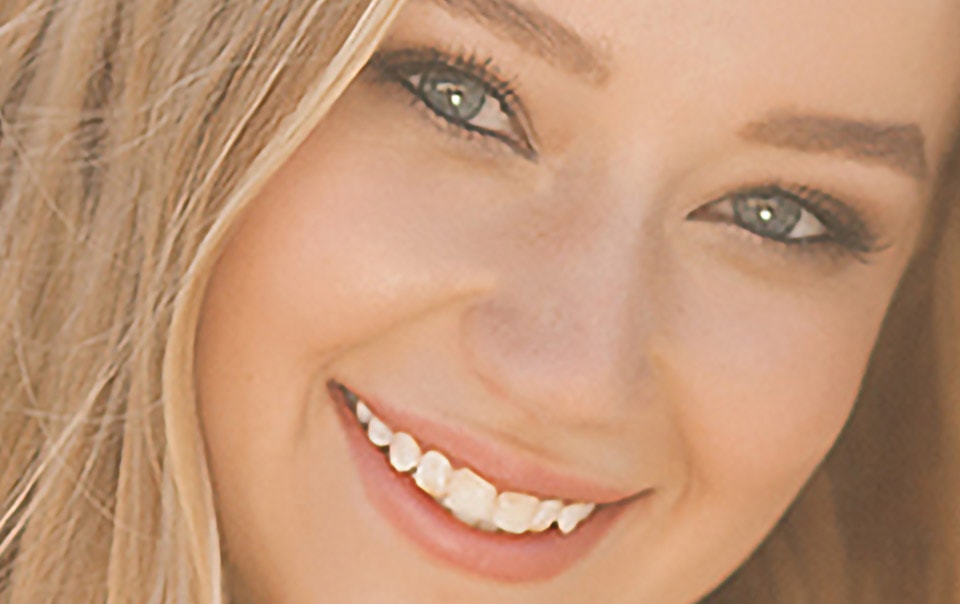
To increase the resolution of your image, enter a value in the Resolution box until you get rid of the image’s pixelated appearance. In my case, I changed the resolution to 300 PPI.
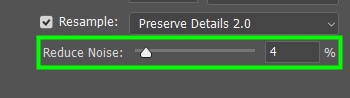
Step 5: Reduce Noise
The last option available in the Image Size panel is Reduce Noise. Choosing a lower or higher value will depend on how much noise your image has. As changing my image resolution already made a great difference, and my image doesn’t have too much noise, I only needed to bring up the Reduced Noise slider to 4%.
When you’re done changing all the necessary settings, click Ok to close the Image Size Panel.
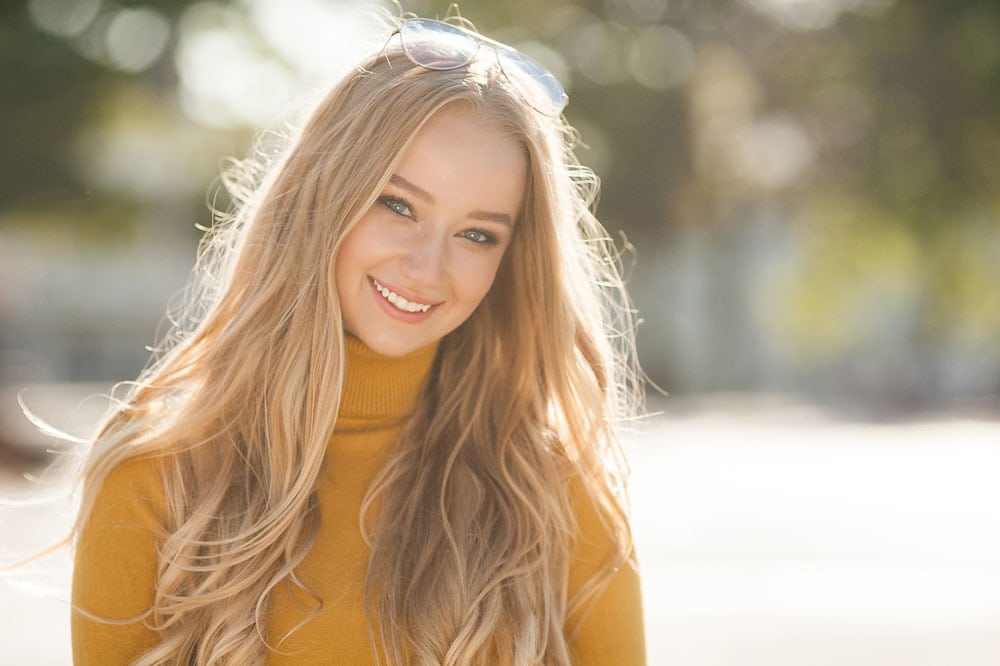
Step 6: Apply The High Pass Filter (Optional)
After resizing your image, you will notice the image will look better than its original version. But you can enhance it even more by sharpening the photo.
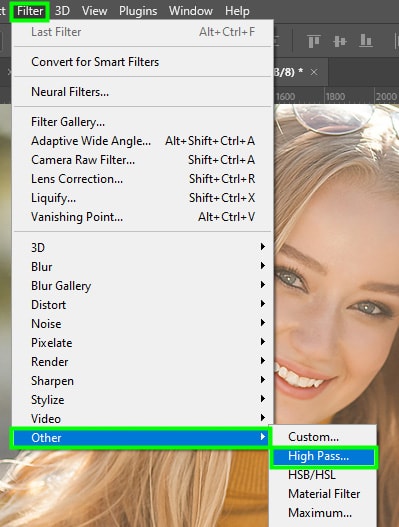
The High Pass Filter can give your image that final touch by bringing out its details and is my favorite method of sharpening in Photoshop. To apply it, first, duplicate the image layer by pressing Control + J (Win) or Command + J (Mac).
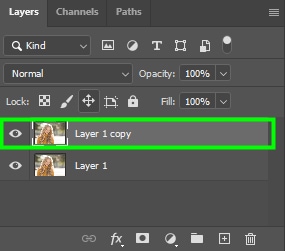
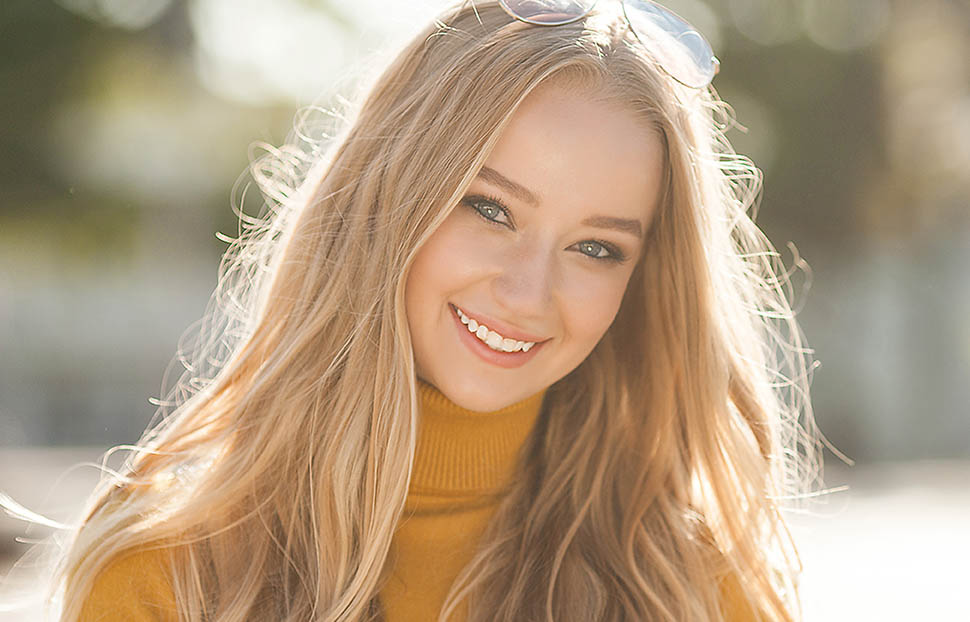
Then, keep the layer copy selected and go to Filter > Other > High Pass.
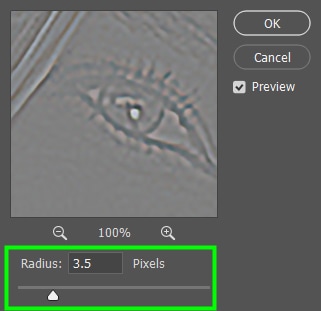
After that, your canvas will become gray and you will not be able to see anything but the image edges, just as happened to my image.

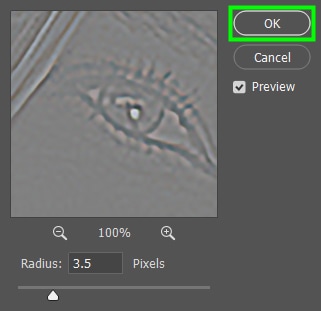
In the High Pass panel, increase the radius value until the image edges are more highlighted. Don’t bring up radius too much, though, as you may end up highlighting the rest of the image and get an over-sharpened result.
Click Ok when you’re finished.
Lastly, go to the Layers panel and change Blending Mode to Overlay.
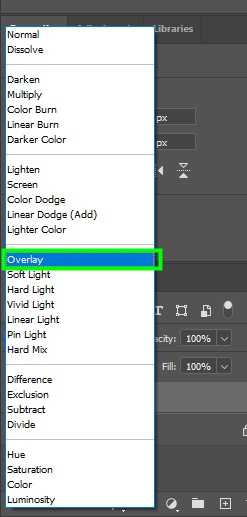
This will blend the filter into the image, to show the details of the image again. By the end of the process, you will have a less pixelated image and it will look much sharper.
Why Converting A Low Res Photo To Higher Res Only Gets You So Far
After converting a low res photo to a higher resolution, your image will likely look much better than its original version. But even if your image may seem to have gained quality, converting it to higher resolution doesn’t have to do with quality.
For example, when you add more pixels to your image, it may look like the image has more details. But it didn’t necessarily gain sharpness because you don’t know how clearly defined are these “new” details since this data was not captured by your camera.
In fact, quality is determined by focus, exposure, and other things related to the process of capturing an image.
With that said, I can assure you an image resized to 30 MP will not have the same quality as an image captured by a camera at the same resolution. This is because a 30 MP image captured by a camera has much more data than one resized to 30 MP.
That’s why these methods will improve your low res images, but may not get them to the quality you are looking for simply because the starting image was too low of quality.
Comparing Different Image Resolutions For Print
To give you an example of these different resolutions in relation to print sizes, let’s look at an example on a 24×20″ canvas. A standard print size perfect for hanging at home.
After creating the document, place the image on the canvas and see how they look. In my case, I tested my images at 72 PPI, 150 PPI, and 300 PPI.
If, after placing your image on the canvas you decide to rescale it to the size of the document you chose, your photo may end up distorted or pixelated. So, ideally, place your image on a bigger document or the same size as your image. You can get away with scaling to a certain degree, as long as there isn’t noticeable quality degradation.


As you can see with higher PPI values, the image dimensions are larger, and also crisper when zoomed in. This also better highlights why a very low res image to start with may not render the best results after going through this process. However, I have found this extremely useful when printing onto larger canvas prints in my photography.
Happy Editing!


