
Error messages in Photoshop can interrupt your workflow. It can be frustrating and confusing to receive an error message you don’t quite understand, know how to fix, or haven’t received before. One of the most frequently received error messages tells you that your “scratch disks are full.”
This pesky message can come up at any point while working — from when you’re trying to open Photoshop to when you’re making adjustments to an image. But what is a scratch disk, and how can you get the message to go away so you can return to work? Let’s take a closer look at this common Photoshop error message, what it means, and what you can do about it.
What Does The “Scratch Disks Are Full” Error Mean In Photoshop?
The “Scratch Disks Are Full” error in Photoshop means the local storage drive Photoshop uses to store files and information is full. To fix this, you must clear space on the storage device set as Photoshop’s scratch disk. Photoshop needs a minimum of 6GB free before this error will go away.
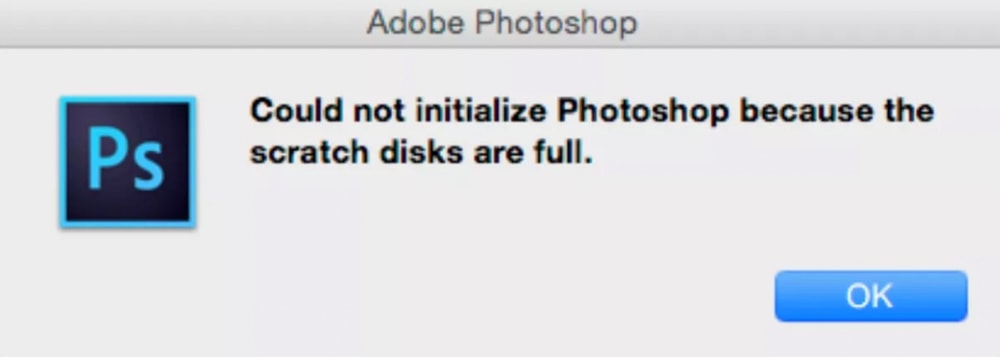
Ultimately this error message means you don’t have enough disk space for Photoshop to run correctly. Again, the message can pop up at any point during your work, particularly as a project’s layers start to add up. This makes it extra annoying as you could already be in the middle of your work when you’re interrupted.
While Photoshop usually goes through and automatically deletes temporary files saved on your computer, sometimes — if the program quits or is closed unexpectedly — the files remain, taking up precious disk space.
Photoshop requires a minimum of 6 GB free on the scratch disk, but as this is only the minimum amount necessary to run, it is advised to keep around 10 GB free so that Photoshop can perform all its functions properly. The solution is quite simple: free up space on the scratch disk Photoshop uses and take note of Photoshop system requirements for Mac and PC.
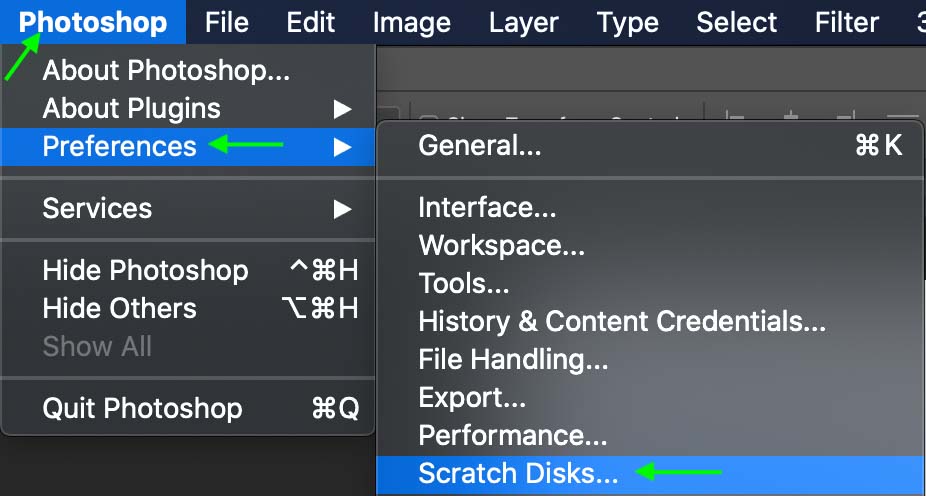
To view which drive Photoshop uses as a scratch disk, go to Photoshop > Preferences > Scratch Disks (Mac) or Edit > Preferences > Scratch Disks (Win) to see a list of active hard drives. Any drive checked in this window will be used as a scratch disk for the program.
How To Clear Your Scratch Disk In Photoshop
So, how do we clear some space on Photoshop’s scratch disk? The best place to start is by viewing the available space on your computer and what programs or applications are taking up the most space.
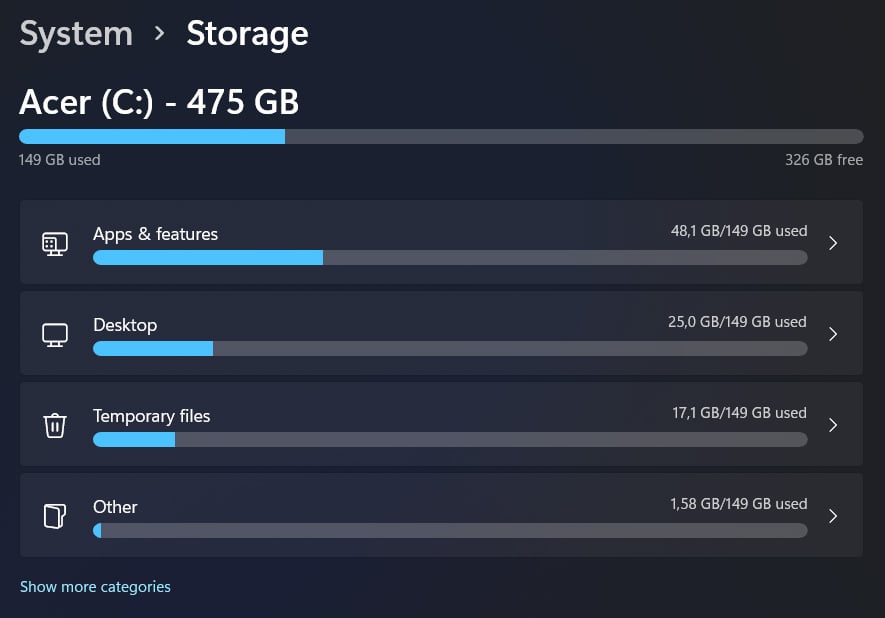
For Windows, this is usually found by heading to Start > Settings and selecting System, then Storage. Then you can choose which disk you’d like to view storage information.
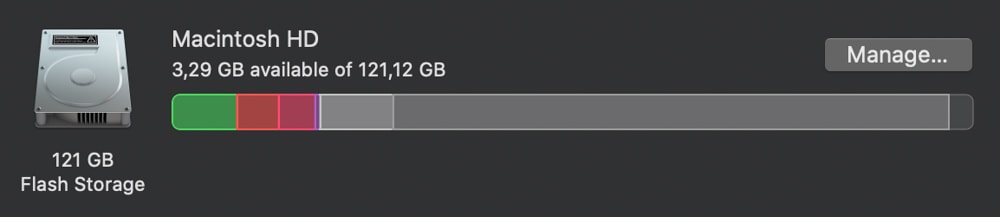
For a Mac, you can head to the Apple icon at the top left of your options bar, click About This Mac, and then head to the Storage tab.
From there, you should be able to see information about storage, such as how much is available and how much storage is taken up by apps, documents, images, etc. This will help guide you as you clear space on your drive. It will look something like this:
The first question you must ask yourself is, what files take up the most space? This will likely include applications, large downloaded files, videos, and images. In that case, are there any forgotten downloads or unused apps you could send to the trash? Go through your files and delete any of these, as well as replica images and videos.
Once you’ve gotten rid of any files you do not need, reassess how much space you have left. Maybe you’ve cleared up 6-10GB of space, but if you’re still running low, it is time to consider storing your files externally or in a cloud.
Most photographers use external and cloud drives to store the many images they take, as raw files and edited JPEGs can add up, taking up a large chunk of your system’s storage. Maybe you already have an external drive, in which case, plug it in and move any images or videos you won’t be needing off your computer. You can do the same with a cloud system, such as Adobe’s own cloud.
Otherwise, Google allows you to store up to 5GB of files per account, so if you have (or make) a Google account, you’ll be able to move large files over there for a temporary fix.
Once you’ve followed these steps, you should be left with much more available space on your drive, and Photoshop will allow you to run the program as usual.
Other Solutions To Free Up Space On Your Scratch Disk
Option 1: Delete Photoshop’s Cache
Like most applications, Photoshop maintains a cache of stored items that takes up quite a bit of space. By clearing Photoshop’s cache, you are clearing the scratch disk, but be aware that you won’t be able to access any prior versions of your work. For this reason, I advise you to save all of your work before clearing the cache.
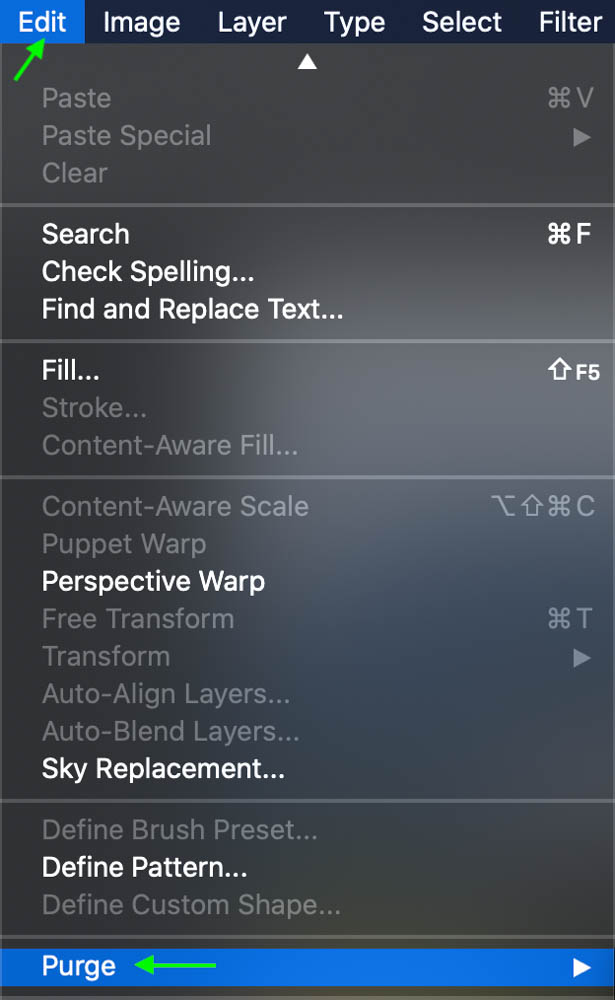
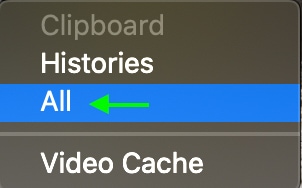
With Photoshop open, head to Edit > Purge > All.
Click OK to confirm you’d like to delete the cache.
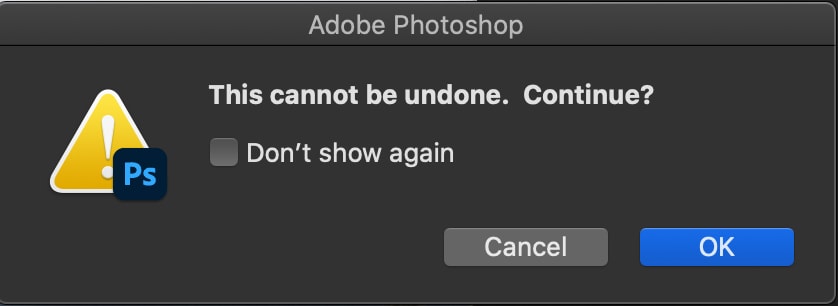
This will delete Photoshop’s caches and clear up space on your disk.
Option 2: Delete Photoshop’s Temporary Files
If you cannot open Photoshop because of the scratch disk message popping up, you can still clear up space in Photoshop from your computer’s files. Photoshop stores loads of temporary files, so clearing these out will free up space on your disk.
To find the files on a Windows OS, head to the taskbar and open File Explorer. You can also right-click the start menu and select File Explorer. Open the This PC tab, then type %Temp% into the search bar in the top right-hand corner.

To do the same process on a Mac OS, head to Finder. Once you have your files in front of you, head to the search bar and type .tmp.
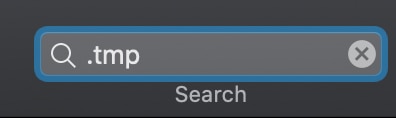
This will bring you to the files and folders containing Photoshop’s temporary files. Now, before you start deleting files left and right, you’ll need to locate the correct files to get rid of. Only delete files that begin with Photoshop Temp, end with a series of numbers, and have the file extension .tmp.

Now, you can go through and right-click (Win) or Control + click (Mac) on these folders and files and delete them. Do not delete any other types of files.
Once you open Photoshop, you should find that the error doesn’t appear anymore.
Option 3: Move The Scratch Disk To An External Drive
If you’ve gone through your files and found that you don’t want to throw any of them in the trash, you can always move the scratch disk to an external drive. However, remember that this means you’ll have to have the external drive plugged into your computer whenever you’d like to use Photoshop. Otherwise, the program will not work.
To move the scratch disk to an external drive, open Photoshop and head to Edit > Preferences > Scratch Disks (Win) or Photoshop > Preferences > Scratch Disks (Mac).
The Preferences window will come up with the Scratch Disks tab open.

Here, you can uncheck the drive you’re currently using and select the external drive instead (it will appear below your current drive if you have an external drive plugged in.) This drive will act as the scratch disk from here on out. Click OK when you’re finished, and the next time you open up Photoshop, the external drive will act as your scratch disk. Remember, you’ll need to keep the external drive plugged in while using Photoshop.
Option 4: Reset Photoshop preferences
As a last resort, you can always restore Photoshop to its factory settings. This can fix various problems, including a persistent “scratch disks are full” message but remember you’ll also be clearing any preferences you’ve set since downloading Photoshop, such as color mode settings or plug-in presets. You’ll also want to save any projects you’re working on before you reset.
To reset Photoshops preferences, head to Edit > Preferences > General (Win) or Photoshop > Preferences > General (Mac).

This will open the preferences window set to the General tab. Click Reset Preferences On Quit.

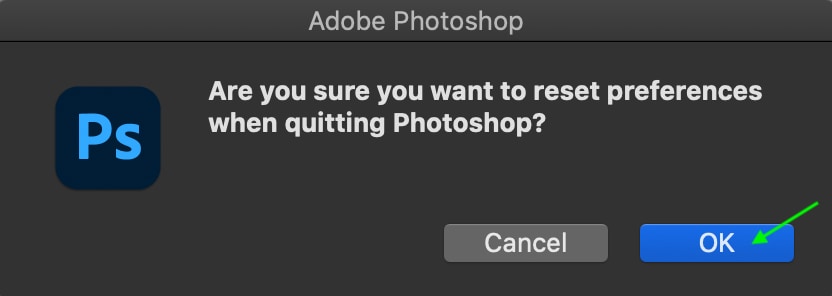
A window will come up asking if you’re sure to want to reset your preferences. Click OK.
Now, you’ll need to exit Photoshop, and when you reopen the program, Photoshop resets the preferences, and you’ll be able to continue working without the error message.


