
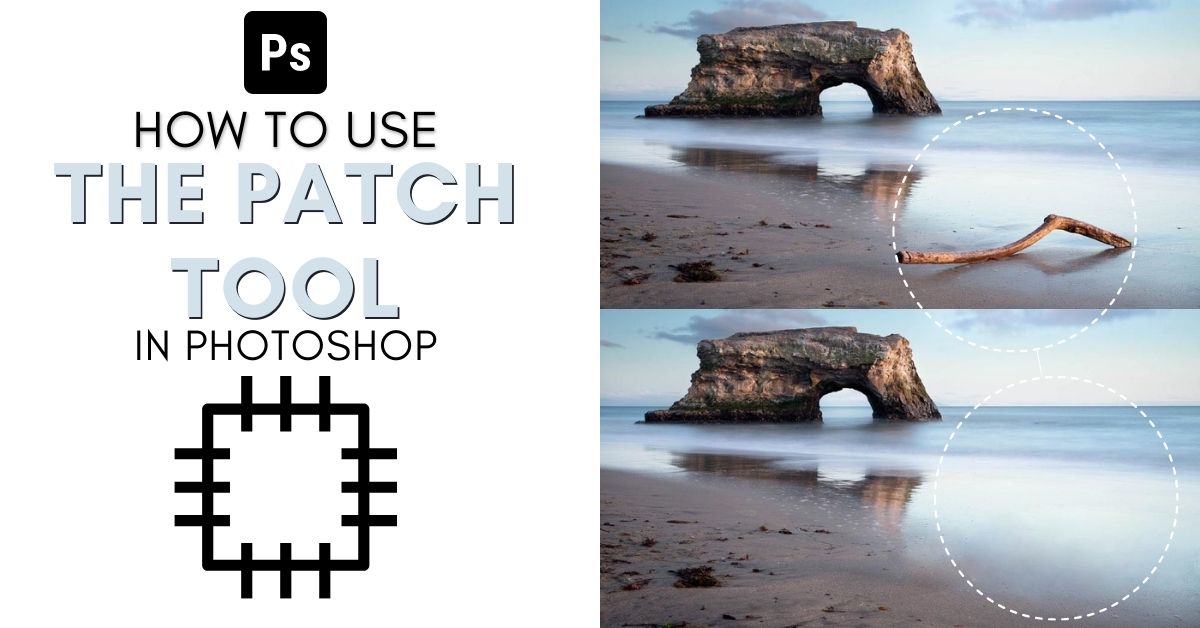

The Patch Tool in Photoshop is one of the easiest ways to remove or duplicate objects in a photo. With the help of auto-blending, it’s easy to get quick results using this tool, regardless of your skill level in the program.
The tool has specific uses, settings, and two modes that are important to be aware of. Understanding these factors lets you get the most out of the tool, but there are also cases where the tool won’t work correctly. I’ll touch on all of the important settings, steps to use this tool, and troubleshooting tips in this tutorial.
That way you’ll feel confident using this tool in your next project!
What Is The Patch Tool For?
The Patch Tool is used to remove large objects or distractions from a photo, as well as retouch blemishes and acne on a subject’s skin. Since it replaces the pixels within a Lasso selection, it’s one of the easiest tools to use for object removal in Photoshop.
The Patch Tool is similar to the Healing Tools because it is used to retouch and repair areas on an image. However, this tool works in larger areas than the other healing tool options.
The Patch Tool matches and blends the texture, shading, and lighting of the area you are working on, just like the healing brush. The main difference between the Patch Tool and other healing tools is that the patch tool uses a selection to define the areas rather than a brush.
Using a selection gives you more control over the area you want to repair or copy since you can draw around the exact place you want to be selected.
Once a selection is defined, you choose the area of pixels to replace the selected pixels, and Photoshop will do the rest by blending the new pixels into the area.
Therefore, you can use this tool to remove objects in the image by covering them with other pixels that match the background around the area.
You can use the tool to fix up blemishes, spots, marks, or any parts of the image you want to replace. You can also copy an area of the photo to paste elsewhere on the image if you wish to repeat pixels.
The Content-Aware mode within the Patch Tool allows you to work on a new layer rather than the original or a duplicated layer. This mode gives you the ability to keep edits separate and edit non-destructively.
The Patch Tool is a great way to seamlessly and quickly remove, replace, or copy areas of an image. However, the downside of the tool is that the pixels won’t always blend well and may make it evident that someone edited the photo. Simply redoing the touch-up a few times will create different effects and blends, so a bit of patience will help you make the edit just right.
Patch Tool Settings Explained
To get the most out of the Patch Tool, you must know the necessary settings. These settings will help you use the tool when removing objects or blemishes and when copying pixels to repeat elsewhere on the image.
Once the Patch Tool is selected, you can change a few settings in the Options Bar.

The first thing to do when using the Patch Tool is to create a selection. You can use any of the selection tools in Photoshop before using the patch tool if you prefer.
However, if you haven’t made a selection, the Patch Tool has a built-in Lasso selection method. The first block icon in the upper setting bar is to create an entirely new selection. The second and third block icons are to add to or subtract from an existing selection, respectively. Use the last block icon to intersect a new selection with an existing one.

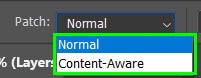
Next, you can set the tool to Normal or Content-Aware mode. Content-Aware mode only works when removing pixels and not when duplicating pixels.
Normal mode is great for general editing when you want to duplicate an object or are removing something from a simple background.
Content-Aware mode is better when working near edges because Photoshop uses AI to blend the pixels better.
When in Normal mode, you can choose between Source or Destination, which controls how the pixels are manipulated. Source will replace the initially selected pixels with the new area you choose. In contrast, Destination mode duplicates the original selection and blends them into the new place you choose.

If you want the new pixels to have transparency when placed over the old pixels, check the box next to Transparent. You can also choose a pattern to use as the replacement pixels. These two options are usually used for creative edits.

The Diffusion setting tells Photoshop how much of the surrounding area to consider when finding replacement pixels. The higher the diffusion value, the more of the surrounding area will be considered, which means that a higher value will work better to blend the new pixels with the surrounding area without causing visible edges.

When the Content-Aware mode is selected, the settings to the right of this button change. Set the two sliders to determine how important the Structure and Color are in the image when blending pixels. The structure controls how details are blended, while the color is the hue and luminance blend of an area.

Finally, you can check Sample All Layers to ensure that Photoshop samples pixels from all of the layers in the document. Sampling all layers is essential if you work on a new blank layer to sample pixels from the background layer.

How To Use The Patch Tool In Photoshop
If you want to use the Patch Tool in normal mode to hide or remove objects from an image quickly, follow these steps to use this tool effectively.
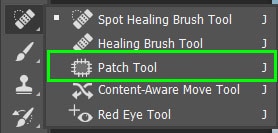
With your image open, select the Patch Tool from the toolbar, which you can find in the fly-out menu on the Healing Brush Tool (J). Click and hold on to the icon to open the menu.
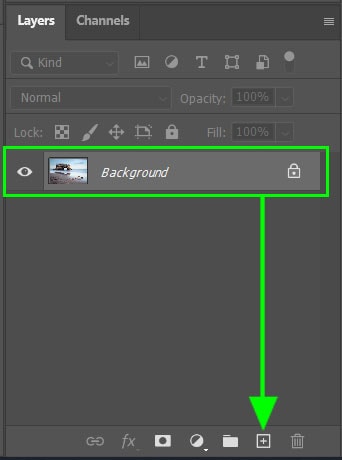
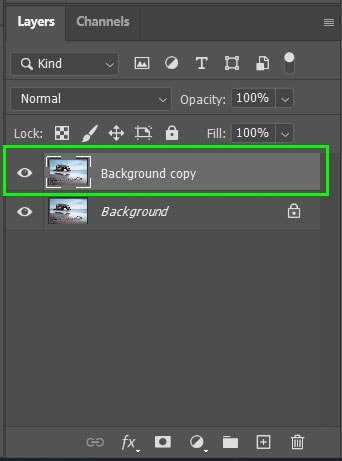
Duplicate the background layer to easily correct any mistakes later on in editing. Duplicate the layer by dragging it to the new layer icon at the bottom of the Layers panel or press Control + J (Win) or Command + J (Mac).
Change the settings in the Options Bar based on the needs of your image. For my image, I want to create a new selection using the Normal mode of the tool. I also want the selection to be the Source to remove an object, and the Diffusion set relatively high to blend the pixels well.

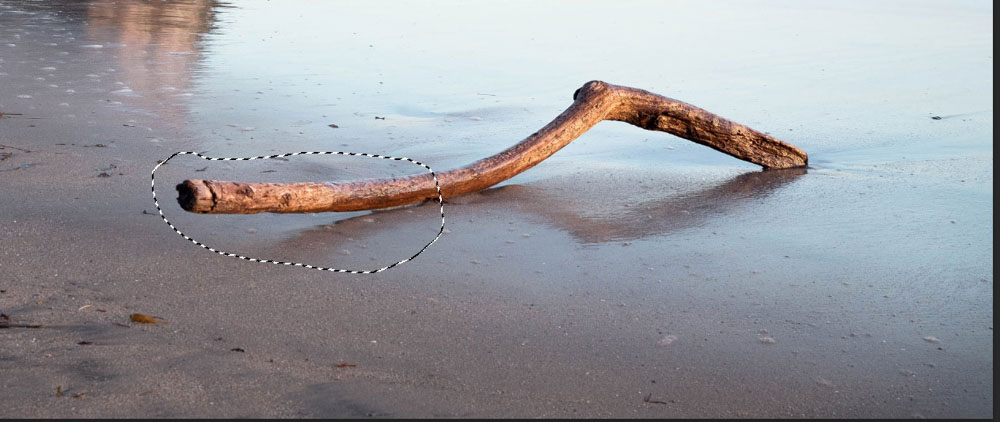
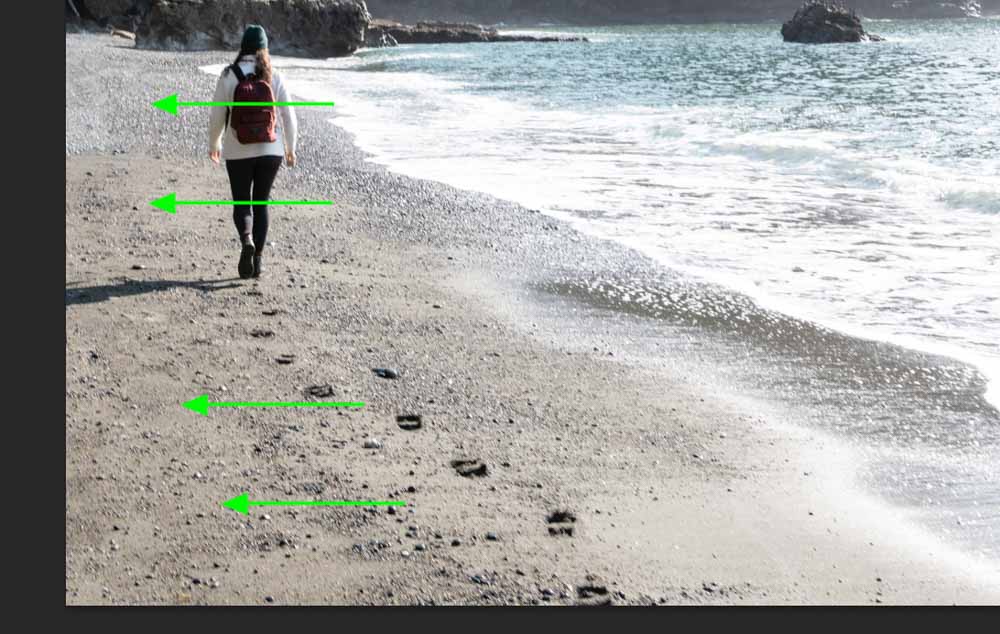
Now, the Patch Tool starts in selection mode, so zoom in to the area using Control + + (Win) or Command + + (Mac) and draw a rough selection around the object you want to remove. If the object is across different areas of the background, you can remove small parts of the object at a time to get better replacement pixels for each area.
Next, click anywhere inside the selection and drag the selection to another area on the image from where you want Photoshop to source new pixels. You will see how the new pixels will look in the original selection as you move the selection. Use this to choose the suitable pixels.
Once you let go of the mouse, Photoshop will automatically replace the pixels with the selection you chose. Press Control + D (Win) or Command + D (Mac) to deselect the selection, and you will see how well Photoshop blended the new pixels. Don’t worry about minor inconsistencies, as we will fix this up later.
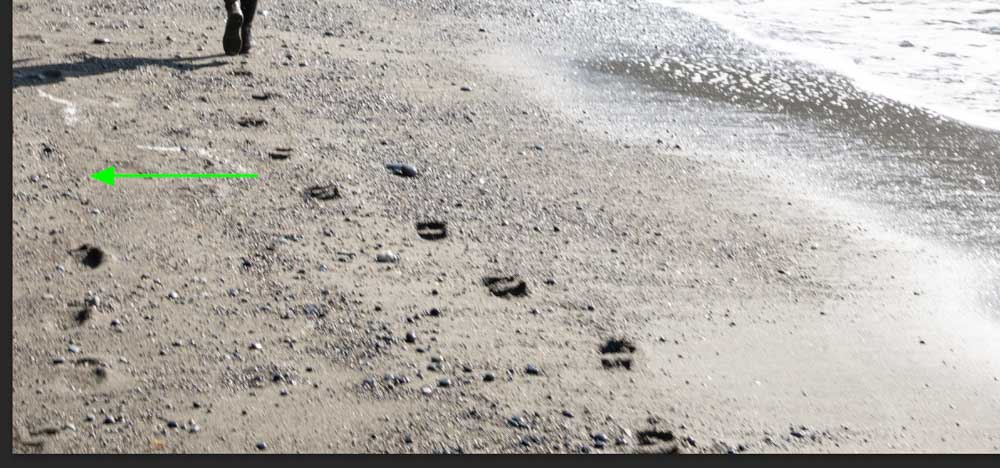
Now create new selections around the rest of the object and replace them with similar areas until the entire object is removed. You may still notice some slight inconsistencies in the image.
You can continue drawing selections around the areas that look out of place and selecting new pixels to replace them. Each time you choose new pixels for a selection, Photoshop will offer a new blend, allowing you to keep trying until your image looks the way you want.
Once you are happy with your changes, zoom out to view the entire image using Control + 0 (Win) or Command + 0 (Mac), and you will have a photo with the object removed.
Duplicating An Object With The Patch Tool
To duplicate an object, you go through the same process as above, although setting it to Destination in the Options Bar before starting.

When the Patch Tool is set to Destination, you will notice the pixels in the selection are copied when you click and drag them to a new area. Photoshop will blend the pixels into the new area when you release the mouse, duplicating the object.


How To Use The Content-Aware Patch Tool In Photoshop
In some instances, the areas on an image you want to remove may have complex backgrounds or be close to the edge of the picture. In these cases, the content-aware mode is the solution.
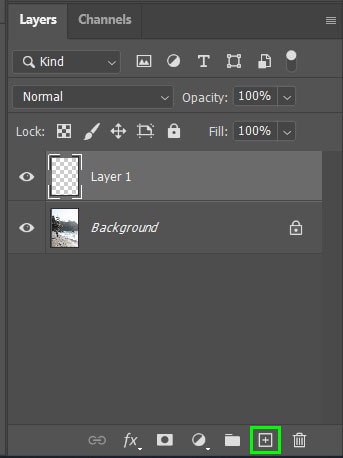
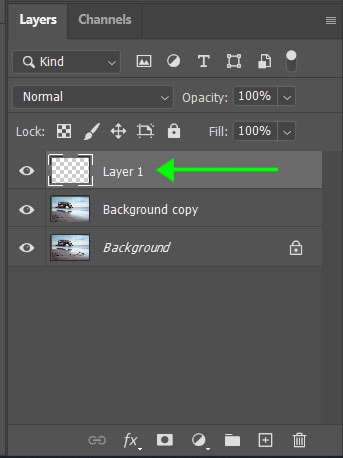
To use this mode, open your image and then create a new layer to work on by selecting the new layer icon in the Layers panel or by pressing Control + Alt + Shift + N (Win) or Command + Option + Shift + N (Mac).
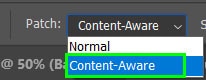
Then, select the Patch Tool (J) again and change the settings. This time open the drop-down next to Patch and choose Content-Aware.
Then adjust the Structure value based on how closely the new pixels should match the image’s texture, quality, and patterns. Adjust the Color slider in the same manner based on how closely the new pixels should blend the colors in the image. The higher these values are, the more these elements will typically blend with the image.
In this case, I set them to 7 and 3. Lastly, check the box next to Sample All Layers to ensure pixels are taken from the original layer and used on the new layer.

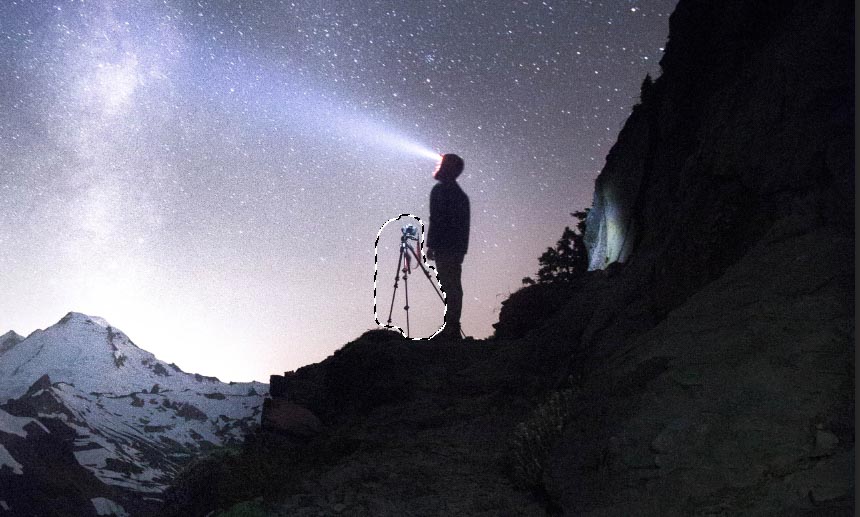
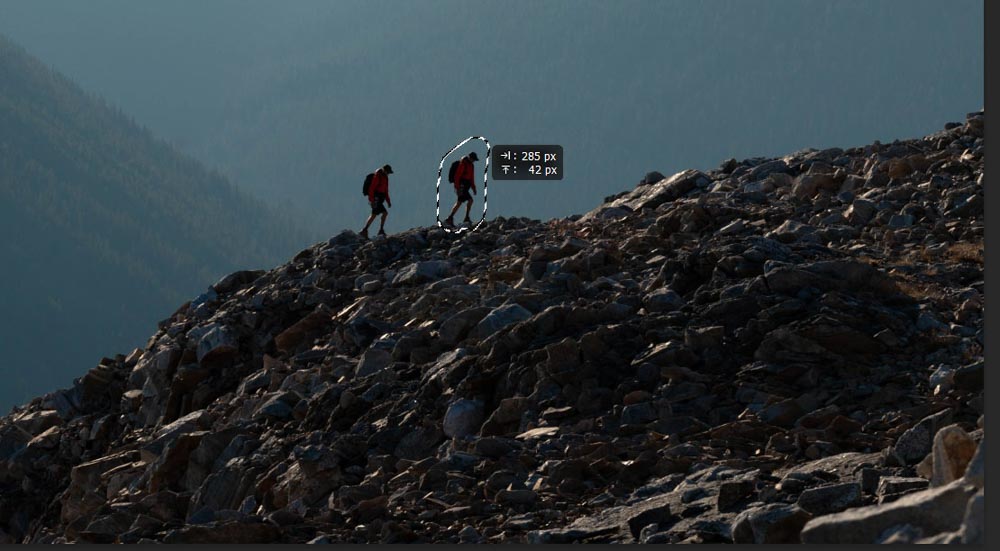
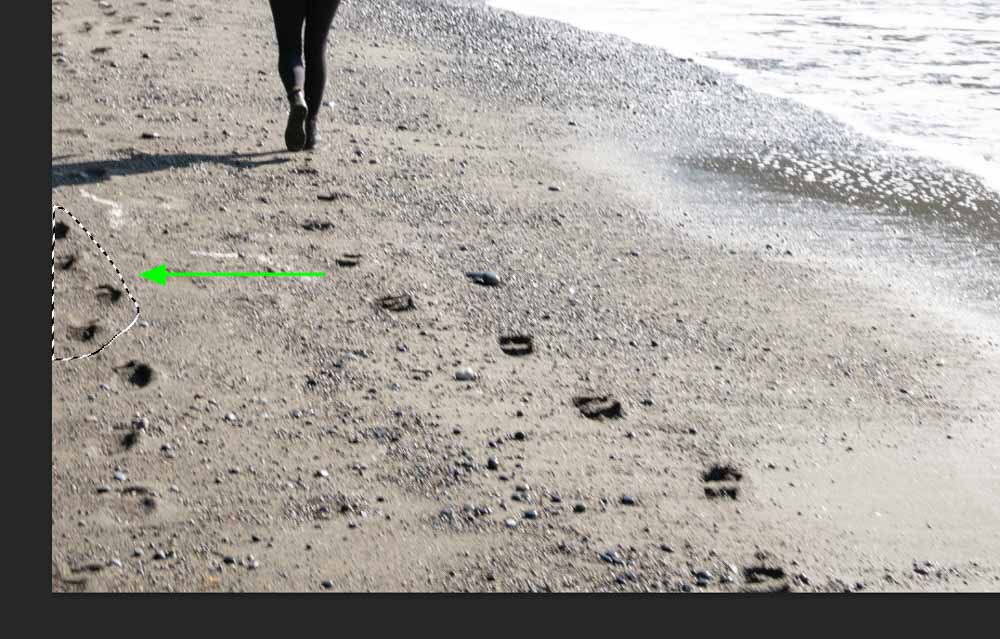
Now, use the Patch Tool as you would usually, by drawing a selection around the object you want to remove, not selecting too wide of an area.
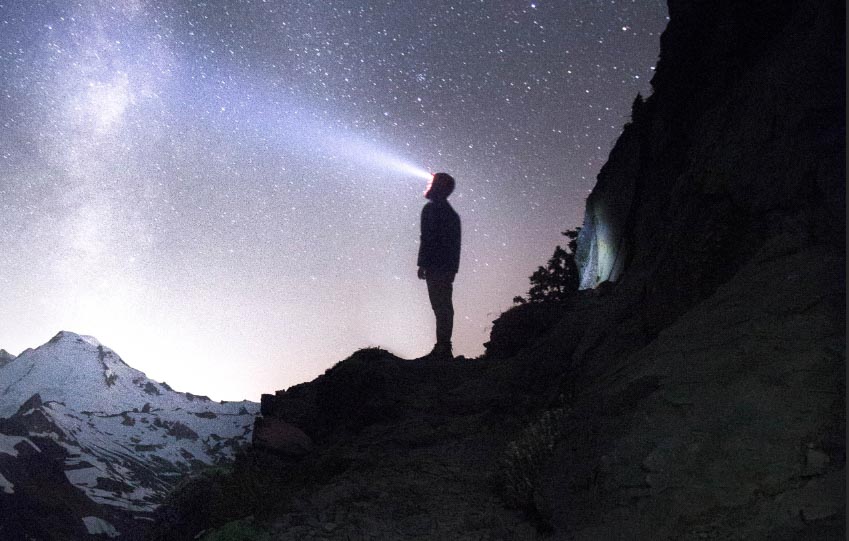
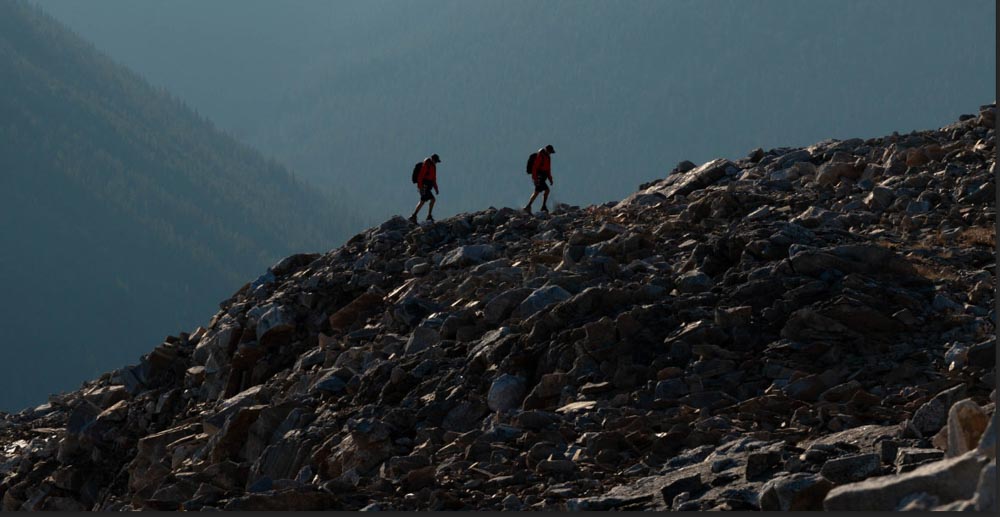
Then drag it to another area where you want to draw the replacement pixels from. Let go of the mouse, press Control + D (Win) or Command + D (Mac) to deselect the area, and you will have your object removed.
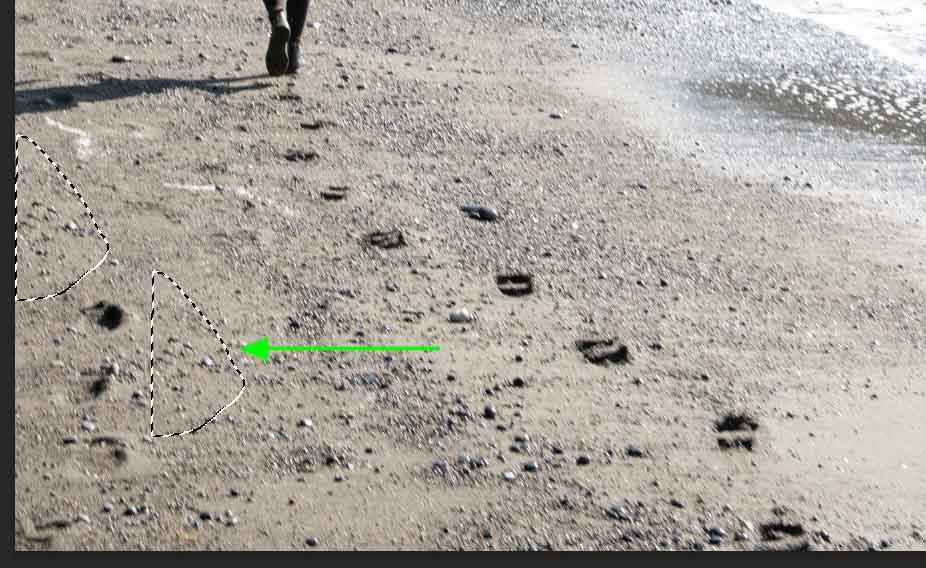
Continue removing any unwanted areas. As you will see, the blending of the pixels is a lot better the first time than when using Normal mode. The content-aware option also notes the edge of the image without causing unwanted results in those areas.
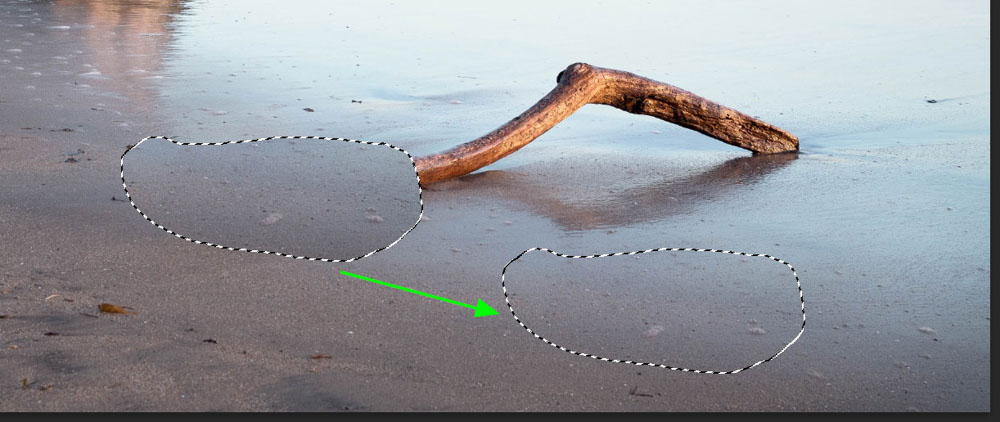
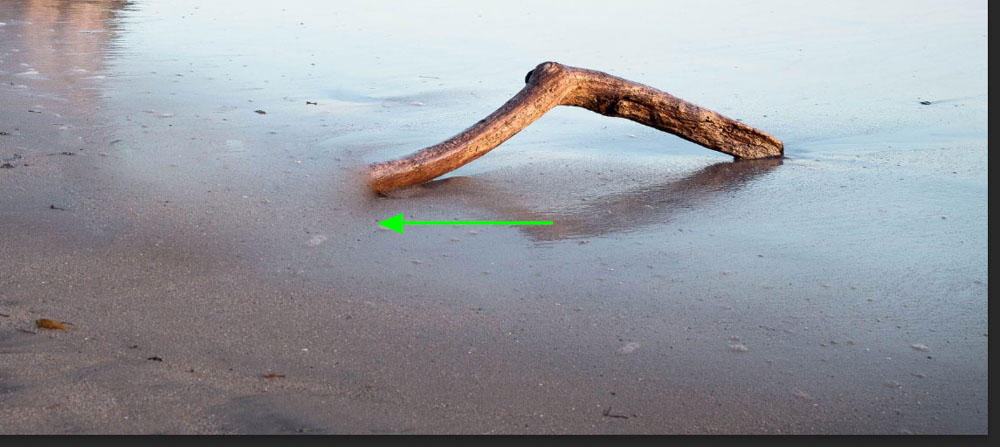
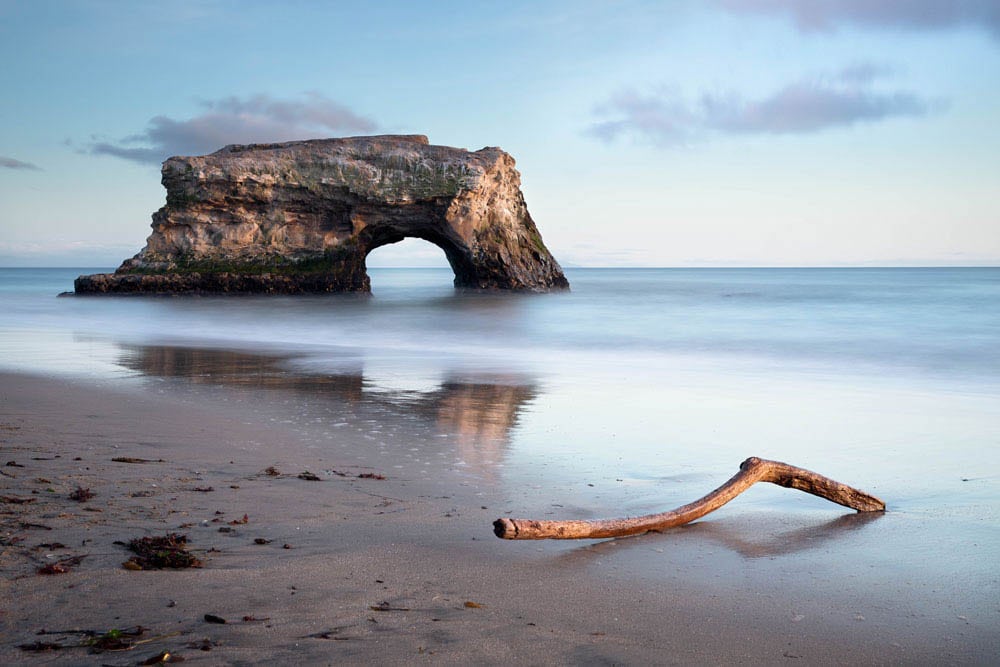
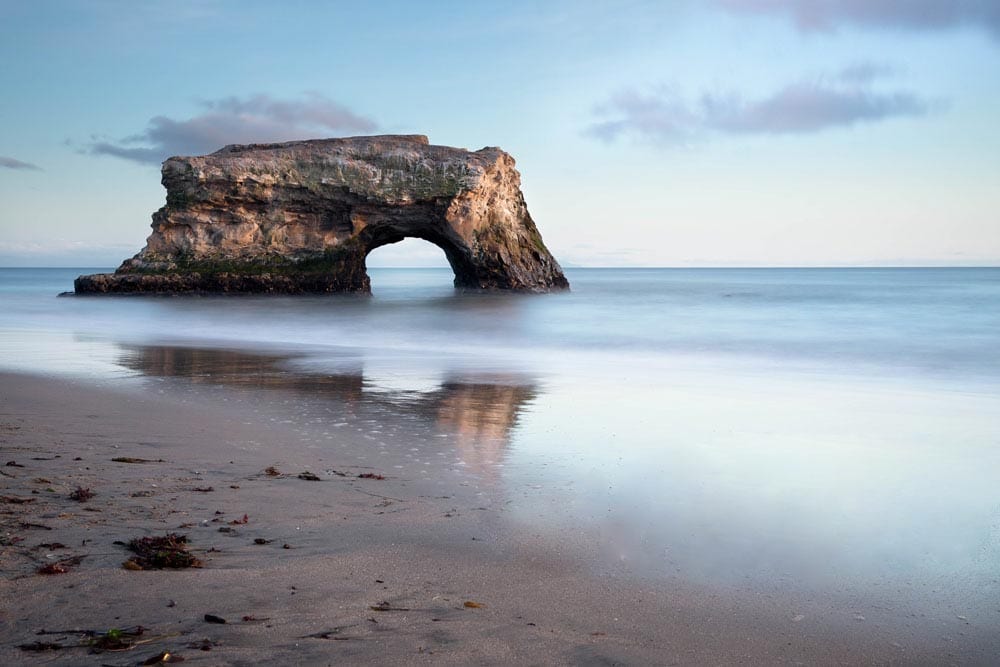
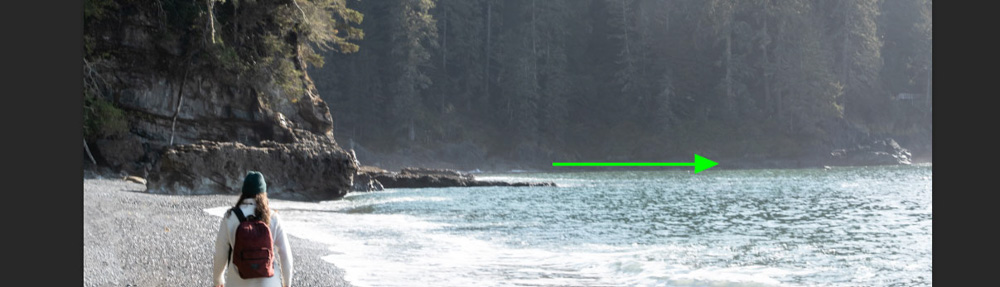
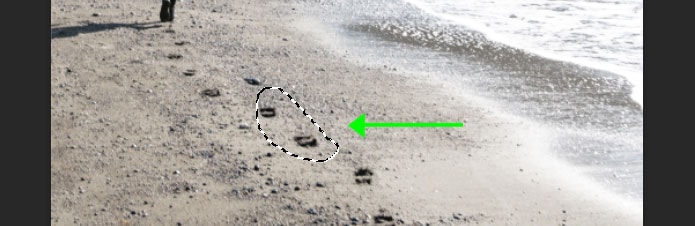
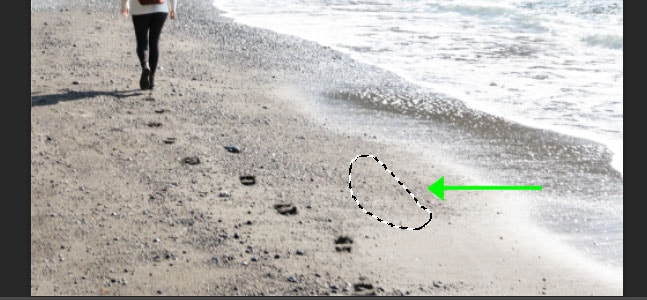
The content-aware mode can also remove trickier objects, such as the rock in the water.
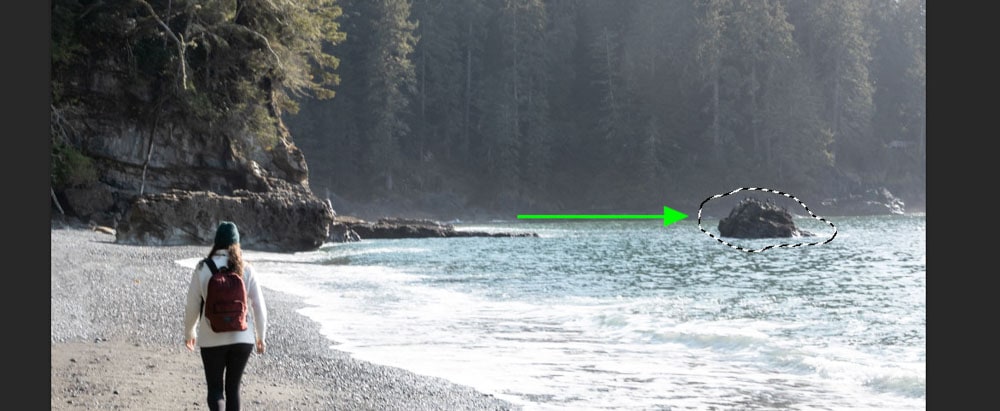
Simply line the new pixels up where the water meets the rock, and you will have a clean removal of the object.
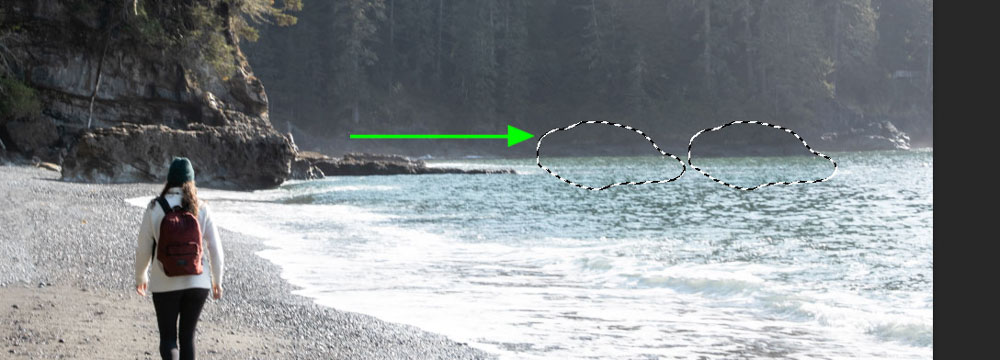
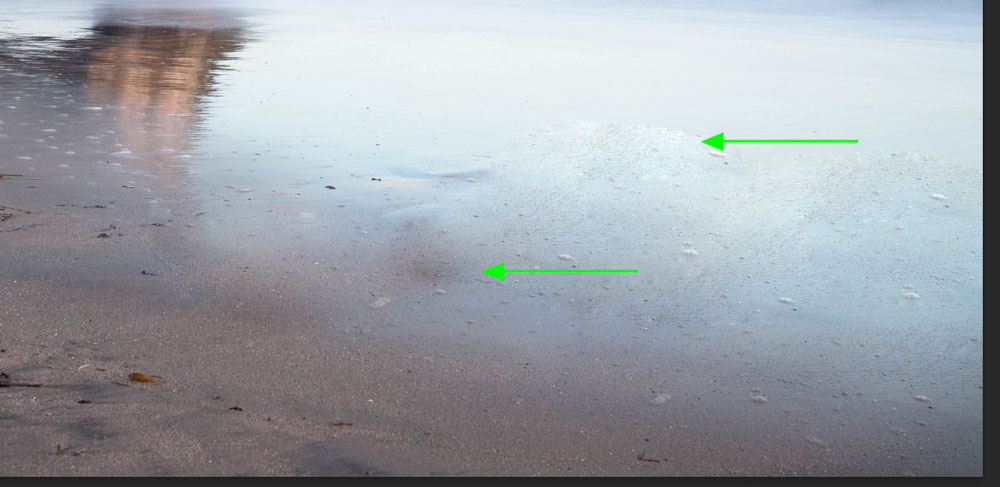
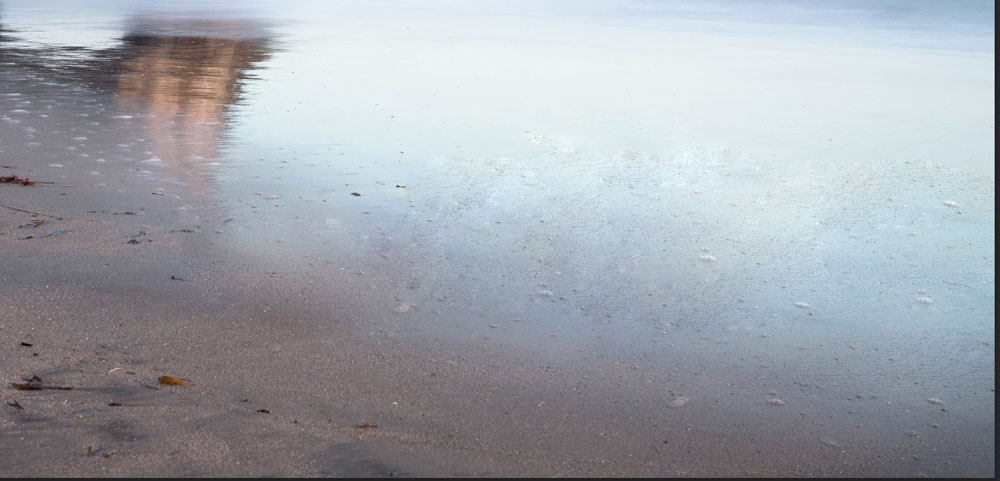
Now, you can continue removing objects or unwanted textures around your image using the patch tool in the content-aware mode.

Common Reasons The Patch Tool Isn’t Working
The most common reason for the Patch Tool to not work in Photoshop is that no pixels are selected with an error reading “selected area is empty.” To fix this, set the mode to Content-Aware and check the sample all layers option. Now you can use the Patch Tool on a new layer.
Although this is just one issue, let’s break it down more in-depth along with a few other possible reasons.
1. No Pixels Selected
A common error that occurs when using the Patch Tool is an error that appears when you try to drag the selection to choose the replacement pixels. The error message states that the “selected area is empty”.
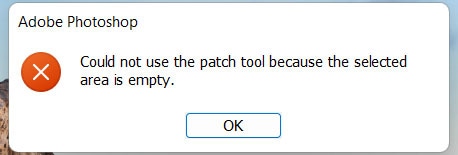
The error is most likely because you are using the Patch Tool in Normal Mode on a new layer that doesn’t contain any pixels. The Normal mode can only be used on a layer that includes pixels, such as the Background layer or another image layer.
Select a layer containing pixels and try using the tool again to correct this issue.
In some cases, if you have used the Content-aware mode on a blank layer and then switched to normal mode, you will notice that you can click on the layer to move the selection. Still, only the actual selection is moved and not the pixels. Then when you release the mouse, nothing happens.
Nothing happens because there are pixels on the layer, but only in certain areas. To fix this, you will need to use the content-aware mode again or select another layer that contains the image pixels.
2. Sample All Layers Is Unchecked
When using the Patch Tool on a new layer in content-aware mode, you may try to move the selection to choose new pixels, only to find that the marching ants of the selection are the only thing that moves, and when you release the mouse, nothing changes on the image.
The most likely cause of this error is that you forgot to check Sample All Layers in the Options Bar. This setting needs to be active when working on a new layer to sample pixels from the other layers in the panel that contain the necessary pixels.

Simply check the box, and the problem is solved.

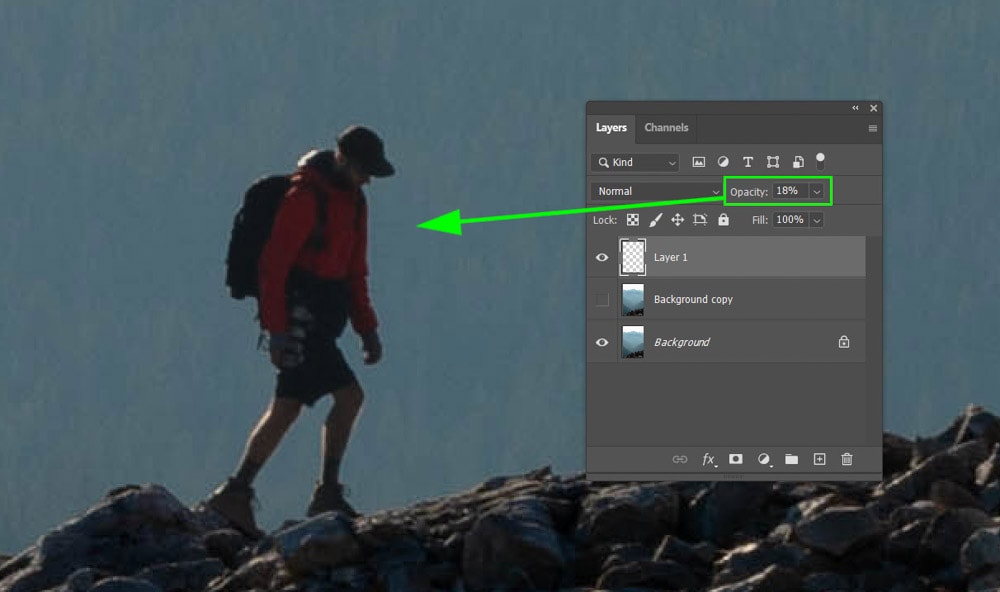
3. Layer Opacity Is Too Low
Sometimes when you use the Patch Tool on a new layer, nothing happens when you select new pixels to replace an area of your image. This error may be because the Opacity of the new layer is low. A low opacity will cause the pixels from the layers below to show through, making it seem like nothing happened.
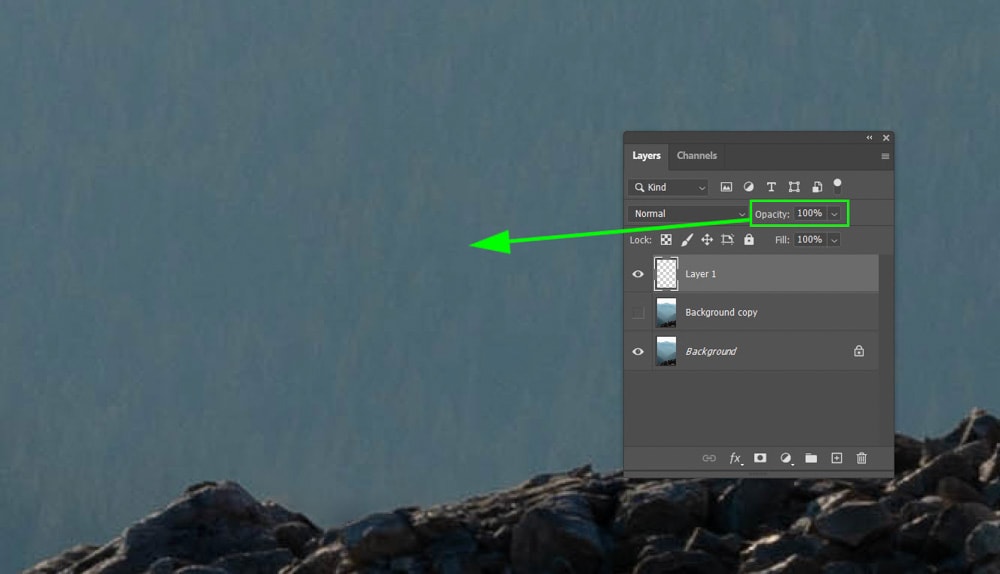
To fix this error, increase the opacity in the layers panel, and your changes will be visible.
4. When All Else Fails
In the case that none of the other resolutions work, the issue may be because of a setting you changed during previous edits. When specific settings are changed on tools in Photoshop, they remain in place even when the program is closed and reopened.
When this happens, it’s not always easy to remember what settings were changed. The easiest way to solve this is by resetting the tool back to its default settings. Before resetting the tool, back-up any presets you have saved for this tool because these may be lost when resetting.
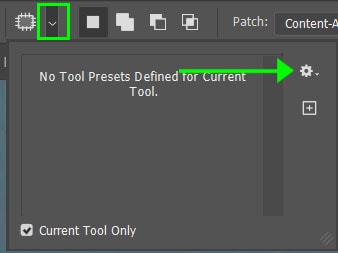
To reset a tool, open the menu next to the tool’s icon in the Options Bar. Then select the settings menu by clicking on the gear icon in the panel.
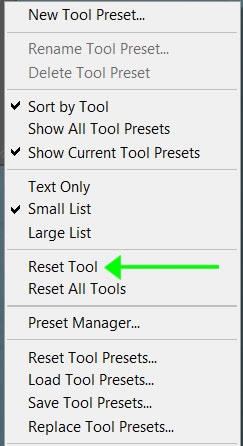
Then from the menu, select Reset Tool. Making this change should fix any errors you are unaware of, and the tool should work correctly again. You will need to change the settings to your needs once more if the default settings aren’t suitable for your image.
Want A Faster Way To Learn Photoshop?
Right now you can get my Photoshop Blueprint ebook for free which shares six powerful techniques to improve your editing and workflow in Photoshop. Whether you’re new to the program or have been using it for years, these tips offer a handful of quick wins to get better results in the program. Click here to learn more or click the button below!
