
Although there are many ways to change the colors in your images with Photoshop, the Color Replacement Tool gives you some of the most unique and surprisingly intuitive options to make it happen. For many beginners or those in a rush, the Color Replacement Tool can be a bit easier to understand than more complex color adjustments that require multiple layers and masks to get right. So in this tutorial, let’s look at how this tool works and how you can easily change the colors of any object in your photos!
What Does The Color Replacement Tool Do In Photoshop?
The Color Replacement Tool (B) is a type of Brush Tool with which you can change the color of an object by literally painting it a color of your choice. However, unlike a regular brush, it also considers the image saturation, luminosity, and texture, making the coloring look natural.
Compared with other methods for the same purpose, such as the Hue/Saturation sliders, the Color Replacement Tool is beginner-friendly since it doesn’t require advanced knowledge of colors and light.
Moreover, the tool can be adjusted to your needs thanks to its many useful settings. In this way, you can color an object efficiently and precisely.
On the other hand, this is a destructive way of changing colors in Photoshop. This is because the changes you make on layers are irreversible unless you undo them immediately.
However, this tool is an excellent choice if you want a quick color touch-up that you won’t need to change later.
Understanding The Settings Of The Color Replacement Tool
The Color Replacement Tool comes with several settings. These settings allow you to replace colors with precision and create natural-looking effects.
The Color Replacement Tool settings appear in the Options bar once you enable the tool.

Brush Preset Picker
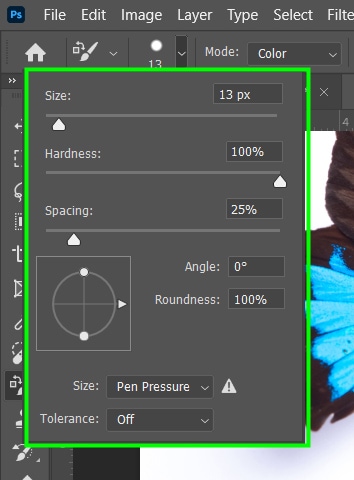
These brush settings are the same as any other Brush Tool options.
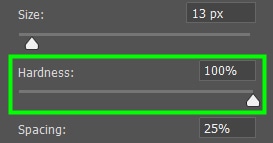
In Size, you can adjust the size of your brush.
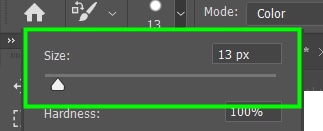
Alternatively, you can use keyboard shortcuts. Press [ to decrease your brush size or ] to increase it.
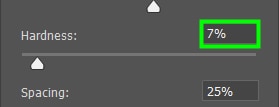
In Hardness, you control how hard the edges of the brushstrokes will look. When decreasing hardness, the edges of the brushstrokes will get a slight blur, looking softer, which can help make the new color blend more naturally with the rest of your image.
When adjusting such a parameter, you must also consider how sharp your image is. If your photo is too sharp, you will need a higher value for Hardness and vice versa.

Painting Mode
In the Painting Mode menu, you control how the new color interacts with your image. There are four painting modes available. Remember that the effects may differ depending on the image you are working with.
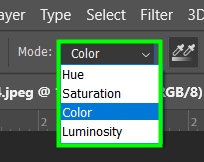
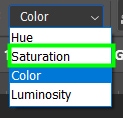
Color: The Color Replacement tool alters both hue and saturation of the target area. Luminosity is preserved. This is the most recommended mode for most images, and that makes coloring more evident.


Hue: Only the hues are affected. Saturation and luminosity are preserved. This generally results in less intense coloring than the Color painting mode.


Saturation: Changes the saturation of your image based on the saturation of the color you chose to repaint it. Changes are barely noticeable, and neither hue nor luminosity is altered.

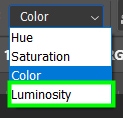
Luminosity: Only affects your image luminosity values, preserving saturation and color.
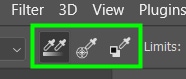
Sampling Mode
Moving forward, you will find The Sampling Modes. They control how the Color Replacement Tool detects the colors in your image to replace them.
There are three of them: Continuous, Once, and Background Swatch.
Continuous: The Color Replacement Tool continuously samples pixel colors as you paint over the target area.

Sampling Once: it paints pixels with the first color you sampled and that color only. This option comes in handy to cover an area of a single color.
Sampling background Swatch: This option is not helpful in most cases. The Color Replacement Tool changes the color of your object to your foreground swatch color. But for this to happen, you also have to set the color of your object as your background swatch.
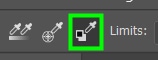
Limit
When working with the Color Replacement Tool, you must also define the Limits. This controls the range of colors that are affected by the tool.
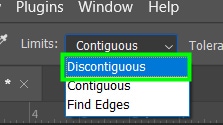
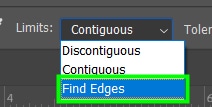
You can choose between Discontiguous, Contiguous, or Find Edges.
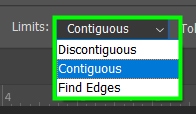
Contiguous: It detects pixels of the same color or similar to your sampled color and replaces them as long as those pixels are near each other. If something is in the way of these pixels, the Color Replacement Tool won’t paint them.
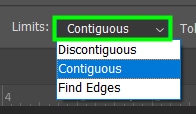
Discontiguous: Change pixel colors of the same color or similar to the color you sampled regardless of their position. It paints pixels even if there is an obstacle between them.
Find Edges The Color Replacement Tool detects edges in your image and prevents the new color from bleeding off the edges.
Tolerance And Anti-Alias
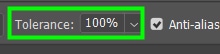
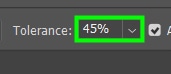
Tolerance: You can define the range of colors to be replaced by adjusting the Tolerance. A low value for Tolerance will only change pixel colors similar to your sampled pixel. A high value, on the other hand, will affect almost every color you paint with the Color Replacement Tool.
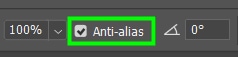
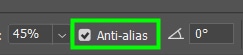
Anti-alias: Smooths the edges of painted objects. It’s always a good idea to leave that box checked.
How To Change Color With The Color Replacement Tool In Photoshop
When using the Color Replacement Tool, you must change some of its settings and combine them for an accurate and fast edit. After that, you must paint over the desired area.
Step 1: Activate The Color Replacement Tool
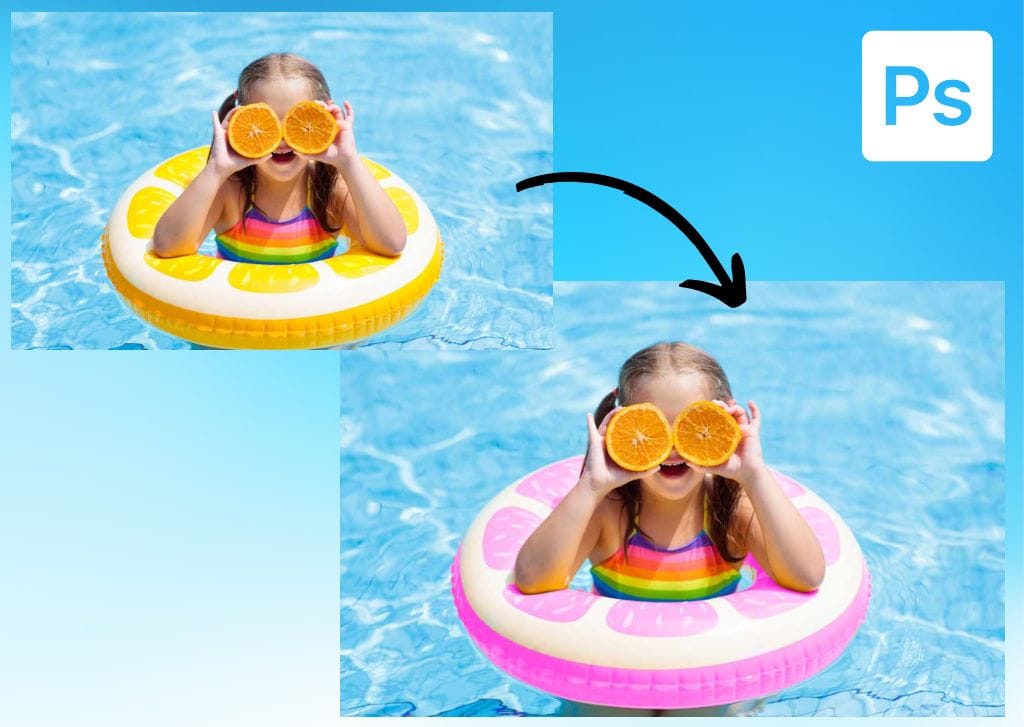
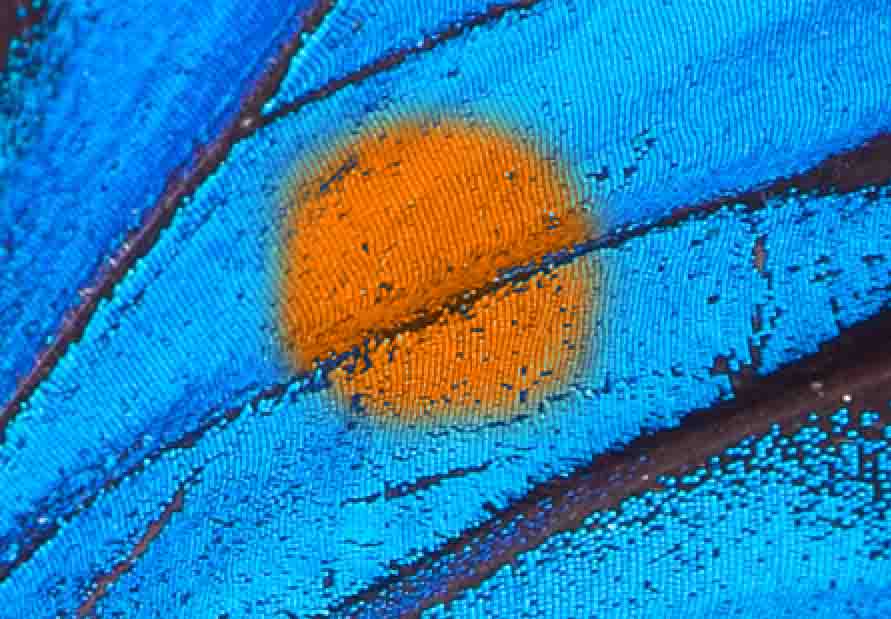
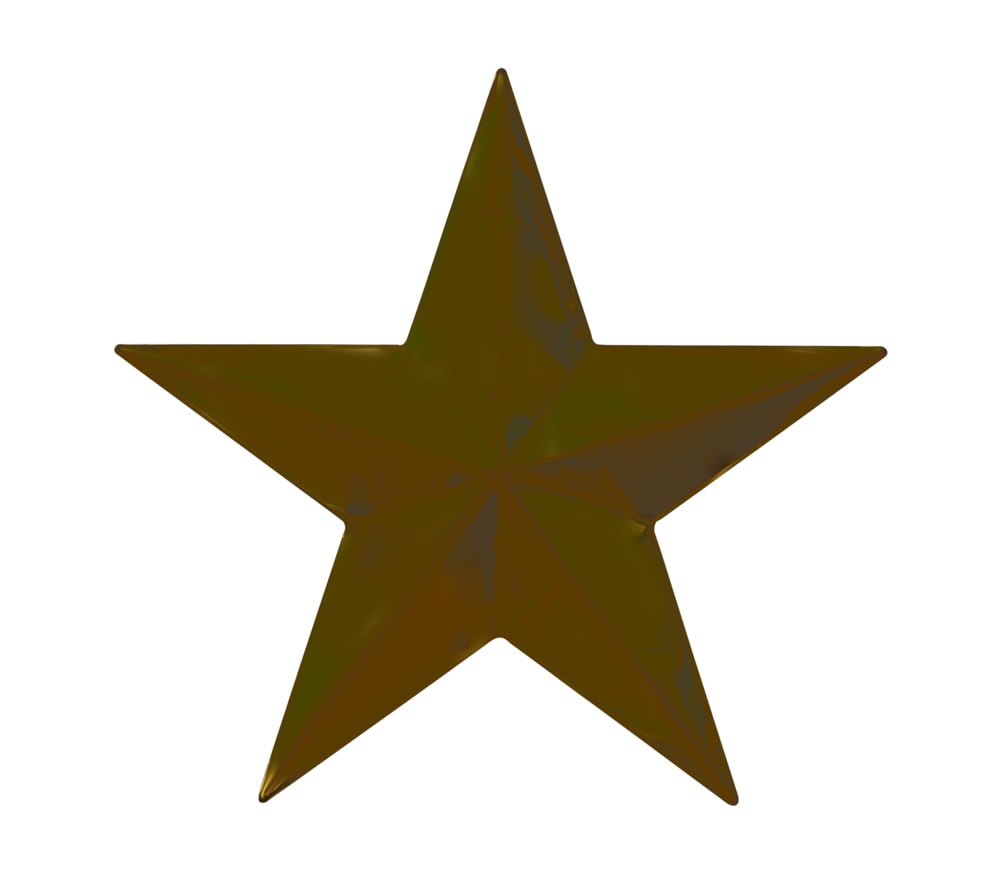
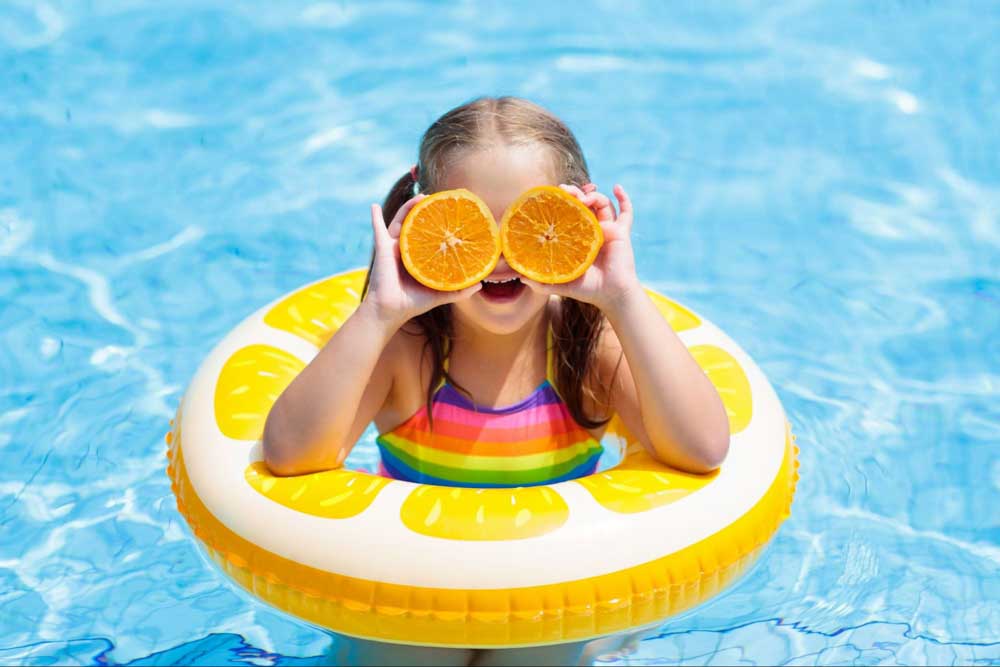
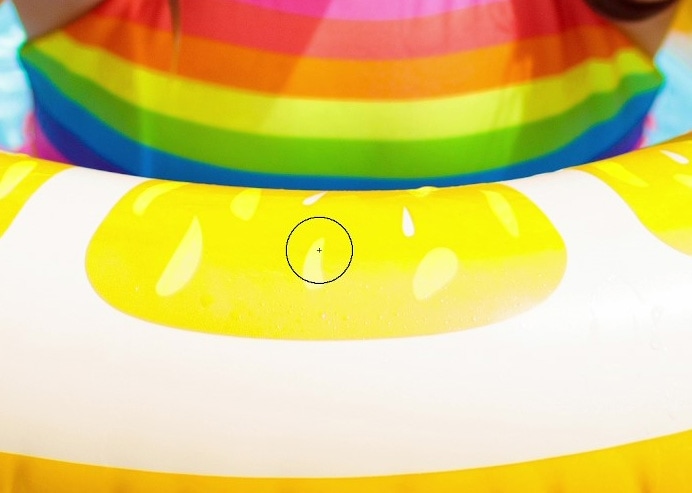
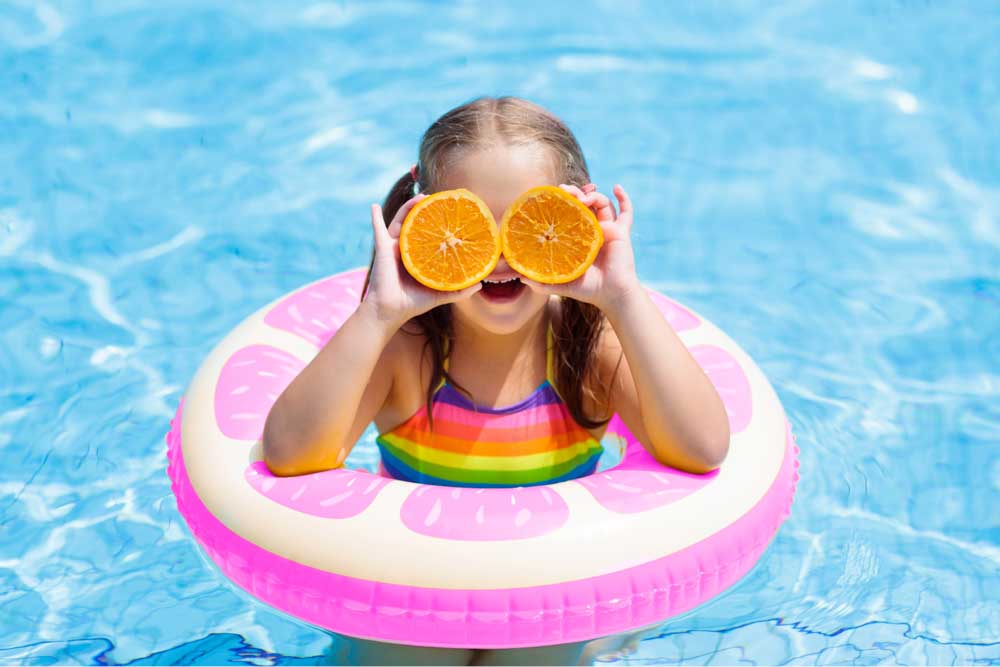
For my example, I will use the below image to change the yellow parts of the floaty the girl is wearing.
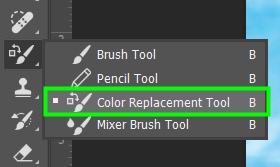
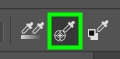
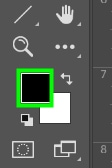
The first thing you need to do is enable the Color Replacement Tool. To do that, select the tool in the Toolbar (hidden in the Brush Tool pop-out) or press Shift + B until it’s selected.
Step 2: Select A Color To Replace The Current Color
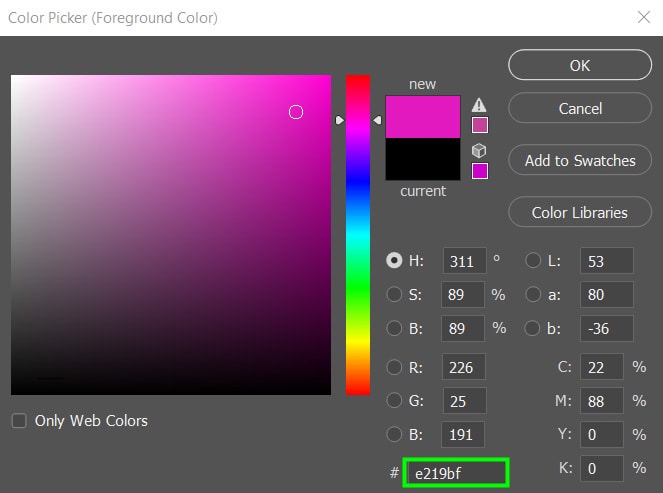
Now, choose a color to replace the colors of your target area. To do this, double-click the foreground swatch in the Toolbar and select a color from the Color Picker. In my case, I chose a vibrant pink shade because it suits my photo’s mood.
Step 3: Adjust The Brush Settings
Now it’s time to adjust the brush settings since you must manually paint the desired areas.
Choose a brush size smaller than the area to be painted to make sure the new color doesn’t bleed off into undesired areas. In my case, I set my brush to 128 px so I could gradually paint my object and also have more precision while covering it.
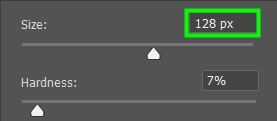
In most cases, it’s better to go with a low value for Hardness. In my case, I set it to 7%.
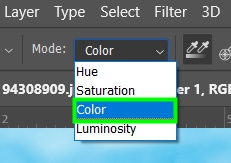
Next, define a Color Mode. As I aim to paint my target area a color that stands out, the most adequate option is Color.
With that done, choose a Sampling method. In my case, as there were multiple shades of yellow to be replaced and I didn’t want to cover them one by one, I chose Contiguous. However, if the area you want to cover is composed of a single color, I’d recommend choosing Sampling Once instead.
Remember that even if the brush can sample more colors when Contiguous is selected, the range of colors that will be covered also depends on the value you set for Tolerance.
The next option to define is Limits. As I wanted to cover pixels of the same color that were apart from each other, I chose Discontiguous. However, if the pixels you need to cover are within the same area, I recommend choosing Contiguous.
Moving on to the next option, you need to define the Tolerance, one of the most crucial settings. If the area to cover is composed of a single color, opt for a low value for Tolerance; even 1% will suffice. However, 30% is a good starting point if multiple shades are involved. As my target area is composed of some shades of yellow, I set that parameter to 45%.
As for Anti-alias, leave the checkbox always checked.
Step 4: Paint Over A Color To Replace It
With all those settings adjusted, it’s time to paint. To have more precision while painting, you can make a selection around your target area, but this is not necessary for most cases.
To learn how to make selections, click here.
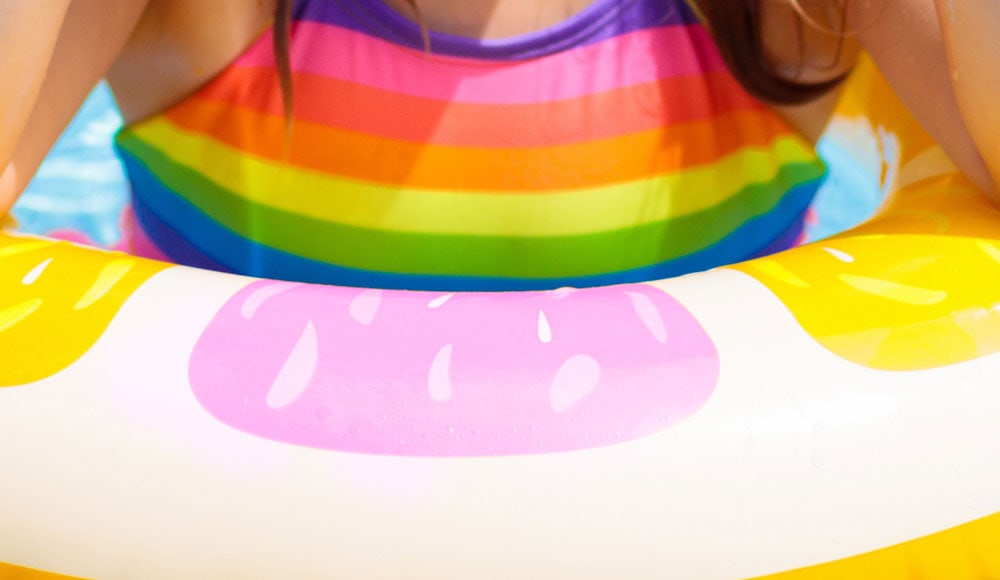
To paint the area in question, hover over it. As seen in the image below, your cursor will turn into a circle with a cross in the middle. The cross indicates where pixels to be replaced are being sampled. Be sure to keep the cross over the color you want to replace. The circle part of the brush can move over into other colors, but the new color won’t be added in those areas.
Start to paint freely over the target area. You don’t need to release the mouse to sample other colors since it was defined beforehand when you changed the tool settings.
Paint over the same area multiple times if you need. Do that with all the areas you want to cover.

The Color Replacement Tool is a useful Photoshop tool that efficiently paints objects a different color. It helped me when I was learning Photoshop and wasn’t proficient with other more advanced methods such as the Hue/adjustment sliders. Nowadays, it helps me with doing quick color touch-ups when I’m not in the mood to deal with layers and selections.
Happy editing!


