

If you need to add a custom shape to your Photoshop project, it may be tedious to draw it out each time you need to include it. Luckily, there are multiple ways to make a custom shape in Photoshop that you can use as many times as you want.
You can make a custom shape from an existing image or create a path of your own. Let’s go over both techniques so you can begin making custom shapes from any starting point.
Video Tutorial
Method 1: How To Make A Custom Shape In Photoshop From An Image
Step 1: Open Your Image And Go To Select > Color Range
Once you’ve chosen a suitable image, open it in Photoshop. Your image needs to be high quality, without pixelation, and have clearly defined colors. You can use any Quick Selection Tool to make the selection. However, using the color range method is the easiest for this purpose.
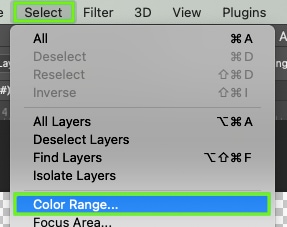
To select the main color, go to Select > Color Range.
Step 2: Refine The Selection Using The Color Range Settings
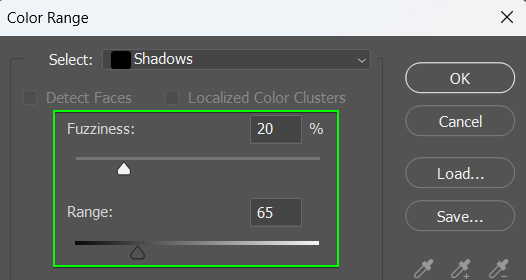
This pulls up the Color Range dialog box, where you can click on the color you wish to select. In this case, I clicked the black outline to select those colors of the graphic.
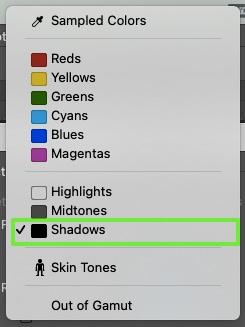
Under the Select dropdown, there are options for color ranges. If the areas of your image you are turning into a custom shape are the only dark areas, choose Shadows in the drop-down. You’ll then see the selected area in the preview box.
Once you’ve selected your color range, you can edit it more precisely. The Range slider will help add or remove other similar colors and tones to your selection. Then, adjust the Fuzziness slider to adjust the tolerance of which colors will be included in your selection.
Finally, the last thing to check in the Color Range dialog box is that the image isn’t inverted. The preview box shows a grayscale preview of your image. Anything in white will be what your custom shape becomes.
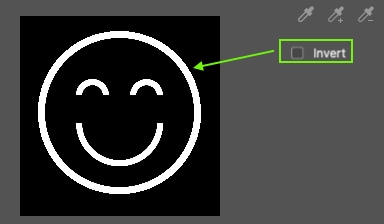
When you’re happy with your settings, click OK. Your image will now have an active selection around the sampled colors. Everything selected will be the same color. In my image, everything that is black has marching ants around it to show it is selected.

Step 3: Open The Paths Panel And Click The Make Work Path From Selection Icon
Now, you need to create a path from the selection by first opening the Paths Panel. Go to Window > Paths. At the bottom of the Paths Panel, select Make work path from selection.

This removes the marching ants around your selected color and replaces them with blue paths and anchor points. The Paths Panel now shows the Work Path from your image.

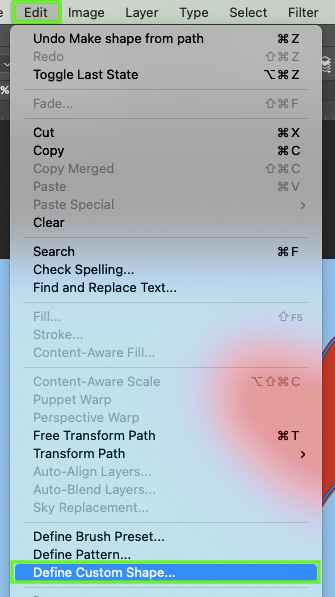
Step 4: Go To Edit > Define Custom Shape
Now it’s time to convert this path into a shape by going to Edit > Define Custom Shape.
Name your new custom shape in the dialog box and click OK.

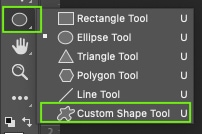
Step 5: Activate The Custom Shape Tool And Locate The Shape In The Presets Drop-Down Menu
Find the Shape Tool (U) on your toolbar and hold it down to see all the shape tool options. Select the Custom Shape Tool.
In the Options Bar, select the downward arrow next to the default shape to open the shape library. There are multiple categories of pre-existing shapes. Your newest custom shape will be at the bottom.
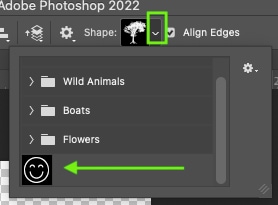
Select your custom shape. In the Options Bar, set your Fill and Stroke colors. On the canvas, click and drag out to draw your custom shape. To constrain the proportions, press Shift while dragging the Custom Shape Tool to your preferred size.

Method 2: How To Make A Custom Shape From A Path
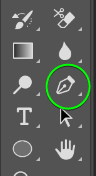
Step 1: Select The Pen Tool And Set The Mode To Path
To begin, select the Pen Tool (P). In the Options Bar, choose Path in the dropdown menu.

Step 2: Add Anchor Points To Create A Custom Path
Using the Pen Tool set to Path, you can draw any shape on the canvas. You can use the Pen Tool as you normally would, whether you draw straight lines or add curves, as long as you complete the shape and join the final anchor points.


Step 3: Click On Shape In The Options Bar To Turn It Into A Shape
Once you’re happy with your path shape, in the Options Bar, choose Shape.
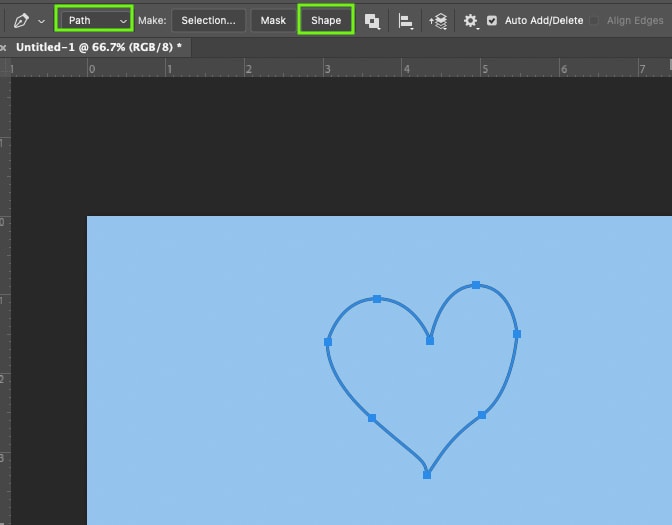
This turns your path into a solid shape with a stroke and fill.

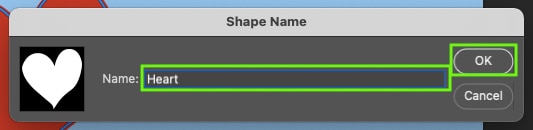
Step 4: Go To Edit > Define Custom Shape And Name The New Shape
Now, to turn your custom path into a custom shape, once again, go to Edit > Define Custom Shape. Name your custom shape in the Shape Name dialog box and click OK once you’re done.
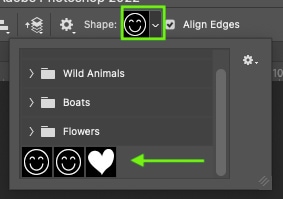
Step 5: Select The Custom Shape Tool And Find The Saved Shape In The Presets Menu
You’ve now created a custom shape from a path. To find and use your new custom shape, go to the Shape Tool (U) and choose the Custom Shape Tool. Click the downward arrow next to the current shape in the Options Bar to open the shape library. Your new custom shape will be at the bottom of the list.
To create the shape on your canvas, click and drag your mouse to your desired size. To keep the proportions constrained, hold Shift while dragging. You can change the Fill and Stroke colors in the Options Bar.

Now that you know how to make a custom shape, it’s important to know the full range of settings available to make shapes look just right. In my ultimate guide to working with shapes in Photoshop, I break down everything you need to know.
