


If you’re looking for a quick way to remove all of one color in Photoshop, there are a couple of great tools. Rather than having to make a complicated selection around your subject, working with color can be much faster.
With just a few clicks, you can create an accurate selection that will completely erase a selected color range. However, this technique doesn’t work on every photo. It’s a great method if you want to cut out a person from a solid-colored background or remove a logo from a white background.
If there are too many variations in color, you run the risk of accidentally selecting part of your subject. To avoid this, be selective when you use this technique.


Video Tutorial
How To Remove All Of One Color In Photoshop – Two Best Ways
Not every photo has a perfectly colored background. However, with the tools below, you’ll learn how to select and delete similar hues of color all at once!
Option 1: Using The Magic Wand Tool (W)
Depending on the color you click, this tool will create a selection around similar colors. Which makes it exceptionally good at selecting large chunks of similar colors to create a selection.

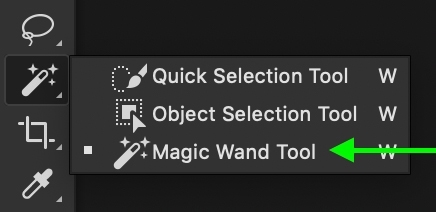
Step 1: Select The Magic Wand Tool (W)
To access the Magic Wand Tool, press W.
If you don’t see it in the Toolbar, it’s hidden under the Quick Selection Tool. Click and hold on to the Quick Selection Icon to reveal the Magic Wand Tool.
Right away, you can click anywhere on your canvas to make a new selection. Just remember, it will make a selection based on the color you click.

Step 2: Adjust The Tolerance
If there are a lot of variations in hue, it’s worthwhile to increase the tolerance. You can do this in the Options Bar by typing in any number in the tolerance box.

If you aren’t sure, stick with a tolerance between 10 – 30. This range is a good starting ground and will include slight hue variations.
With the tolerance set, I’ll click on the background to create a new selection. In this case, I want to delete all of the pink backdrop.

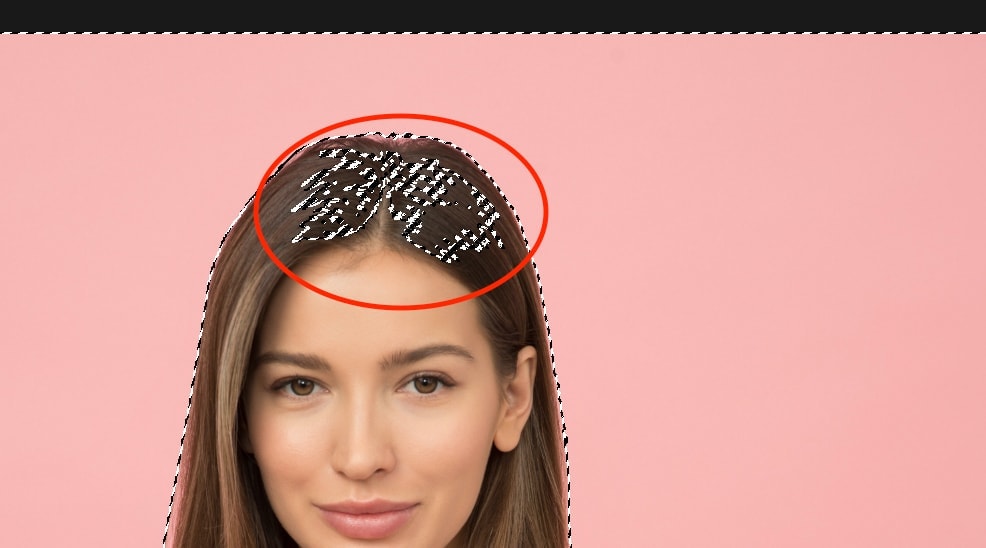
Step 3: Adjust Your Selection
It’s not uncommon for the Magic Wand Tool to miss a few spots. Rather than starting all over, you can add to your selection.
To add to your selection, hold the Shift key and click on the colors you’d like to include.
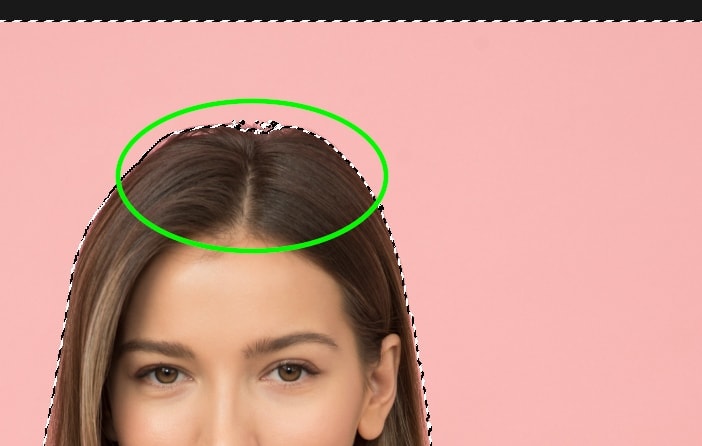
You can repeat this process as many times as necessary to select all of the colors you want to remove.

As you do this, you might accidentally select something you don’t want to delete. In that case, hold Alt (Win) or Option (Mac) and click on the selected areas you wish to remove.
Step 4: Invert The Selection
To remove a color non-destructively, you can add your selection to a layer mask. This allows you to adjust the selection area later on if you need to.
With an active selection, press Shift + Control + I (Win) or Shift + Command + I (Mac) to invert your selection.

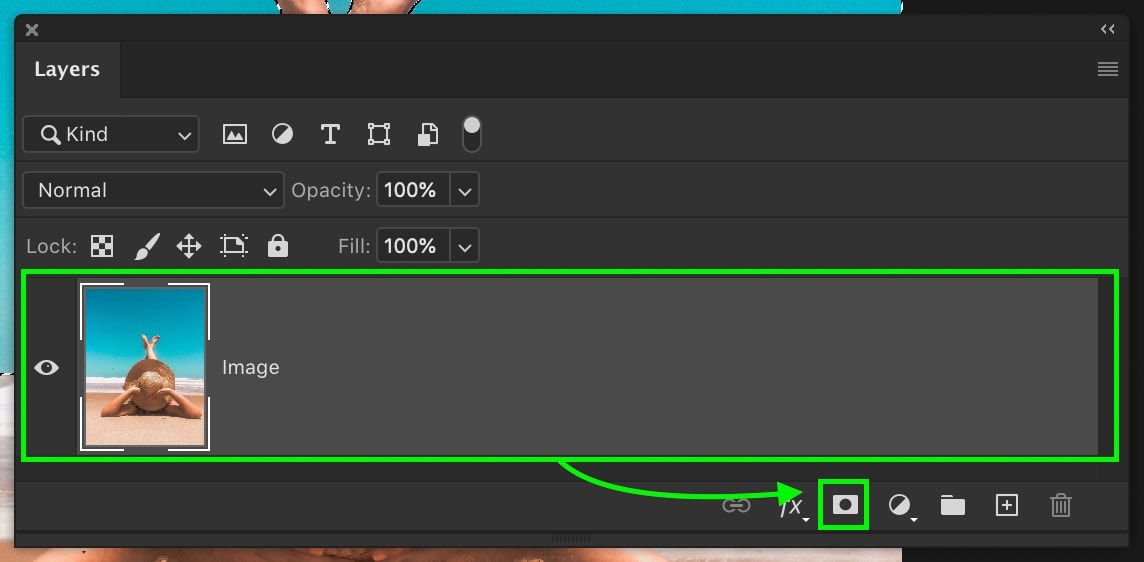
Step 5: Add A Layer Mask To The Layer
Next, select the image layer and click on the Create a layer mask button.
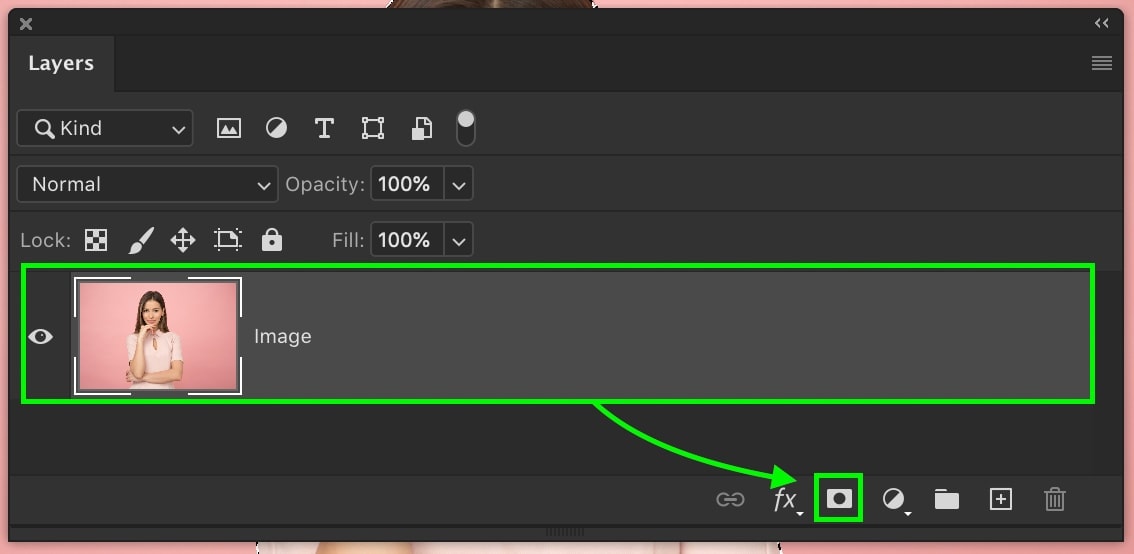
Your selection will automatically apply itself to the layer mask and turn your selected color invisible.
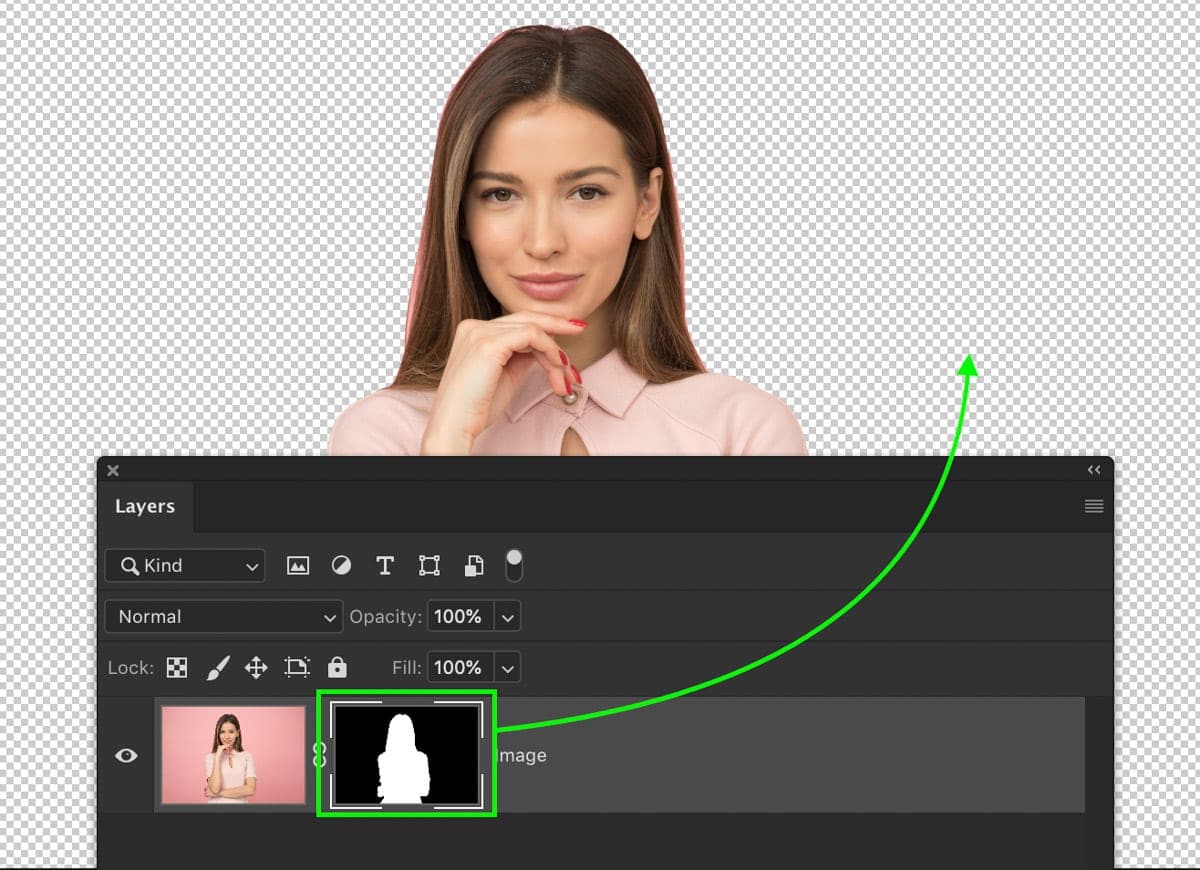
The advantage of this method is you can refine edges if something goes wrong with the selection. It’s always nice to have the ability to make changes!

Option 2: Using The Select Color Range Tool
Unlike the Magic Wand Tool, Select Color Range uses the eyedropper tool to sample colors in your photo. From these samples, it creates a selection based on a grayscale that is later turned into a selection.
That may sound incredibly complicated, but I promise it’s not.
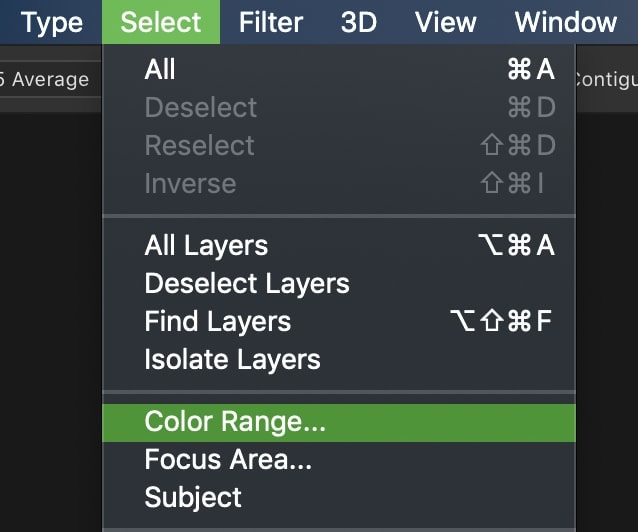
Step 1: Go To Select > Color Range
To access the Select Color Range Tool, go to Select > Color Range.
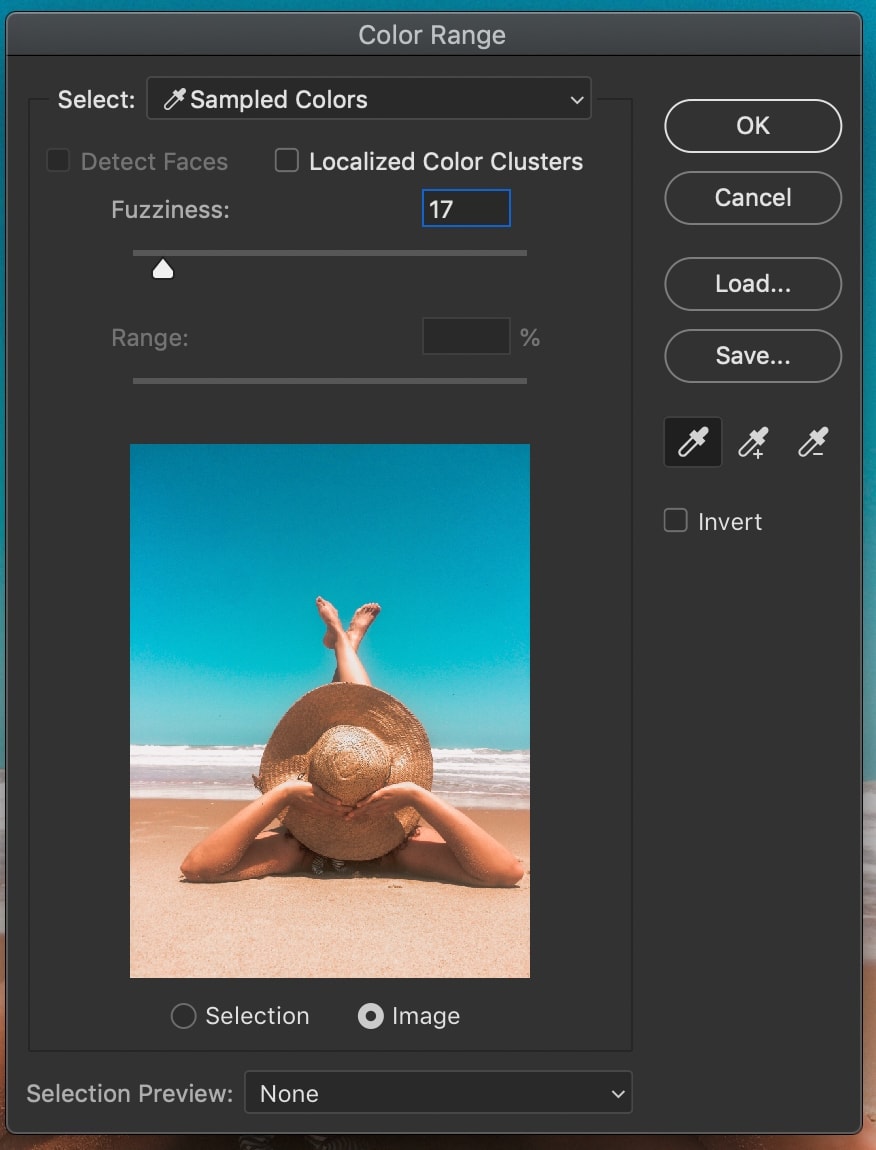
Step 2: Adjust The Color Range Settings
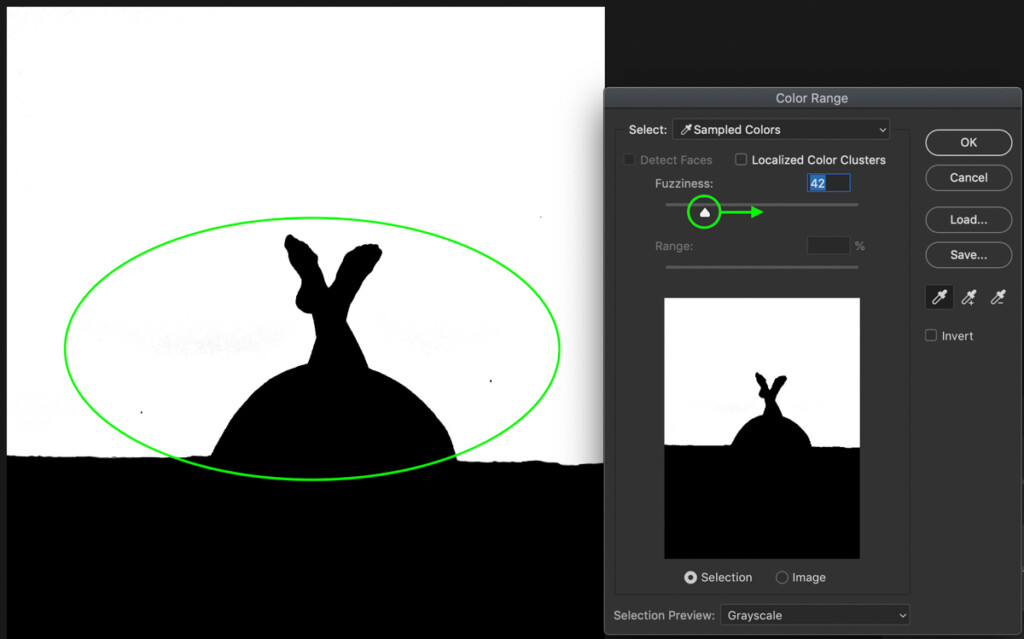
The select color dialogue box will appear, and in this, you have a few options. The ones you should focus on first are the view settings.
To get the best results, you’ll want to set your image preview to Selection and your selection preview to Grayscale.
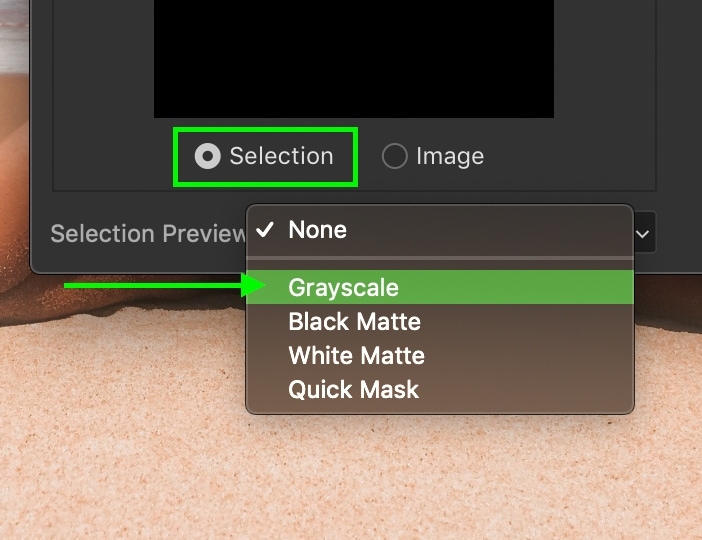
At first, this looks very convoluted, but it’s simple to understand once you think of it as a layer mask.
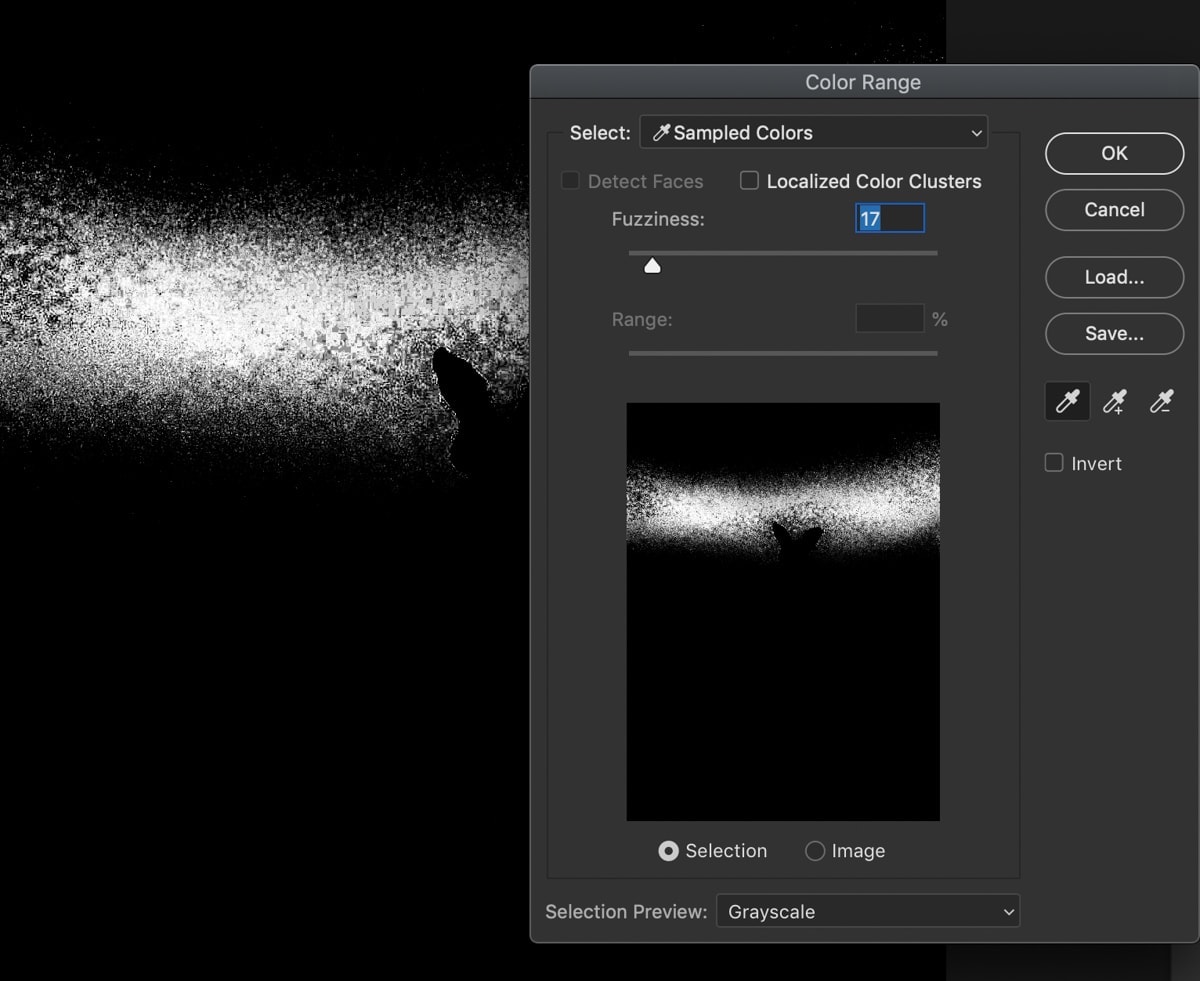
- Anything that you see that’s white is 100% visible, meaning it’s selected.
- Anything black is 100% transparent, meaning it’s not selected.
- All the shades of grey in between represent different levels of transparency. This means that 50% grey will leave that area 50% visible.
To remove all of one color in Photoshop, you want to make your selected color as close to 100% white and black as possible.
Step 3: Click On The Image To Create A Selection
With this in mind, click anywhere on your image to sample the color you want to remove.
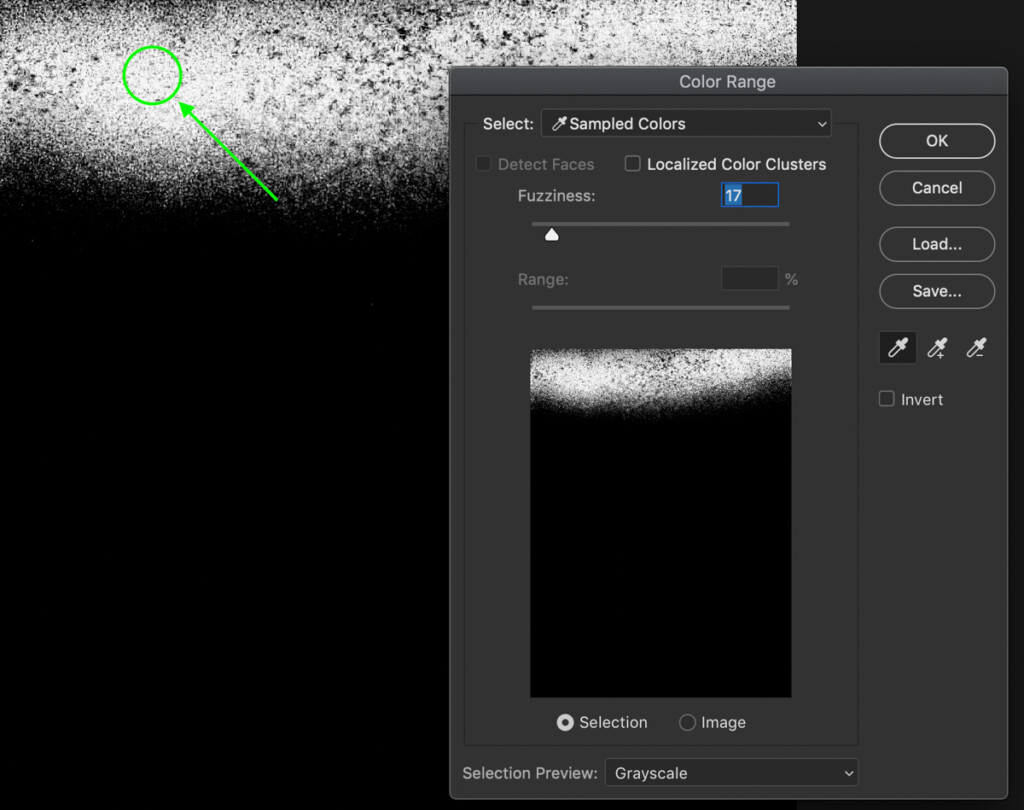
Next, hold Shift and click on your image to add more color samples to the same selection.
If you accidentally sample something you don’t want, hold Alt (Win) or Option (Mac) and click to de-sample the color.
Step 4: Adjust The Fuzziness Slider
Rinse and repeat until you have gotten most of your color added to the selection area. To help refine your selection further, you can use the Fuzziness slider.
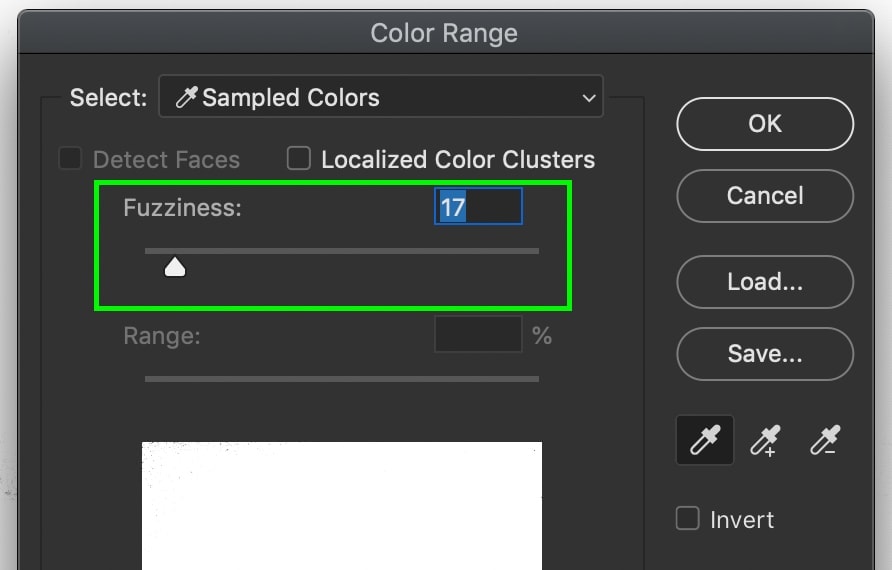
The fuzziness slider works by adjusting the tolerance of the selection area. The higher the fuzziness, the more lenient Photoshop will be with which colors get selected.
Now, if you lower the fuzziness, Photoshop will be much pickier with which colors get selected.
There’s no ‘perfect’ way to do this since the best fuzziness will change from image to image. Try moving the slider up and down to see the results it creates.
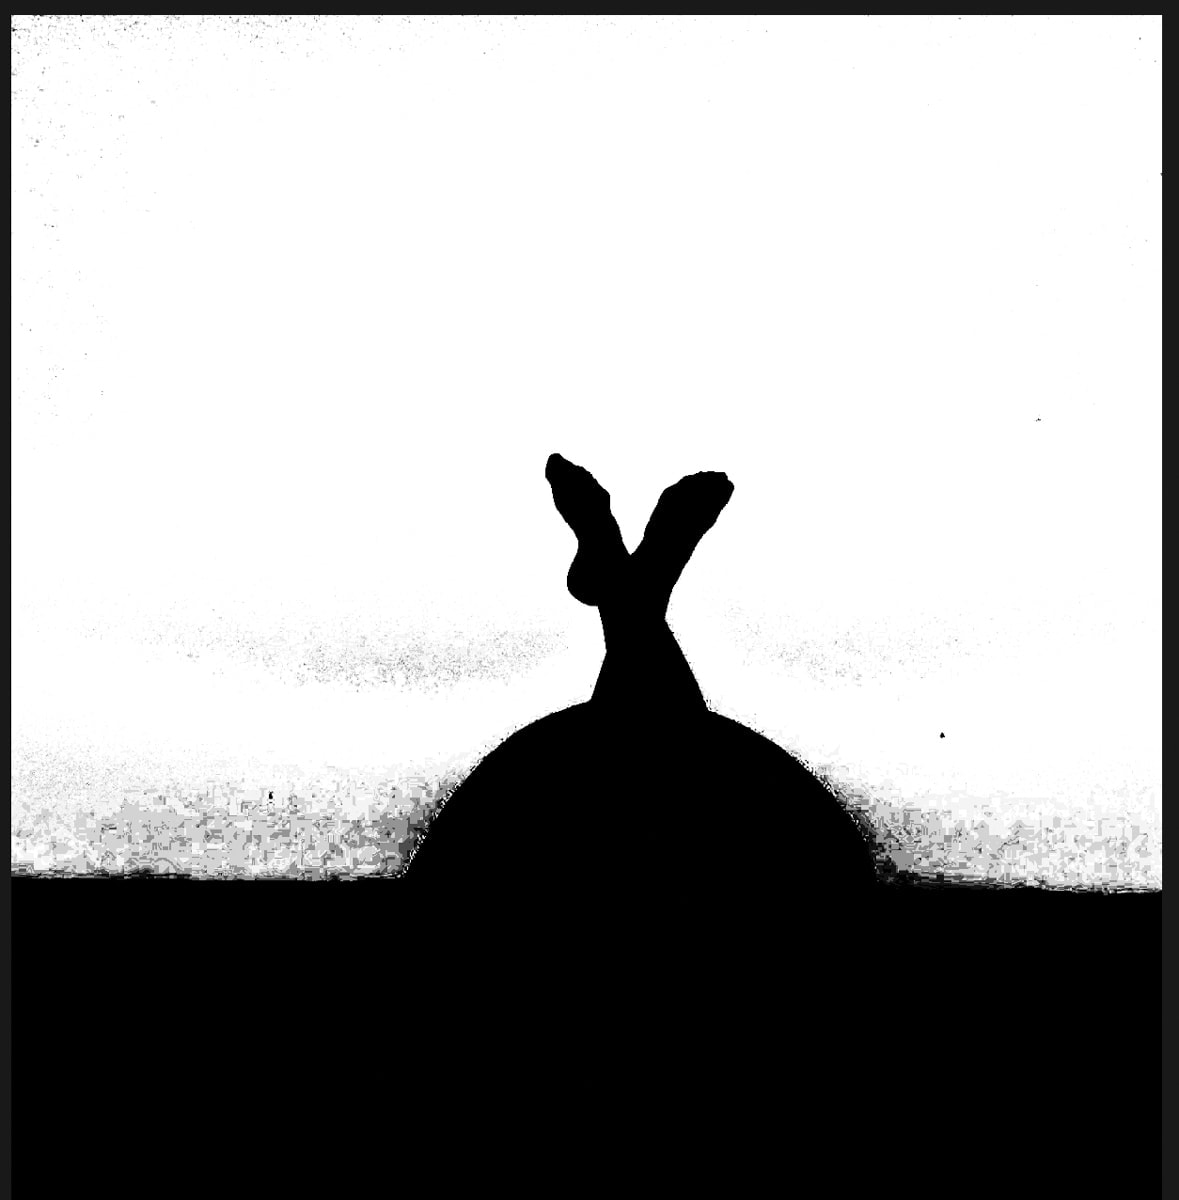
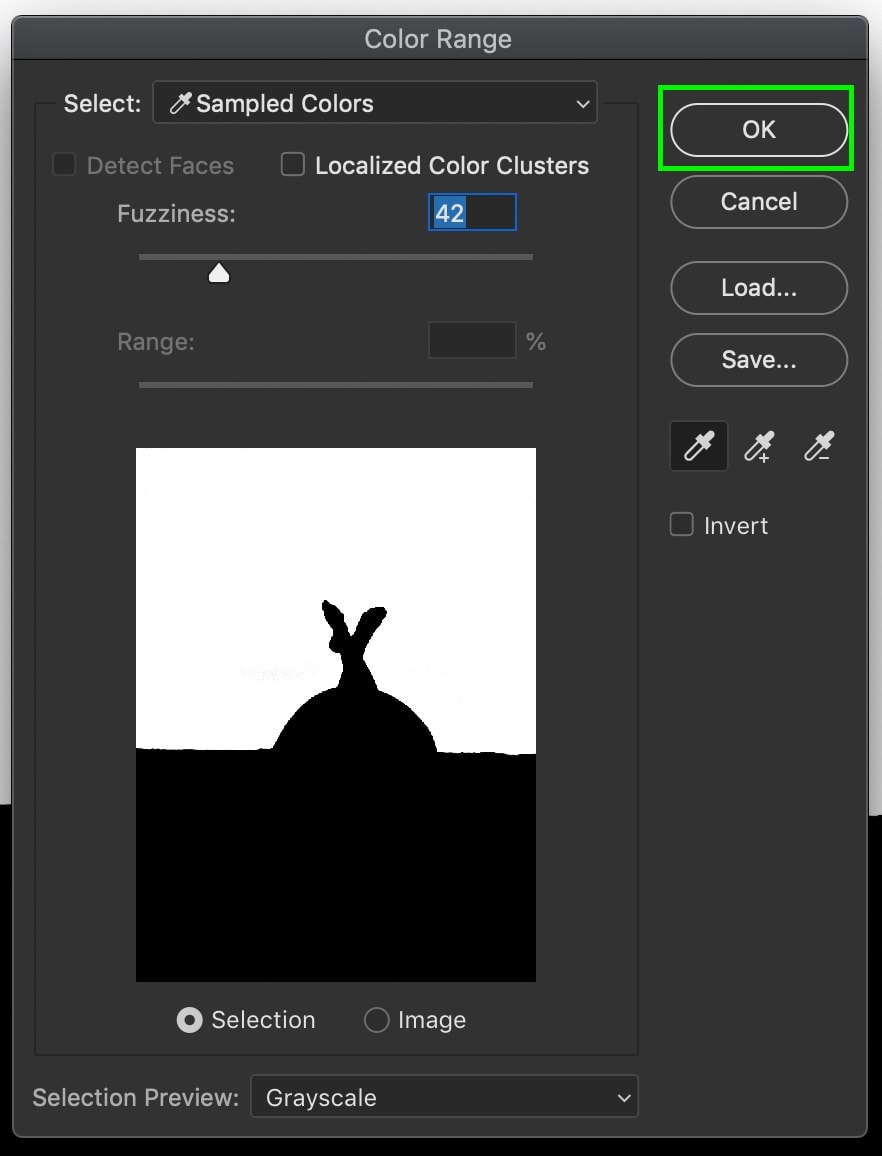
Once you’re happy, click OK to turn your grayscale into a selection.
Step 5: Remove Color Using Delete Or A Layer Mask
With your current selection, you can delete the selection contents or create a layer mask.
To permanently delete the contents of your selection, press the Delete key. This will remove all of one color in your photo, but there’s no way to refine this later.
To create a layer mask, invert your selection. To do this, press Shift + Control + I (Win) or Shift + Command + I (Mac) to swap your selection area.

Next, select your image layer and add a layer mask.
Adding a layer mask will make your selected color invisible, but you can still refine this selection.
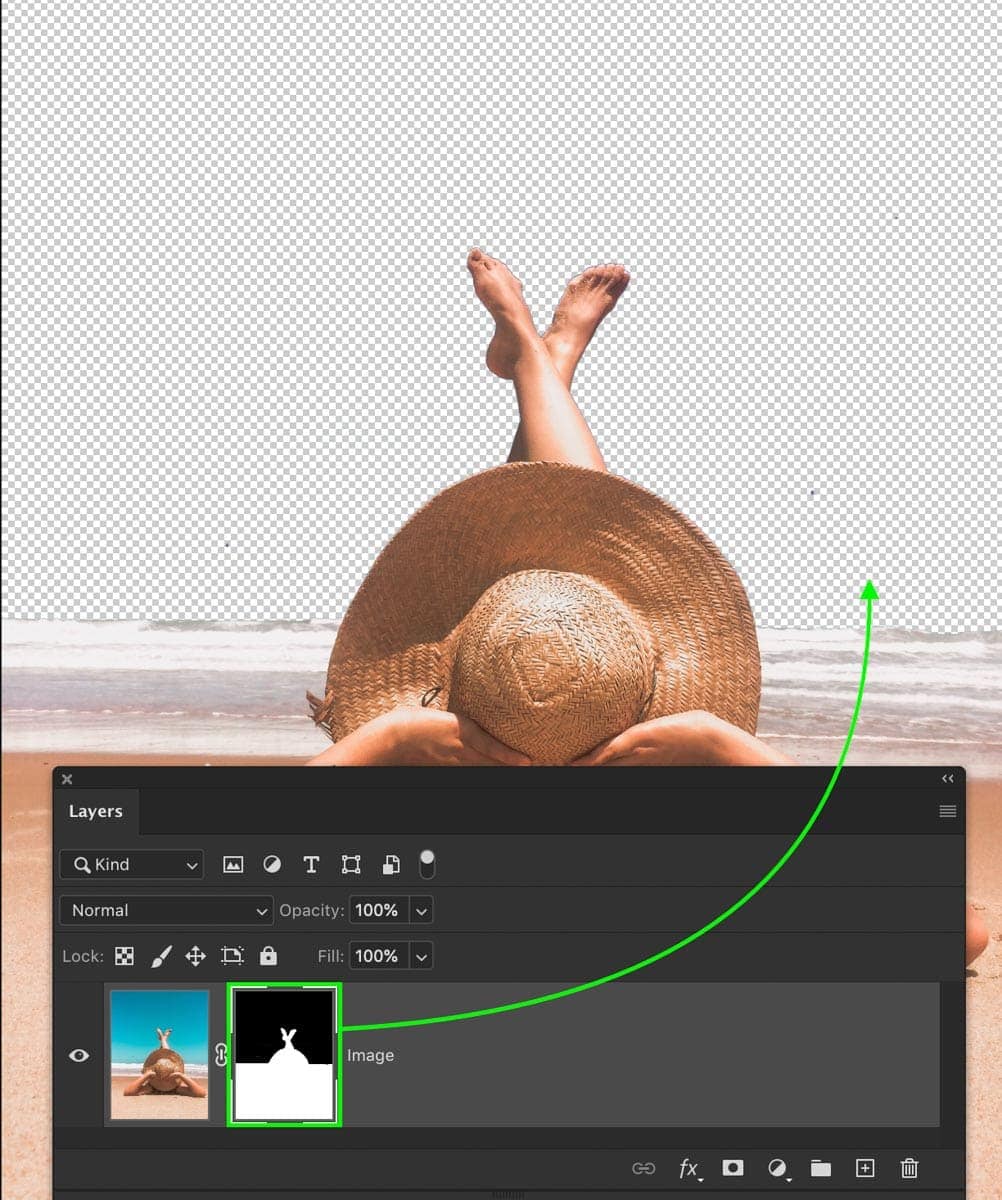
Both options will achieve the same result, although the layer mask method allows you to make changes and refine the removed area.
You Might Like: How To Make Everything Black And White Except One Color
Conclusion
With that, you’ve learned how to remove all of one color in Photoshop with the help of two great tools. The Magic Wand Tool was built for selecting a single color in bulk. If you want a straightforward solution to removing color in Photoshop, this is your answer.
With that said, the Select Color Range Tool offers a ton of value as well. Instead of dealing with tool settings, you just click around to create a selection. Both tools are handy and offer fast and effective ways to remove all of one color in Photoshop.
If you enjoyed this tutorial, I would LOVE it if you shared it with someone you know!
Want more tutorials like this? Subscribe to my weekly newsletter for more photography and photo editing tutorials delivered straight to your inbox!
– Brendan 🙂
