
Whether you want to change the spacing between individual letters or separate lines of text, the Character Panel in Photoshop makes it easy. There are a few different ways you can change the spacing of your text using techniques such as kerning, tracking, leading, and baseline shifting. In this tutorial, you’ll learn each of these techniques in-depth, but if you just want a fast way to adjust text spacing, follow these steps:
How To Quickly Adjust Text Spacing In Photoshop:
- Select the Type Tool and click on your canvas to write new text.
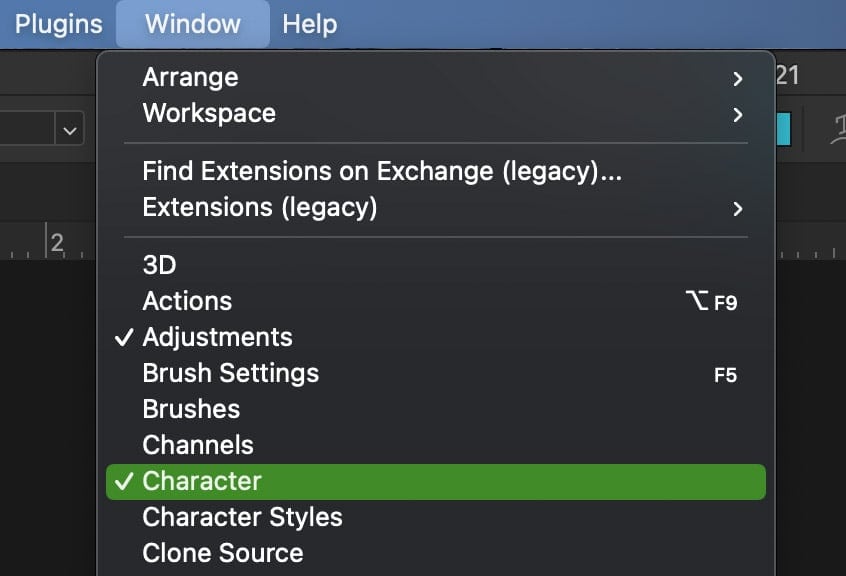
- Go to Window > Character to open the Character Panel.
- Select your text layer in the Layers Panel.
- Type in a spacing value beside the Tracking Option in the Character Panel.
- Now your characters are uniformly spaced apart.
If you aren’t familiar with the Character Panel or have no idea what “tracking” means, fear not! You’ll be a text spacing pro after following the tips below. Each section breaks down a different text or line spacing option to leave you with every tool necessary for spacing text in Photoshop.
Each of these methods relies on the Character panel, so make sure you have that open and ready!
The Character Panel can be quickly accessed by going to Window > Character or going Type > Panels > Character Panel.
Video Tutorial
How To Adjust Tracking In Photoshop
To adjust the tracking of text in Photoshop, open the Character Panel by going to Window > Character. Then, with your text layer selected, type in a tracking value beside the Tracking Option in the Character Panel. Now your text will be uniformly spaced apart.
Let’s break this down more in-depth.
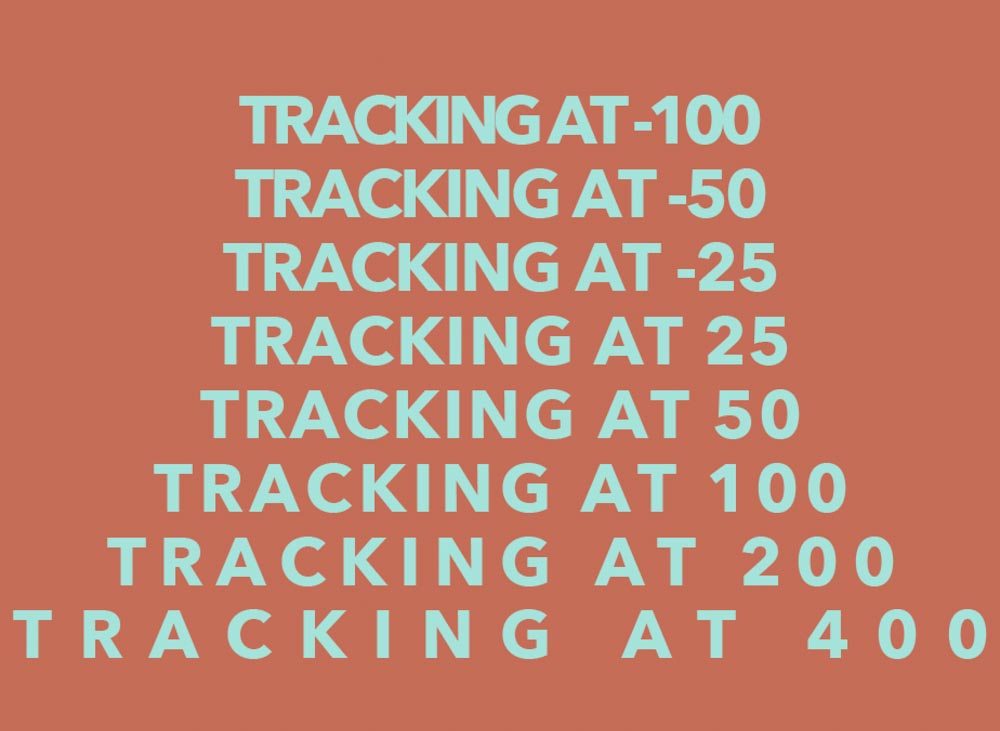
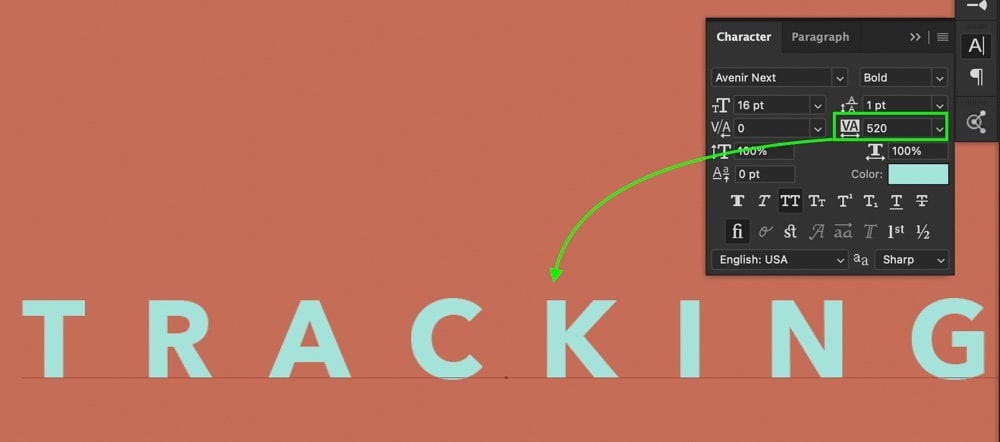
Tracking controls the amount of space between each character on a text layer. Rather than adjusting the spacing in a single location, tracking will move every letter further apart or closer together in a uniform fashion.
Below is an example of tracking in action:
To learn how to do this, follow these easy steps.
Step 1: Create A Text Layer
Before you can do anything, you need to create a new piece of text. By pressing T to access the Type Tool, click on your canvas to create a new line of text.

If you’re new to creating text in Photoshop, I highly recommend reading this post to get more confident with the process.
Step 2: Open The Character Panel
With your text layer created, open the Character Panel by going to Window > Character. This panel is home to all of your most valuable text spacing adjustments!
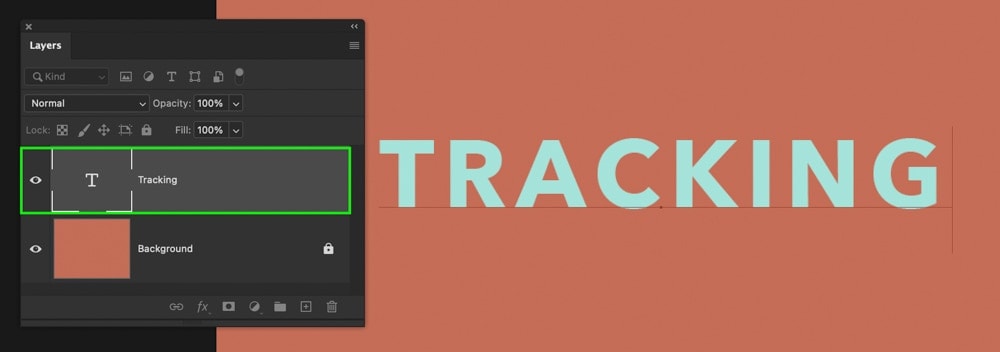
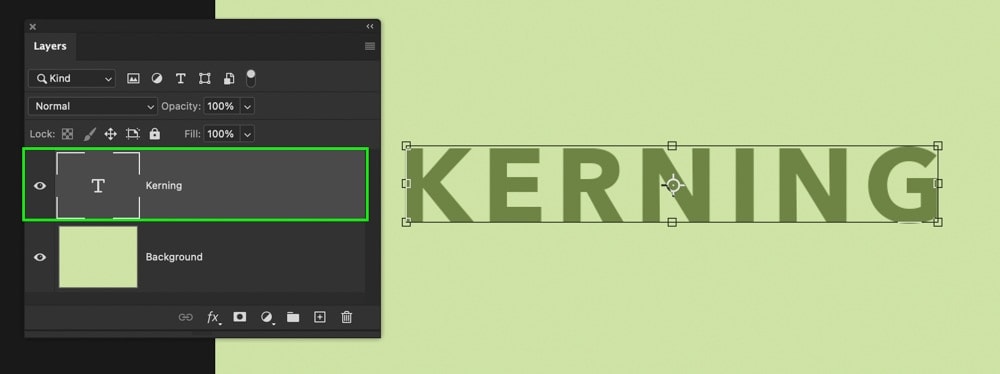
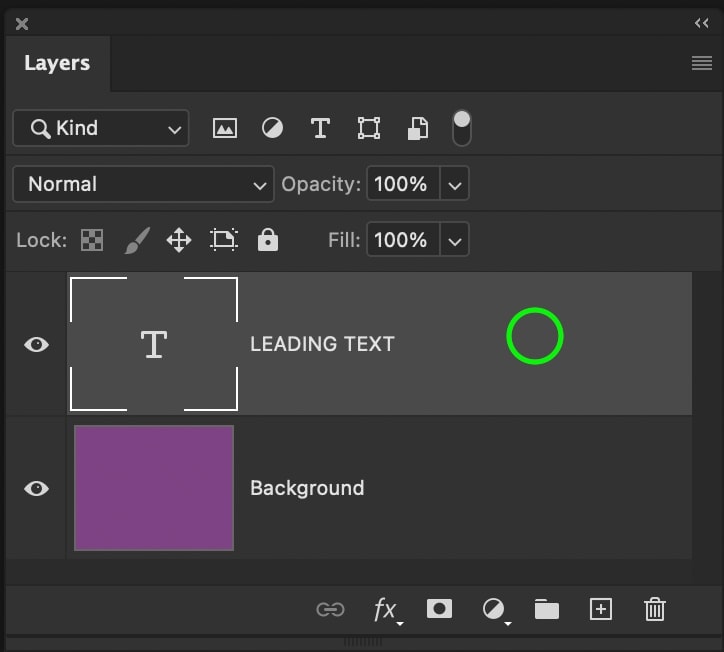
Step 3: Select Your Text Layer Or Highlight The Text
By clicking on your text layer in the Layers Panel, Photoshop will know what text to apply the tracking adjustment to in the following steps. With the layer selected, all of the text on that specific layer will be affected.
If you only want a single word to have the spacing adjustments applied, click on your text and drag over the specific word to highlight it. This works just like it does on a regular word document.

Step 4: Set The Tracking Amount
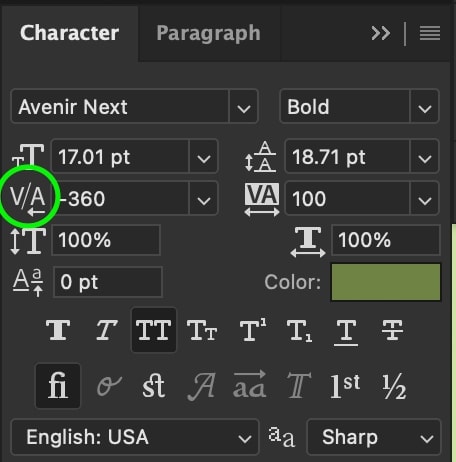
With your text layer selected, or a specific word highlighted, it’s time to apply the spacing adjustment. Inside of the Character Panel, look for the Tracking Option represented by the ‘VA’ icon with the arrow beneath it.
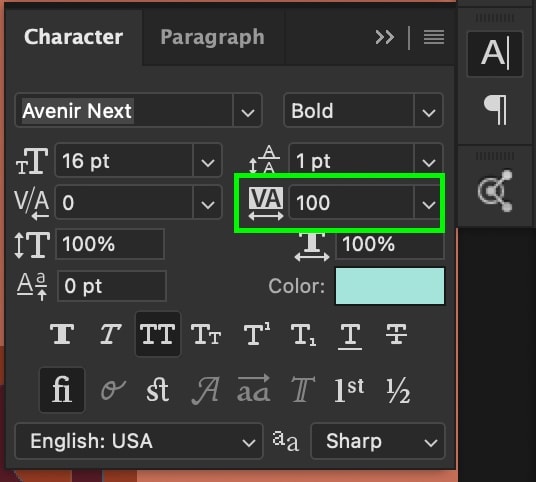
The first way to adjust the tracking is by clicking on the tracking icon, then move your cursor left or right to increase or decrease the spacing.
You can also type in a specific tracking value in the box beside the tracking icon.
Step 5: Now You Have Added Spacing To Your Text!
The tracking adjustment has now applied a uniform spacing between every letter on your text layer or within your highlighted word!

You can go back and adjust this at any time using these same steps once again.
If you have made any other text spacing adjustments before this, the tracking will still apply the updated spacing to your characters. This option is great for the general spacing of your text but doesn’t allow you to get specific with spacing between individual characters. Luckily that’s where kerning comes into play.
How To Adjust Kerning In Photoshop
To adjust kerning in Photoshop, select the Type Tool (T) and click between the two characters you want to edit. Next, use the keyboard shortcut Alt + Left/Right Arrow Keys (PC) or Option + Left/Right Arrow Keys (Mac) to space apart the characters on either side of your cursor.
Unlike tracking, which adds a uniform spacing between all the letters in your text, kerning lets you have more control by adding spacing between two specific characters. This can be done with the Character Panel or using the keyboard shortcut mentioned above.
To give you a better understanding of the process, let’s break it down step by step.
Step 1: Create A New Text Layer
First, create a new piece of text if you haven’t already done so. By selecting the Type Tool by pressing T, then clicking on your canvas, you can begin to type a new line of text.
Step 2: Open The Character Panel
Next, open the Character Panel by going to Window > Character. Although there is a keyboard shortcut for kerning, it’s worth knowing where to access this adjustment in the Character Panel as well!
Step 3: Place Your Cursor Between Two Characters
The kerning adjustment will not work unless you have placed your cursor between two letters in your text. Simply by clicking on your text layer, then clicking between your desired characters, you can place your cursor.

Step 4: Set The Kerning Value
There are two different ways you can change the kerning value of your characters. The first is using the keyboard shortcut Alt + Left/Right Arrow Keys (PC) or Option + Left/Right Arrow Keys (Mac). This will space your characters apart without having to touch the Character Panel.

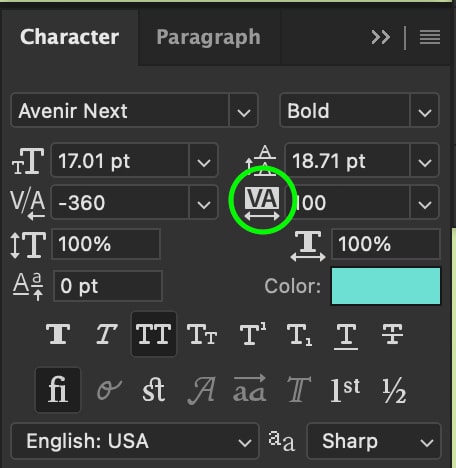
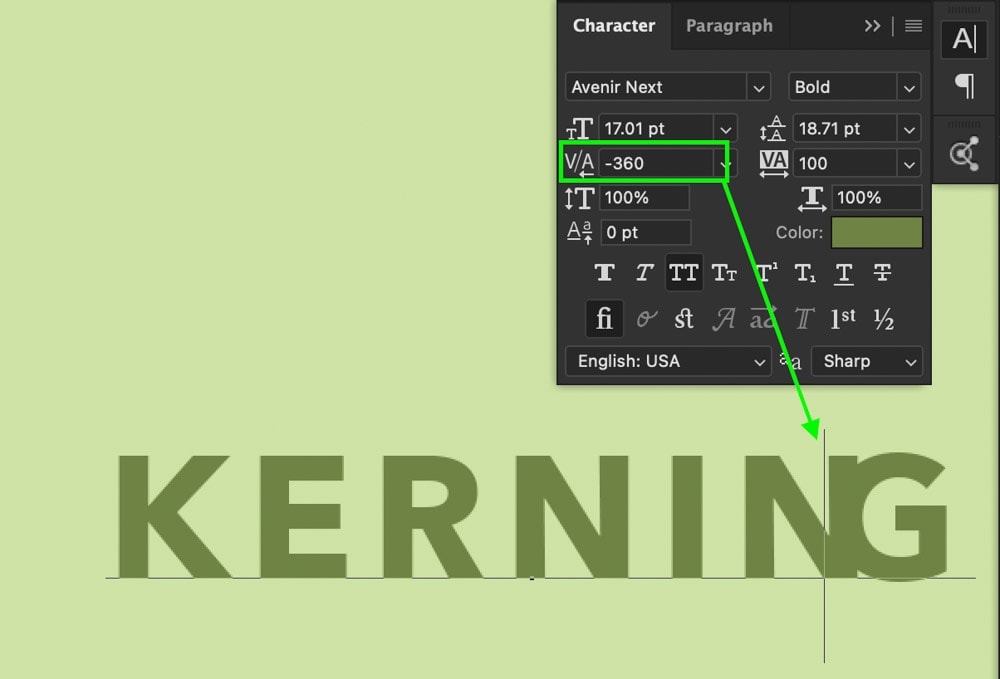
You can also set the kerning value via the Kerning Option inside the Character Panel. This option is represented by the ‘V/A’ icon with the arrow below it.
Hovering your cursor over this icon, you can click and drag left or right to change the kerning value. You can also type in a specific amount in the settings box provided.
Step 5: Admire Your Kerned Text!
Now you have successfully adjusted the spacing between two letters in Photoshop! Kerning is a great way to get specific with your character spacing and works great for formatting and positioning your text. I always use the keyboard shortcut for this process, but it’s worth remembering the Character Panel method if you run into problems!

How To Adjust Leading For Text In Photoshop
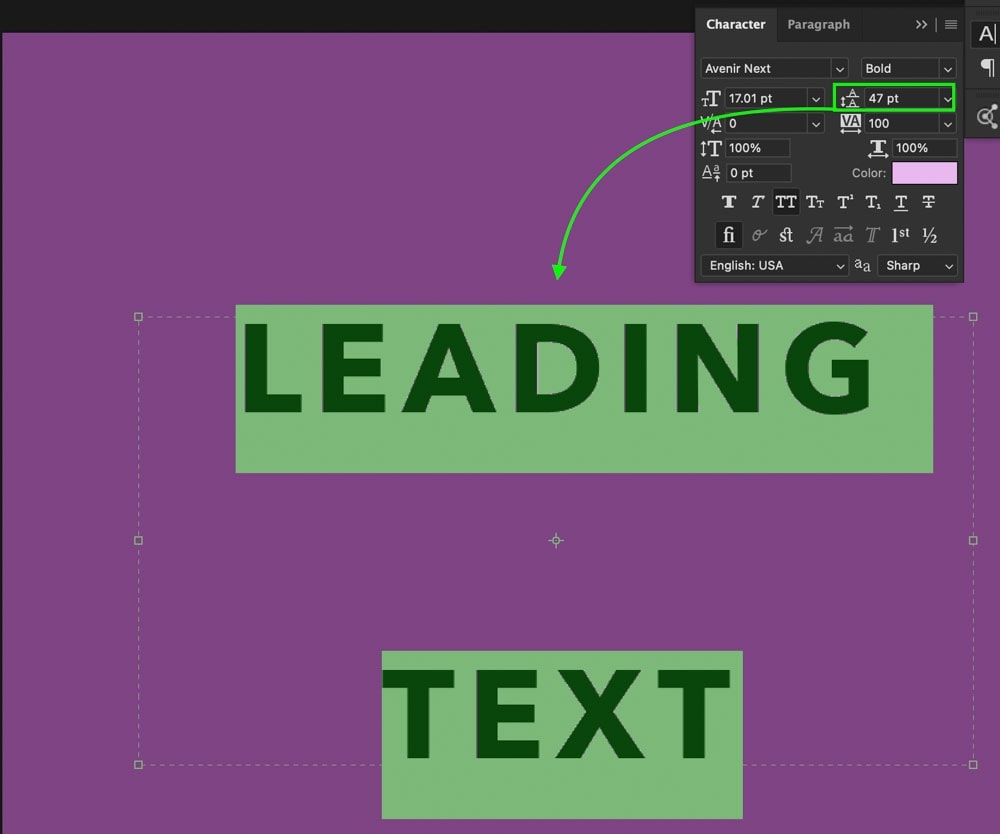
To change the leading of a text layer in Photoshop, select your text layer and then open the Character Panel by going to Window > Character. Then, going to the Leading Option in the Character Panel, type in a new value to add space between your lines of text.
Leading allows you to change the spacing between two or more lines of text in Photoshop. Rather than changing the spacing between letters like tracking and kerning, leading only makes separate lines of text further apart or closer together.
When using leading (or working with multiple lines of text, for that matter), it’s best to be working with paragraph text instead of point text.
Step 1: Create A New Text Layer
Just like before, select the Type Tool by pressing T and click on your canvas to create a new text layer.
To make this whole process easier, convert your text layer to paragraph text by right-clicking on your text layer and choose “convert to paragraph text.”

Clicking on the text box that appears, you can position this box to define the parameters for your text. This way, it’s easy to create multiple lines of text without doing a bunch of manual formatting.


You can learn more about paragraph vs. line text in this post.
Step 2: Open The Character Panel
Once again, open the Character Panel by going to Window > Character or finding it in your Photoshop workspace if it’s already opened.
Step 3: Adjust The Leading Value
There are two ways to adjust the leading of your text in Photoshop. The easiest way is with the keyboard shortcut Alt + Up/Down Arrow Key (PC) or Option + Up/Down Arrow Key (Mac) while your text is highlighted on the canvas.

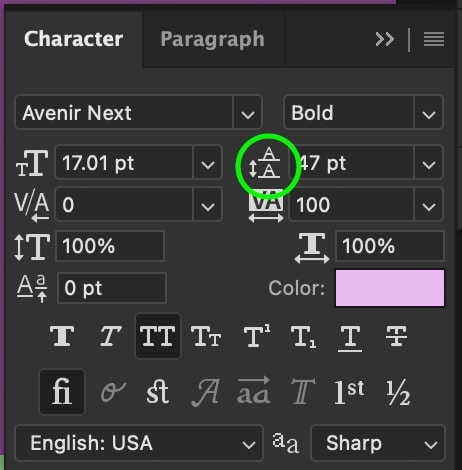
The second option is inside the Character Panel with the Leading Option. Like the other settings in the Character Panel, you can hover your cursor over the leading icon and then click and drag left or right to adjust the line spacing. If you have a more specific spacing amount in mind, you can type it in the provided value box.
Whichever option you choose, just make sure that your text layer is selected in your Layers Panel, or else this will not work!
Step 4: Bask In The Glory Of Perfectly Spaced Lines!

You have now adjusted the spacing between each line of text on your text layer with these three easy steps. The keyboard shortcut mentioned in step 3 is the fastest way to adjust this setting since you don’t even need to open the Character Panel. With that said, the Character Panel can be more useful if you need specific spacing between each line of your text.
How To Adjust Baseline Shift In Photoshop
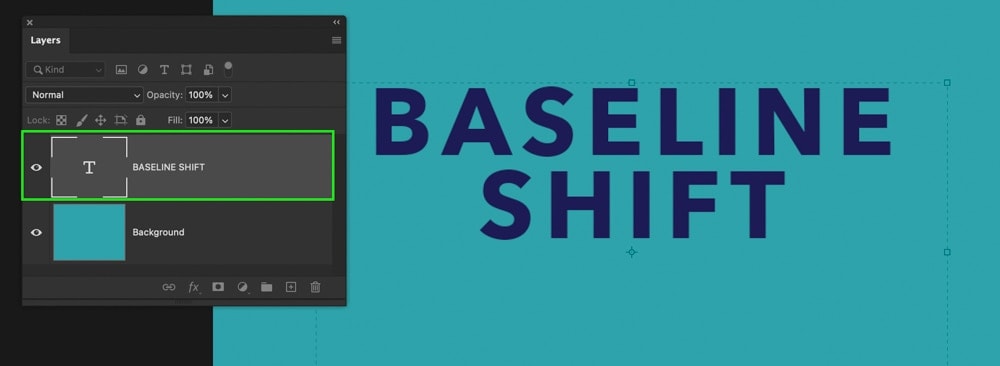
To change baseline shift in Photoshop, select your text layer in the Layers Panel, then open the Characters Panel by going to Window > Character. Inside the Character Panel, hover your cursor over the Baseline Shift icon, then click and drag to adjust the value as needed.
Baseline shift is the final way to control the spacing of your text in Photoshop. This setting will change the positioning of your entire text layer up or down rather than adding space between characters or lines.
For quickly positing your text within a text box, this is a great option to use.
Step 1: Create A New Text Layer
Once again, select your Type Tool by pressing T, then click on your canvas to create a new text layer. When using baseline shift, it doesn’t matter whether your text is paragraph or point text, so do whatever suits your project!
Step 2: Open The Character Panel
If your Character Panel is not already open, go to Window > Character.
Step 3: Adjust The Baseline Shift Setting
First, click on your text, then dragging across all the words to highlight them, so they are selected.

Then go to the Baseline Shift Option found inside the Character Panel.

Hovering your cursor over the Baseline Shift icon, click and drag left or right to change the value. Alternatively, you can type in a specific value in the value box provided.
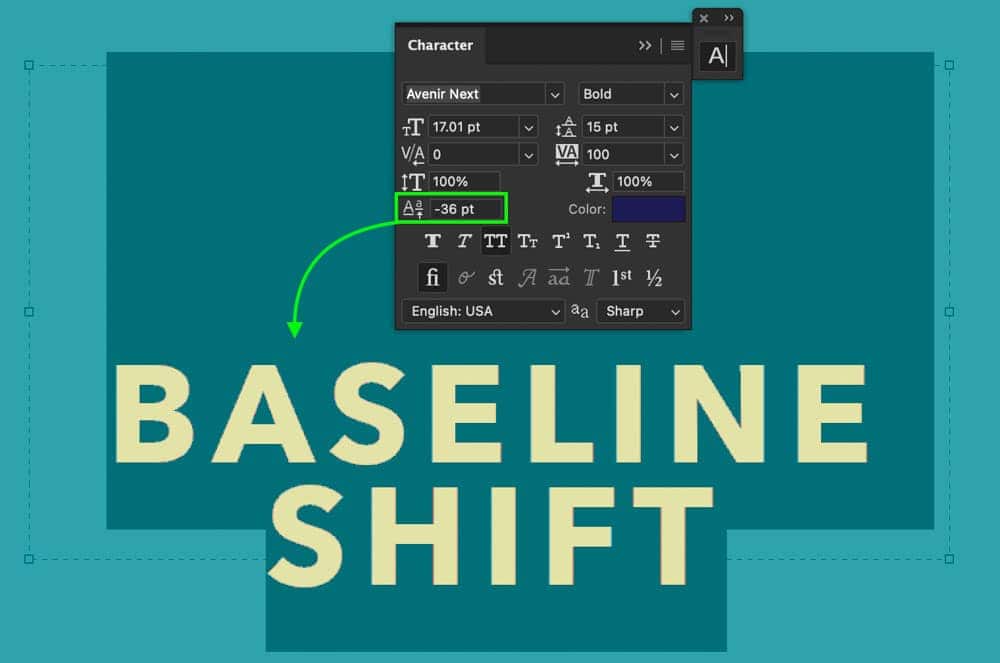
Once you’re happy with the positioning, press the checkmark to commit to your changes, or press the ESC key on your keyboard.

Step 4: Now You’ve Adjusted The Baseline Shift!
Following these three easy steps, you can quickly change the baseline shift of your text in Photoshop using the Character Panel. This option works great to positioning your text as a whole, rather than adding spacing between individual letters or lines of a text layer.
Now you know 4 different ways to adjust text and line spacing in Photoshop no matter what effects you’re going for. Every adjustment you could want for these effects can be found inside the Character Panel, so remember how to access it. You’ll be using it a lot in your future text spacing adventures!
Since you have text spacing dialed in, check out these tutorials below to learn how to make your text more stylish!
- How To Add Drop Shadows To Text
- Everything You Should Know About Creating Text In Photoshop
- How To Change The Color Of Text
Happy Spacing,
Brendan 🙂


