
One of the best ways to grab someone’s attention with text is by highlighting it. Doing this with graphic design software is usually not as easy as doing this with a word processor. With a word processor, you can select the words you want to highlight and just hit a button. With graphic design software, highlighting text often requires many different buttons and so many choices. Thankfully, highlighting text in Canva is quick and easy!
When Canva first came out, highlighting your text was just as cumbersome as any other graphic design software. Recently, Canva updated its text effects; now, you can highlight your text in a snap! You will learn how to highlight entire passages of text as well as single words. Not just on Canva Desktop but on Canva Mobile as well.
How To Quickly Highlight Text In Canva
Step 1: Create A Piece Of Text
Before highlighting your text, you must get some text on the canvas.
Click on the Text Tab in the Side Menu to see your text options. You have three options: Add a Heading, Add a Subheading and Add a Little Bit of Body Text. You can also press T to drop some quick body text down.
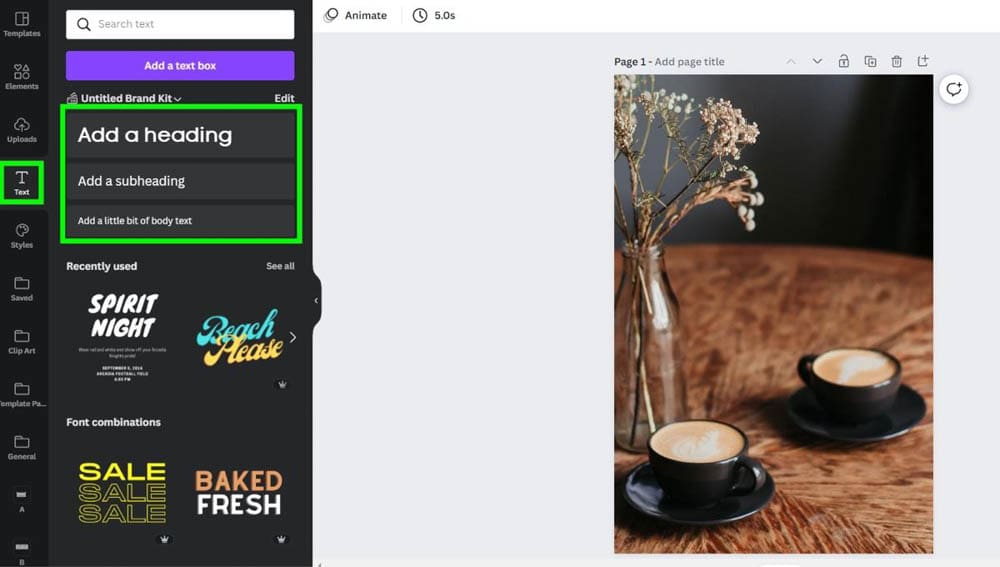
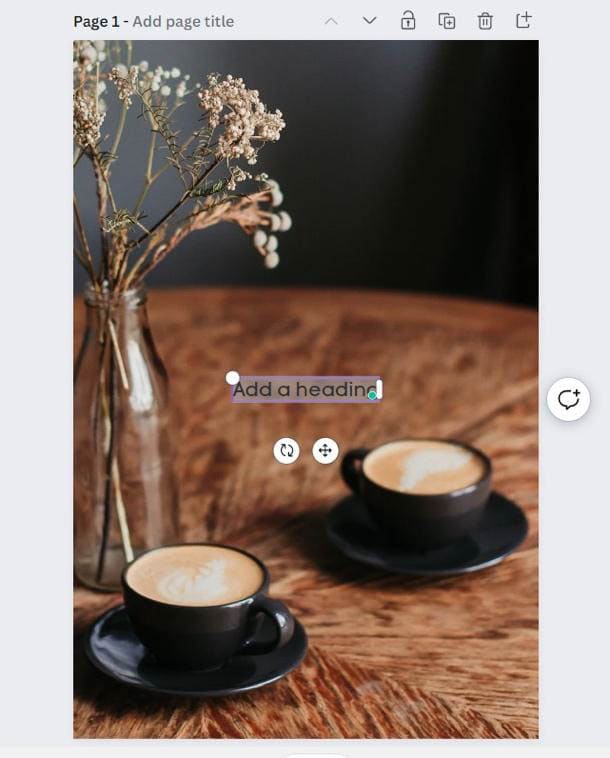
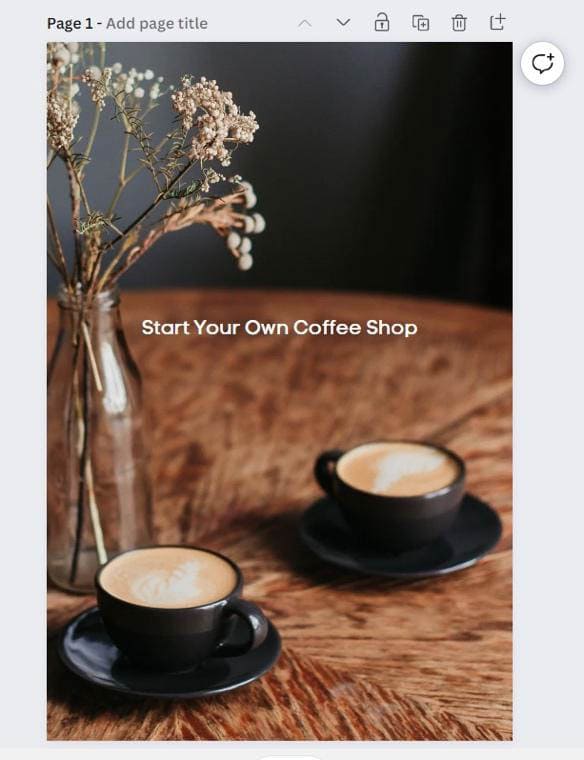
Click inside the text block to add your wording.
It’s best to edit the look of your text before you highlight it. This way, you won’t have to adjust the highlight again after resizing your text.
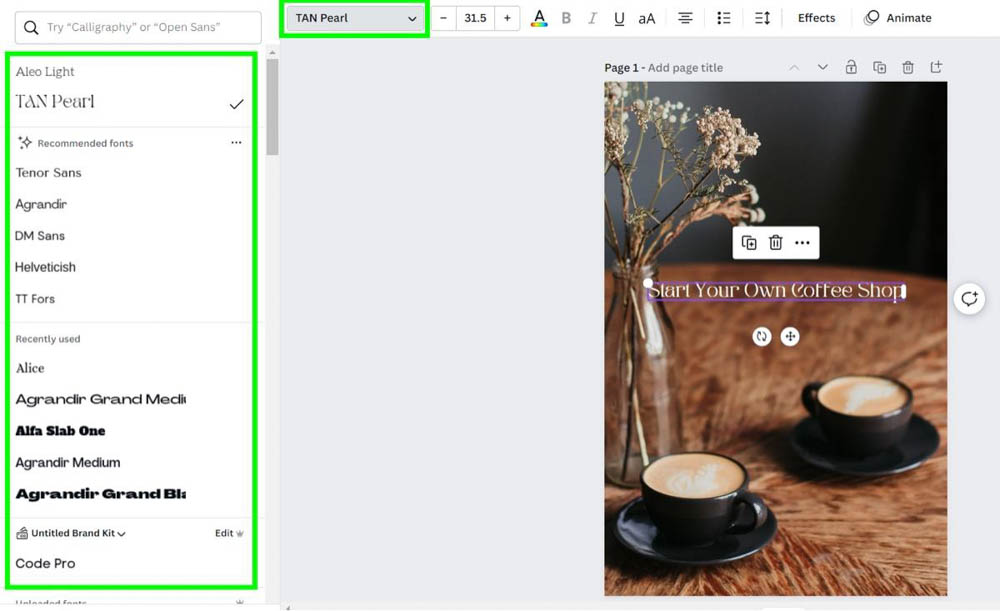
First, pick out the font type by clicking the Font drop-down menu. You can choose from an extensive list of free fonts that Canva provides.
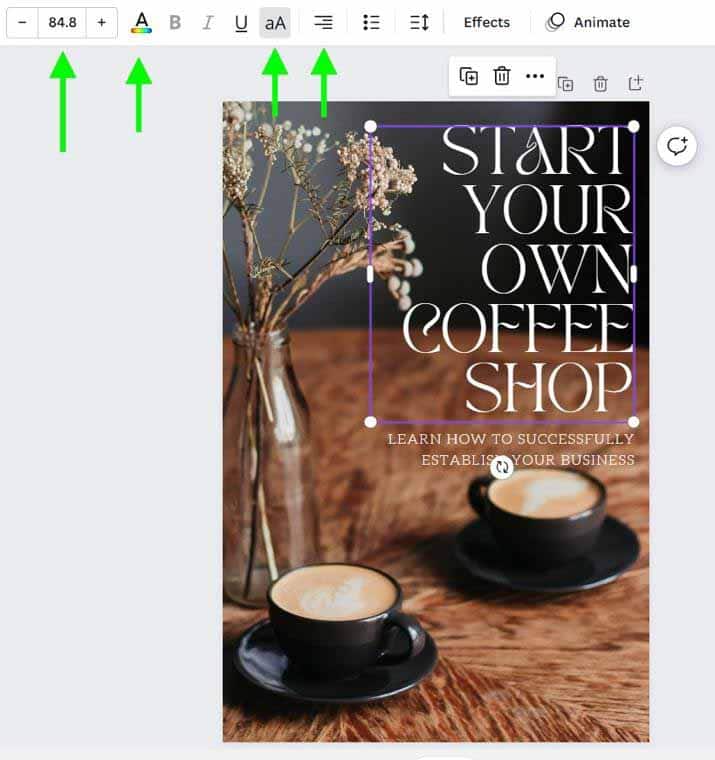
After your font is picked out, feel free to adjust your text further with
- Font Size: Click the Plus and Minus buttons to make your text bigger or smaller.
- Text Color: Change the text color to match your project.
- Upper Case: Quickly change your text to all caps with the Upper Case button.
- Alignment: You can align the wording in the text box to the left, middle or right.
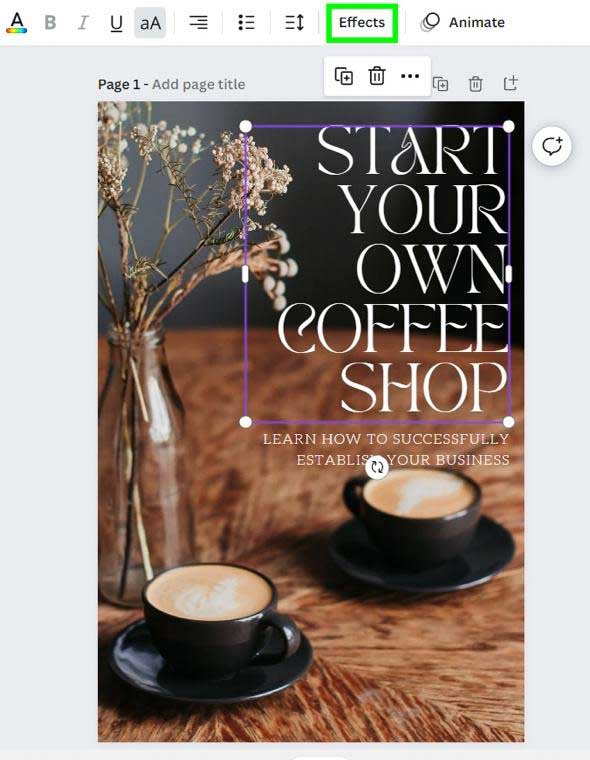
Step 2: Click The Effects Option
Now that your text is all set, it’s time to highlight it. Select your text, then click on the Effects button.
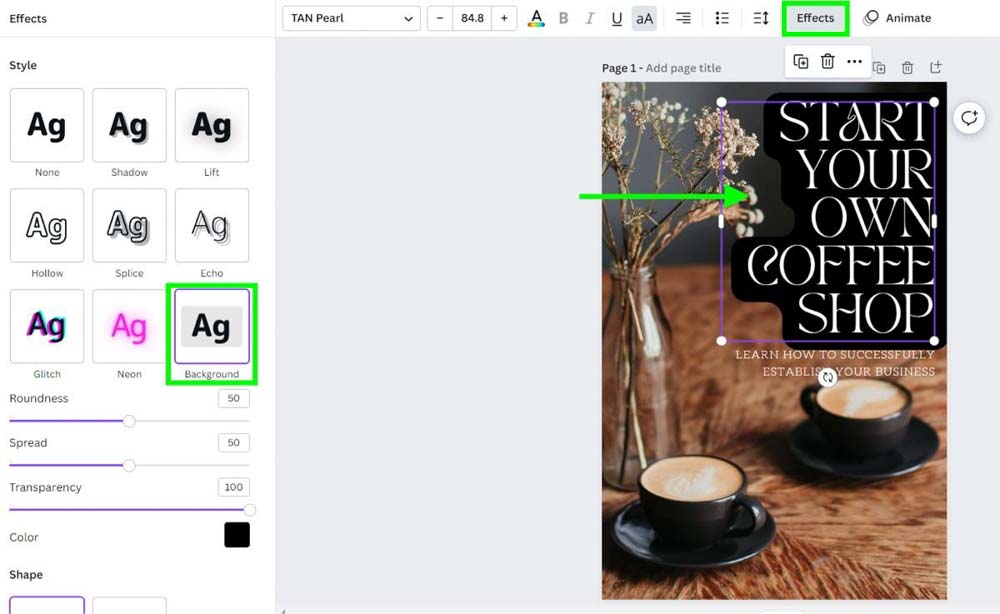
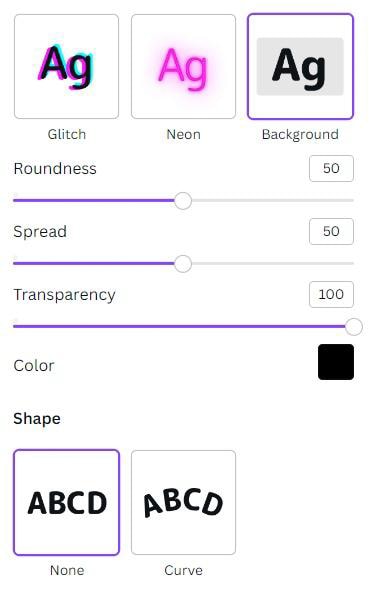
Step 3: Choose The Background Effect
Out of the effects options that pop up, choose Background. Your text will be outlined with a default color and default settings.
Step 4: Adjust The Background Color & Shape
If the default settings work for your project, then great, you’re done!
Most likely, the default settings will not work for you. Let me show you how to fix your highlight in the order that I usually do:
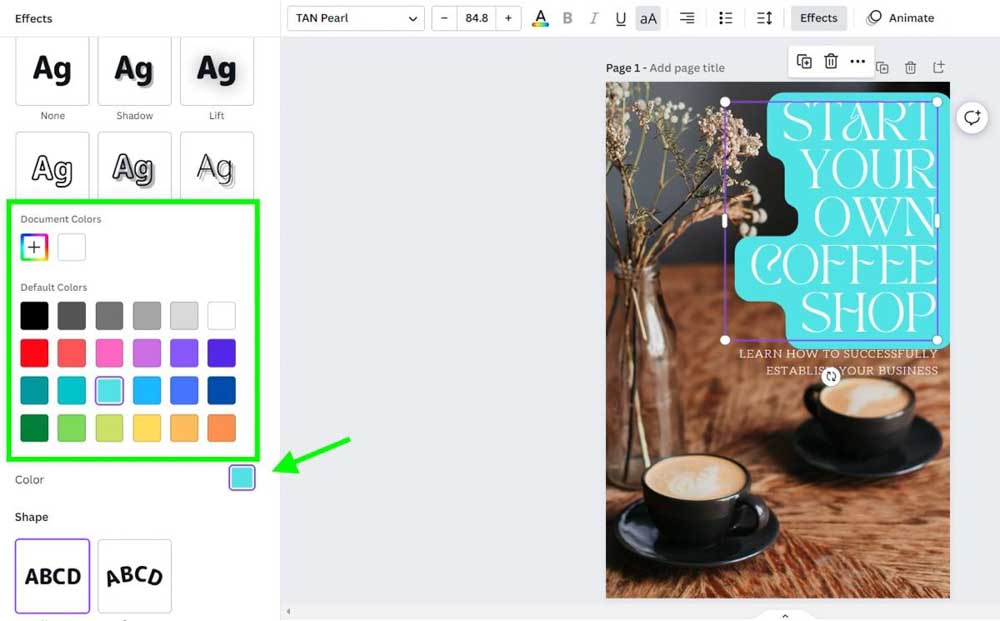
– Color
First, you should ensure the highlight’s color matches the rest of the project. This will help you see things visually as you design.
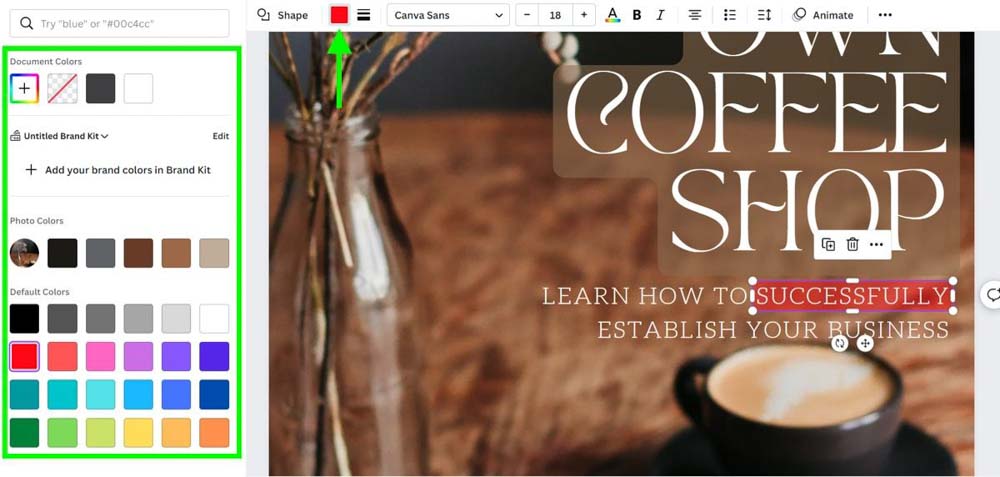
To change the color of your highlight, click on the Color Picker in the Effects Panel. A color panel will open with a list of default colors available. Click on any of them to change the highlight color.
If none of the default colors fit your project, you can pick a more specific color by clicking the Add a New Color Button. This will open the Color Spectrum Map, where you can choose a more or less saturated version of your color of choice.
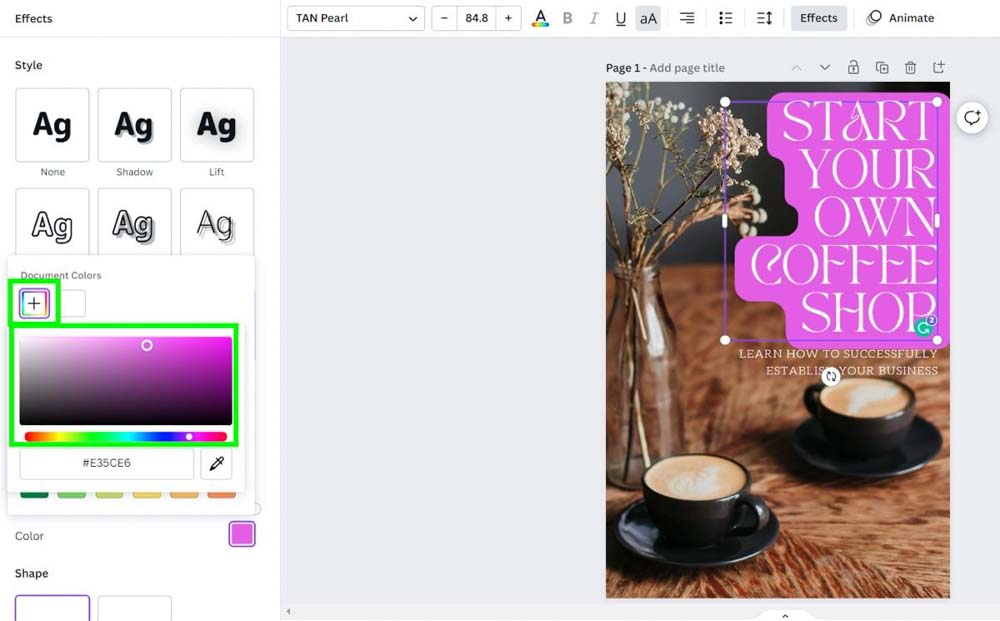
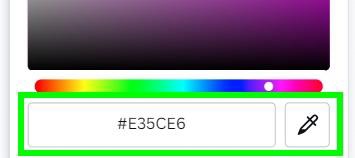
If you have a Hex Code, you can input it below the Color Spectrum Map.
Also, you will find the Eyedropper Tool under the Color Spectrum Map. This will allow you to pick a specific color from your image.
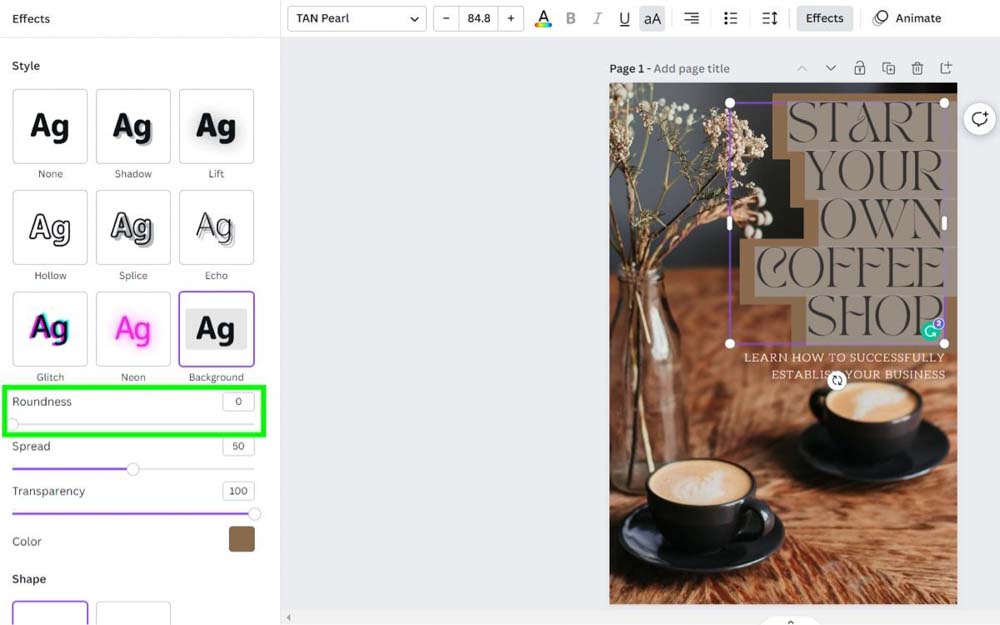
– Roundness
You can change how round you want your highlight by adjusting the Roundness Slider.
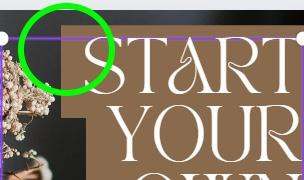
If you drag the slider all the way to the left, your highlight will be completely sharp, like a rectangle.
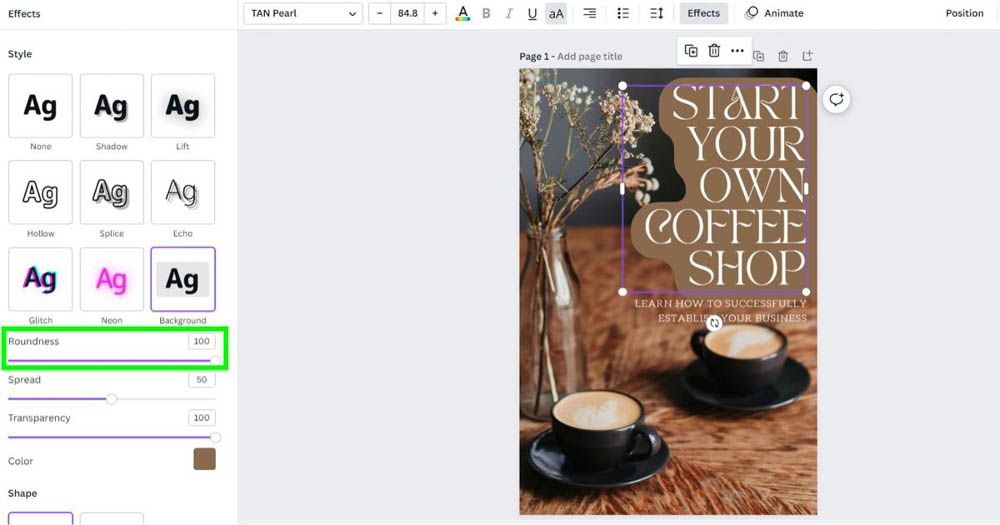
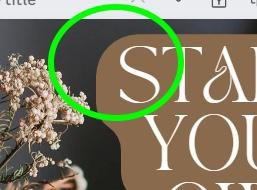
Drag the slider all the way to the right to make your highlight round like a circle.
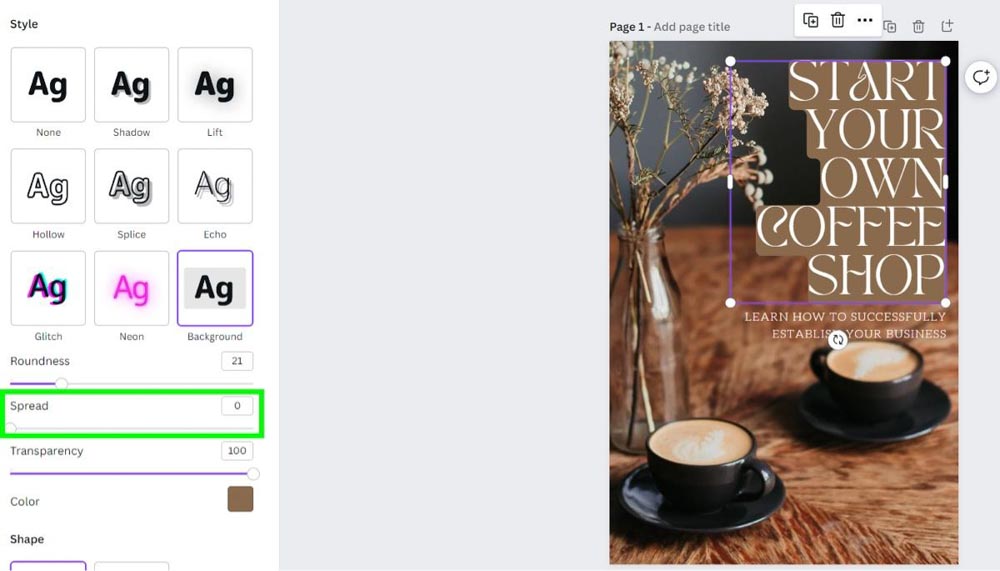
– Spread
The spread option determines the size of your highlight.
Drag the slider all the way to the left to keep the highlight tight to your text. The edge of the highlight will touch the text itself.
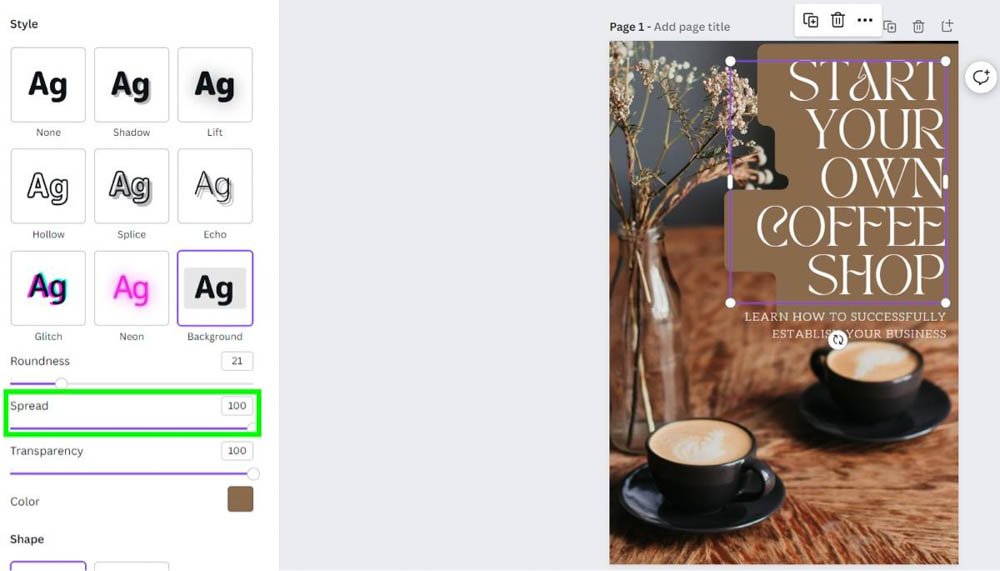
Drag the slider all the way to the right to increase the size of the highlight. Most of the time, this size will be too much for your project. It’s best to find somewhere in the middle that works for you.
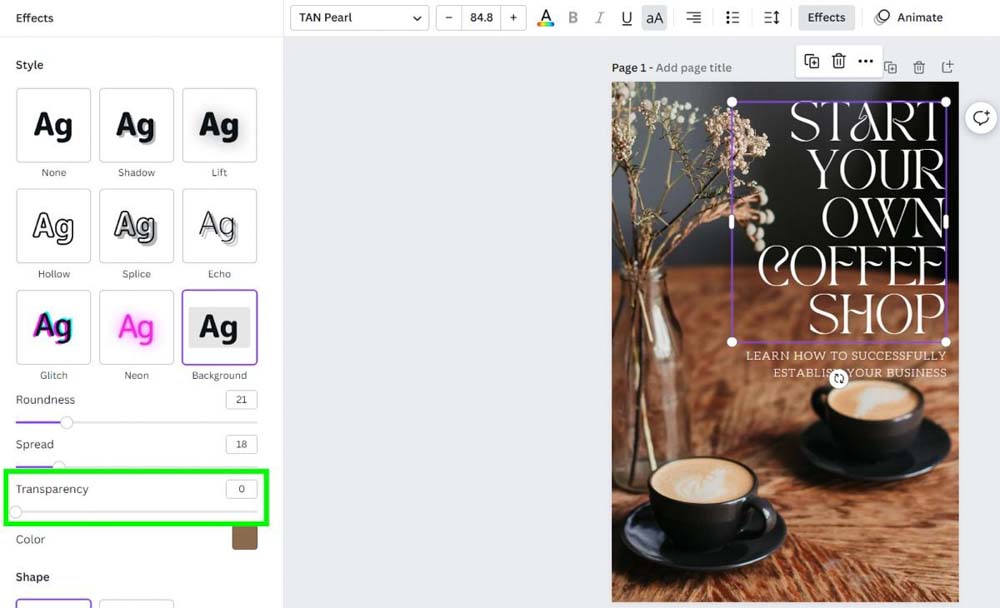
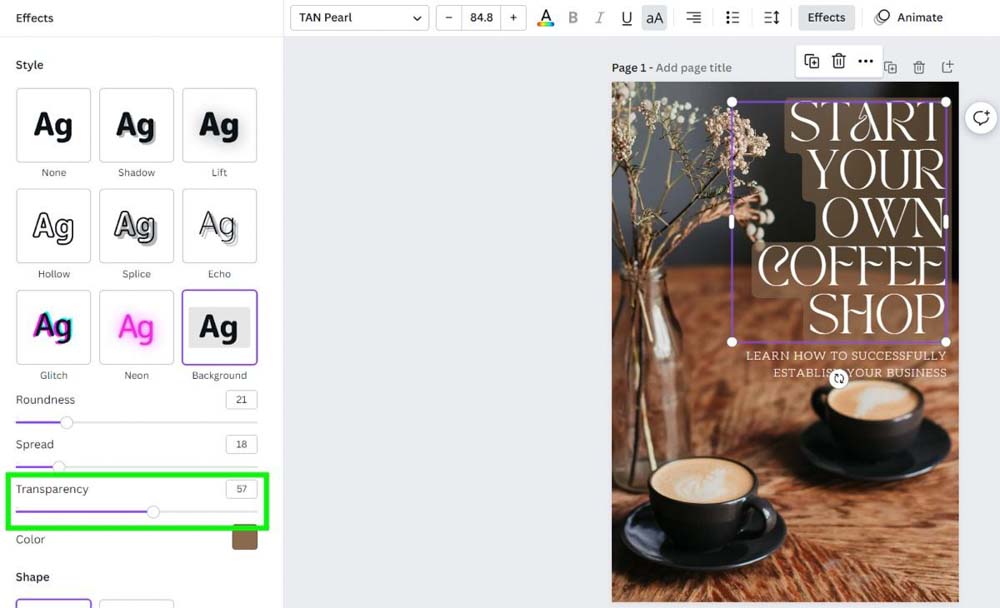
– Transparency
You can adjust how much you can see through your highlight with the Transparency Slider.
Slide it all the way to the left to make your highlight disappear. This is not the best approach for this effect.
Drag the Transparency Slider all the way to the right to see your highlight completely. This is the default setting.
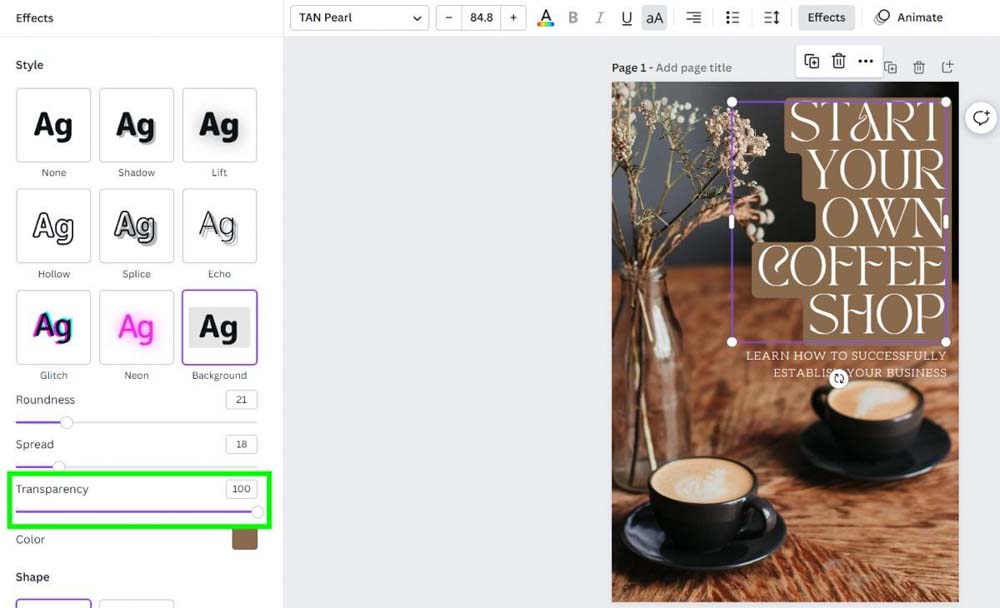
Drag the slider somewhere in the middle to see the highlight and some background through it.
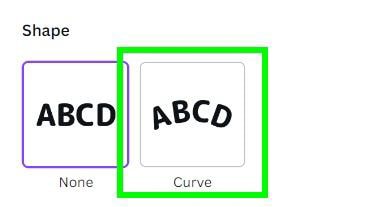
– Shape
The last option you can apply is the Curve Effect. Clicking on this effect will curve the selected text into a circle shape.
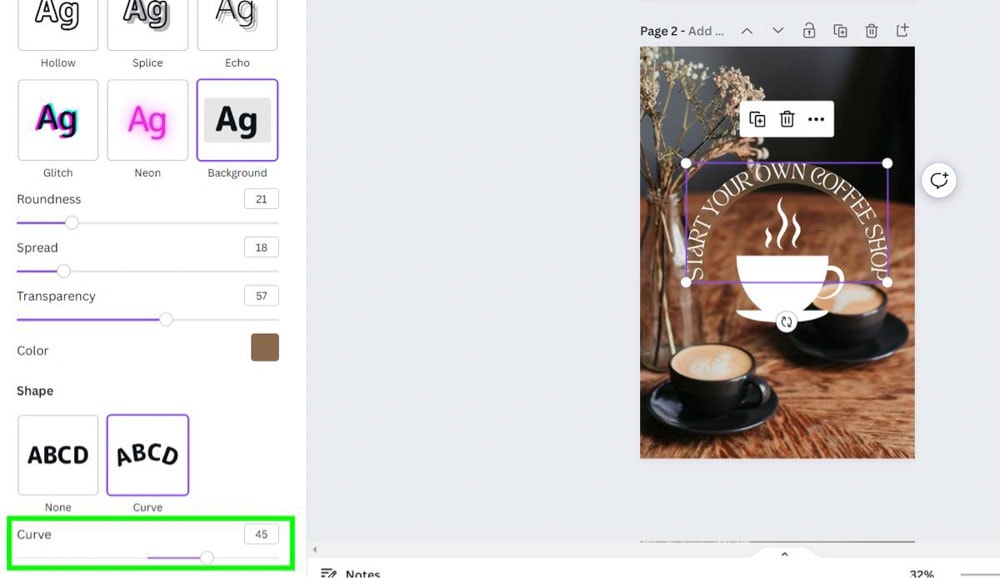
Drag the Curve Slider to the right to bend your text down.
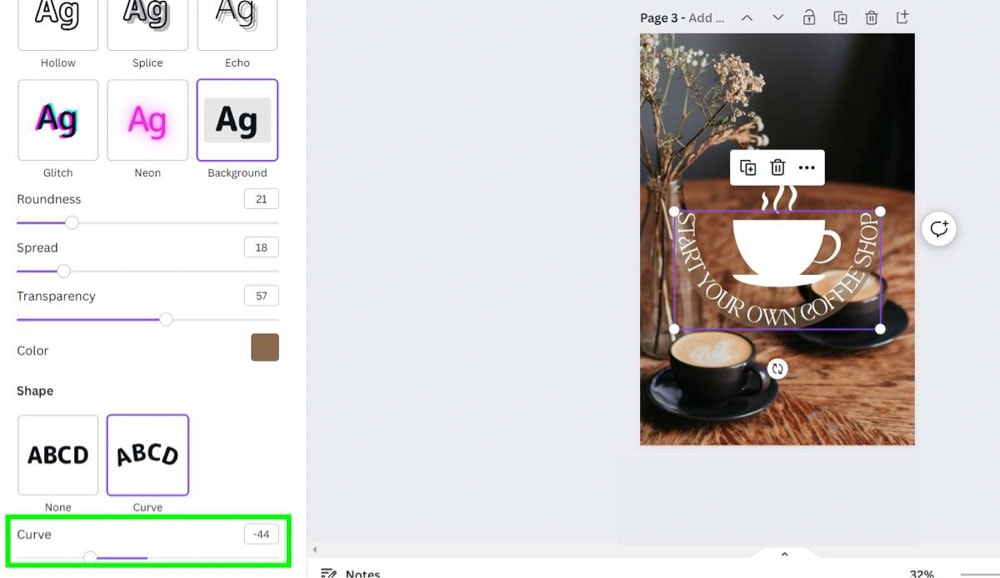
Drag the Curve Slider to the left to bend your text up.
How To Highlight A Single Word In Canva
What if you don’t want to highlight your entire sentence but instead highlight just one word?
You won’t be able to do this using the Background Effect, but there is a workaround.
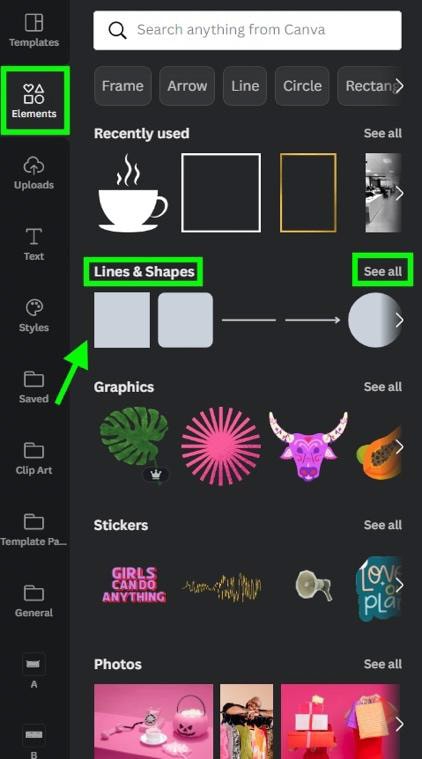
First, click on the Elements tab, and scroll down to Lines & Shapes. Select the Rectangle to add it to your canvas.
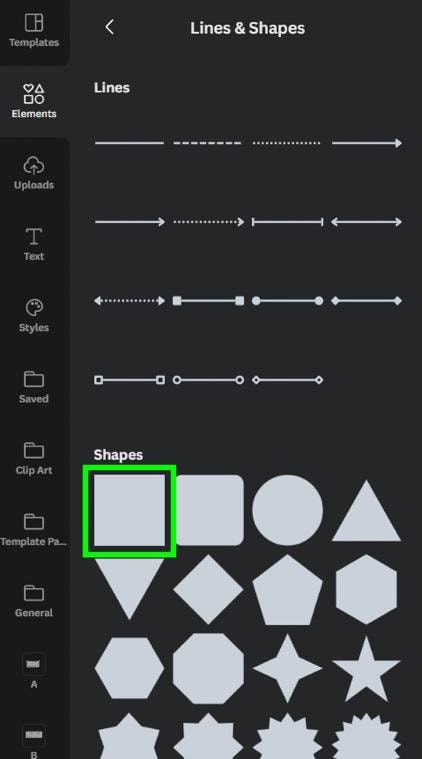
If the rectangle is not automatically available, click on See All to open up all the Lines & Shapes options. You’ll find the rectangle right away.
With your rectangle on your canvas, click on the Transparency Button and drag the Transparency Slider toward the middle.
This will make your rectangle see-through. You can now position it easier behind your target word.
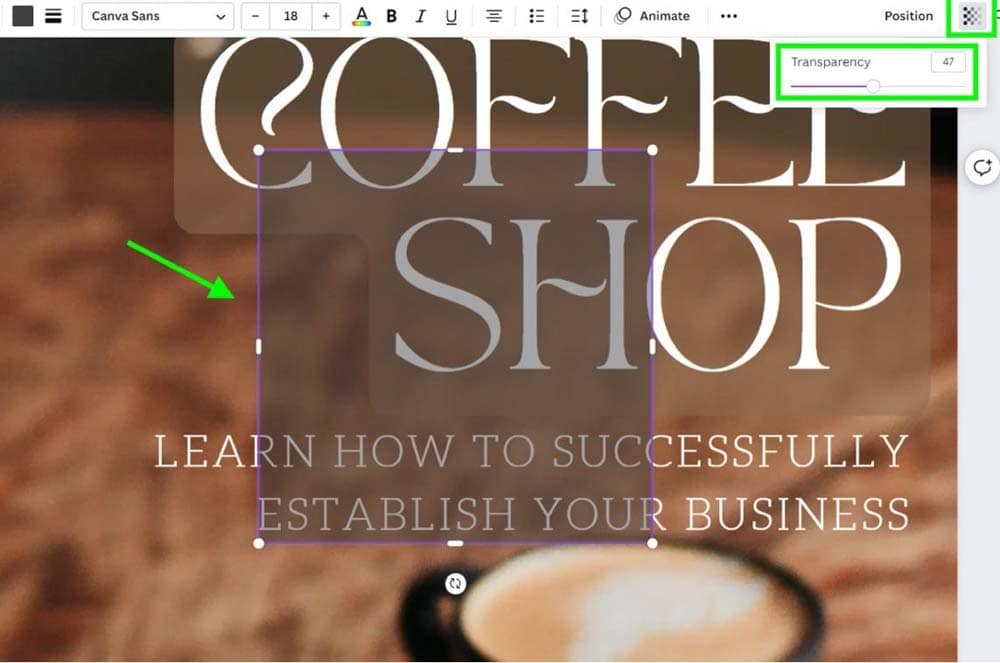
Now that your rectangle is see-through adjust the shape to the size you want your highlight to be.

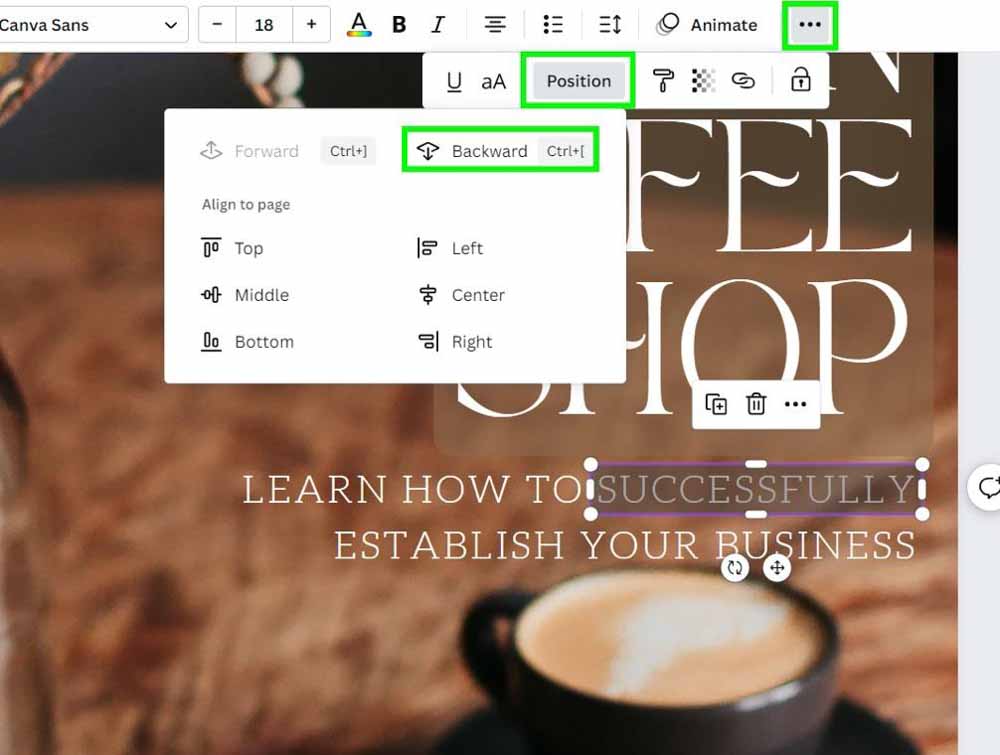
Now, you need to send the shape behind your target word.
To do this, click on the Three Dots in the Options Bar and then click on Position. Click on Backward to send the shape behind the word.
Now that your highlight is in place, you can make any other edits you need to make.
For example, click the Color Picker if you need to change the color.

How To Highlight Text In Canva Mobile
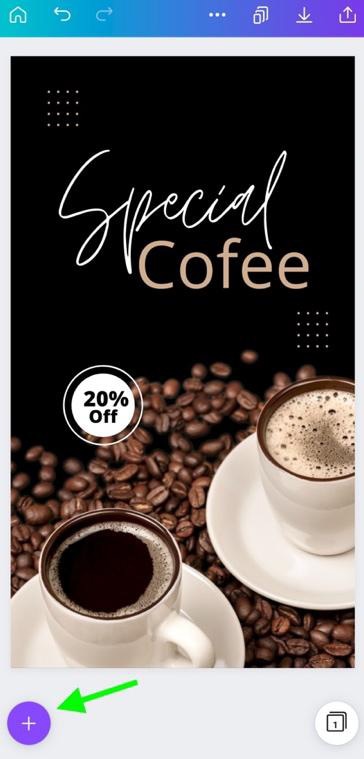
To highlight text on Canva Mobile, you must first lay down some text.
Click on the purple Plus Button to open up the Main Menu Panel.
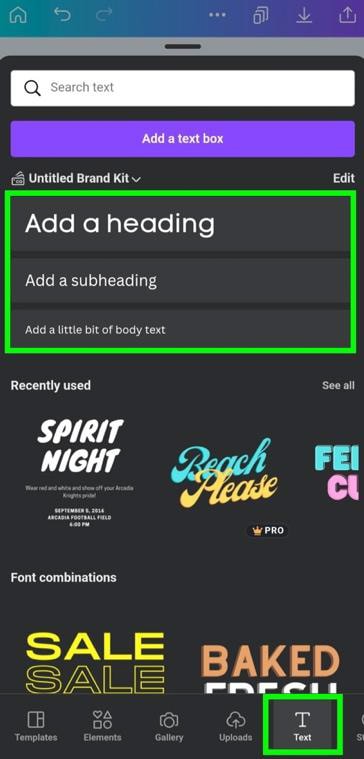
Tap on the Text Icon to open the Text Panel. You will have the same three size choices that you will find on the desktop version of Canva.
Tap on the size of your choice to add your text to the canvas.
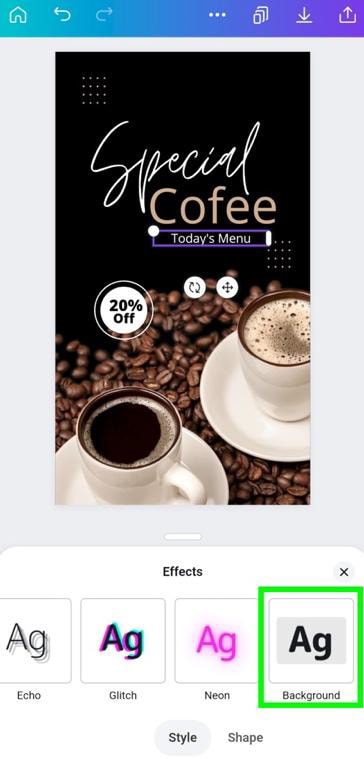
Next, tap on the Effects button and choose the Background effect out of your options.
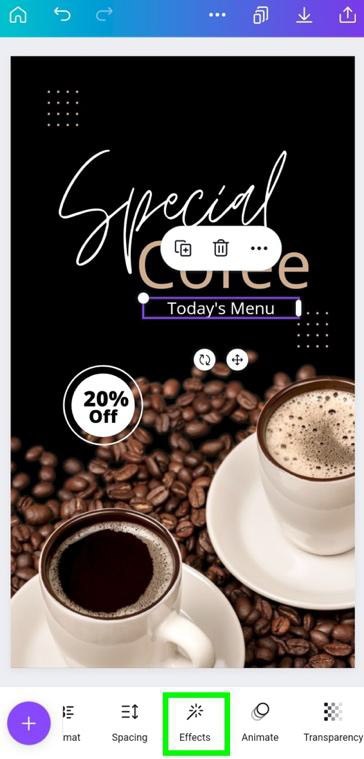
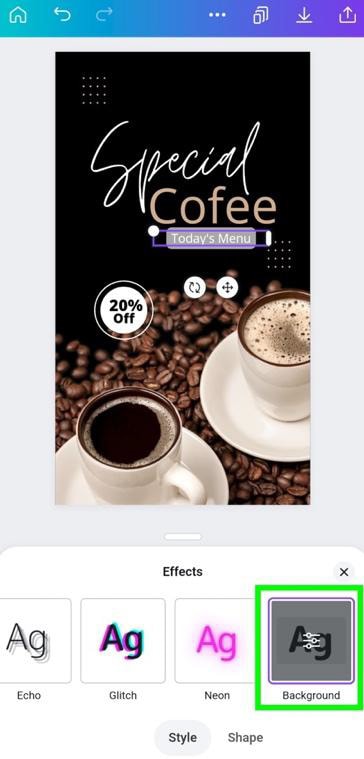
Your text will be highlighted automatically with the default highlight.
To adjust the options, tap on the Background button again.
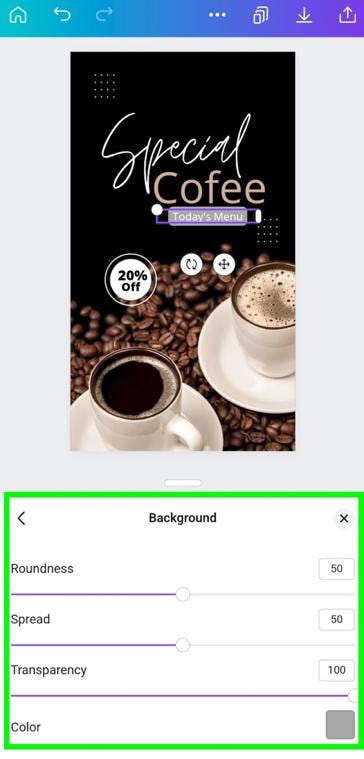
You will have all the same options available to you on Canva Mobile as on Canva Desktop. Adjust each setting to your liking.
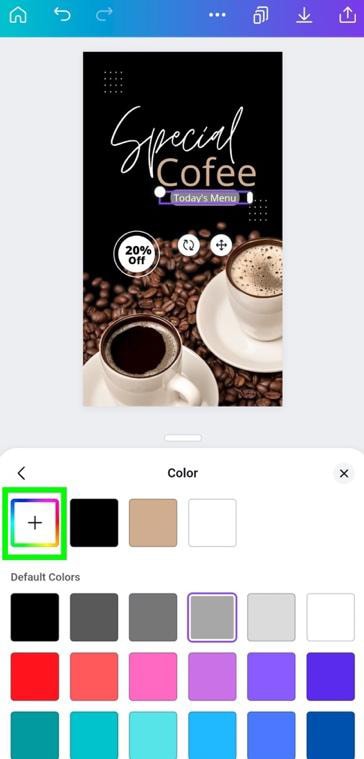
You can get more specific with the color of your highlight by tapping on the Add A New Color button and choosing your color from the Color Spectrum Map. You can also add a Hex Code here and use the Color Picker.
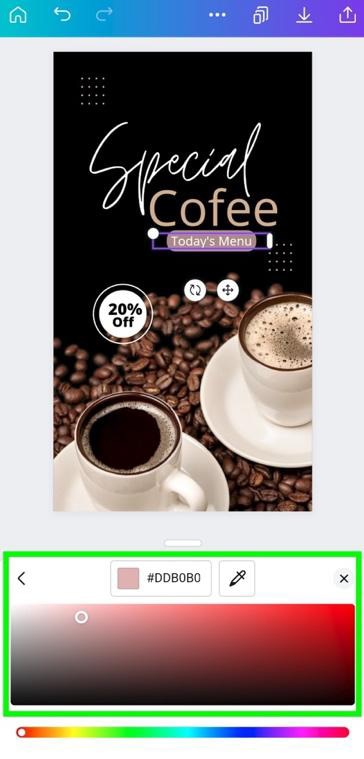
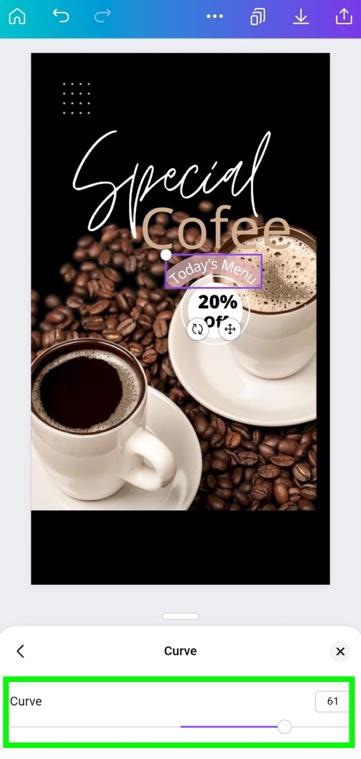
The last option you have is the Curve Effect. Tap on it to bend your text into a circle shape.
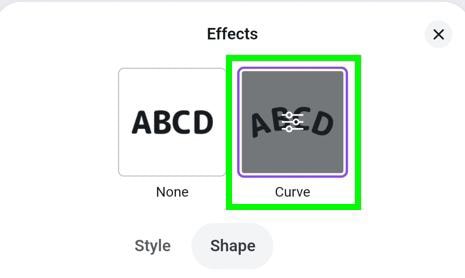
Tap on the Curve button again to adjust the Curve Slider to your liking.
- 100+ million premium stock photos, videos, audio, and graphics
- 610,000+ premium and free templates with new designs added daily
- Up to 100 Brand Kits to establish your brand's identity online
- Remove image backgrounds instantly with Background Remover
- Resize designs without quality loss with Magic Resize
- Schedule social media content to 8 platforms
- 1TB of cloud storage
- 24/7 customer support


