
Creating curved text in Canva is one of my favorite ways to add a fun and eye-catching factor to my designs while avoiding flat and boring text. Adding even a slight bend to your text is a long-standing trend in graphic design, and for good reason, as it adds depth and intrigue to the design.
To curve text in Canva, first, click on the piece of text you’d like to curve. Then click on the “Effects” Button in the upper settings bar. In the Effects panel that appears, click on the Curve setting to automatically curve your text. You can then adjust the curve slider to alter the curve amount.
In addition to the curving text process, I’ll show you how to ensure your text is readable with the letter spacing option. You’ll also find a few ways to use curved text in your designs, even if you’re on the go with Canva Mobile.
How To Curve Text In Canva
Curving text in Canva only takes a few steps. You can then follow a few of my suggestions for neatening up the effect on your design.
Step 1: Add Text To The Canvas
First, place some text on your canvas. Click the Text Tab to see all your text options. You can use any of the default text box sizes, depending on the text size you need. You can also press T to drop a quick text block on the canvas.
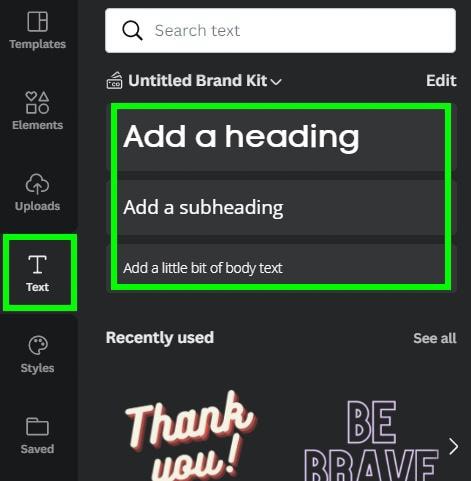
Click inside the text block to add your word or phrase to the canvas.

Step 2: Click On Effects And Curve Under The Shape Tab
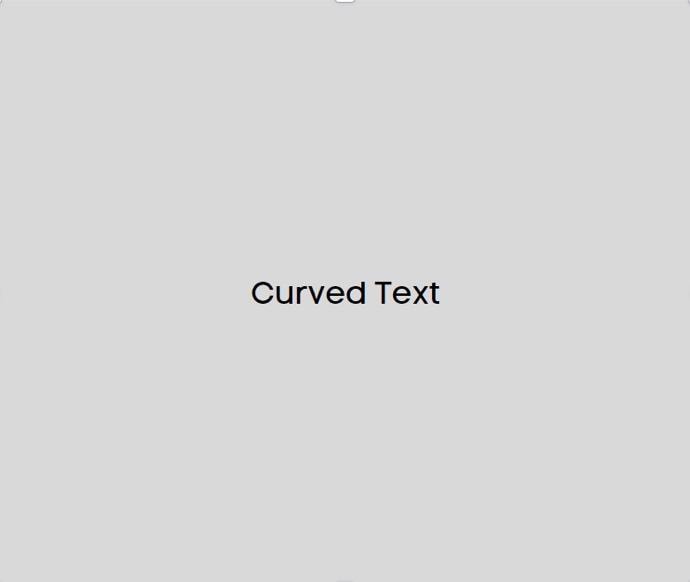
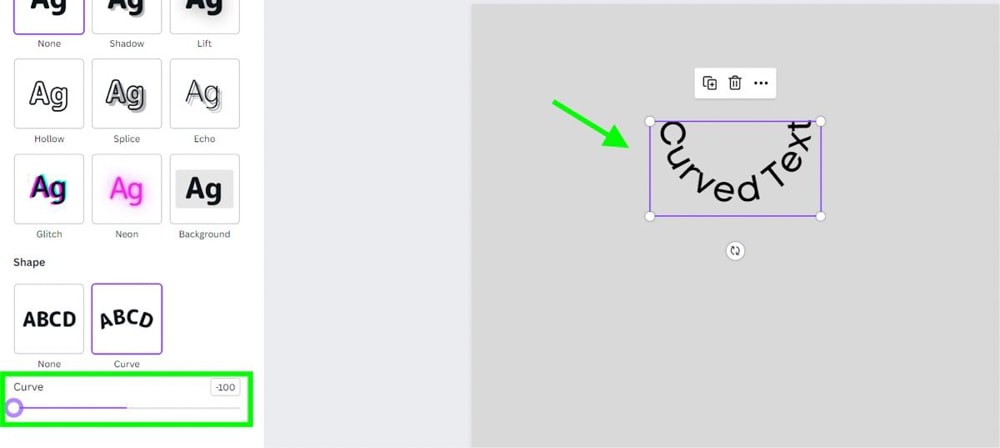
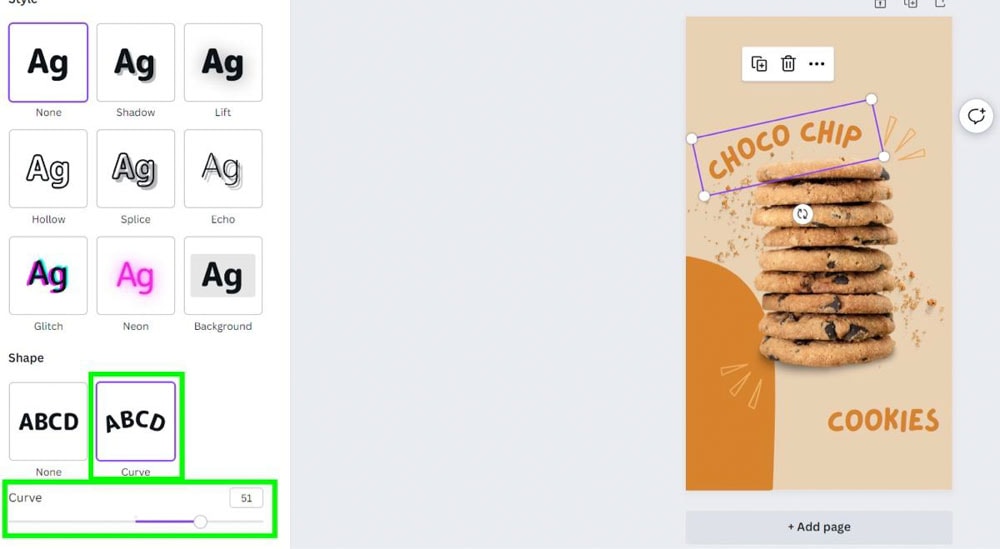
Now that your text is on your canvas, you can start the curving process by clicking the Effects button and selecting the Curve option under Shape.

You will immediately see your text curve slightly.

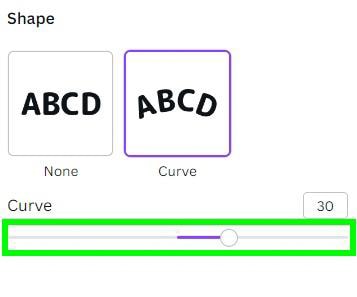
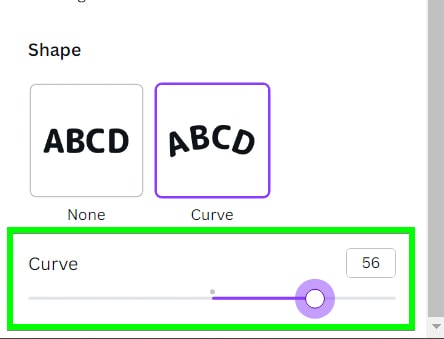
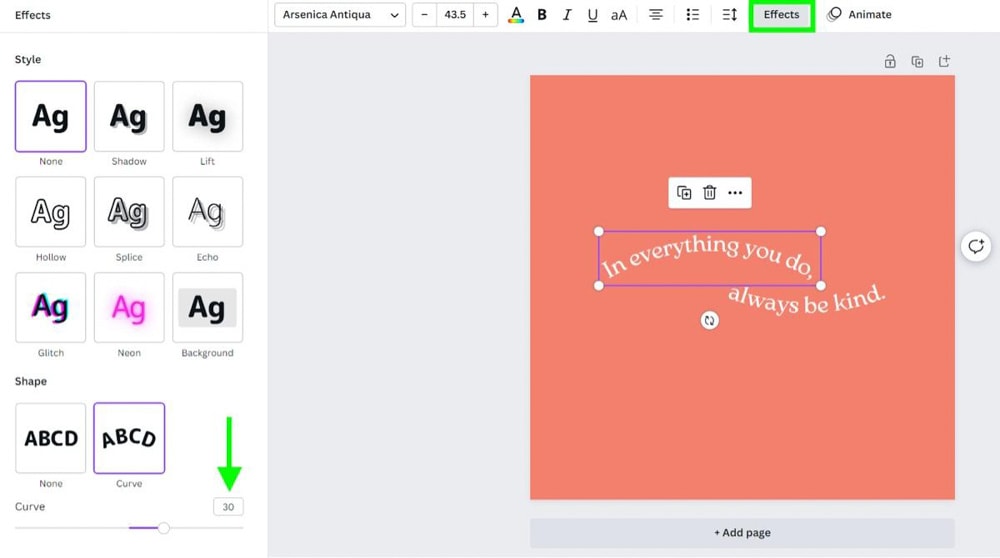
Step 3: Adjust The Curve Using The Curve Slider
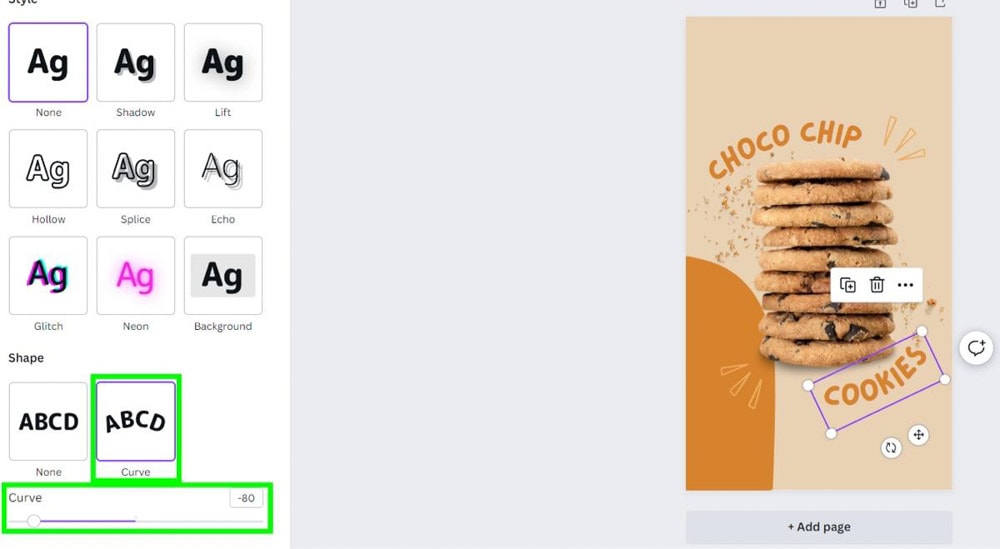
Drag the Curve slider all the way to the right to curve your text all the way down. Drag your slider all the way to the left to curve your text all the way up.
It’s common to go with just a slight curve to give the illusion of a softer-looking text, but it all depends on what you’re going for in your project.

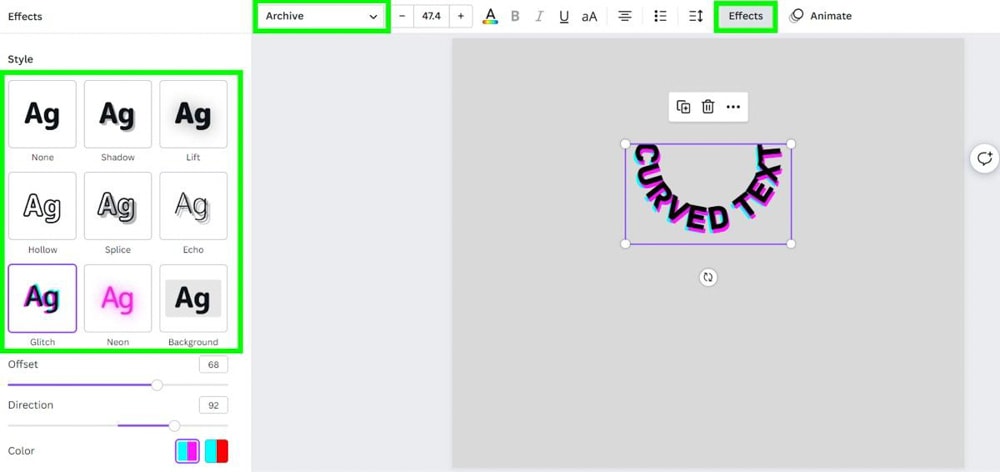
Step 4: Customize The Text (Optional)
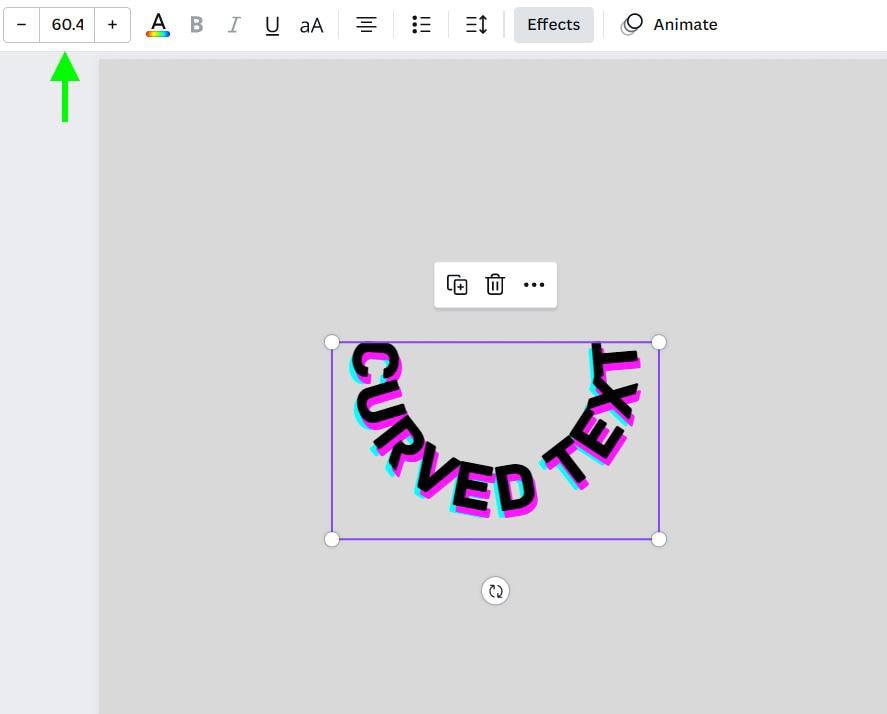
From here, you can change the Font of your text with the Font Drop Down Menu, the font size with the font block, and add additional effects with the Effects Button.
Unfortunately, Canva limits you to one extra effect per text block. Thankfully, all of your choices for effects are worth using with curved text, so you can’t go wrong here.
Step 5: Adjust The Letter Spacing (Optional)
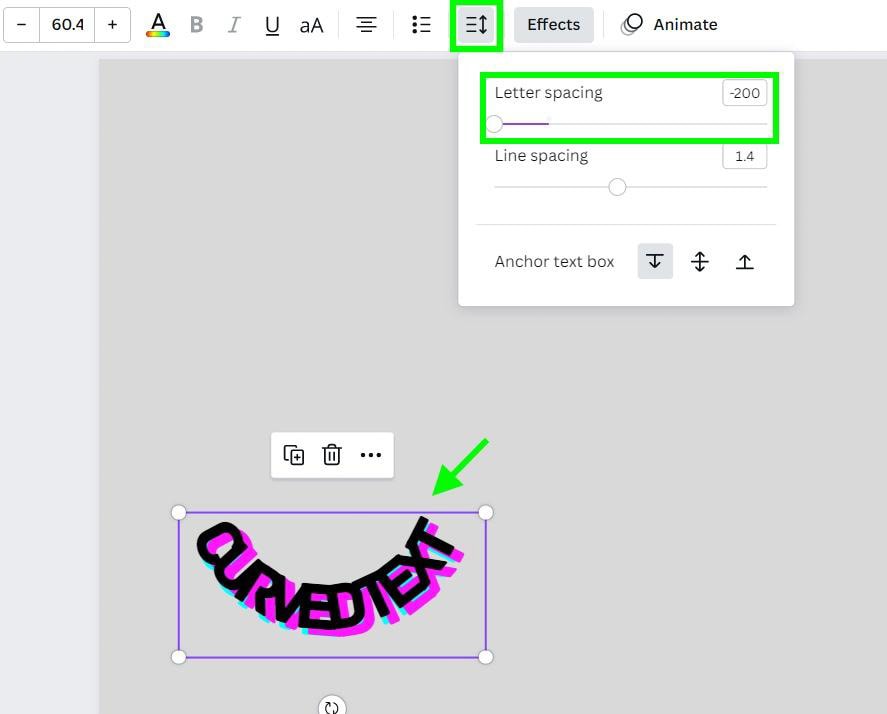
When you curve the text, it may look squeezed together in some cases.
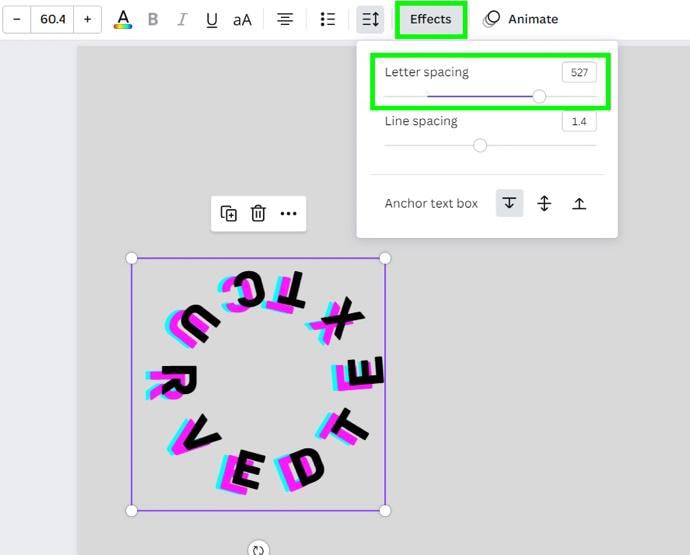
If your text looks squeezed, click the Spacing button to reveal your spacing options. From here, you can adjust the spacing between your letters with the Letter Spacing Slider.
Drag the Letter Spacing Slider to the right to put more space between each letter. You can even make your text a complete circle if you want to.
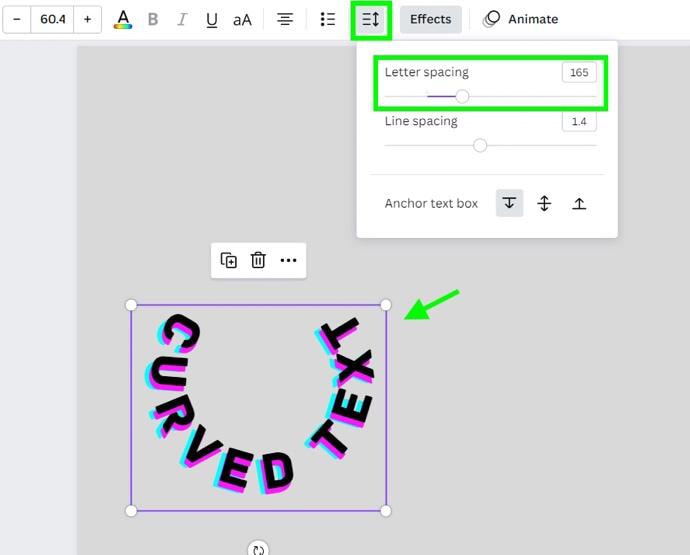
If you want to squeeze your letters closer together for your project, drag the Letter Spacing Slider to the left.
How To Use Curved Text With Other Design Elements
Curved text is a great way to add flair to your designs. Here’s how you can quickly add that professional flair with little effort.
Option 1: Add Curved Text Around An Object

Step 1: Add Text To The Design
First, add some text to your design by pressing T.
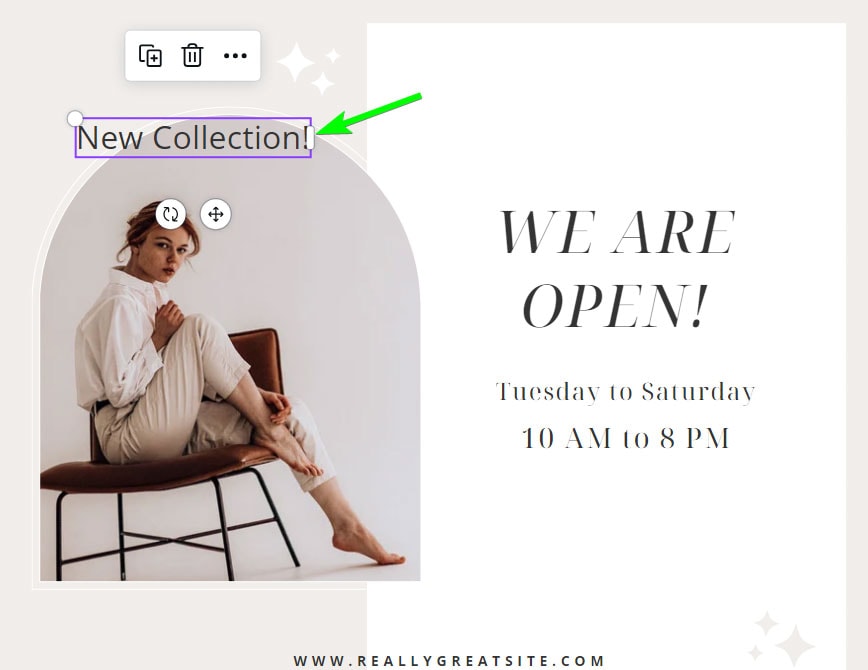
Step 2: Add A Curve Text Effect
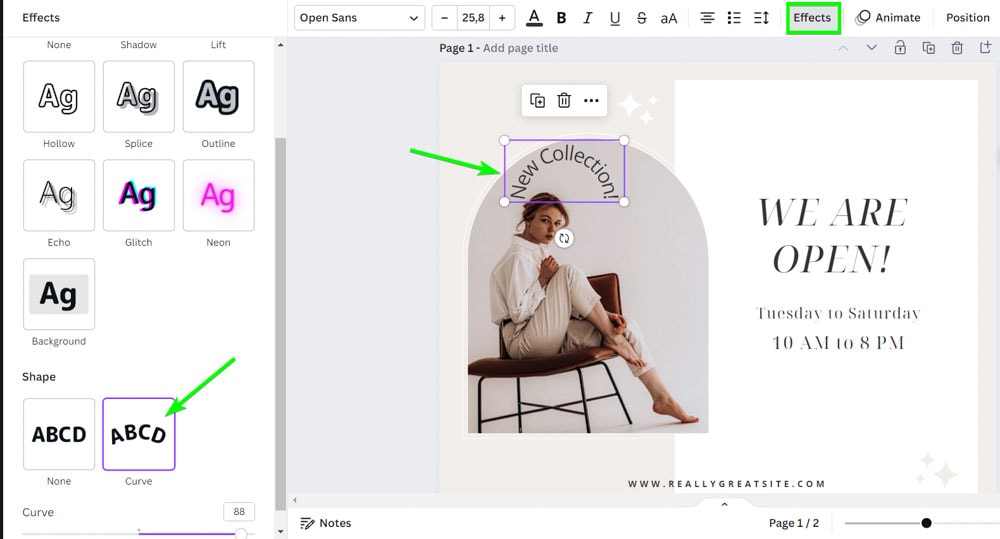
To curve this text, select your text and click on the Effects Button. Under Shape, click on Curve.
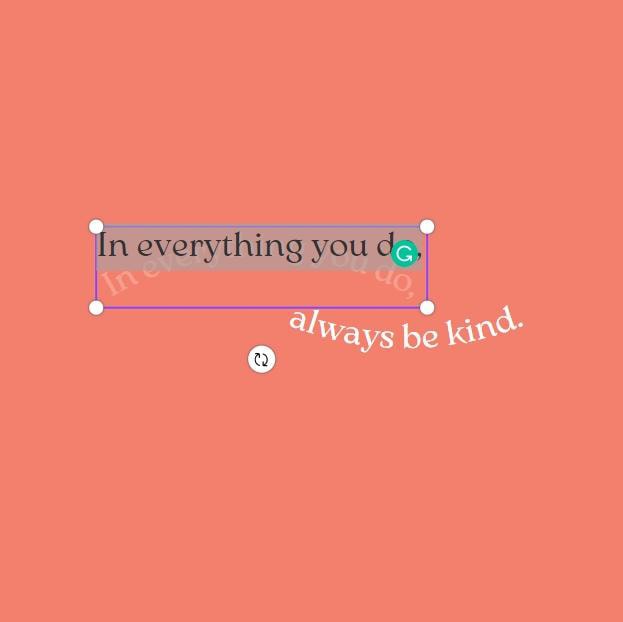
Step 3: Rotate The Text
Drag your text toward your target area. Now, use the Rotate button to skew your text to line up with the curve in your design. Don’t worry; this doesn’t need to be perfect. Just line it up to about where it needs to be.

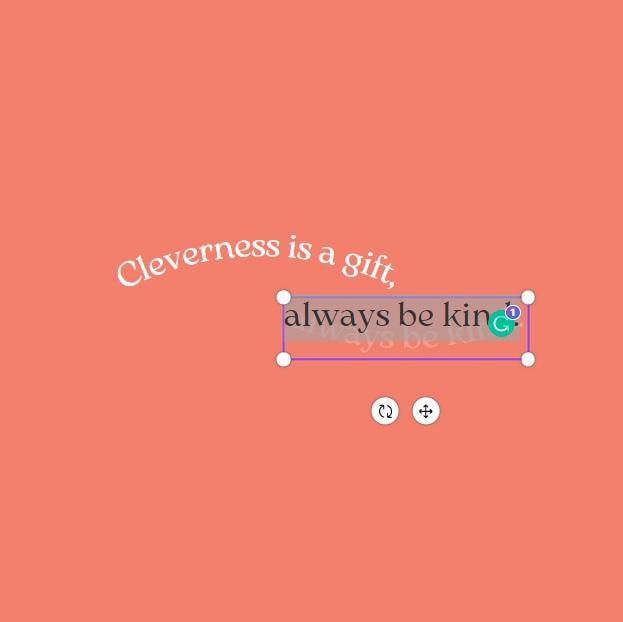
Step 4: Adjust The Curve Slider
Now that the text is lined up, adjust the Curve Slider to bend the curve of your text.
Adjust the Curve Slider slowly; it should bend precisely how you need it. You will most likely need to inch your text up or down to line it up perfectly.
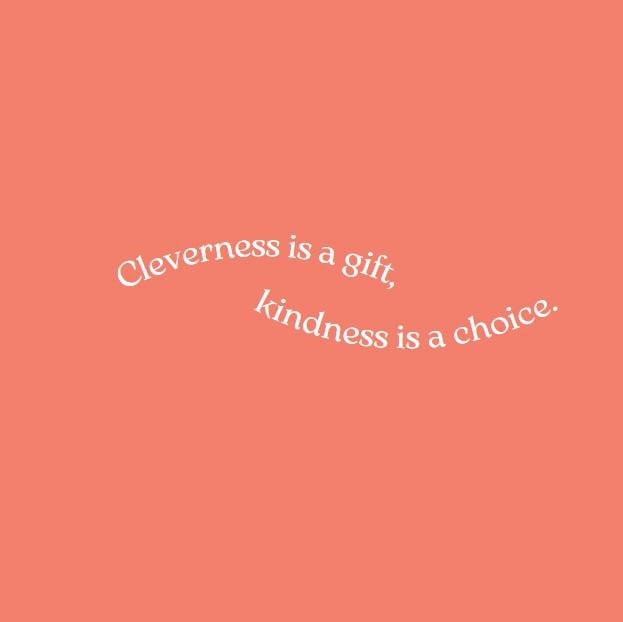
Step 5: Customize The Text
Now that you’ve perfectly curved your text and aligned it with the contour of your design, you can make the cosmetic choices required to blend your text with the rest of your design.
For instance, you can change the Font of your text with the Font Drop Down Window.
You can add one more effect to your curved text to make it pop more. Choosing the best effect depends on your project, but you can never go wrong with using Shadow, Echo, or Lift.

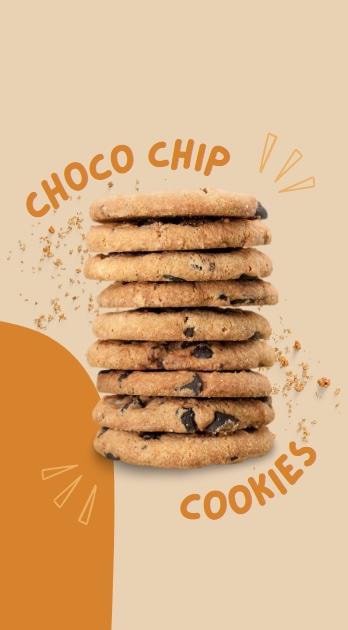
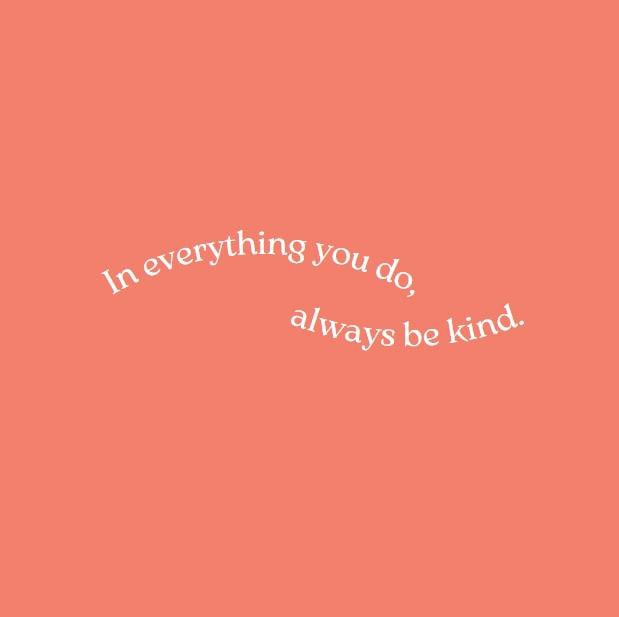
Option 2: Create A Fun Design Using Curved Text
Curving your text is not just about bringing a professional touch to your work but can also make it look more fun.
You don’t need to curve the text too much, either. Just enough to imply a “smile” is often sufficient.
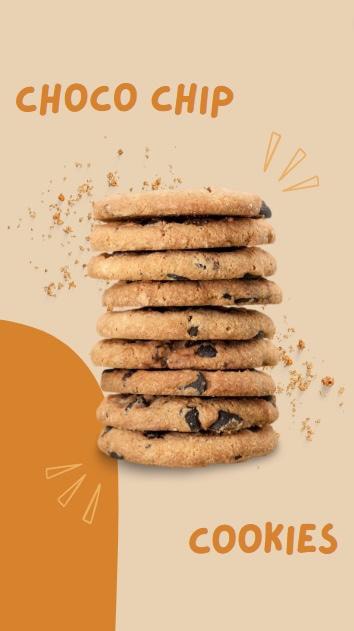
If you have some text that looks unapproachable or a bit too “buttoned up,” just put a “smile” on it by curving your text slightly.
How To Create Curved Text Using Templates
If you want a quick solution to adding curved text to a design, Canva has you covered with pre-made templates that feature curved text.
Step 1: Search For Templates On The Canva Home Screen
To find these pre-made templates, click on the Social Media Tab on the Canva Home screen. This will reveal thousands of social media templates for every social media site.

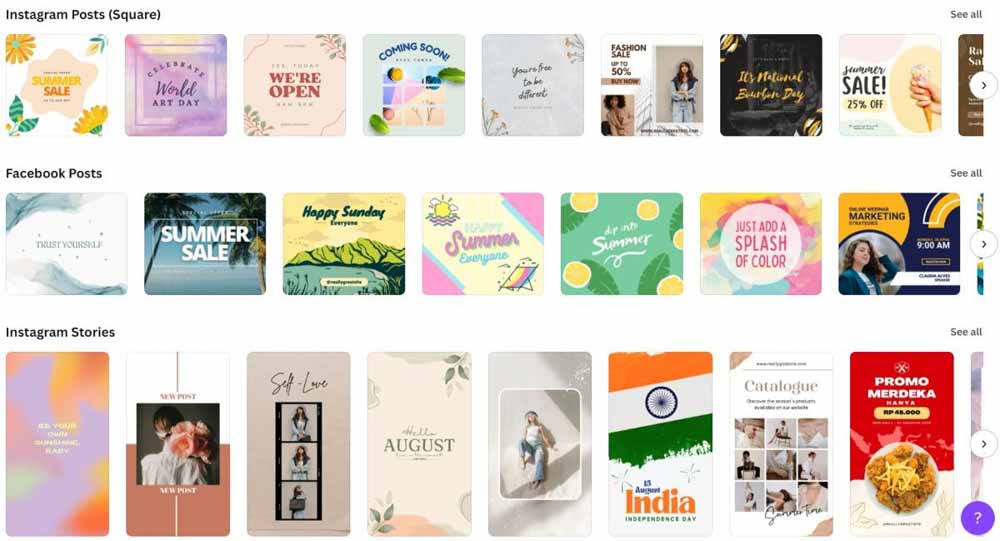
Step 2: Narrow The Search
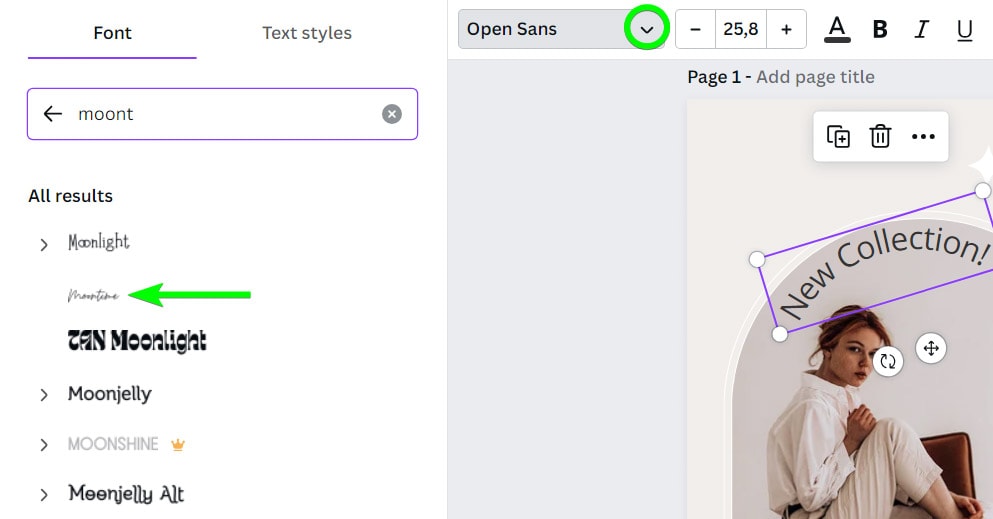
If you want, you can look through the thousands of social media templates from here and try to pick out the templates with curved text. If you don’t have all the time in the world, a much easier way is to search for templates with curved text in the search bar.
To do this, type in the kind of template you’re looking for + “curved text.”
You will now see many more templates with curved text in your search results.

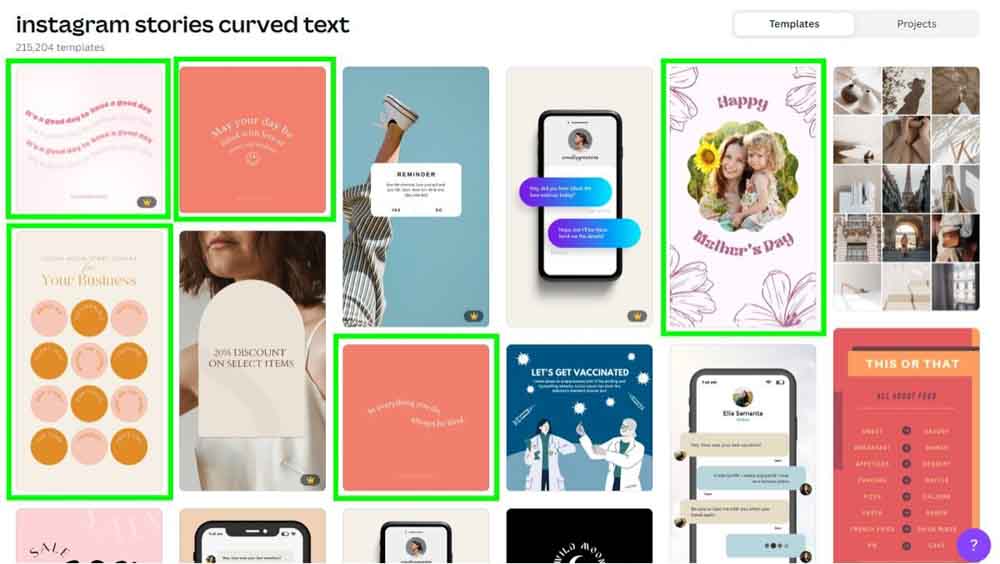
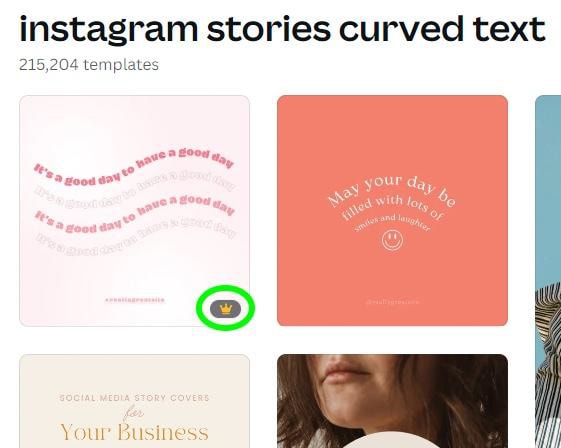
Be warned, though. There are plenty of templates that you can only use if you are a Canva Pro member. You will know if the template is “Pro only” if there is a Crown Icon in the corner of the preview picture.
Step 3: Open The Template And Edit The Text
Once you find a template that appeals to you, select the curved text itself and then click on the Effects button. From here, you can adjust the curve or add any effects you’d like to.
Or, you can leave the template “as-is” and just change the text itself.
Double-click each text block to change the text itself and type in your word or phrase.

So, if you need some inspiration to help you brainstorm ideas for curved text, using one of Canva’s pre-made templates is never a bad idea.
How To Curve Text In Canva Mobile
Another cool thing about curving text in Canva is that you can do it on the go! Here’s how you can curve text on the mobile version of Canva.
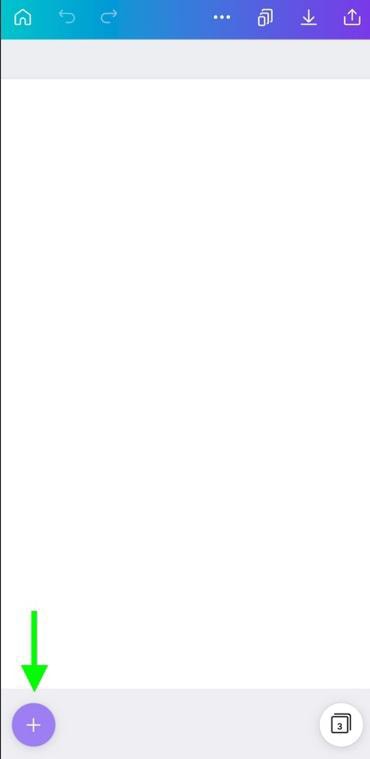
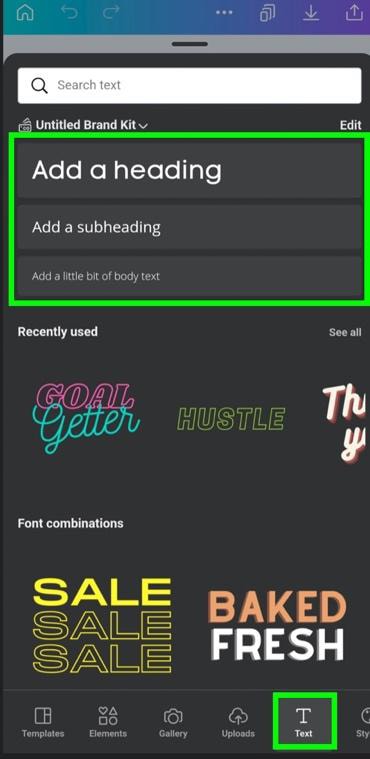
Step 1: Add Text To The Canvas
To start, click the Plus Button and scroll to the Text Tab. Add a heading, subheading, or body text to the canvas. Tap inside the text block to add your text.


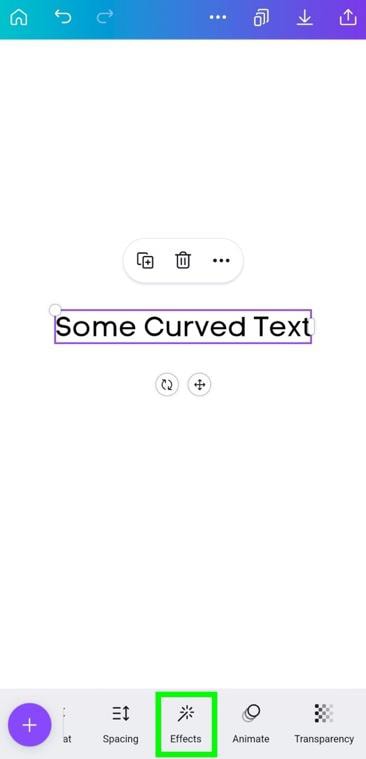
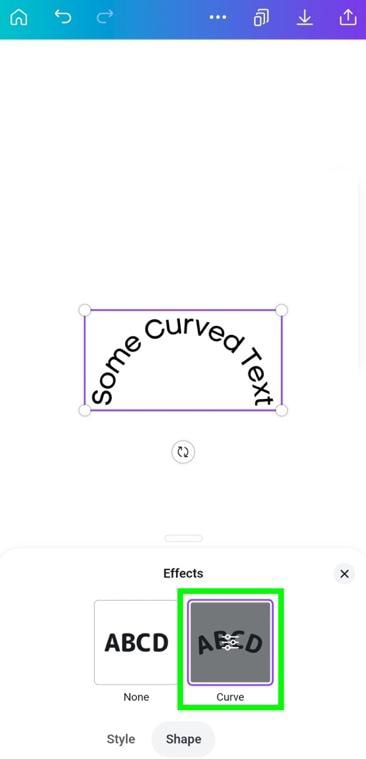
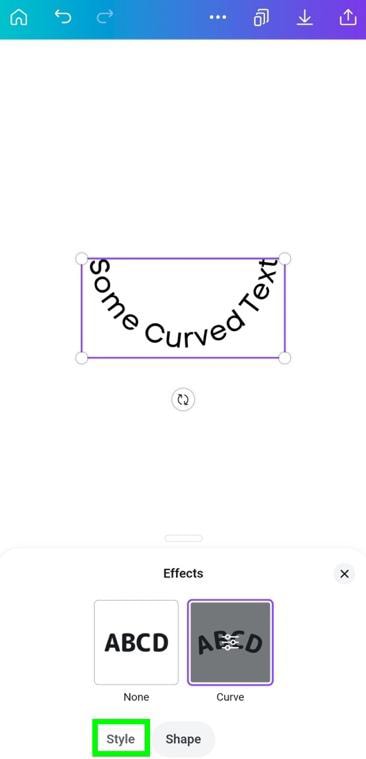
Step 2: Select “Curve” From The Effects Tab
To start the curving process, tap on your text and the Effects button. From here, tap on Curve to get things rolling.
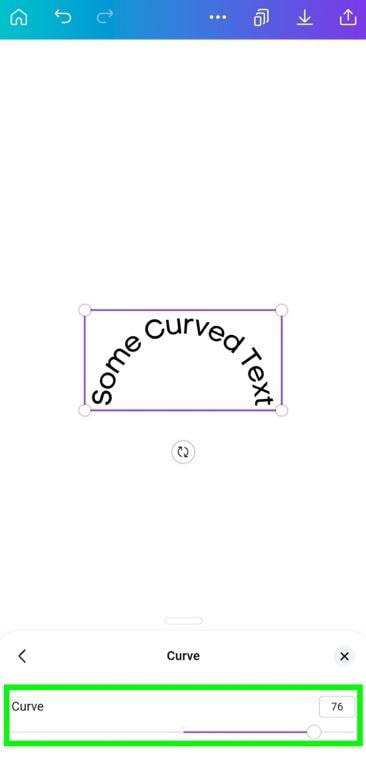
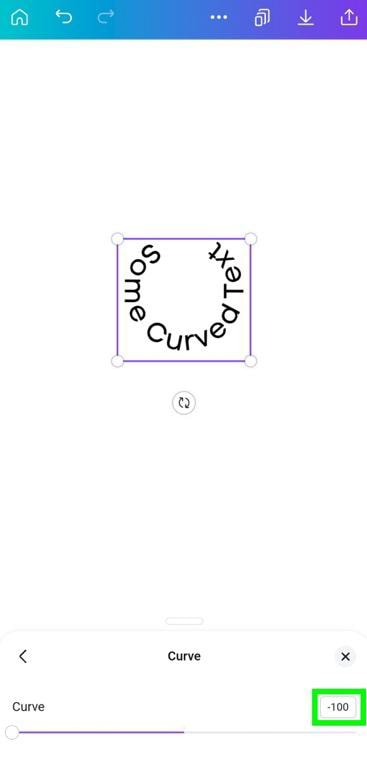
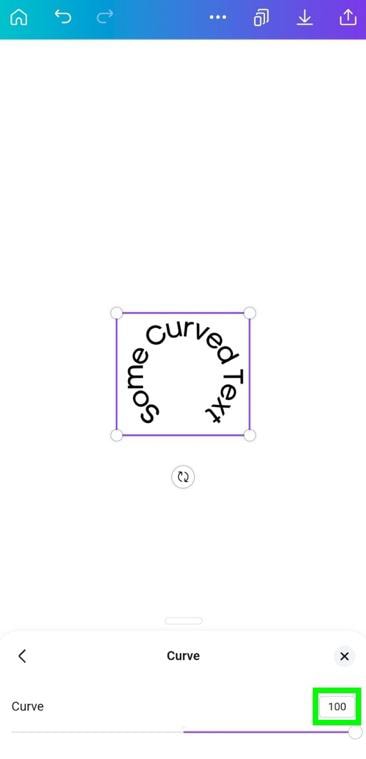
Step 3: Adjust The Curve
Now that your text is slightly curved, it’s time to adjust your curve exactly where you need it. You can do this with the Curve Slider at the bottom of the screen.
If you drag the slider all the way to the left, you will curve your text up. If you pull the slider all the way to the right, you will curve your text down.
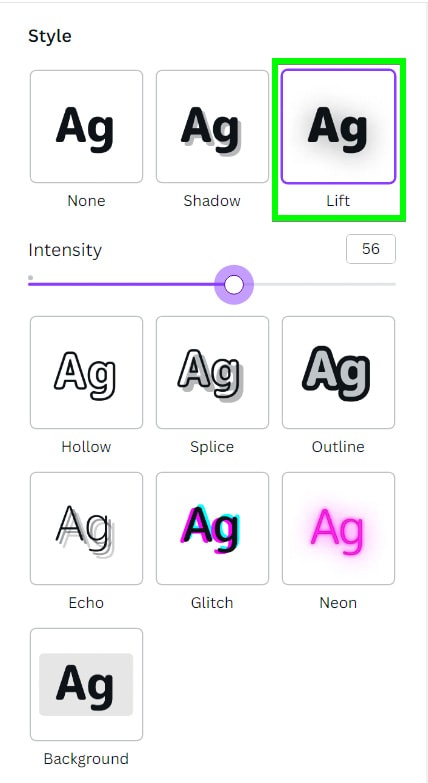
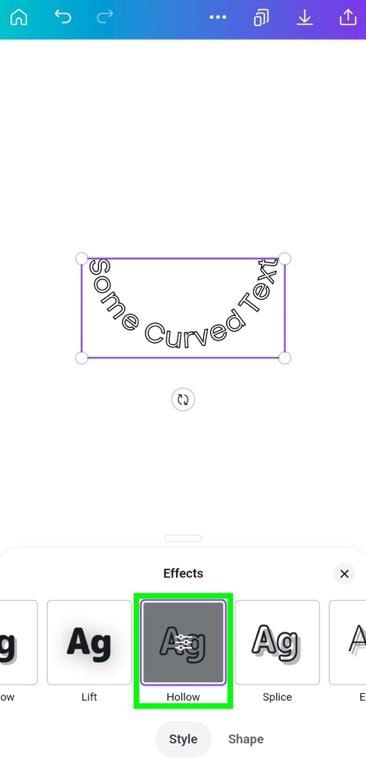
Step 4: Add An Additional Text Effect (Optional)
Once your text is curved the way you need it, you can add one additional effect.
To do this, tap on Style to bring up the Effects Scroll Wheel. You can tap on one of these effects to add it to your text.
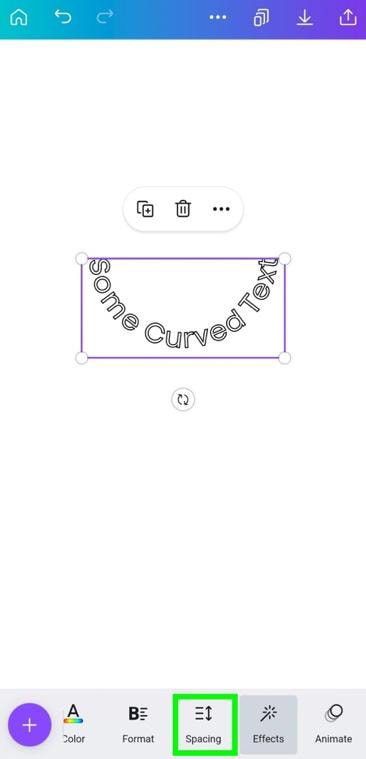
Step 5: Adjust The Letter Spacing (Optional)
Now that your text looks the way you want it to, you can adjust the letter spacing to make your text more readable or artsy.
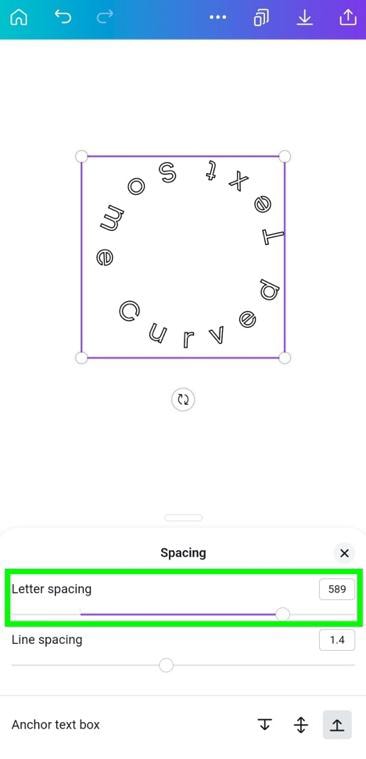
- 100+ million premium stock photos, videos, audio, and graphics
- 610,000+ premium and free templates with new designs added daily
- Up to 100 Brand Kits to establish your brand's identity online
- Remove image backgrounds instantly with Background Remover
- Resize designs without quality loss with Magic Resize
- Schedule social media content to 8 platforms
- 1TB of cloud storage
- 24/7 customer support


