
You can add a drop shadow in Canva to an image or text with just a few clicks. Adding a drop shadow to an element is a great way to add depth and create a more dynamic design.
This post will show you how to go beyond the basics when adding drop shadows. You’ll understand how to add drop shadows to images, text, and graphics. By the end of this tutorial, you will know how to add a drop shadow in Canva to any element.
How To Add A Drop Shadow To Images In Canva
Adding a drop shadow to an image only takes a few steps using the edit Photo panel.
Step 1: Click On Your Image To Select It
Click on your image to select it. A purple bounding box around the image will indicate that you successfully selected it.

Step 2: Click On Edit Photo
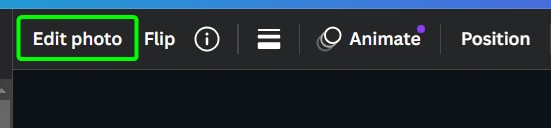
Once you’ve selected your image, click the Edit Photo button at the top left corner of the options bar.
Step 3: Select Shadows Under The Fx Effects
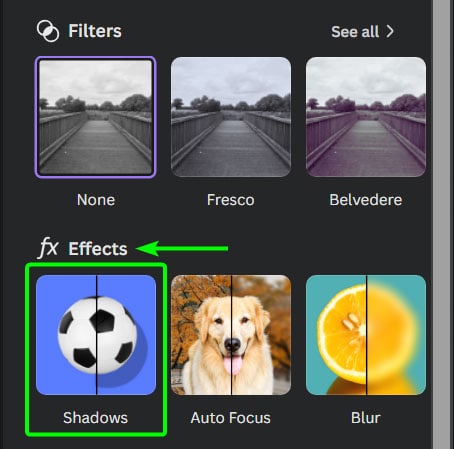
Once you click the Edit Photo button, you will see an assortment of filters and options. Scroll down to the fx Effects section, and click on Shadows.
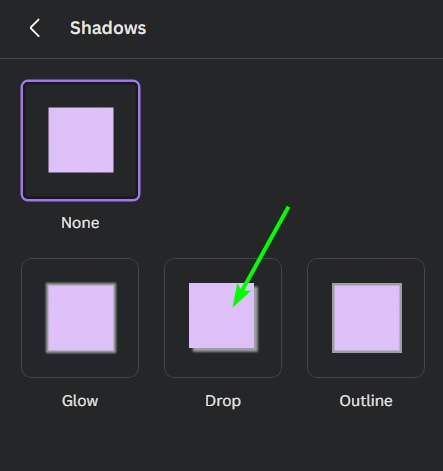
Then, select one of the three shadow options based on how you want your shadow to look.
Glow creates a soft shadow around all the edges of the image, Outline creates a harsh shadow around all the edges, and Drop adds a soft shadow around two of the edges, which creates the effect of the element being slightly lifted off the page. I will select Drop for this example.
Note: This is based on the new Photo Editor in Canva. The old version offers more shadow options.
After clicking Drop, a basic drop shadow will be added to your image.

Step 4: Adjust The Shadow Settings (Optional)
If you are happy with the look of the shadow, you can leave it at this. However, if you want to customize it, you can adjust the settings.
When you select a shadow type, the settings automatically appear below the shadow types.
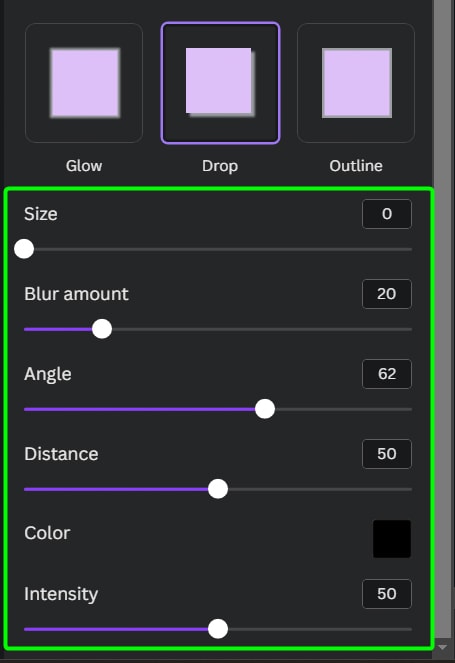
The settings work as follows, and you can set them to what works best for your image and design:
- Size: Allows you to adjust the size of the shadow, which is how far out it extends
- Blur Amount: Affects the softness or hardness of the shadow by blurring or sharpening it
- Angle: The angle determines which two sides of the image the shadow will sit on
- Distance: Determines how far or close the shadow is to the image
- Color: You can use the color picker to change the shadow’s color
- Intensity: Adjusts the opacity of the shadow, making it darker or lighter
Once you’ve finished adjusting your settings, you can simply click off the image or exit the effects panel, as the drop shadow is already applied to your image.


How to Add A Drop Shadow To Text In Canva
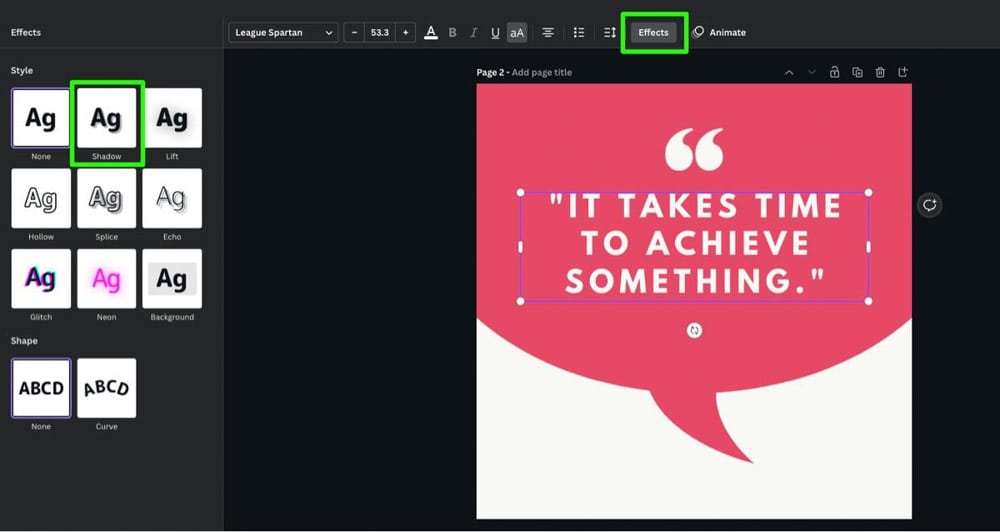
Adding and adjusting a drop shadow to text is similar to an image. After you select your text, click on the Effects button in the options bar. Select the Shadow effect in the list of effects that open in the sidebar.
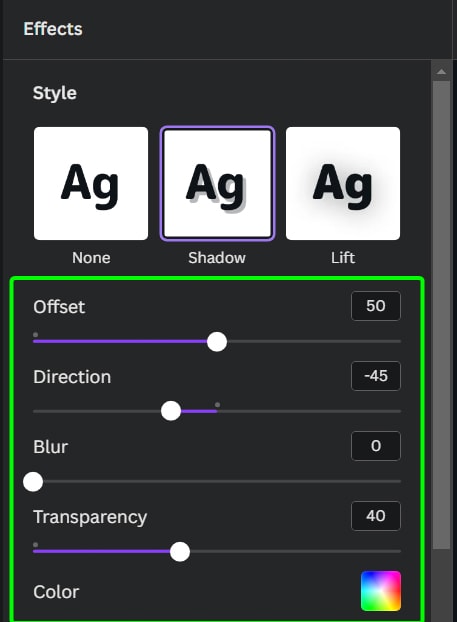
Once you click the Shadow effect, the settings appear, allowing you to adjust the effect as needed. These settings are similar to the drop shadow settings above.
- Offset: Offset works as the size slider does, changing the shadow’s size
- Direction: Works like the angle slider, determining the sides of the text where the shadow appears
- Blur: Increase or reduce the softness of the shadow by blurring or sharpening it
- Transparency: Works like the intensity slider and reduces or increases the opacity
- Color: Allows you to change the shadow’s color
Once you’re happy with the shadow, click anywhere off the text to confirm the effect.


How To Add A Drop Shadow To Graphics In Canva
Adding a drop shadow to a graphic is very different than with an image or text. You will need to perform a workaround to add a drop shadow to these elements.
Step 1: Duplicate The Page Your Graphic Is On
You first need to duplicate your page to make it easier to convert your shape into an image. You can do this by clicking the Duplicate Page button above your page.
This will make an exact duplicate of the page you’re working on.

Step 2: Delete Everything But The Graphic
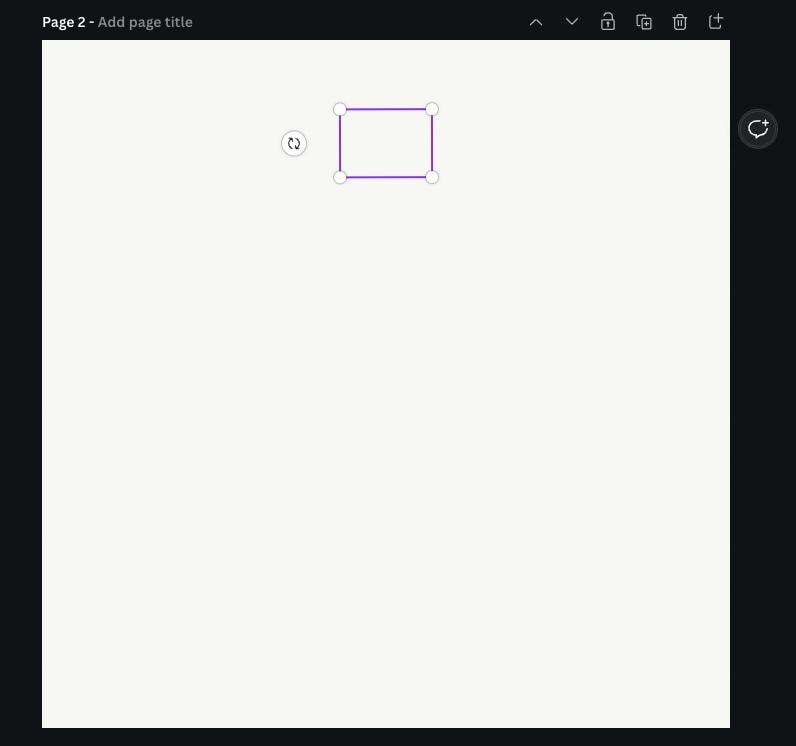
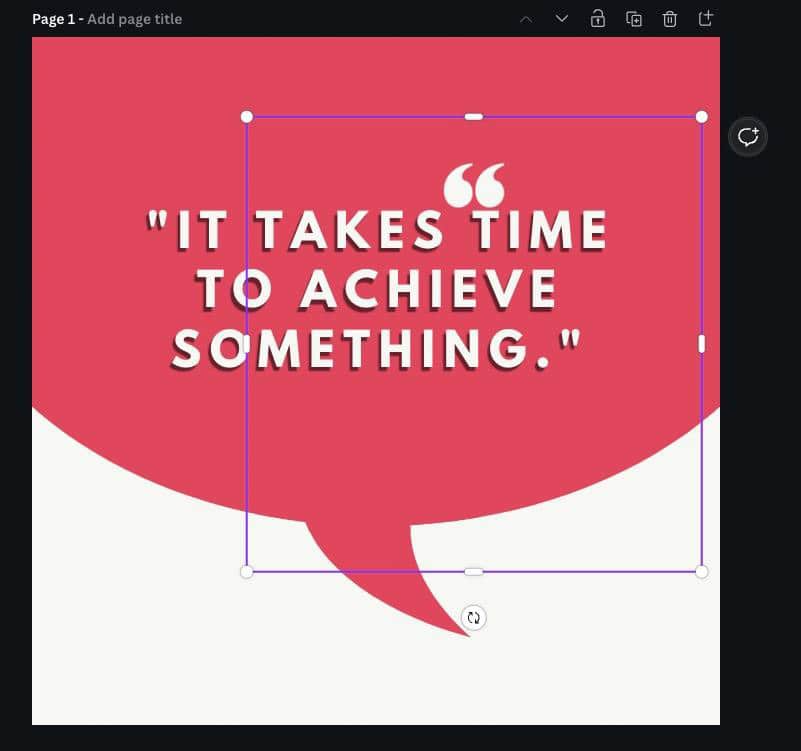
On your duplicated page, delete every element except the graphic to which you want to add a drop shadow.
After you delete all the other elements, you can click on it to ensure that the graphic wasn’t also deleted. Especially if the element is white and now on a white background.
Step 3: Download The Page As A PNG
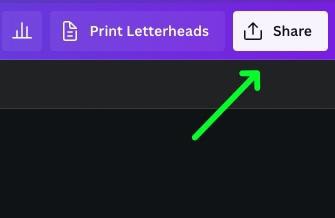
Once you have isolated your shape, click on the Share button.
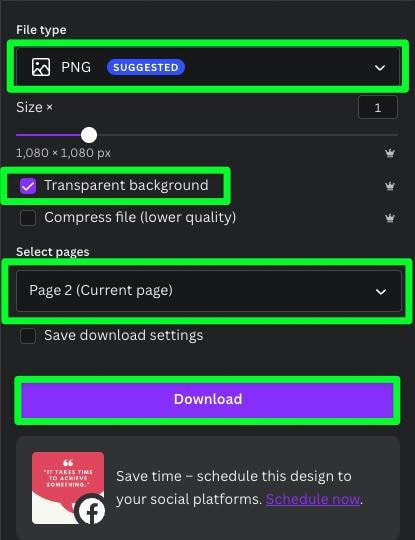
In the options that drop-down:
- Make sure PNG is selected under File Type.
- Check on Transparent Background.
- Double-check that the page your graphic is on is under Select Pages.
Once you’re ready, click Download. Your image has now been downloaded to your hard drive.
Step 4: Upload The PNG To The Original Page
Go back to your original page and delete the original graphic. Then, drag your newly downloaded PNG to your project.

To resize the PNG, line it up toward the corner of the page, then use the opposite corner handle to fill the entire canvas.
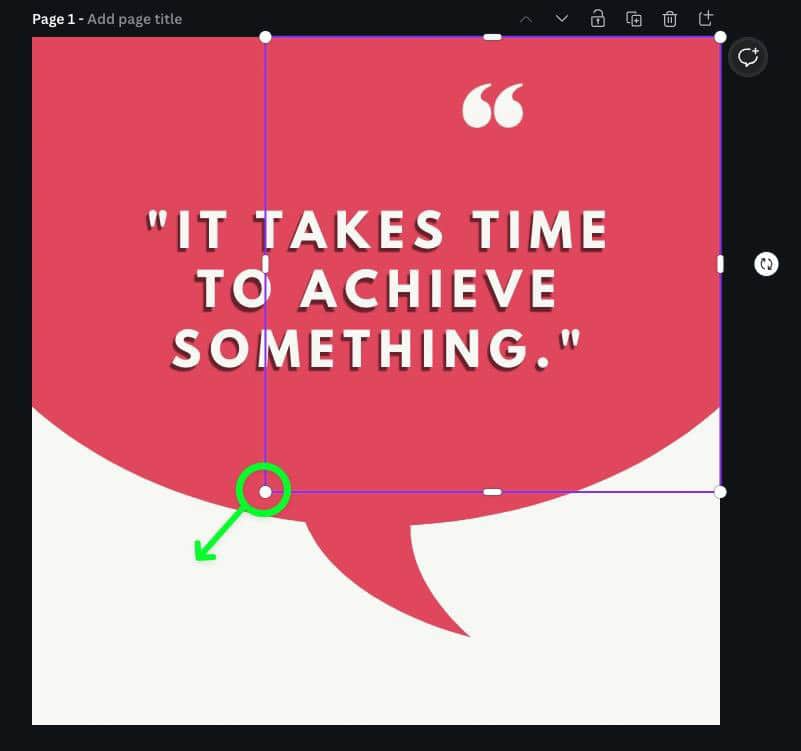

Step 5: Crop The Graphic To Remove Transparent Areas
This part is crucial, so don’t skip this step. Before you add your drop shadow, adjust all four crop handles on the image.
Drag the crop handles away from the edge of the Canvas. If you don’t do this, the image will shrink and move when you apply the drop shadow.

Step 6: Follow The First Section To Add A Shadow
Now that your complicated shape is an image and that image has been cropped correctly, you can add your Drop effect exactly as described at the beginning of this article.