

Knowing how to add metadata in Photoshop will help keep your images organized and can even protect you from unauthorized use if you plan to publish your pictures online.
For this reason, it is essential to ensure you understand how the metadata and copyright information can affect your images and how to edit this information straight from Photoshop.
How To Add Metadata To An Image In Photoshop
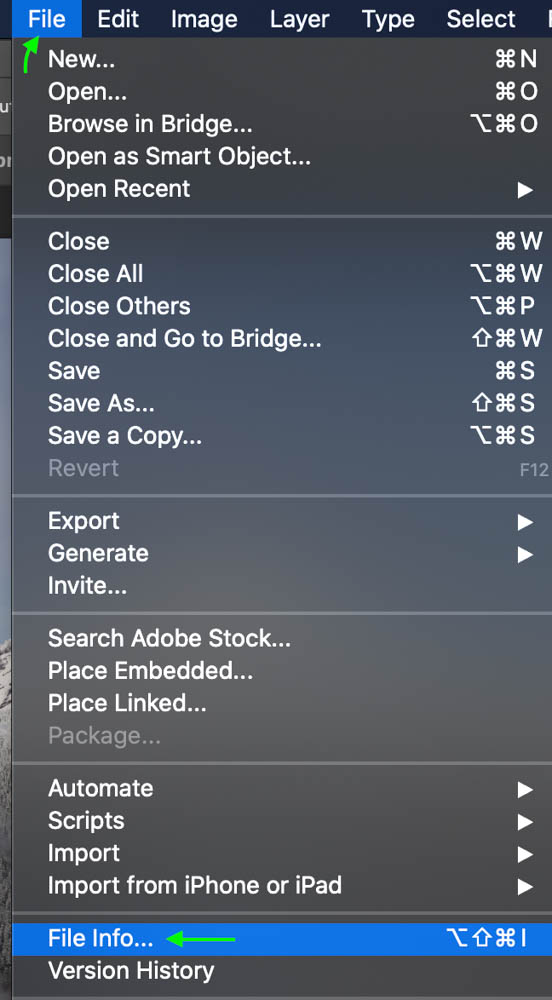
Step 1: Go To File > File Info
You can access the metadata for any image by heading to File > File Info.
Step 2: Add Your Information To The Basic Tab
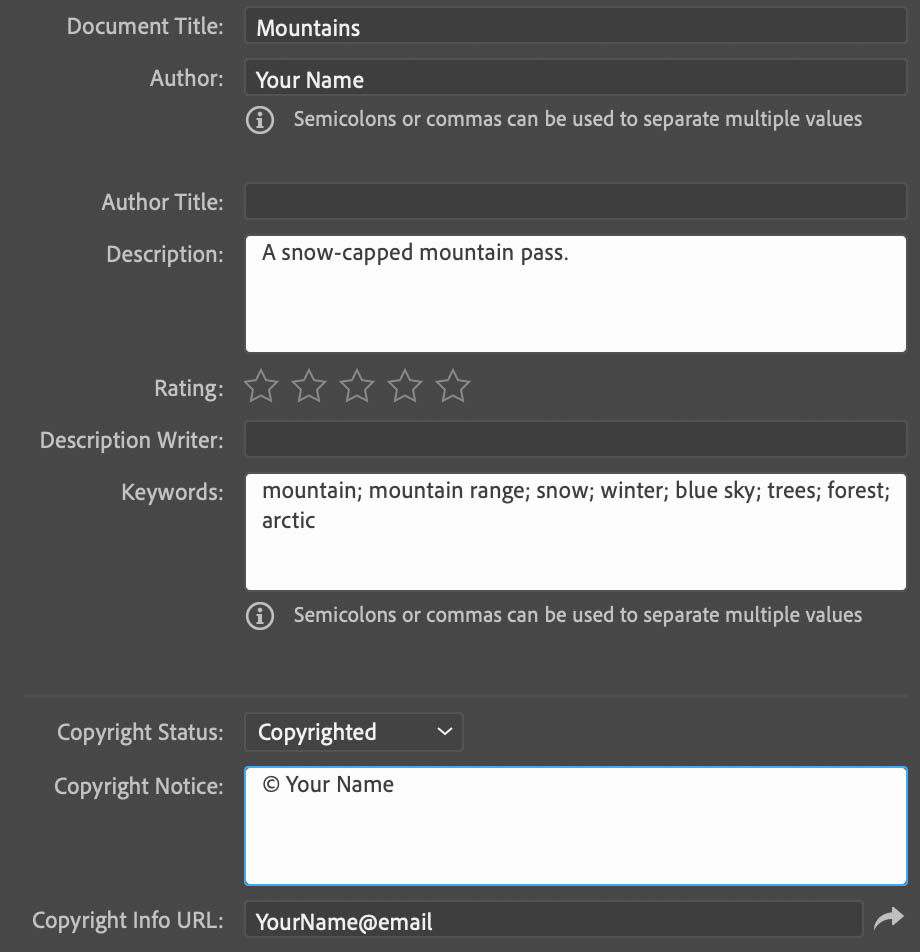
Head to the Basic tab first and fill out the basic information there. Because metadata can be seen by others who download your file, add whatever you’d like other people to see. Add your name in the Author space, and if you’d like, you can add a Document Title and Description for your image. Click the drop-down menu after Copyright Status and select Copyrighted.
Next, you can add the copyright notice in the box provided. This includes the copyright symbol, your name, and whatever other information you would like to add — some people add the name of their business if applicable. If you have one, you can enter the URL of your website page that holds your copyright information in the Copyright Info URL box.
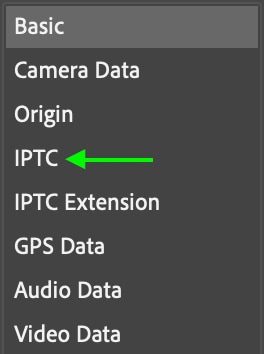
Step 3: Add Your Contact Details To The IPTC Tab
You’ll also need to enter contact details in the IPTC tab on the left.
At the top of this section, you’ll see your name in the Creator field. In the provided boxes below, you can enter any contact details you like. This may be your website, email, or any other personal or professional contact details you’d like people to use to get in touch about sharing your images.
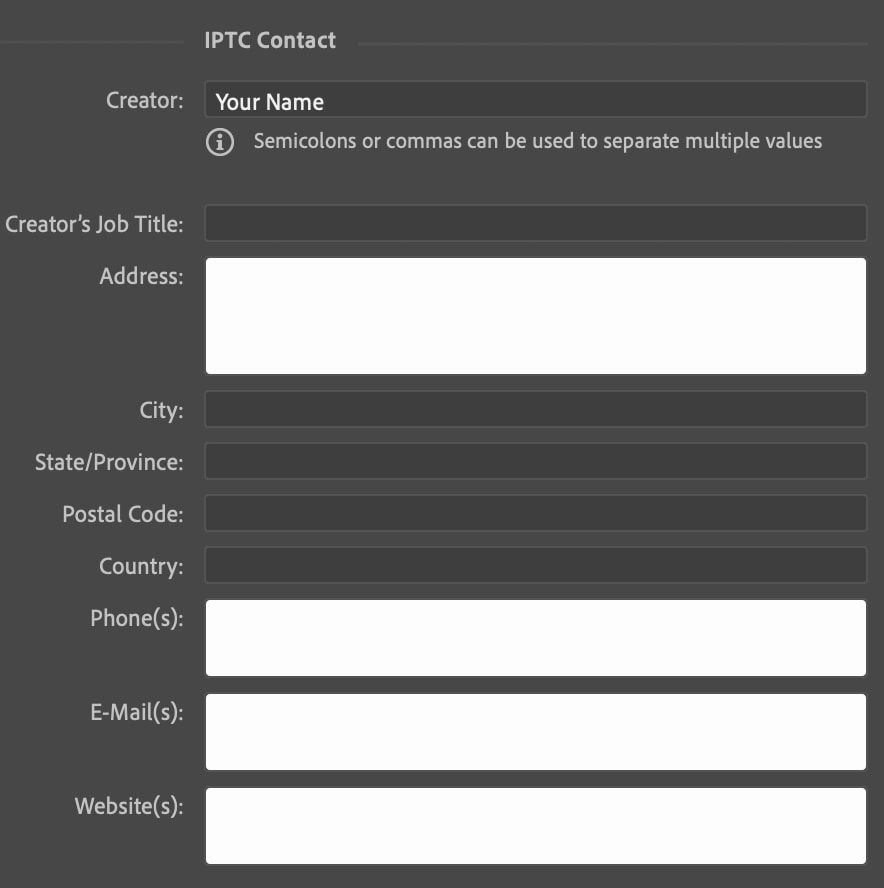
While you do not have to list any personal contact information, you should at least have a website with a contact form someone can use to reach you.
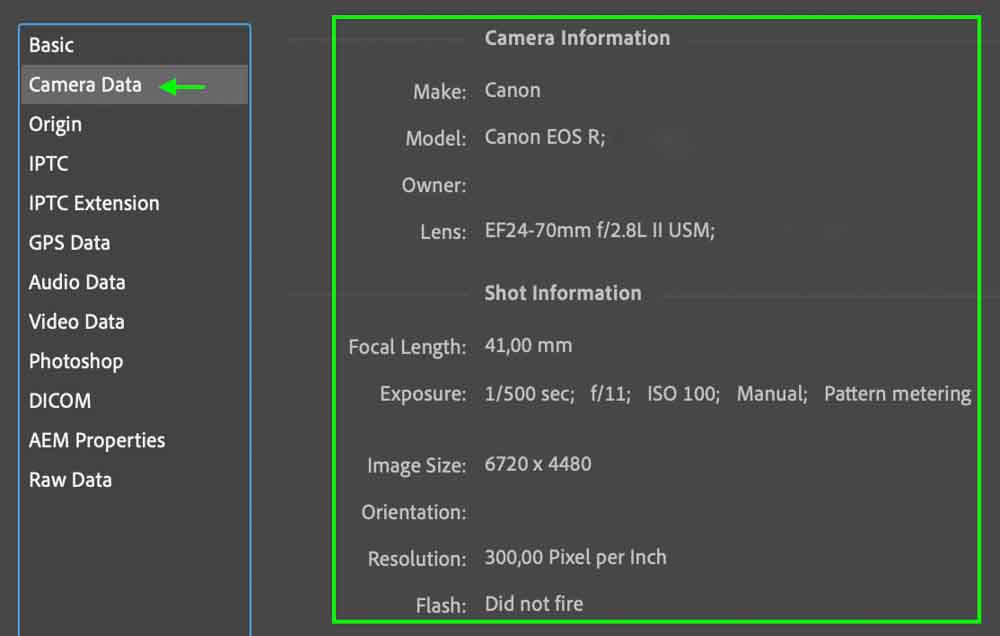
Step 4: View The Camera Data In The Camera Data Tab
You can then read through the Camera Data tab, which contains information such as your camera’s make and model and settings used at the time, like ISO and Exposure. While you cannot add or edit the camera data as it is automatically set by your camera when you take the image, it is still good to know where to find your image’s camera data if you need to view it.
Step 5: Enter Information For Publication (Optional)
The Origin tab allows you to view and edit the information that will remain about the original file (before any edits are made). Then, IPTC and IPTC Extension tabs allow you to enter important data for publication and are of particular use for press members.
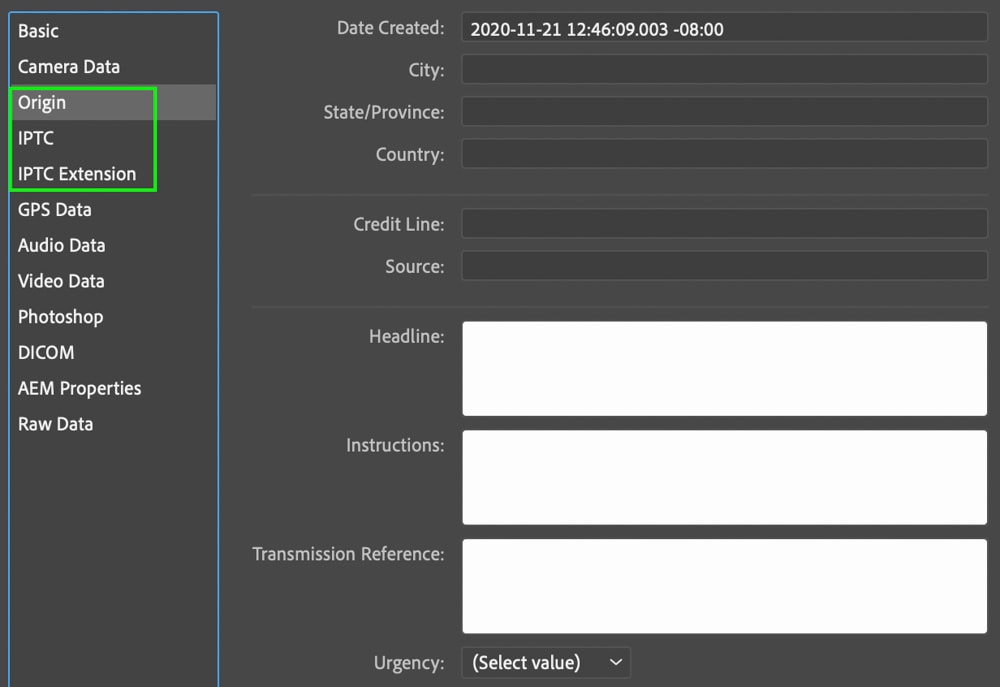
This information is optional, though some professionals may need to enter them at the requirement of their publication.
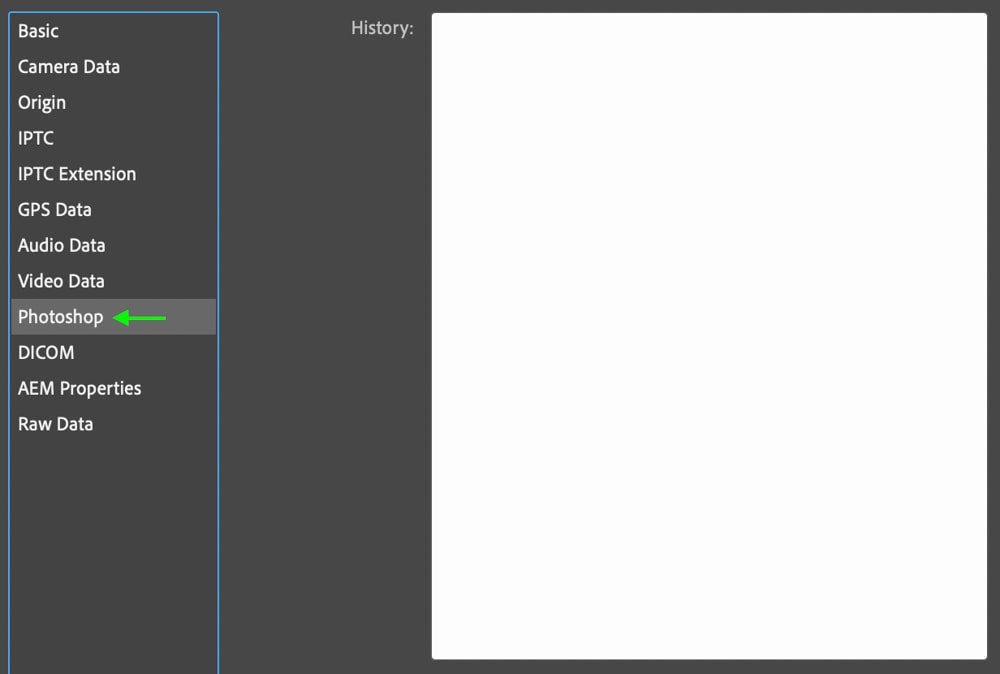
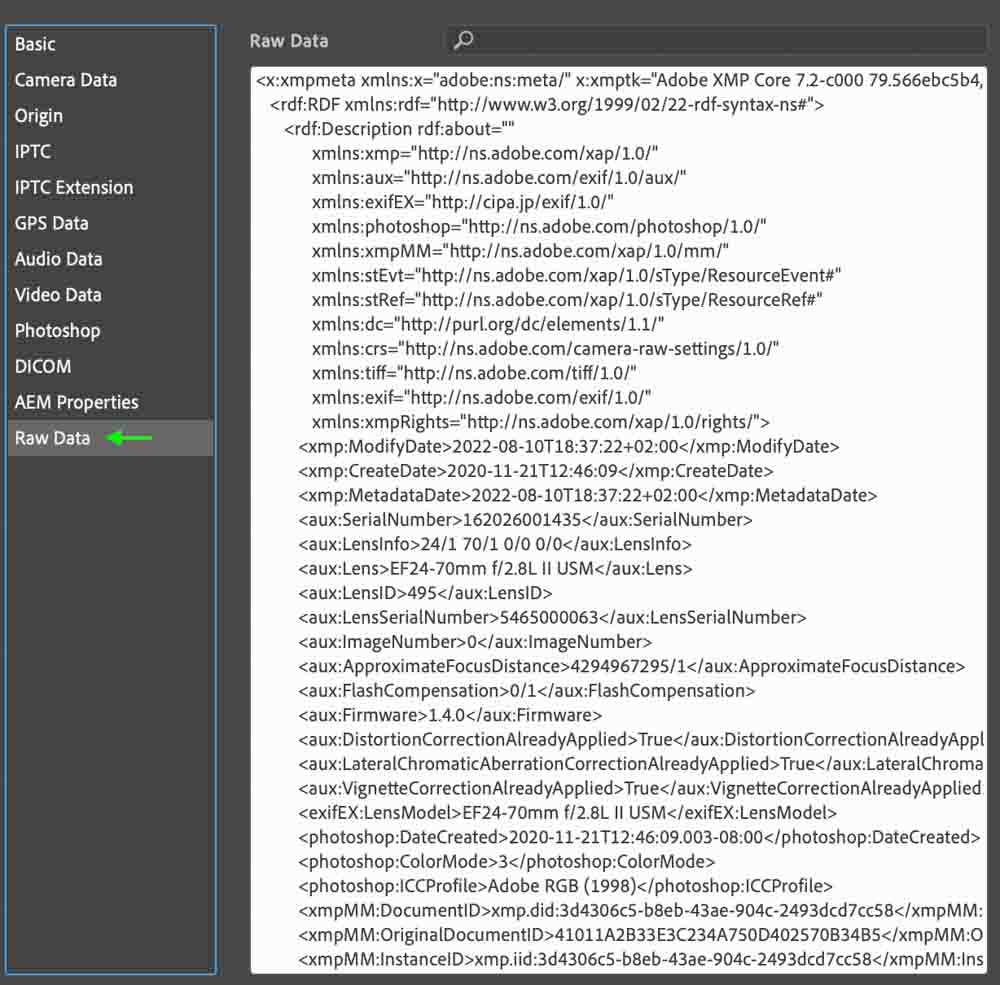
Step 6: View The GPS, Photoshop, And Raw Data Tabs (Optional)
When your camera’s GPS is active while taking a picture, the GPS information appears in the GPS Data tab. Otherwise, this tab will appear blank. You cannot add or edit this information.

In the Photoshop tab, you can edit the history of your Photoshop edits. This can be useful if you’d like to recreate the same editing style in the future but don’t plan to keep the PSD file.
In the Raw Data tab, you can view and edit the raw XMP data, which contains all of the metadata embedded in the file thus far.
You will only need to use the Audio Data, Video Data, DICOM, and AEM Properties tabs in specific circumstances, so feel free to skip over those.
Step 7: Save A Metadata Template In Photoshop (Optional)
Once you’ve edited your image’s copyright info and metadata, you can create a template from the same information you’ve added here in case you’d like to apply it to other images without having to redo the whole process again.
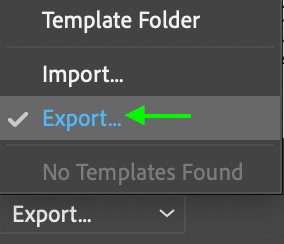
At the bottom of the window, click the Template Folder button and select Export.

In the export window, you can name the template and select a location to save the template in your files. If you don’t have a specific location in mind, just save the file in the default location, which will be Photoshop’s Metadata Templates folder. Ensure the File Format is set to XMP, and click Save when you’re done.
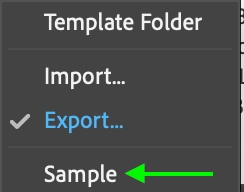
You can then apply the template to any other image by opening up any photo and heading to File > Info. At the bottom, click the Template Folder drop-down menu again. Now, select the template as you’ve named it.
You’ll see a dialogue box open — here, and you can select Keep original metadata but replace matching properties from template. This will ensure that image-specific information like camera settings and dates remain. This is an important step as otherwise, your image may have incorrect metadata or copyright information.
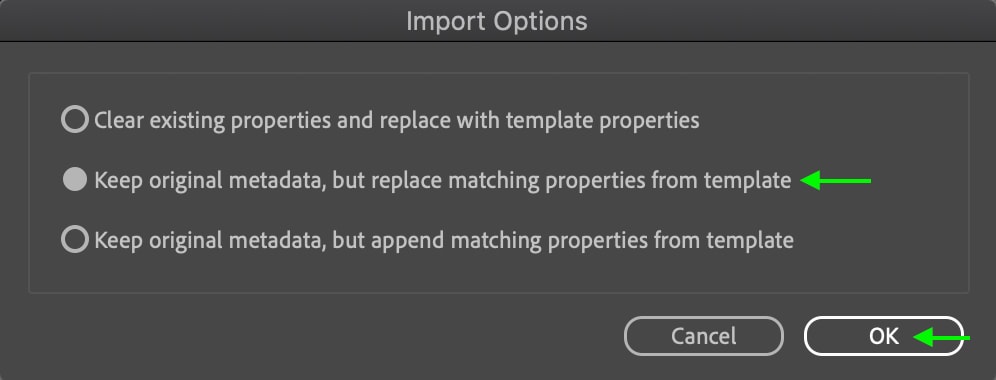
Click OK when you’re done. Photoshop will then apply the information in the template to the image you’re currently working on.
Step 8: Go To File > Export > Export As And Enable The Copyright And Contact Info Option
To export your image while keeping the metadata attached, go to File > Export > Export As.

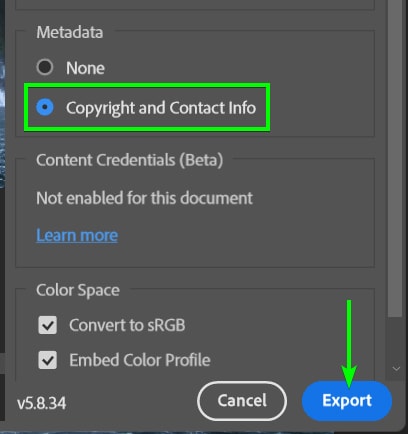
In the Export As window, adjust your settings as needed, and be sure to enable the Copyright And Contact Info option under the Metadata section. Click Export to save the file with the metadata information.
Adding copyright and metadata information to your images may be easy to overlook, particularly by beginner photographers who may not know how copyright works or why it is important.


