
Canva is helpful for creating text documents and adding text to your designs. The one downside is how difficult it is to create indents in Canva. Unlike other programs, indenting your text involves more than just pressing Tab.
This guide will walk you through how to indent your text in Canva and create a hanging indent for those who want to add a little bit of flair to a document or design.
How To Indent Text In Canva
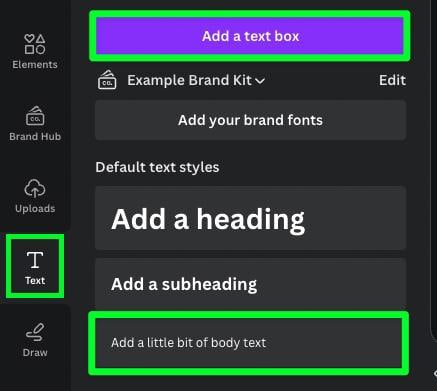
Step 1: Add Text To Your Canvas Using The Text Tab
Once you have your canvas open, add a basic text block to your project by selecting the Text tab and the text size you want.
To add your own words to the empty text block, double-click the block, then type or paste your text inside. If you plan on adding a large amount of text, it’s best to copy it from a separate document. That way, you will have a backup copy of your text to edit later.
Step 2: Position The Cursor And Press The Space Bar Five Times
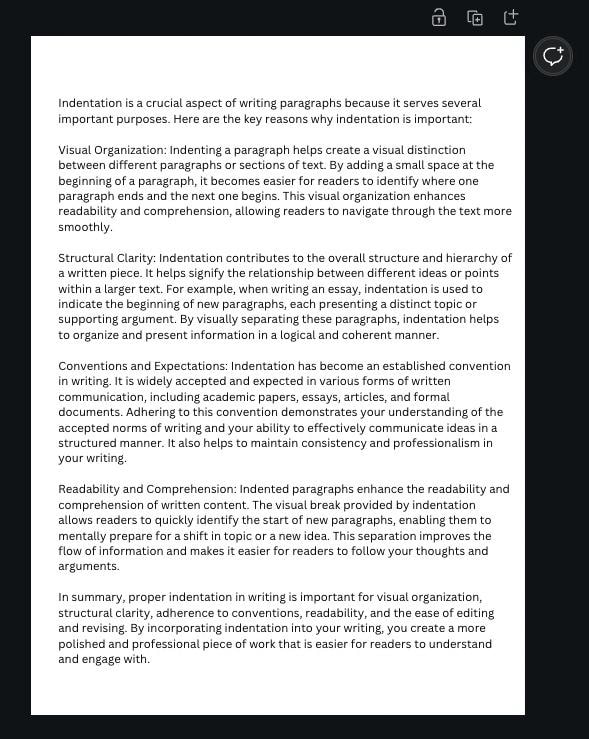
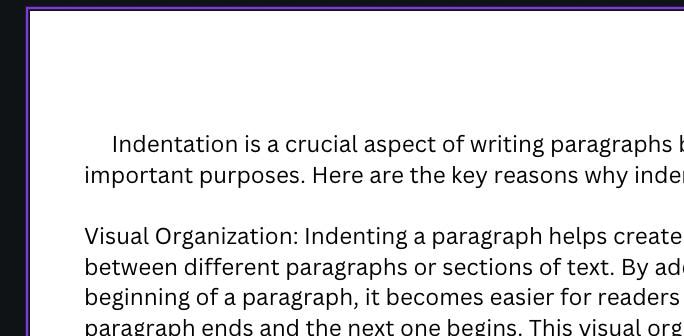
Unfortunately, using the Tab key does not work with text in Canva. Instead, double-click the text block and position your cursor at the beginning of your sentence. To create your indent, tap the Space Bar five times. Five type spaces are equivalent to the same amount of space as hitting the Tab key in a document that allows you to.
Step 3: Repeat The Process At The Start Of Each Paragraph
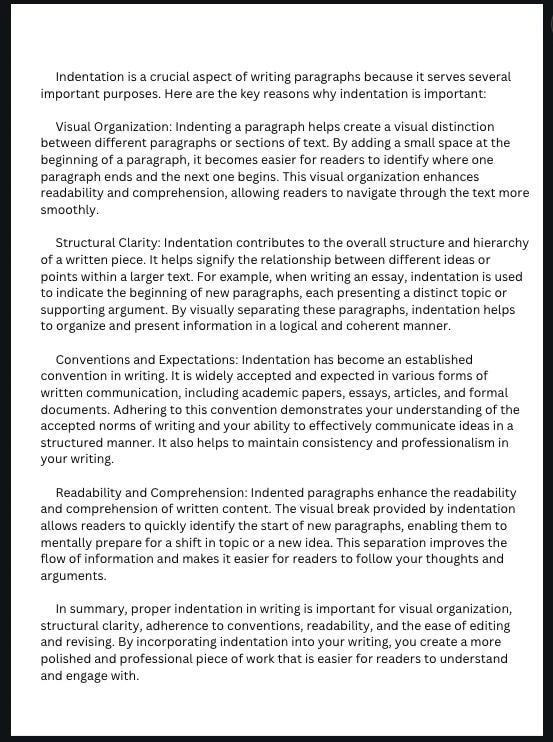
Repeat this process as many times as needed for your text to make your document look as professional as possible.
How To Create A Hanging Indent In Canva
Step 1: Isolate The First Line Of Text
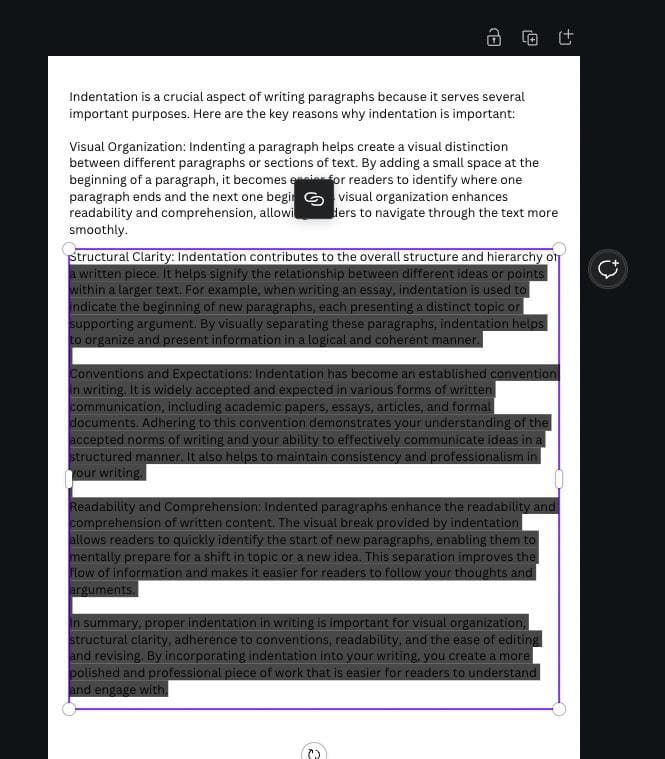
To start your hanging indent, you must create a text block with just your first line of text. The quickest way to do this is to select all the text under the first line, then cut the text by pressing Contol + X (Win) or Command + X (Mac). This will leave the first line in the text block isolated.
Step 2: Paste The Cut Text Directly Below The First Line
Press Command + V (Mac) or Control + V (Win) to paste your text. Position this new text box directly below the first line of text.

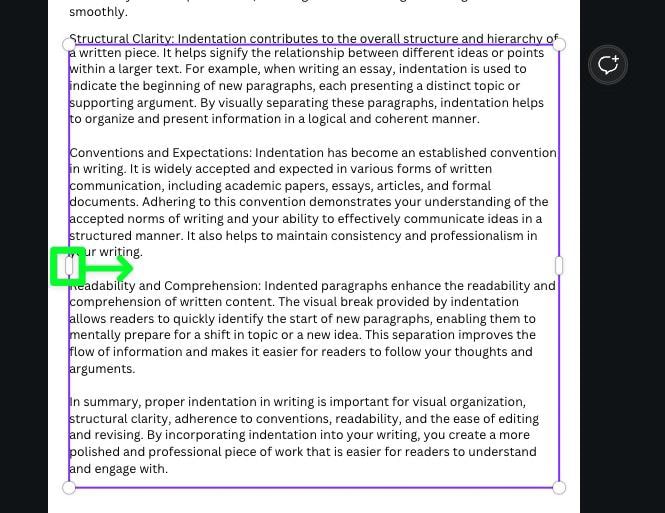
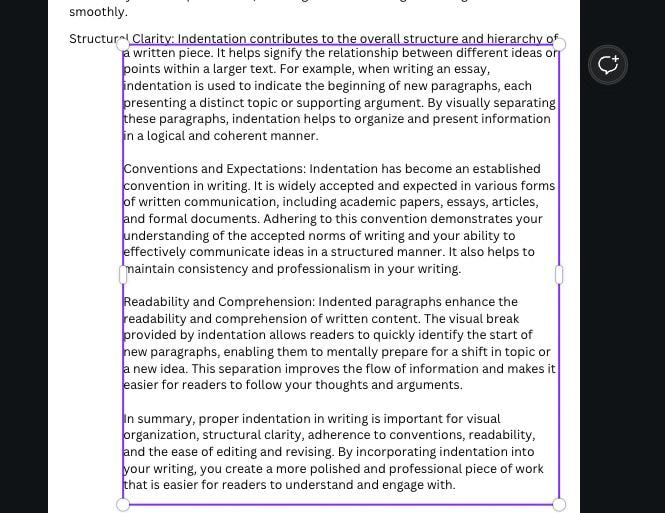
Step 3: Drag The Left Side Handle
First, click on the text block to select it, then drag the middle handle on the left side of the block toward the right of the page. Drag the handle until you have about an inch or so of space open on that side. The required space depends on your project, so feel free to experiment.