

When you need to add more than a simple title, creating a text box in Canva is the easiest way to add formatted text to a design. In this guide, you’ll not only learn how to make text boxes, but also every type of customization will be covered, including how to change the font, alignment, and text weight.
You’ll also learn all the best ways to make your text stand out for both the desktop and mobile versions of Canva.
Let’s get started!
How To Create A Basic Text Box In Canva
Creating a text box in Canva is simple, and you have multiple ways to do this.
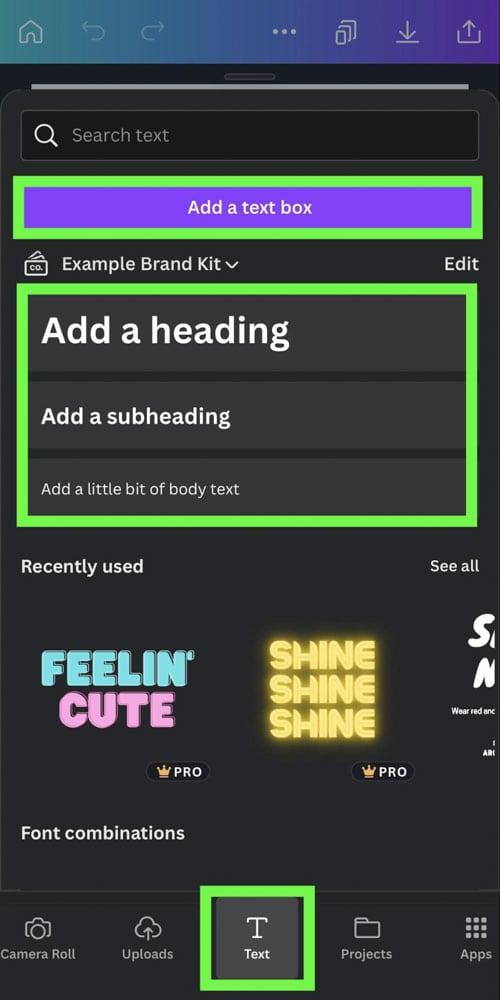
To add a basic text block to your design, select Text in the Side Menu, then click the Add A Text Box button at the top of the panel. Alternatively, you can also press T.
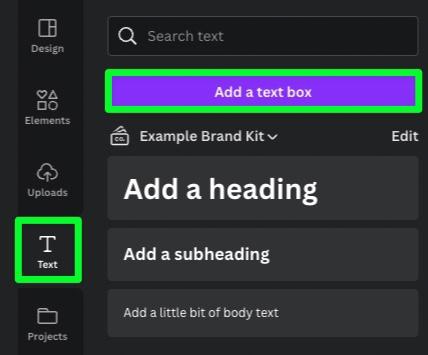
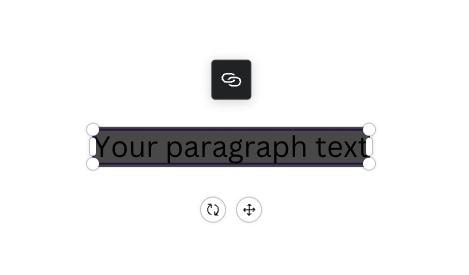
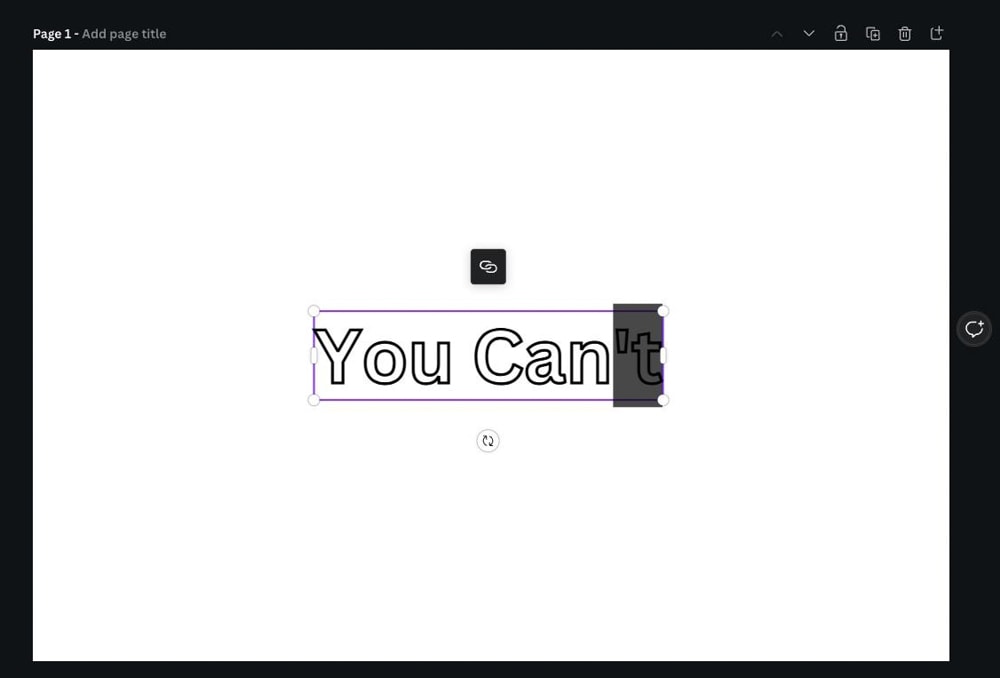
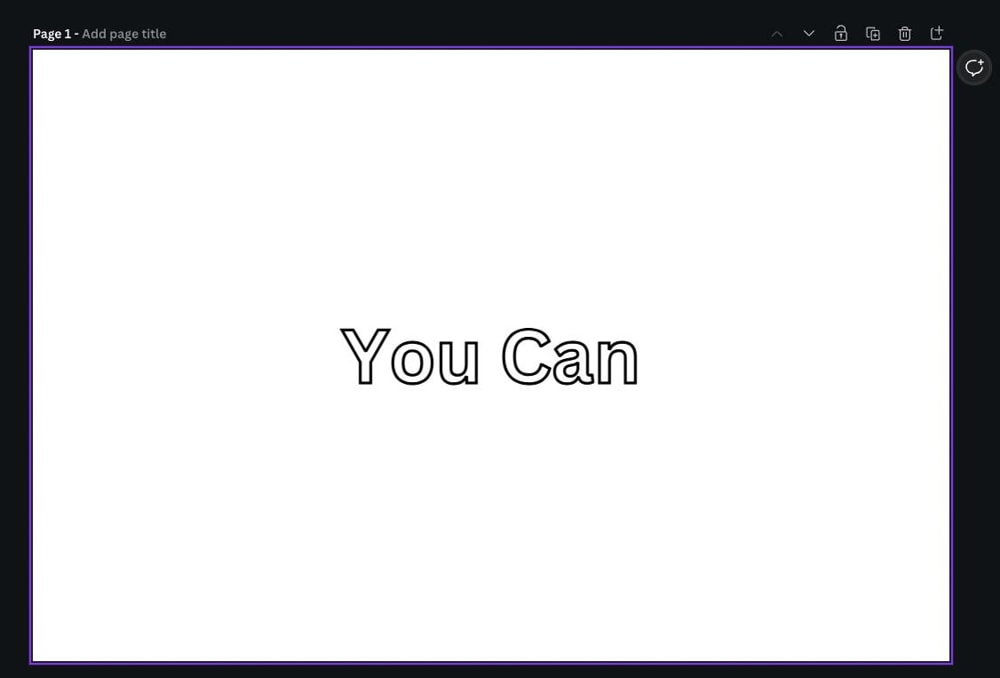
A basic text box with some default text will appear on the canvas.
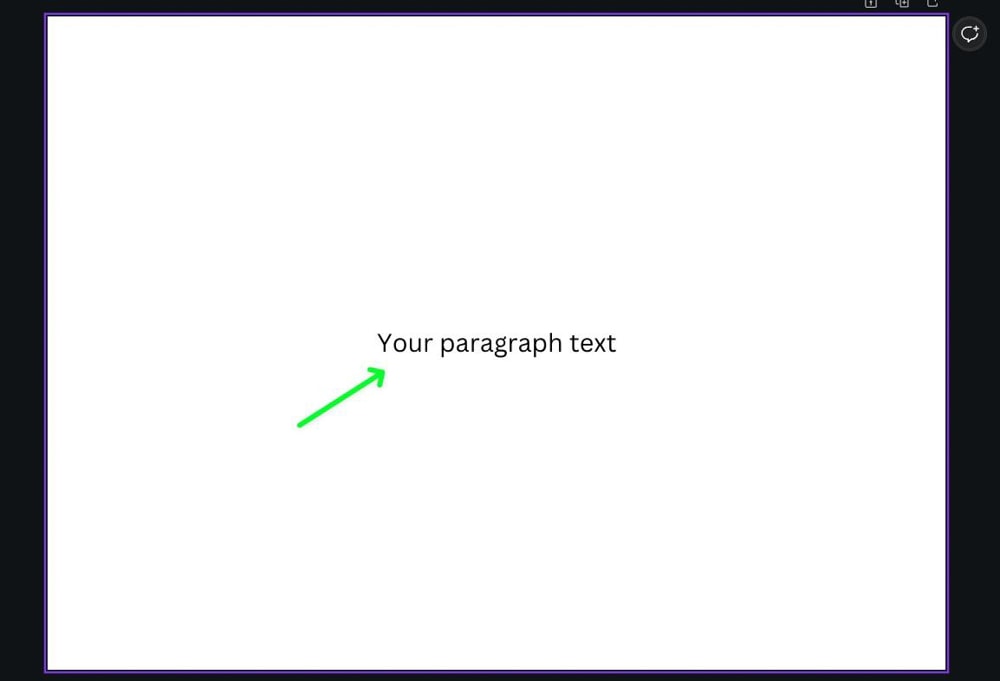
To replace the basic text, double-click inside the text box. Then type out your message.

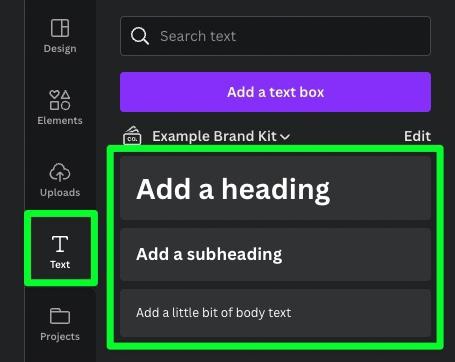
You can also add a text block to your design using one of the specific size options below the Add A Text Box button. You have three different sizes to choose from:
- Add A Heading – This size is best used for a main title or text that must stand out immediately.
- Add A Subheading – Is best used as a subheading or for text that needs to stand out but not overpower the rest of the design.
- Add A Little Bit Of Body Text – Body text is normal-sized text best used for your design’s main text.
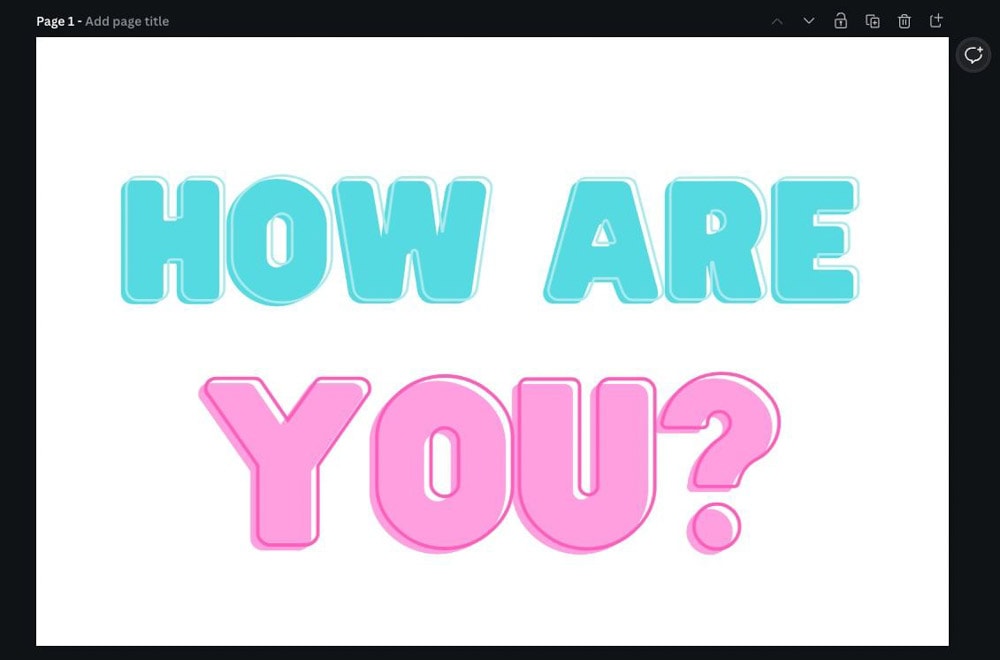
Here is a visual representation of all three sizes to help you better see the differences between them:
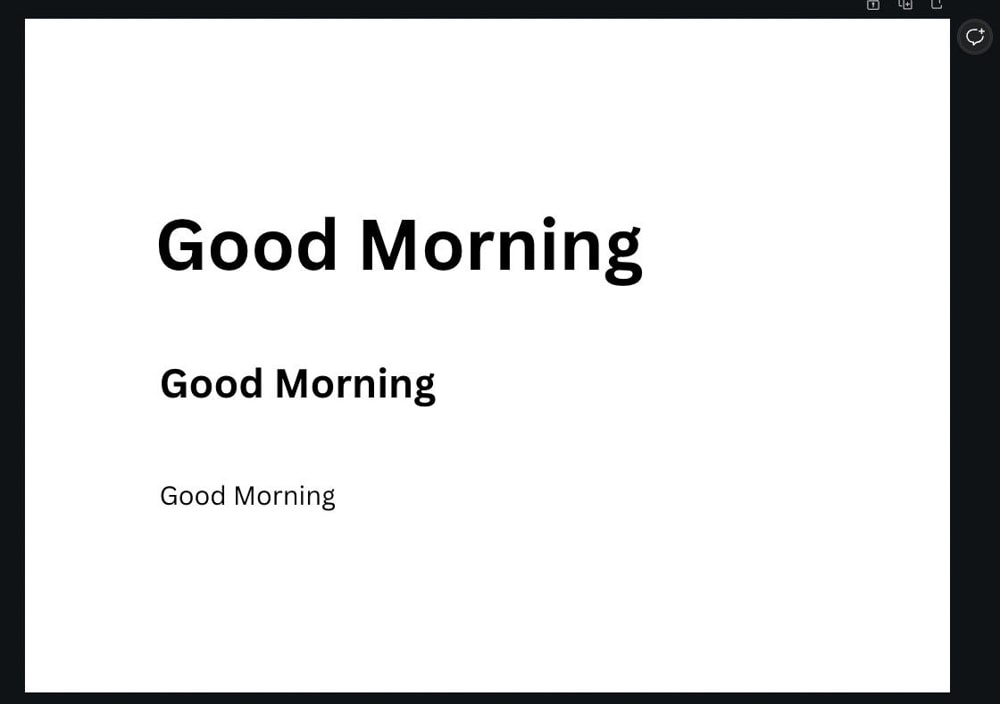
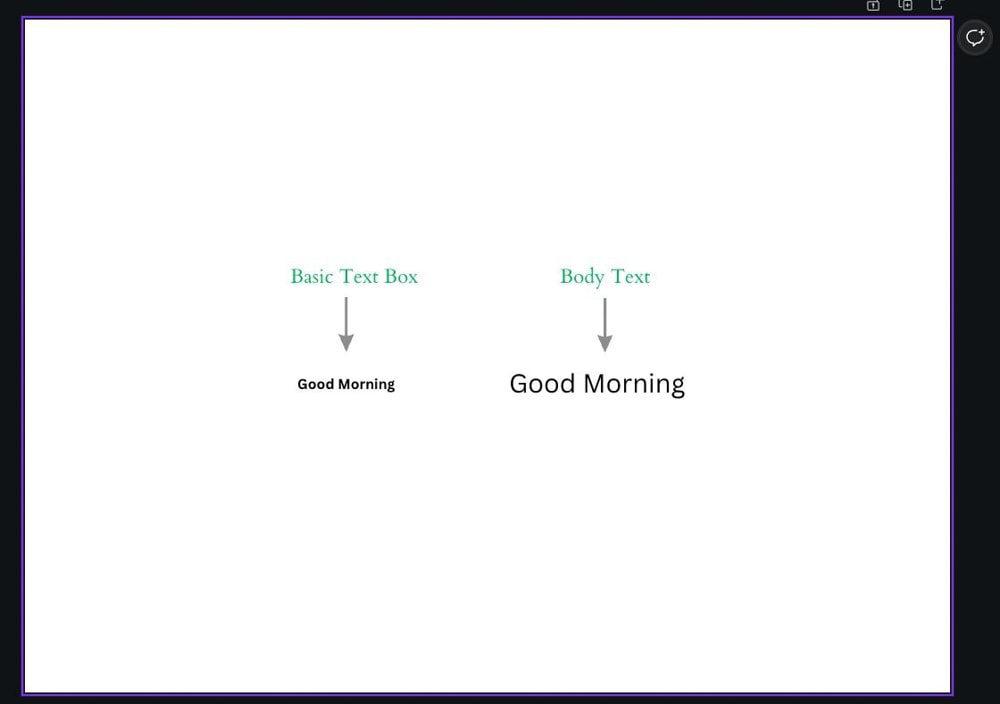
Also, it may not seem like it, but there is a size difference using a basic text block and body text.
A basic text block is much smaller than body text. Keep this in mind when you’re deciding which size text box you want to use.
How To Customize Text Within A Text Box
Once you add your text box and type out your message, you don’t have to stick with the default font and size of the text. There are plenty of options, and this section will break down all of them.
Basic Text Adjustments (Font, Weight, Color, & Alignment)
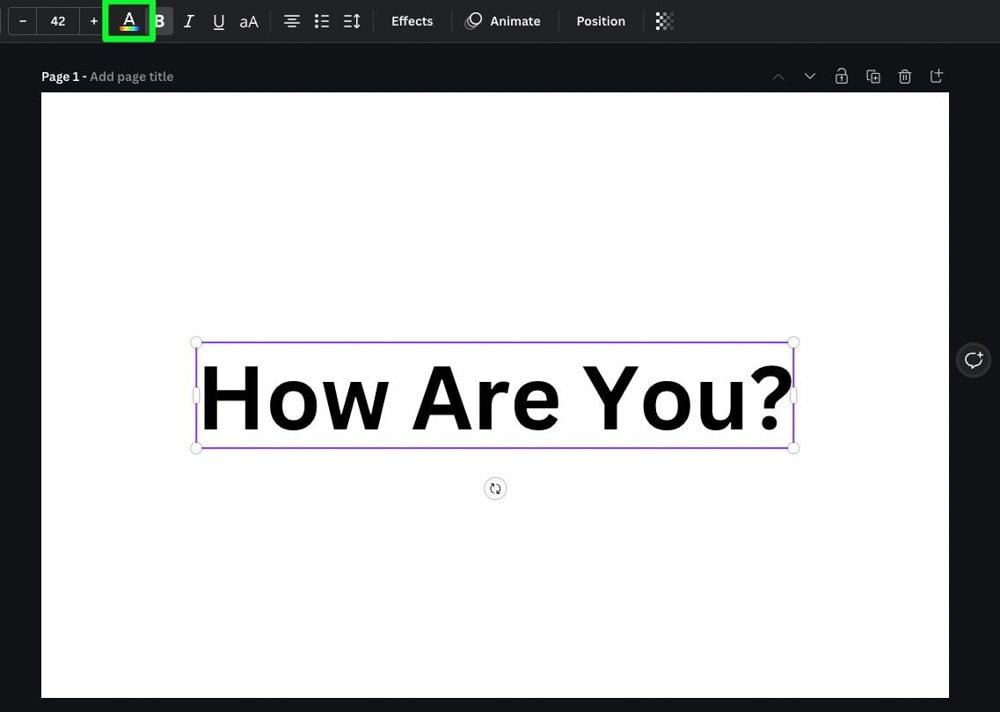
To change your text’s font, select the text box first, then click on the Font drop-down menu in the top left corner above the canvas.

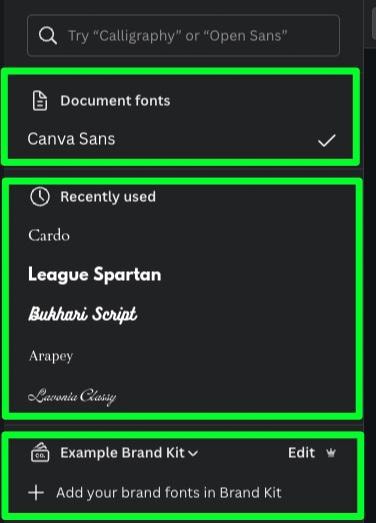
This will open up a panel on the left-hand side that will give you all of your text options:
- Document Fonts – If there are multiple fonts in your design already, this section will list them all to make it easier to keep things as consistent as possible.
- Recently Used – Do you want to use a font you used in a previous design? This section will list the last five fonts you used in previous work so you can use your favorite fonts.
- Brand Kit – If you have a series of brand kits set up, click on the kit that works best for the design you’re working on and choose a font from there.
If none of the options above work for you, keep scrolling down to find the complete list of fonts that Canva provides for free. There are over 900 fonts, so you should be able to find something you like. You can also add fonts to Canva for more options.
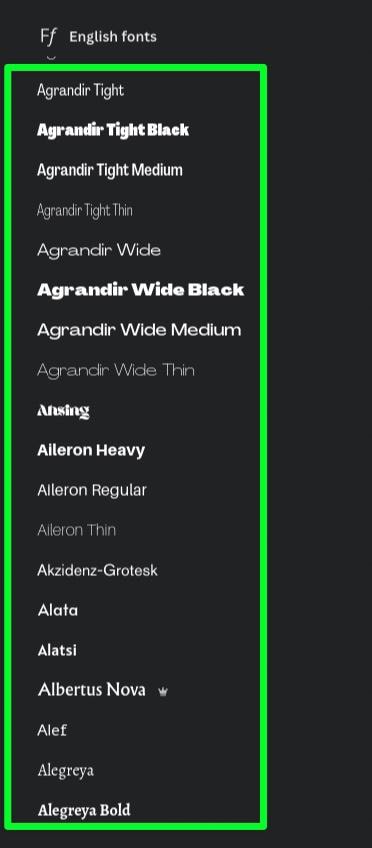
If you’re looking for a specific font style, you can search for it in the search bar at the top of the panel.
As the search bar suggests, search for something specific, such as “Calligraphy” or “Open Sans.” Then press Enter.
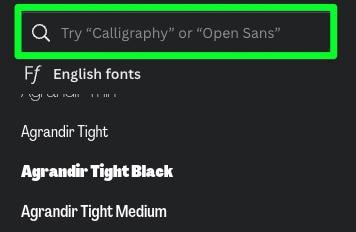
You will be presented with fonts that best represent your searched style.
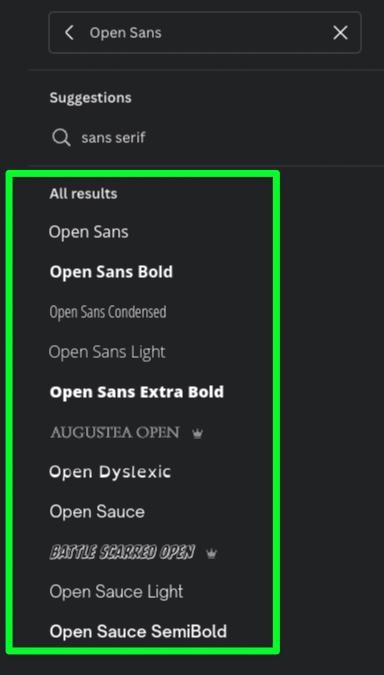
Other options to find the best font for your project are using a font pair or selecting a font with a pre-added effect.
You will find the list of font combinations and fonts with effects below the Recently used section.

Font pairs and effects work differently than you may think. They’re not as convenient as they look.
If you select your text, then click on the font, all that will happen is a new text box appears on top of your text. So if your text is already written out, you can’t quickly change it to the font pair or effect you want.
All you can do is delete the default text, then add in your text.
This is less convenient, but it can also provide some great-looking style to your text.
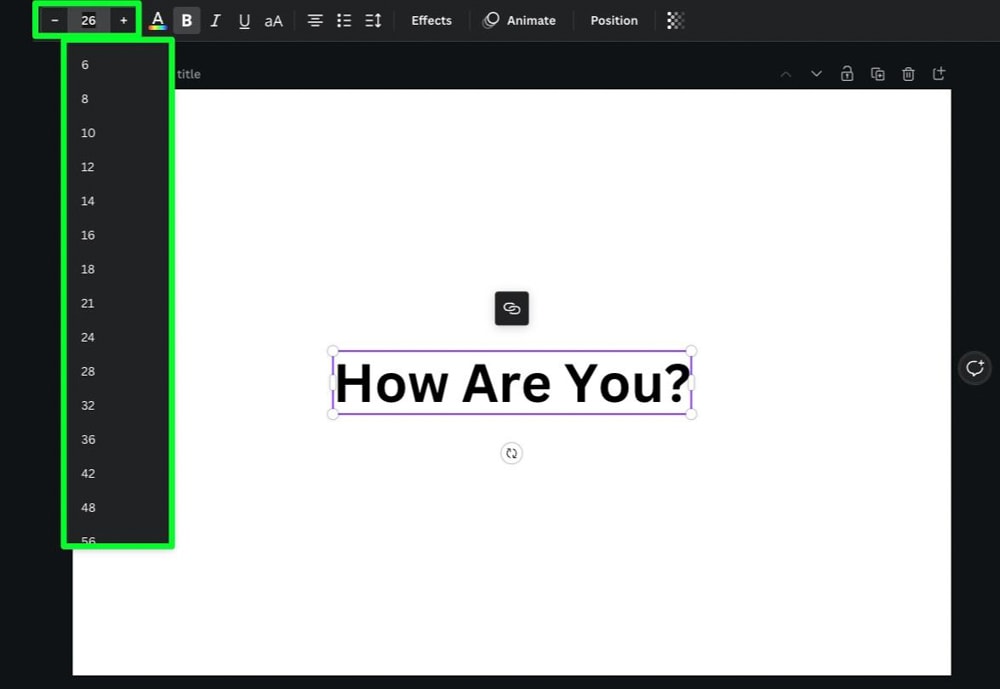
To change the size of your text, first select it, then use the Size Controls above the canvas.
You can either click the Plus or Minus button to be precise or click the number in the middle and choose the best size.
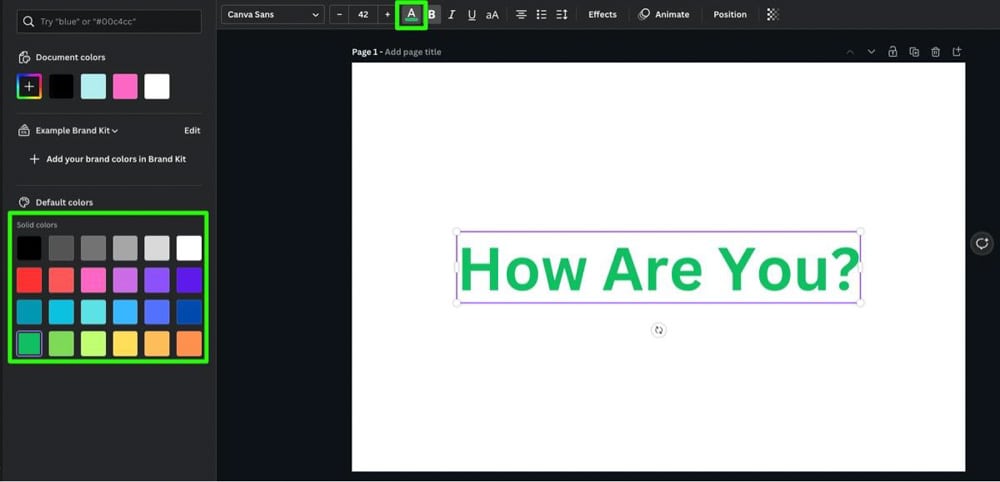
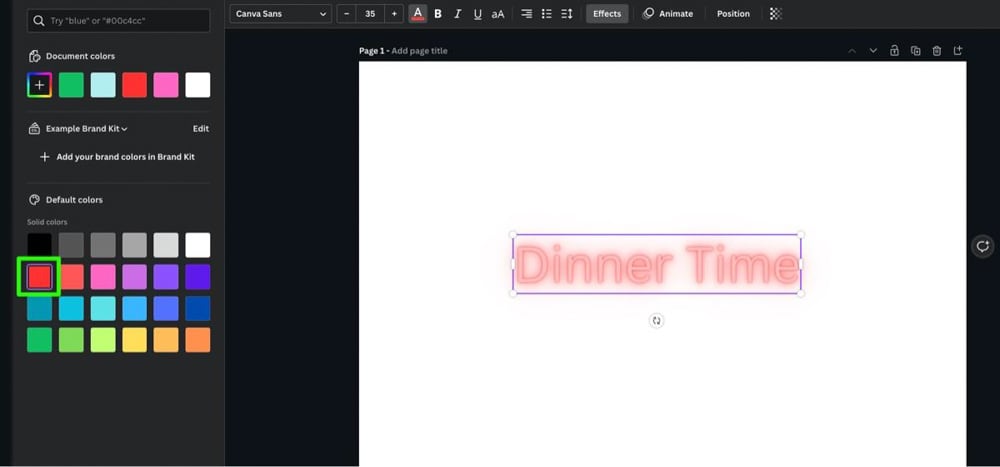
To change the color of your text, click the Color Picker button to see your choices in the Side Panel.
Simply click the color you want to use to change the color of the text.
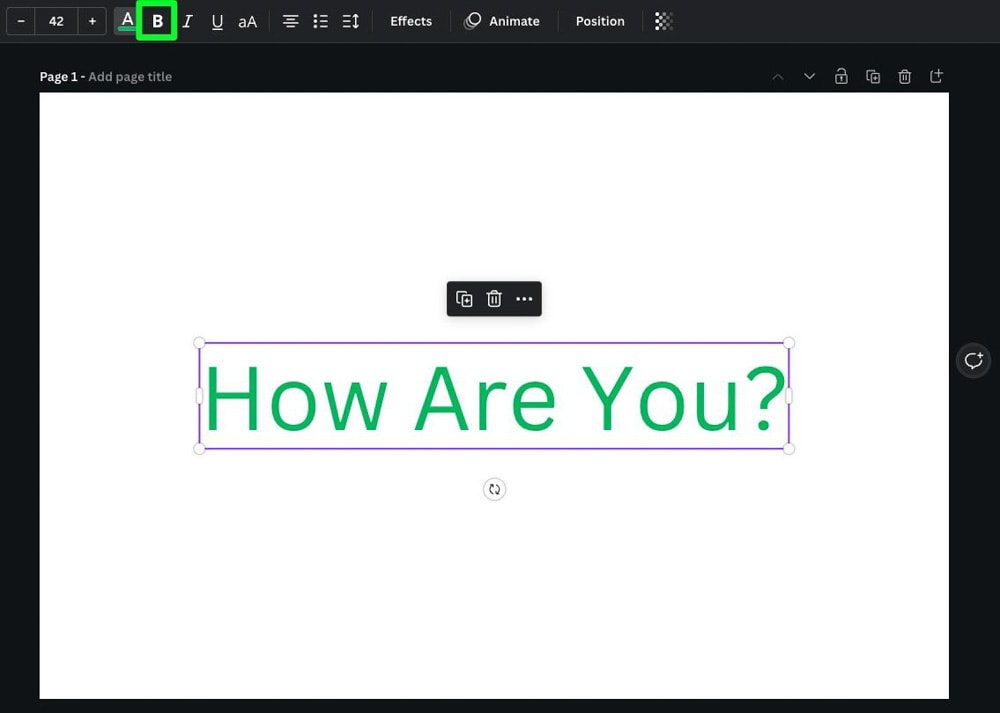
The Toolbar above the canvas also allows you to change the weight of the text.
Click on the Bold button to add or remove your text’s bold effect.
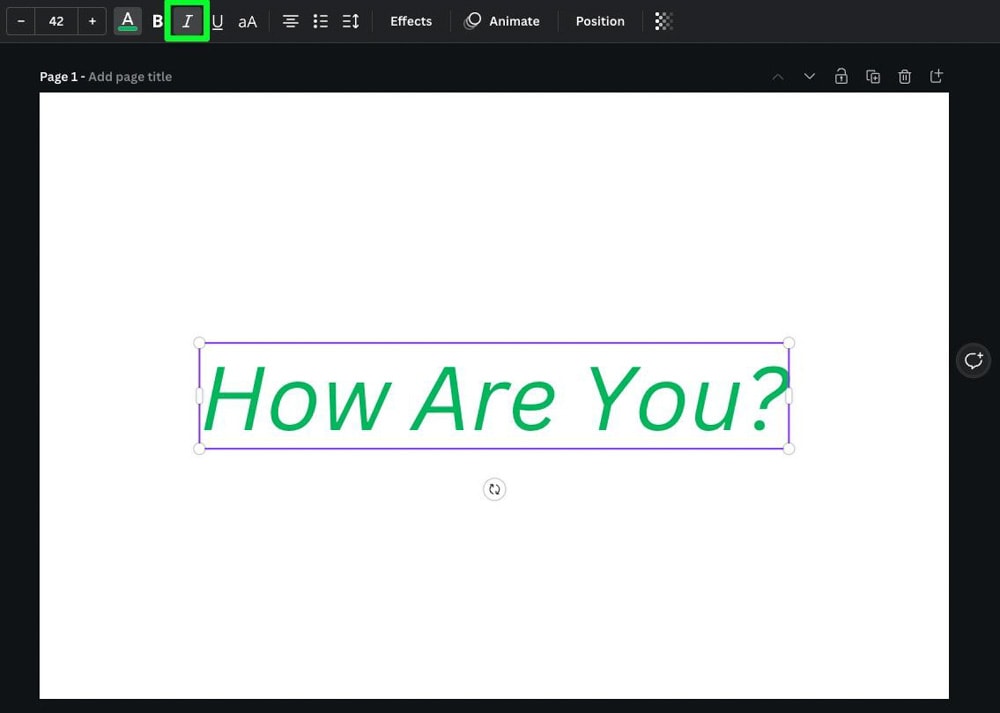
Click the Italicize button to add or remove the italicize effect to your text.
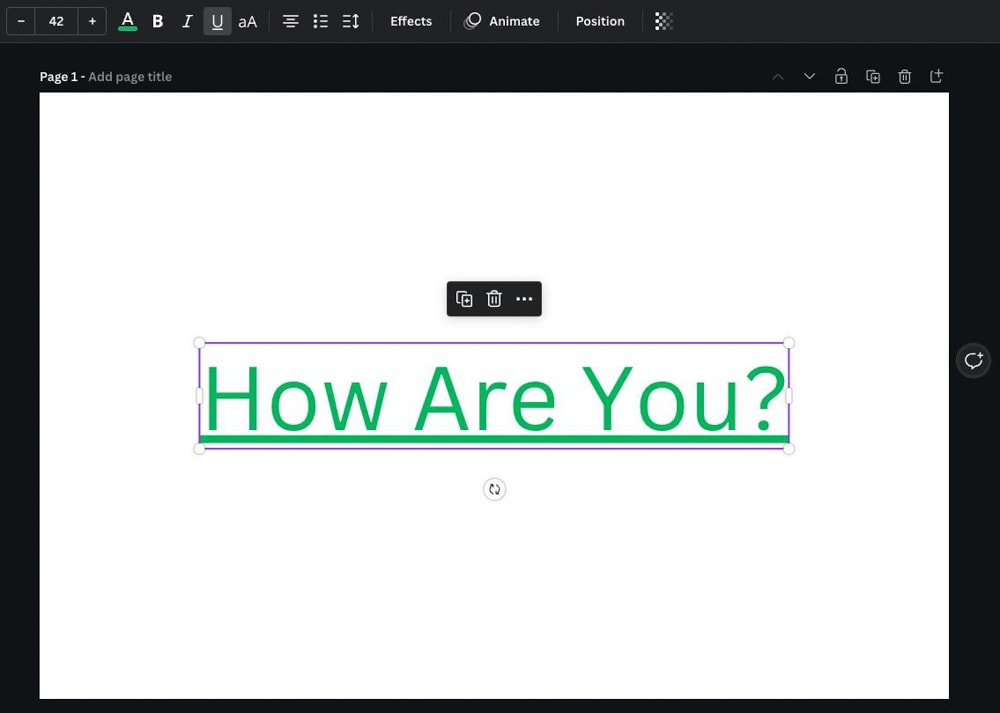
Click the Underline button to add a line under your text.
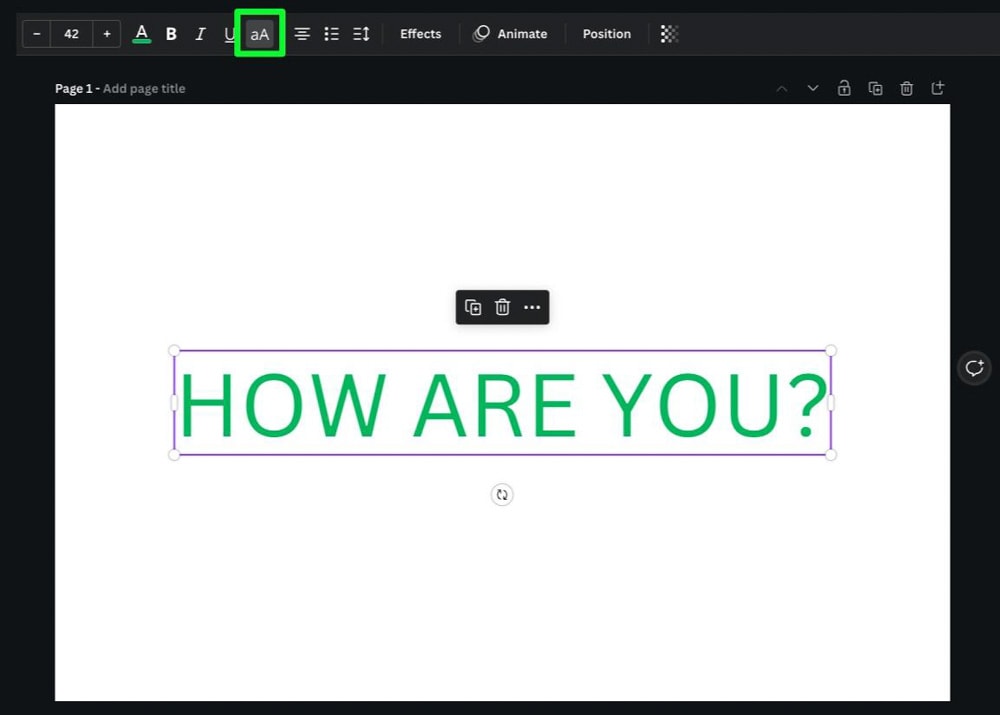
Also, if you want your text to be in all caps, select it, then click the Uppercase button.
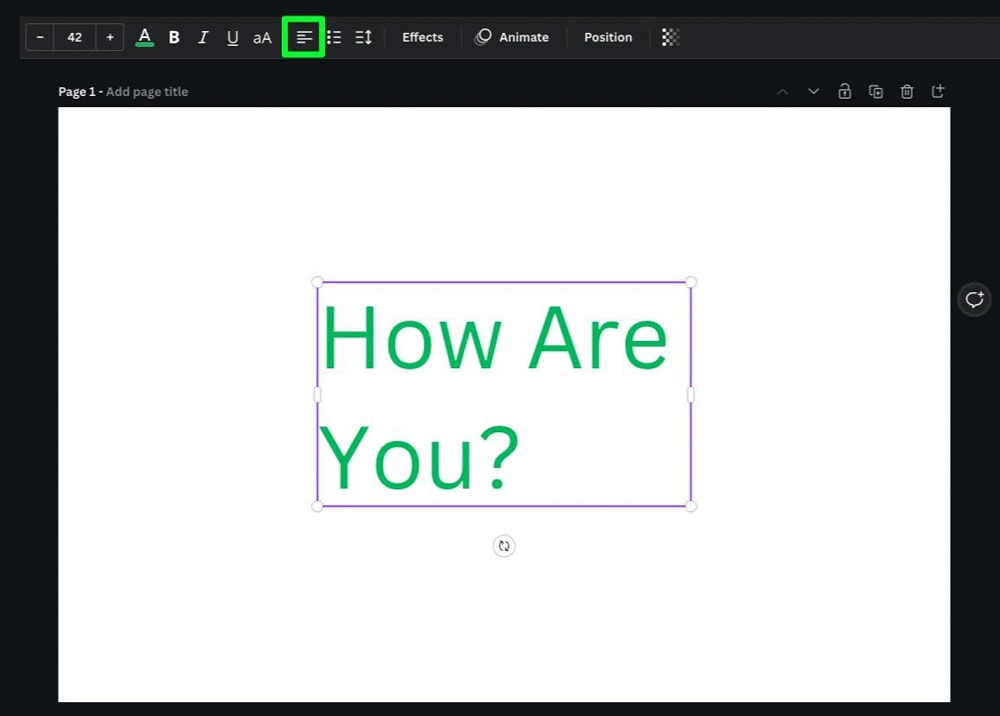
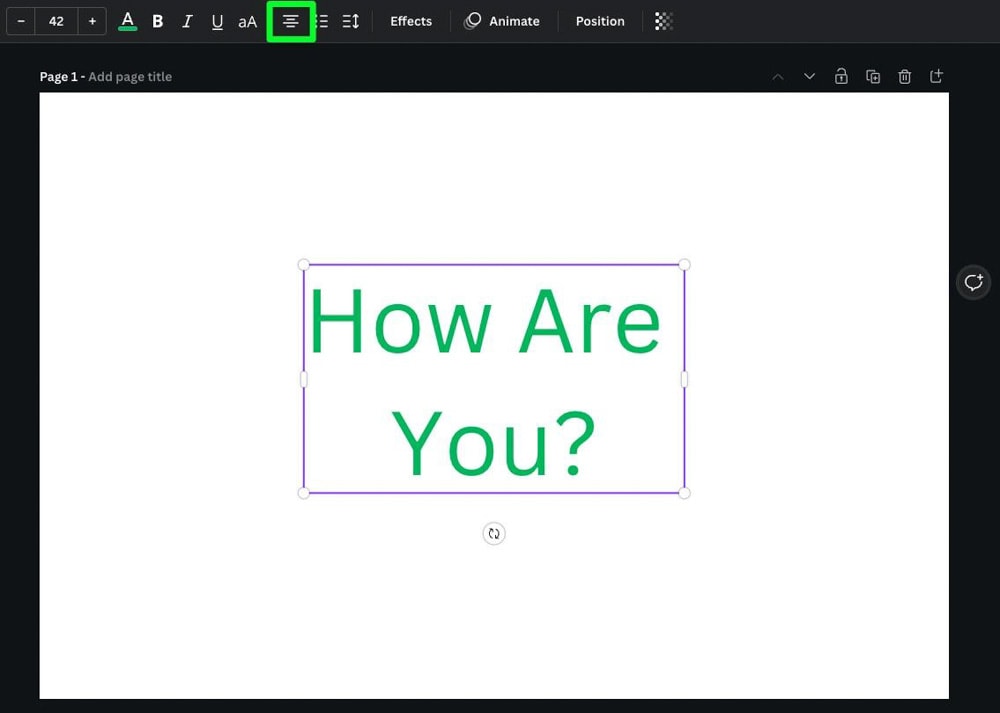
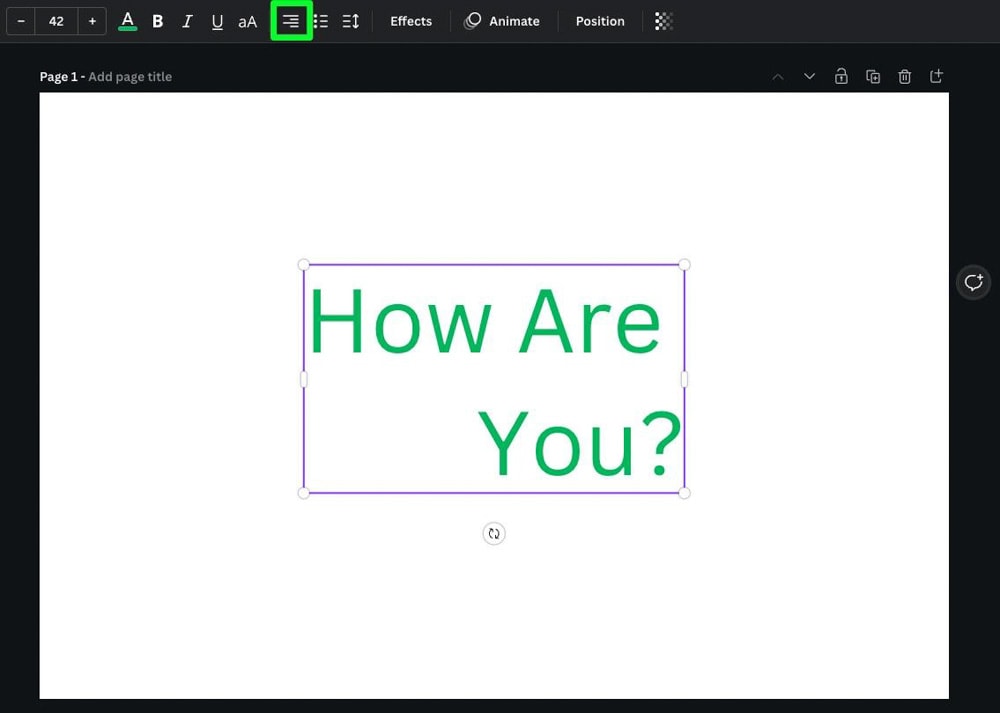
Finally, you can use the Alignment button to align your text to the left, the middle, or to the right inside of the text box itself.
Adding Text Effects In Canva
To make your text stand out, add a text effect. Some text effects bring a sense of professionalism, while other text effects are just fun. You can take some time to manually add your own effects, such as highlighting text, blurring text, creating curved text, or creating wavy text.
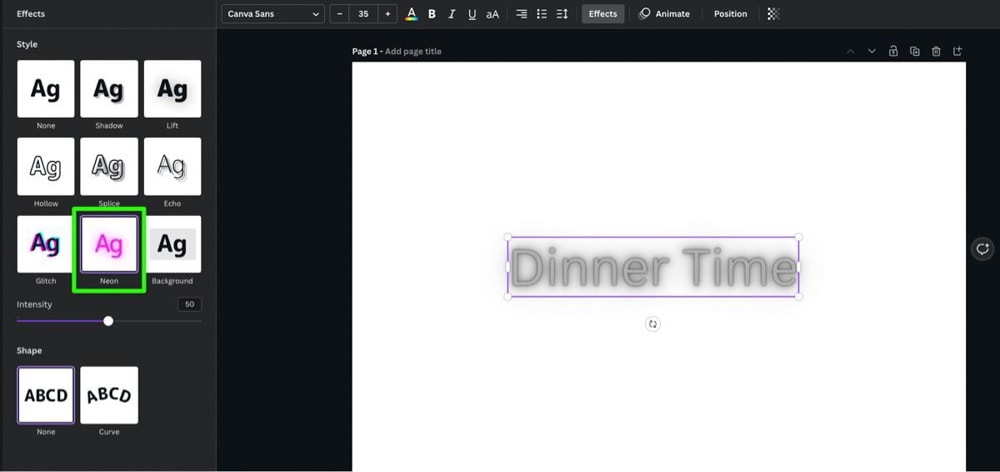
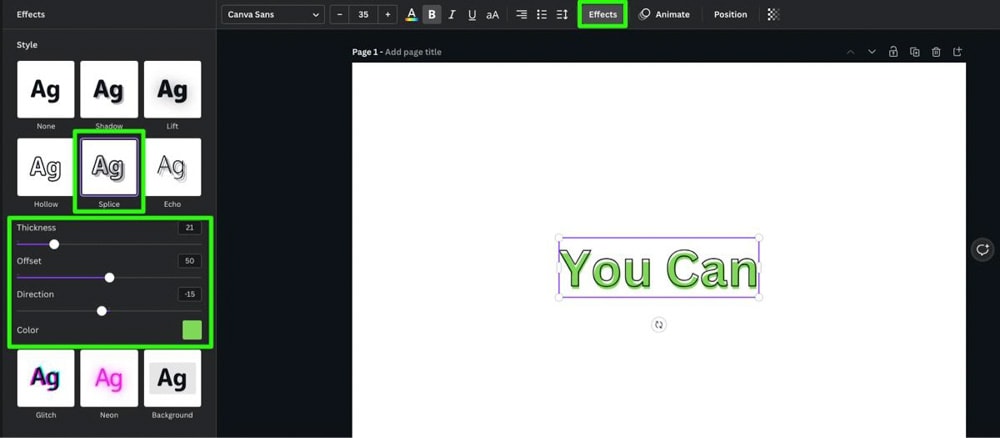
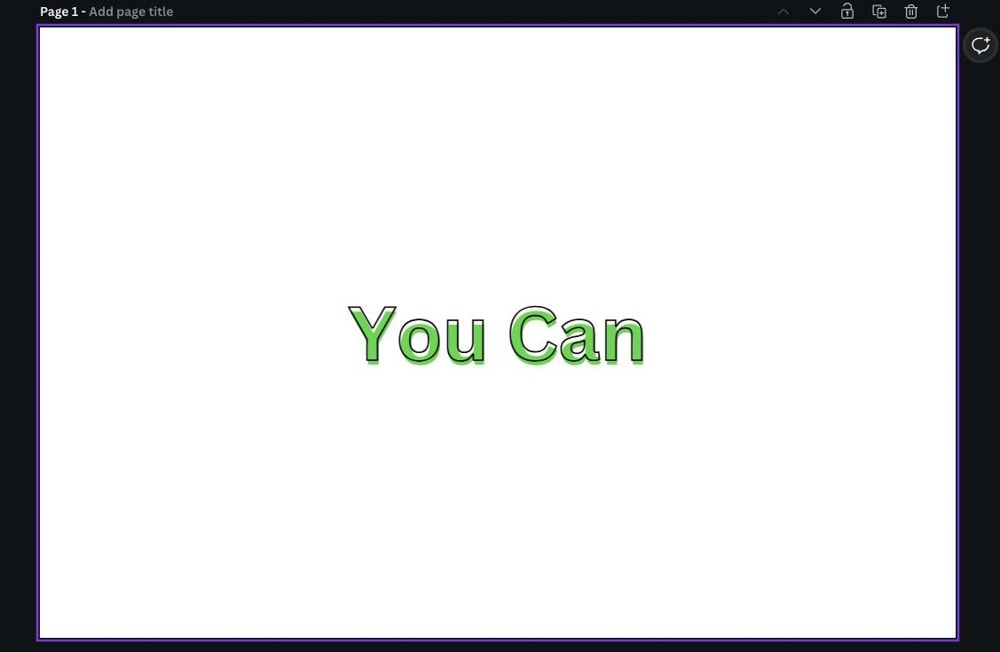
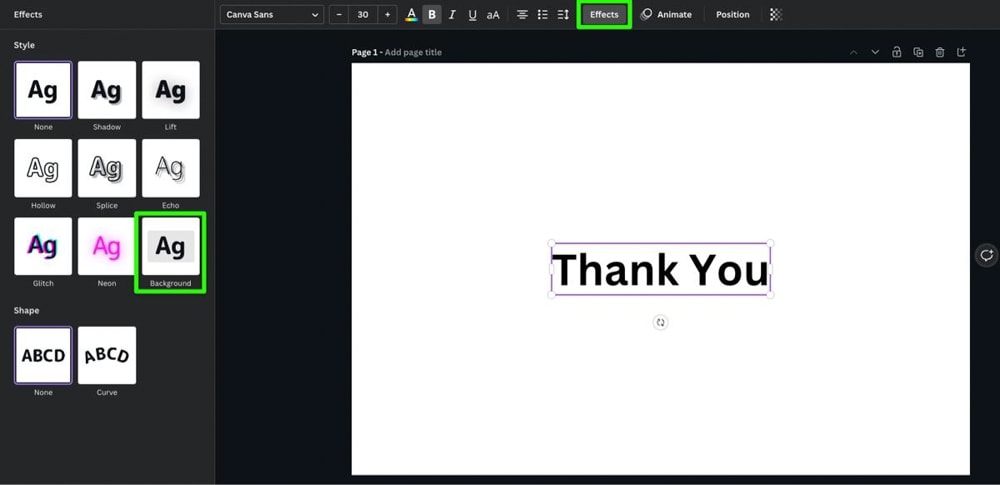
You can also add a built-in effect, which is much quicker. To add a text effect, select your text and click on the Effects button. You will find different effects in the list in the left panel.
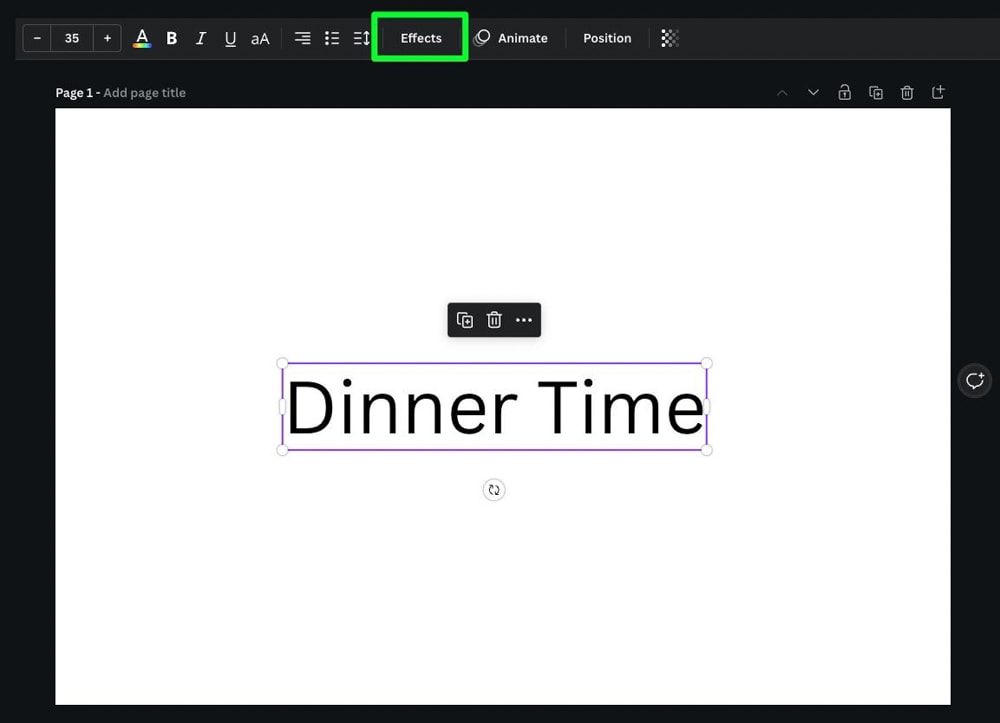
Click on one of the effects to add it to your text.
You can use the controls that pop up below the effect to adjust how it looks.
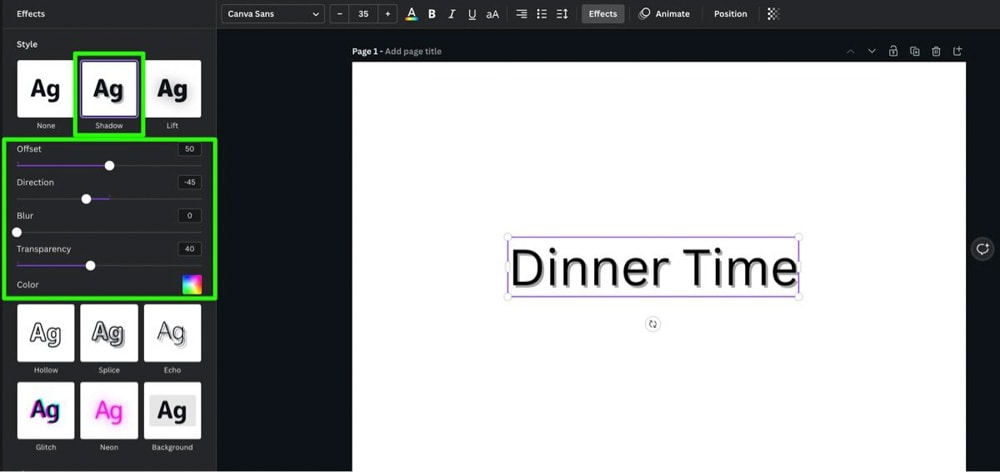
Each text effect has different options when it comes to effects. Some effects will have five options to adjust, while others only have one.

Some effects will require a bit of experimentation to bring the best out of the effect.
For example, to get the most out of the Neon effect, you’ll want to change the color of your text to a bright color before applying the effect.
Editing Text In A Text Box
When you add text to a text box, that text is never final.
To change your text at any time, click inside the text box, then delete or add any words you need to.
You can also change the size, color, and weight whenever you’d like. You can even add an effect to your text whenever you’d like.
How To Put A Text Box Within A Shape In Canva
If you need to make your text stand out more in your design, you can add a border to your text or put your text within a shape.
There are two ways to put your text box inside a shape in Canva. The first is a built-in effect, and the second is an easy-to-use workaround.
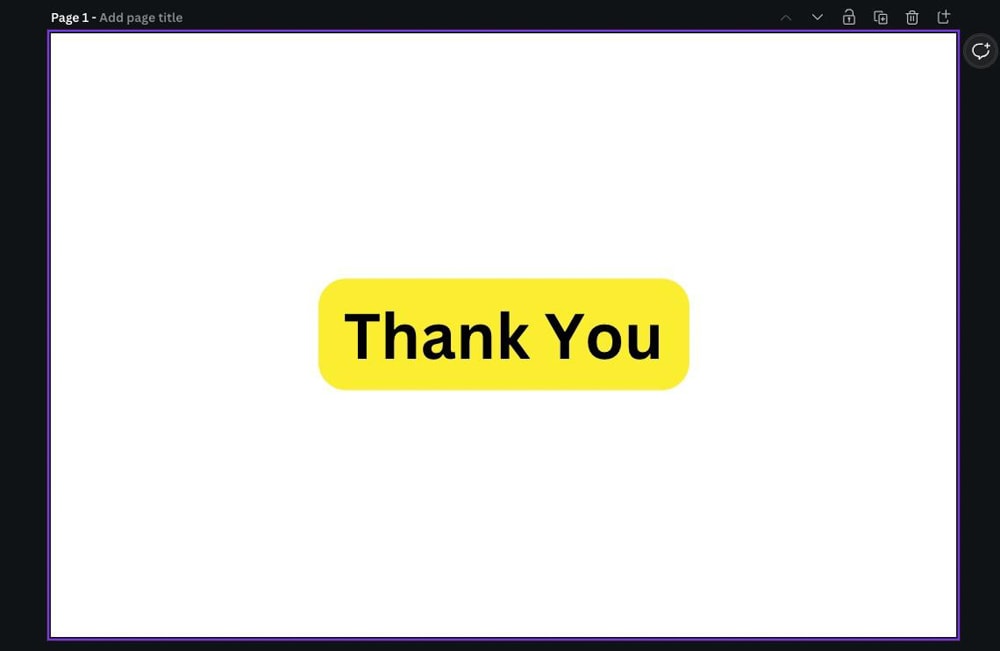
Option 1: Using The Background Text Effect
Select the text itself and click the Effects button to use the built-in effect.
Choose the Background effect.
A rectangle with rounded corners appears behind your text.
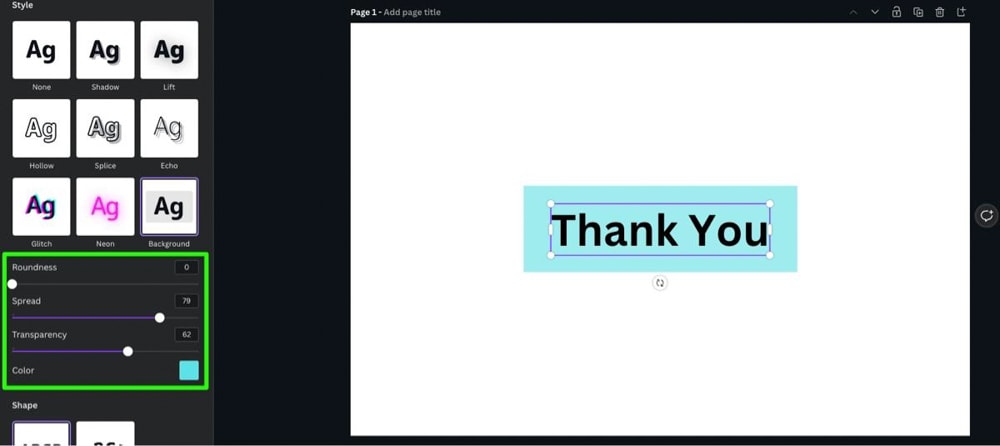
In the options below the effect, you have four options:
- Roundness – This setting will let you round the corners of the rectangle. Adjust the slider all the way to the right for round corners and all the way to the left for sharp, square-like corners.
- Spread – Adjust how far out you want the effect to stretch.
- Transparency – Adjust how much you can see through the shape.
- Color – Change the color of the shape itself.

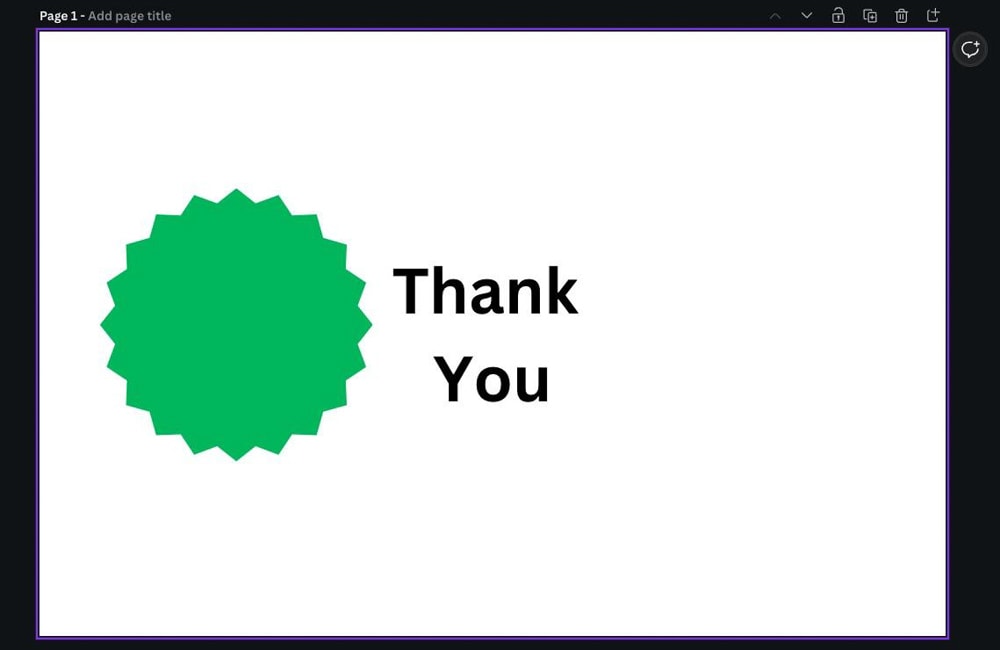
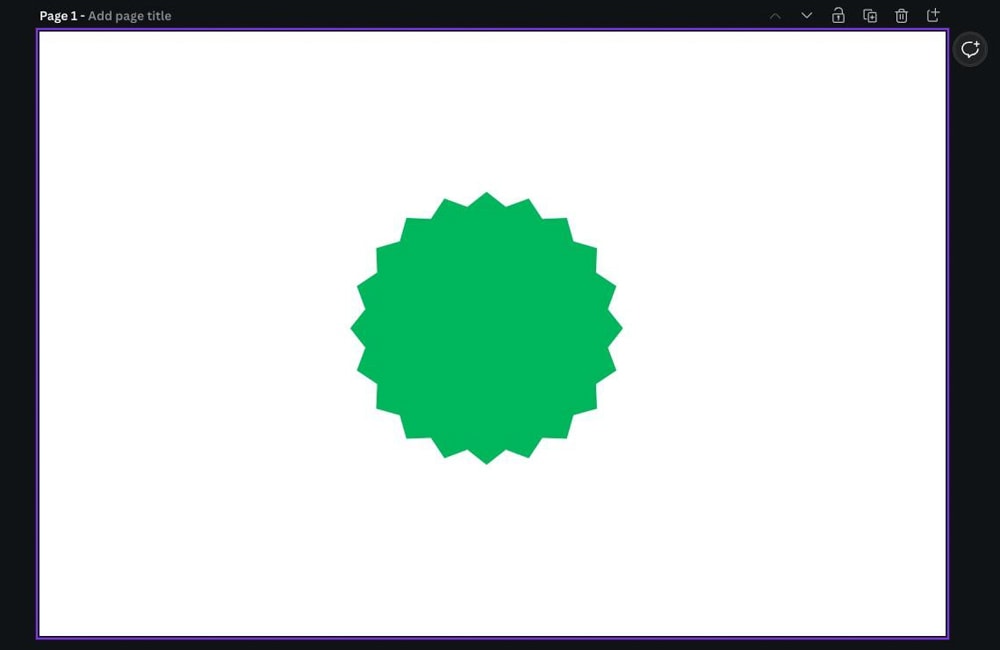
Option 2: Using A Shape Element
If you want to put your text in a less rectangular shape, this option is for you.
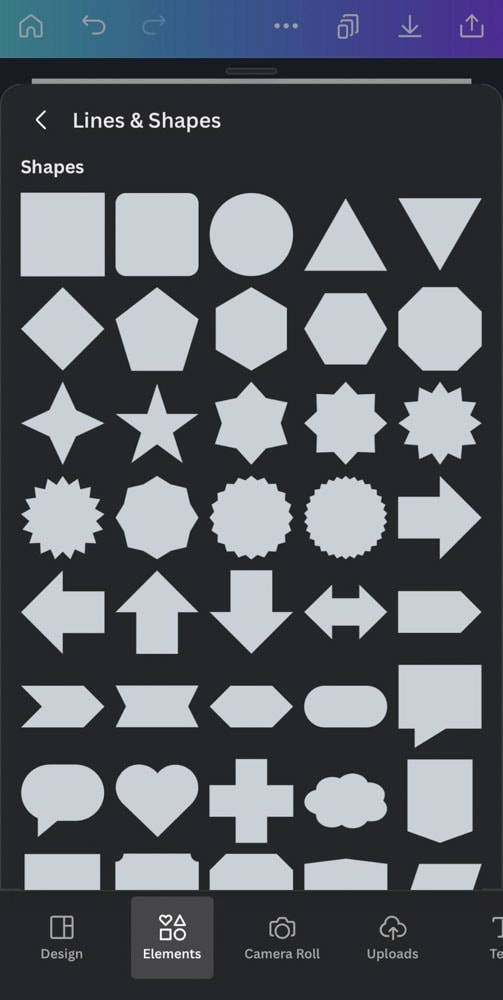
First click Elements. Then scroll down to Lines & Shapes. Click See All to browse all of your options.

You will be presented with a long list of shapes to choose from — some basic, some more complex.
Click on the shape of your choice to add it to your canvas.

Next, adjust the size of your shape by dragging one of the corner handles.
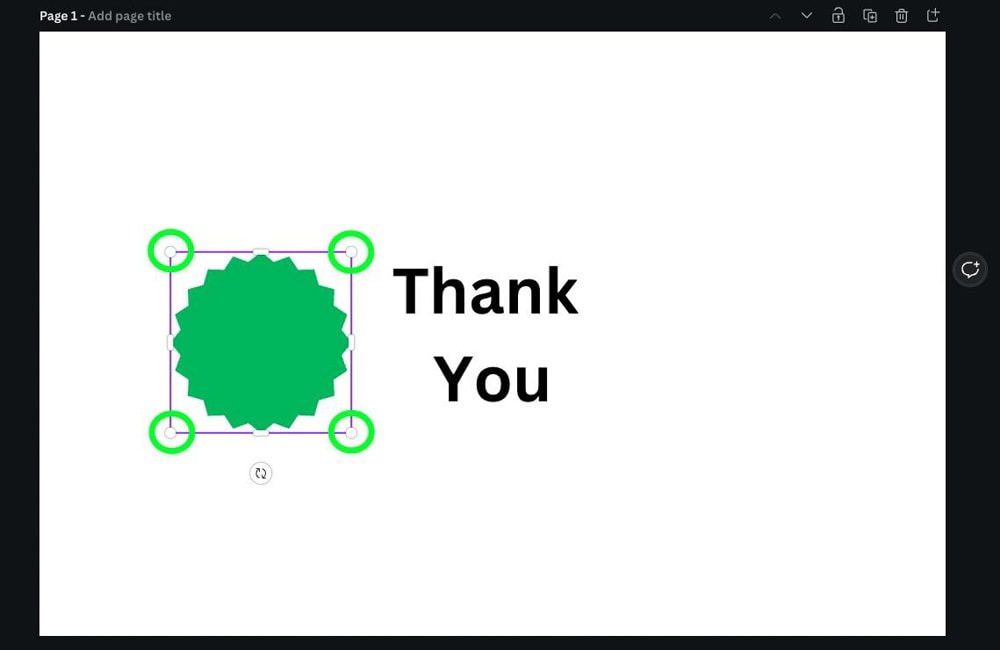
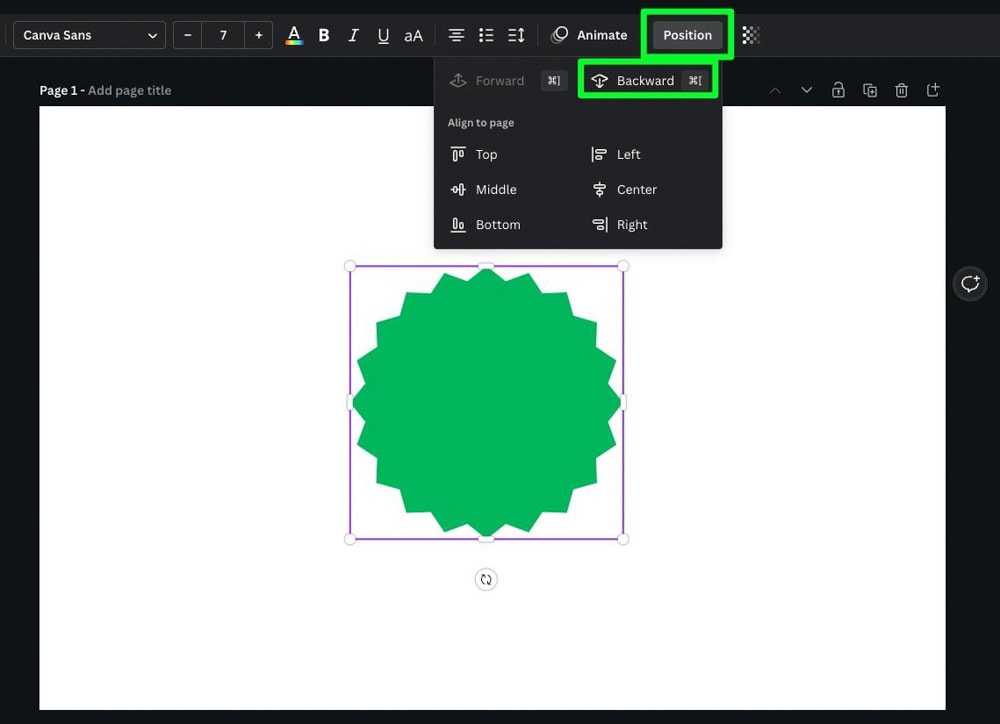
If you drag your shape in front of your text, you may notice that the shape blocks your text.
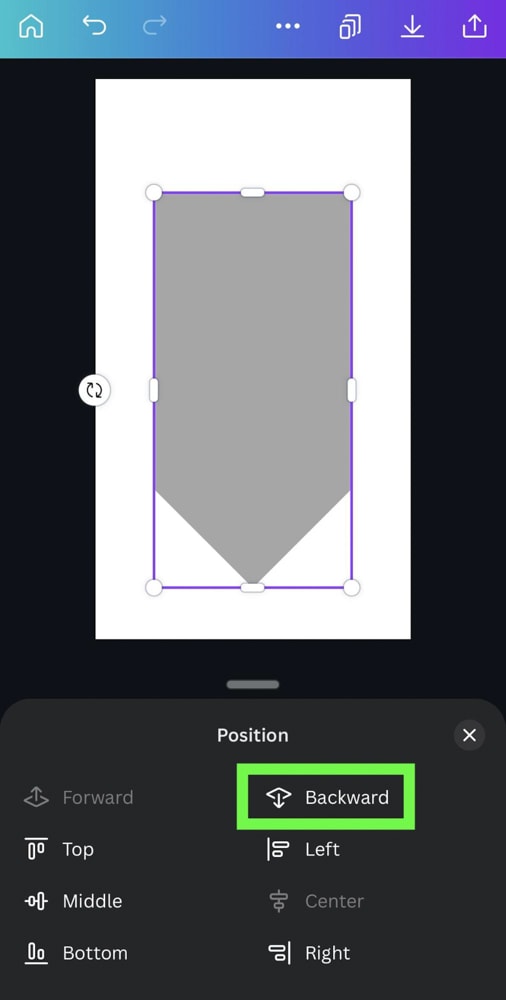
To send the shape behind your text, select it, then click the Position button. In the menu that drops down, select Backward. Or, press Control + [ (Win) or Command + [ (Mac).
This will position your shape behind your text.
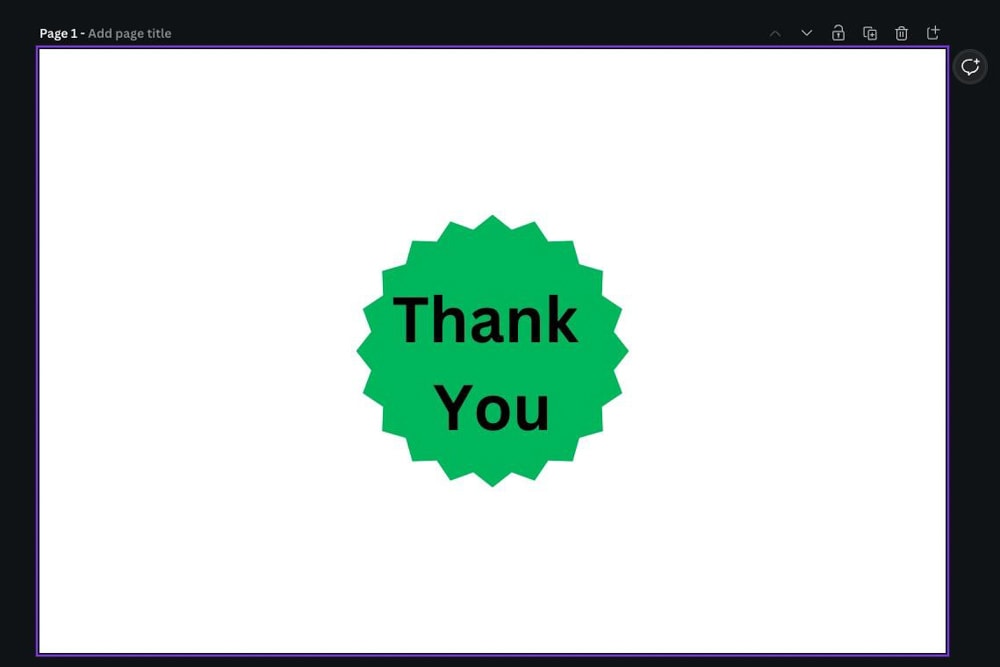
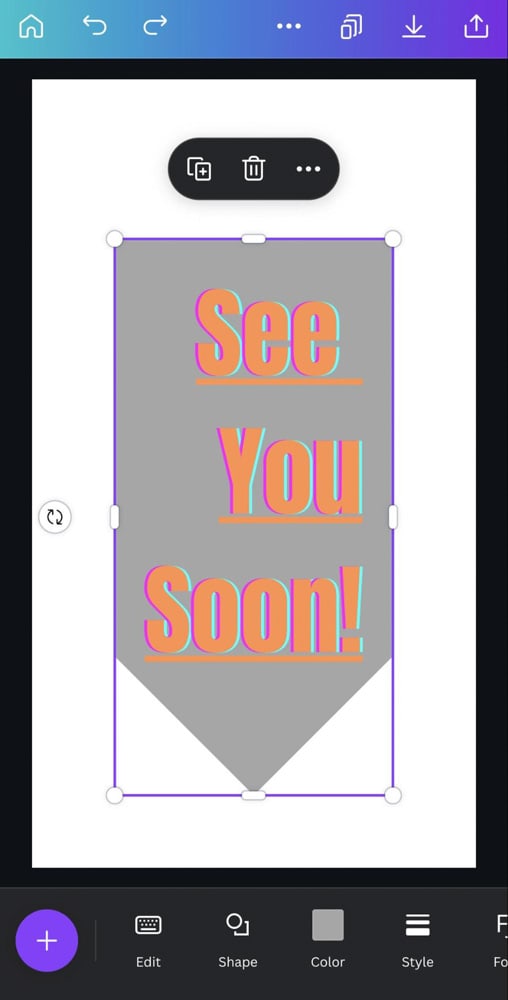
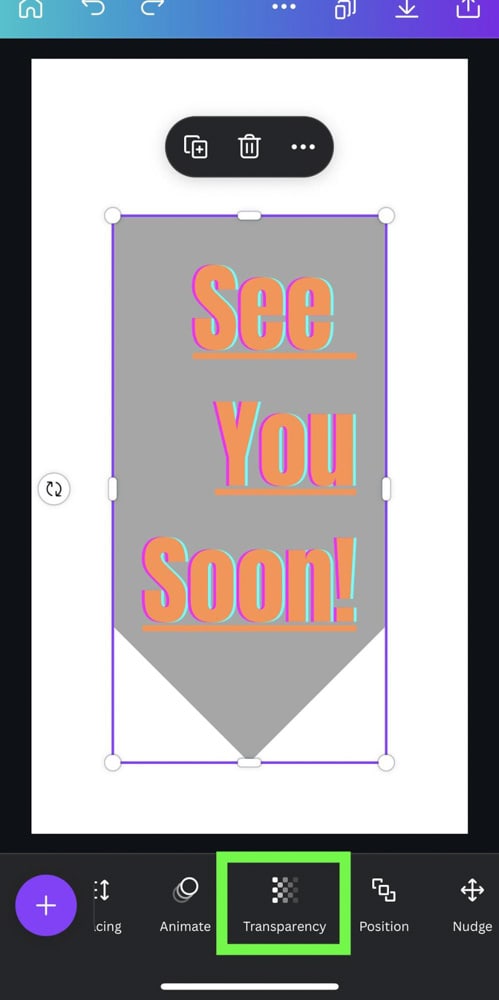
Now that your shape is in the right place, you can change the transparency by clicking the Transparency button, then adjusting the Transparency Slider.
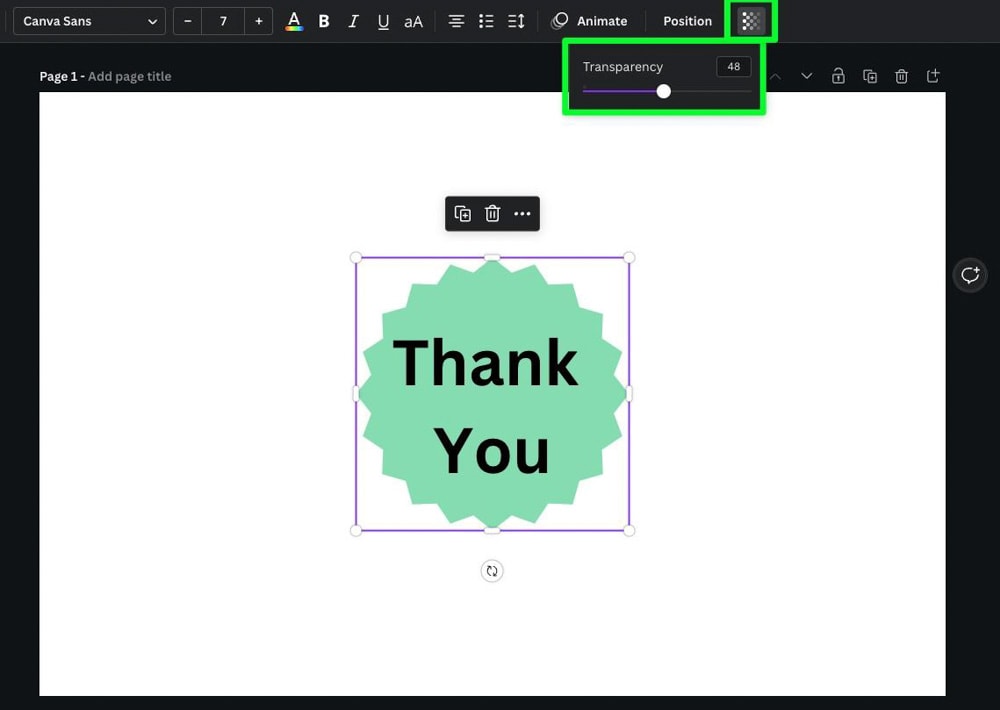
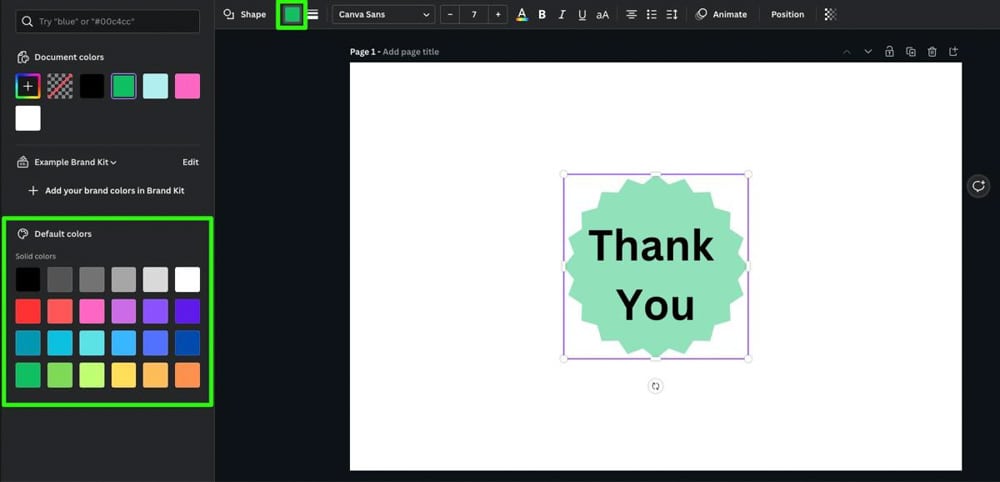
You can also change the color of your shape at any time by selecting your shape and clicking the Color Picker button. Choose the color that works best in the Side Panel.
How To Create & Customize A Text Box In Canva Mobile
Adding text is not restricted to the desktop version of Canva. The options to add and edit text are similar on the mobile app, but the buttons to edit the text and add effects are slightly different.
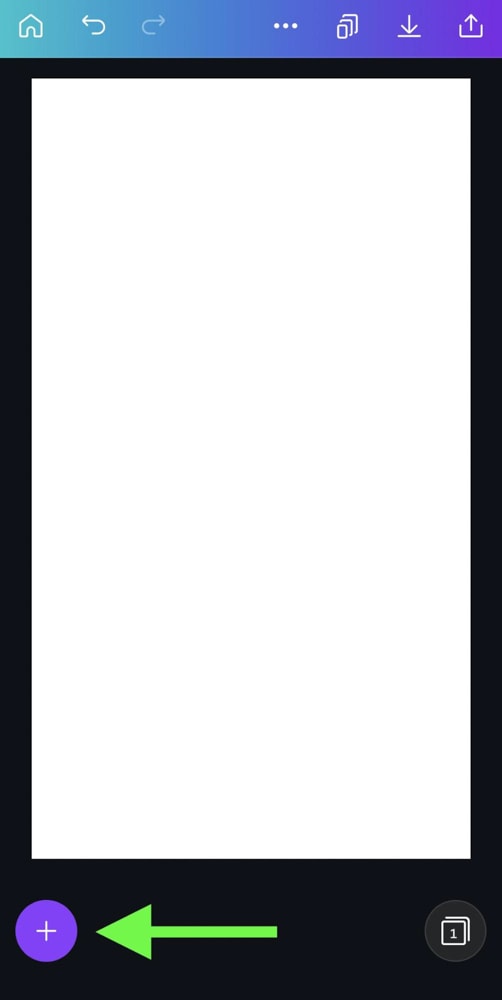
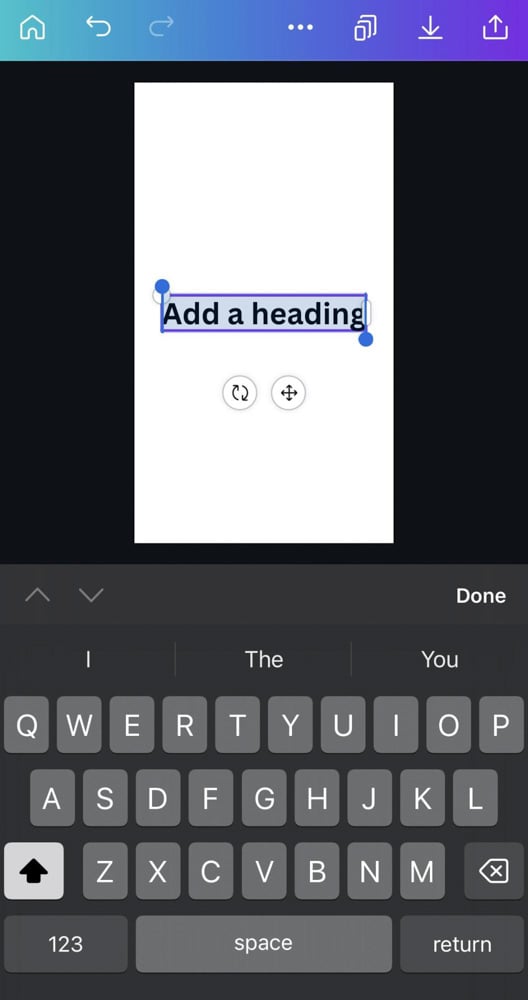
To add a text box in the mobile version of Canva, first tap the big purple Plus Button.
In the menu at the bottom of your screen, scroll over and tap the Text button. From here, you can add a basic text box by tapping the Add A Text Box button or one of the specific sizes below the button.
A text box with default text will show up on your canvas. Double-tap the text box to add your message.
To customize the text, tap on it, then check out the menu at the bottom of the screen.
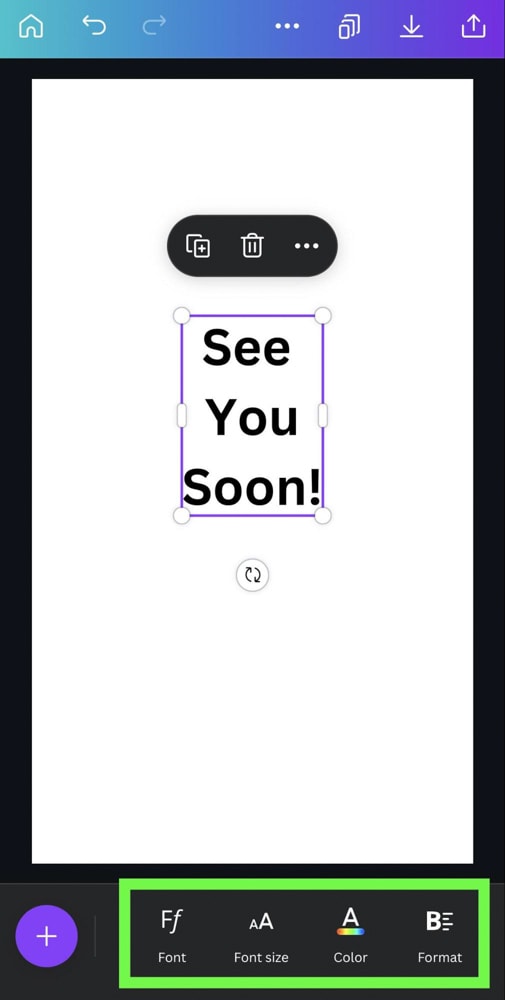
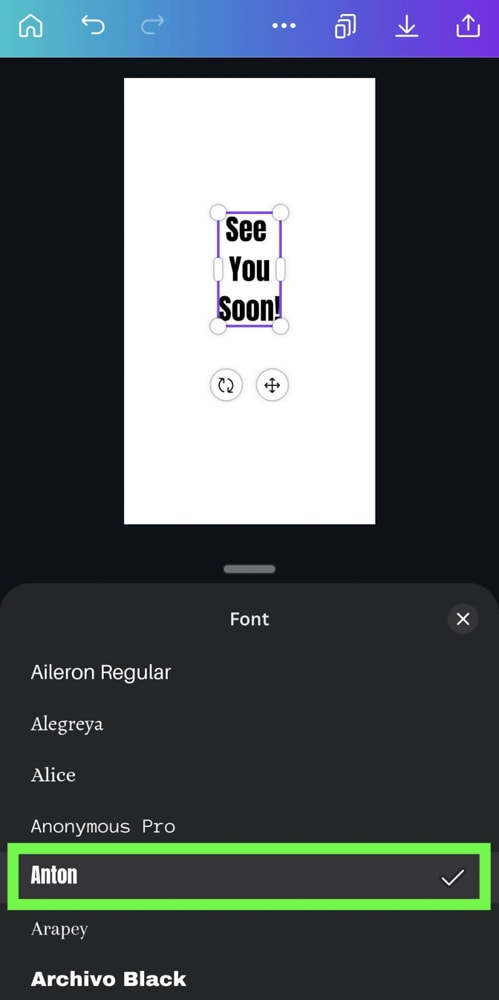
Tap the Font button to change the font of your text to any of the free fonts that Canva provides.
Tap the Color button to change the color of the text to whatever works best for your design.
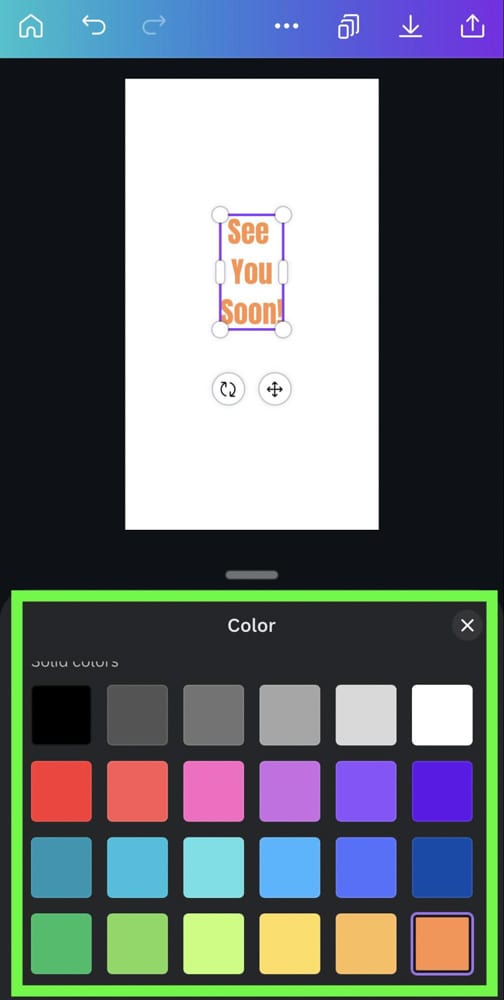
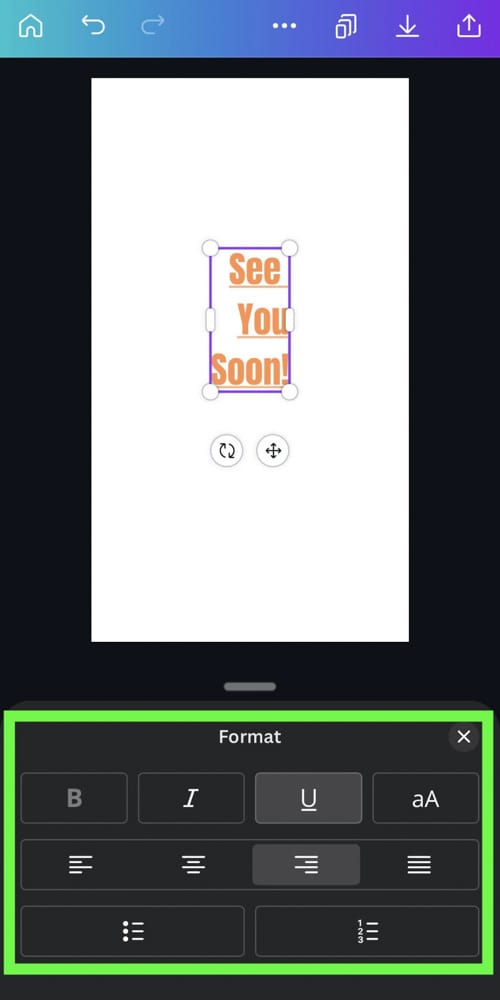
Tap the Format button to change the weight or alignment of your text. In the options that pop up, you can:
- Bold your text.
- Italicize your text.
- Underline your text.
- Align your text to the left, middle, or right inside your text block.
- You can also turn your text into a bullet point or numbered list.
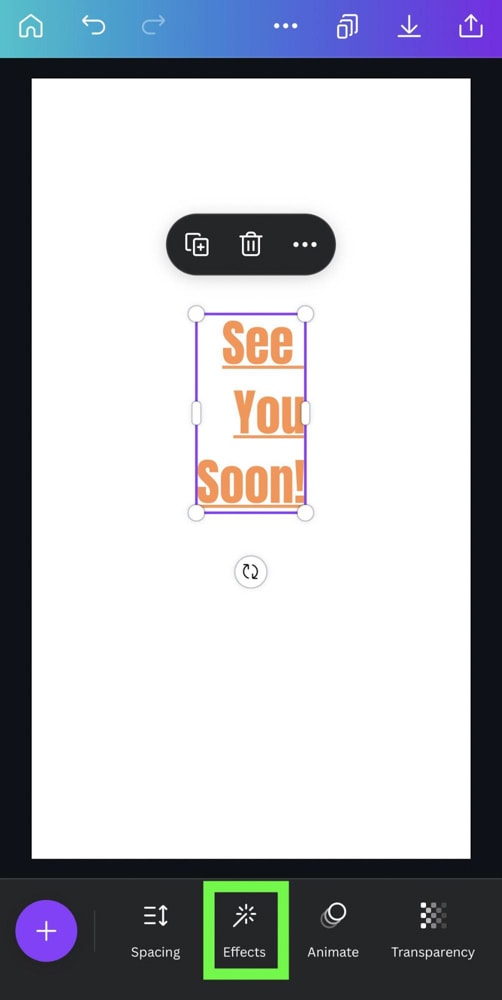
If you need to add an effect to your text, scroll the bottom menu further right and tap on the Effects button.
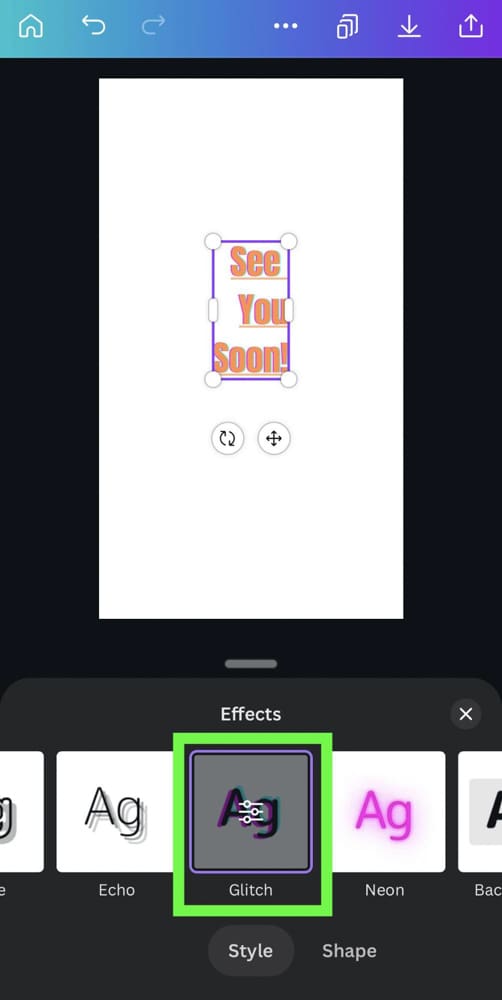
You will find all of the same effects in the mobile version of Canva as you would with the desktop version.
Click on the effect that works best for you.
Finally, if you want to add a custom shape behind your text, tap the Elements button, then click See All in the Lines & Shapes section.

When the complete list of shapes pops up, tap on the one that works best for you. This will add the shape to your canvas.
To send the shape behind your text, select it, then tap the Position button. Choose Backward.

With your shape in place, you can now adjust the transparency. Scroll the bottom menu to the right and click the Transparency button.
A slider will pop up, allowing you to adjust how much you can see through your shape.
Although creating a basic text box in Canva is pretty straightforward, there are endless ways you can customize your text to suit a design. Now go and put these new skills to use!
Happy Editing!
