
In Canva, you can blur an entire image, parts of the image, or use a brush to remove or reduce the blur you added in certain areas. Here, I will show you how to use this tool, as well as the Auto Focus effect, which creates depth-of-field in an image, and an extra tip on blurring text in Canva.
How To Blur An Image In Canva
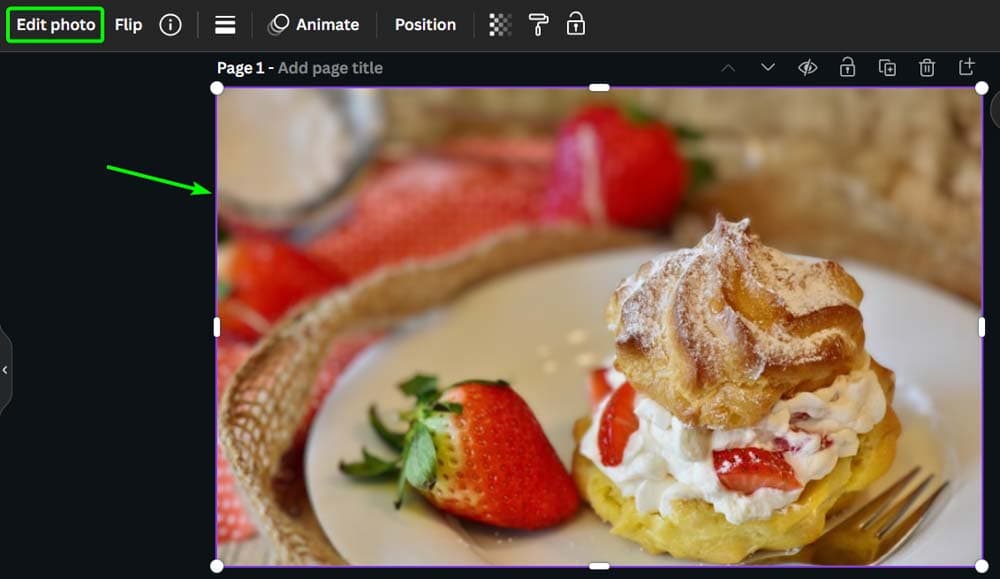
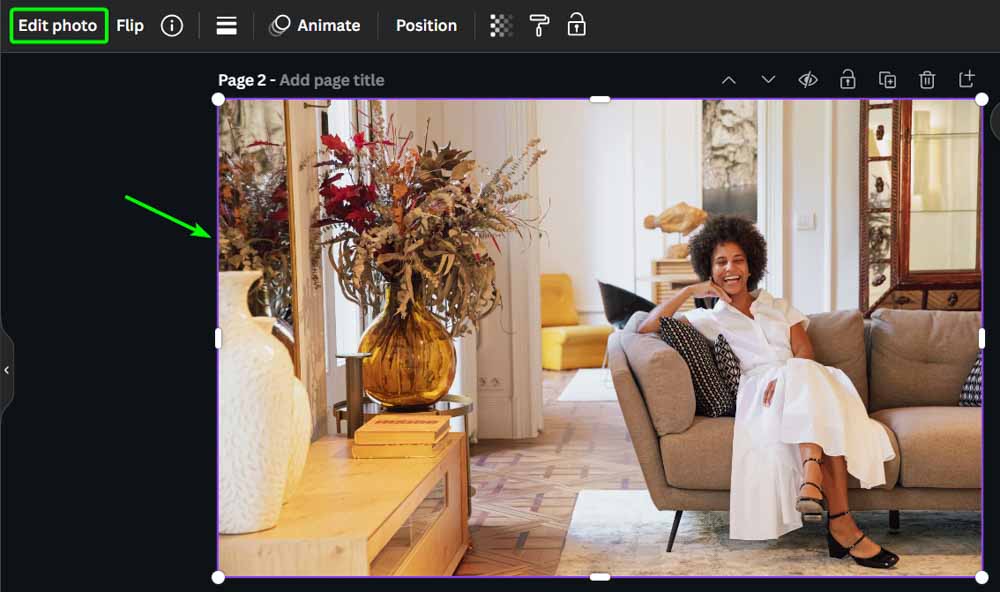
Step 1: Select Your Image And Click On Edit Photo
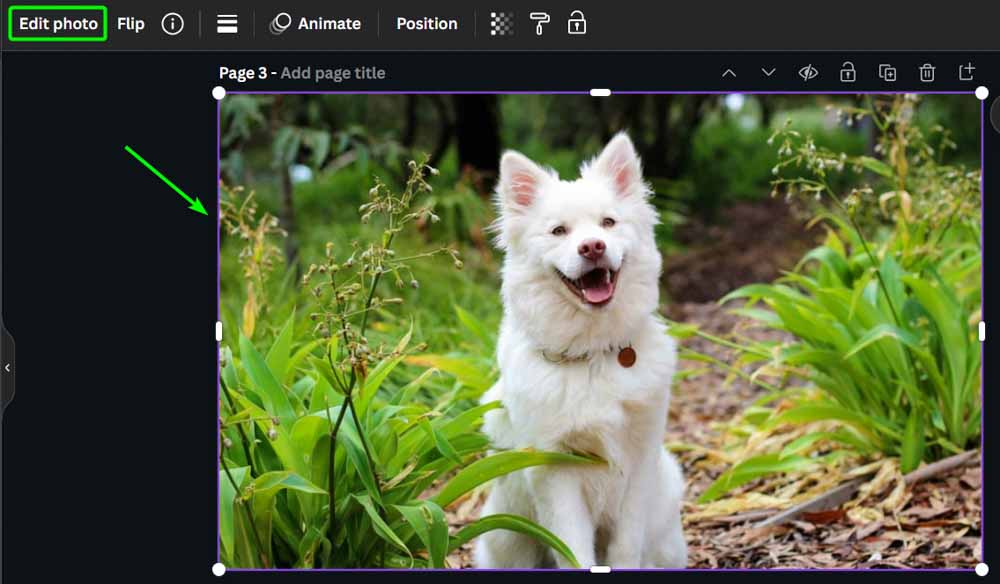
To blur the entire image in Canva, you first need to select the image, then click on Edit Photo in the top settings bar.
Note: The older version of Canva had the Edit Image button, which has now been updated to the Edit Photo button with new features and effects.
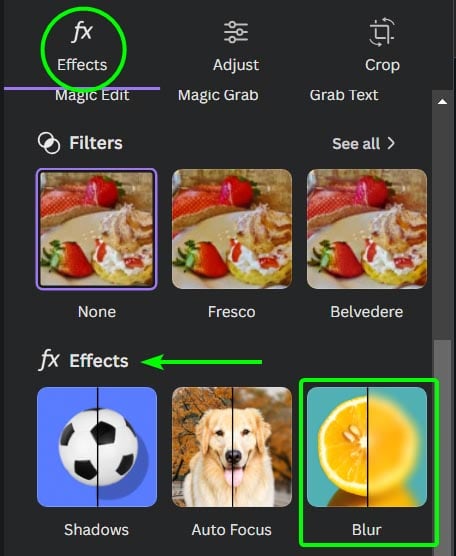
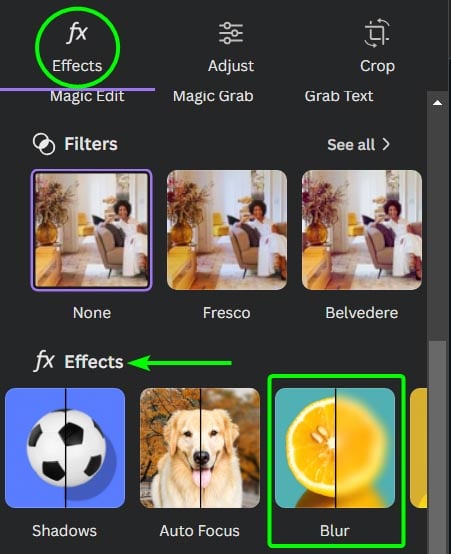
Step 2: Select Blur Under Fx Effects
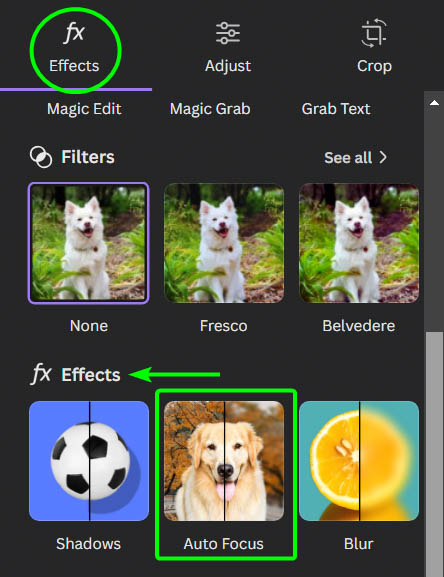
In the Edit Photo panel, scroll down the Effects tab and locate the Blur effect under the fx Effects section. Click on the Blur effect, and the image will open in the Blur workspace with settings in the panel to adjust the blur.
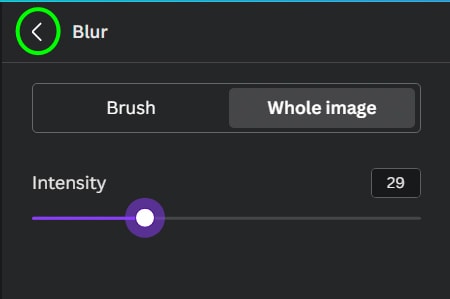
Step 3: Click On The Whole Image Tab
Click on the Whole Image tab at the top of the panel to blur the entire image. The brush tab allows you to blur parts of the image, which I demonstrate in the next section.
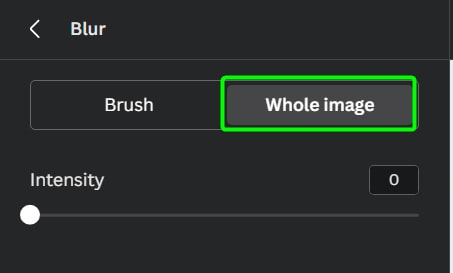
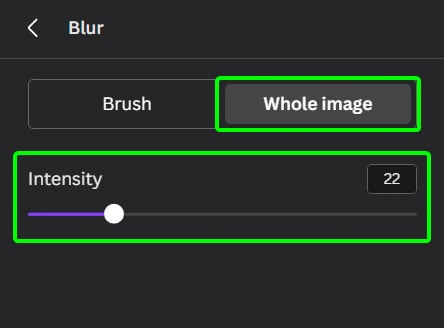
Step 4: Adjust The Blur Intensity
There is only one setting in the Whole Image tab, which is the Intensity slider. Adjust this slider to control how much blur is added to the image. It’s set to 0 by default, so you can slide it to the right to increase the blur amount.
Once you are happy with the blur amount, click on the back arrow at the top of the panel to exit the Blur workspace.

You have now blurred the entire image and can use it as a background for your design.

How To Blur Part Of An Image In Canva
Step 1: Select Your Image And Click On Edit Photo
If you only want to blur part of an image, Canva offers a simple way to do this. First, select the image and click on Edit Photo.
Step 2: Select Blur Under Fx Effects
Staying in the Effects tab, scroll down until you find the Blur effect under the fx Effects section. Click the Blur effect to open the panel.
Step 3: Adjust The Brush Size And Intensity
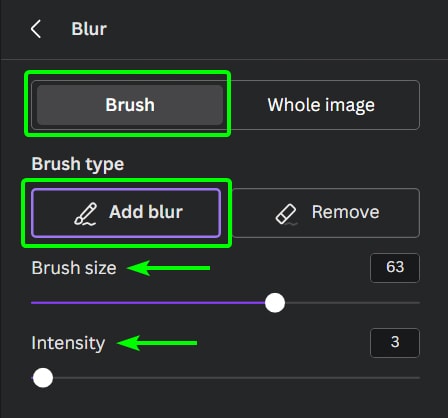
Generally, the Blur effect should open in the Brush tab, but if it’s not, click on Brush at the top to open the tab.
Ensure the Add Blur button is selected under Brush Type, then adjust the Brush Size slider to set how big or small you want the brush when you “paint” on the blur, and set the Intensity slider to how strong or subtle you want the blur effect to be.
Step 4: Paint Over Parts Of The Image To Blur It
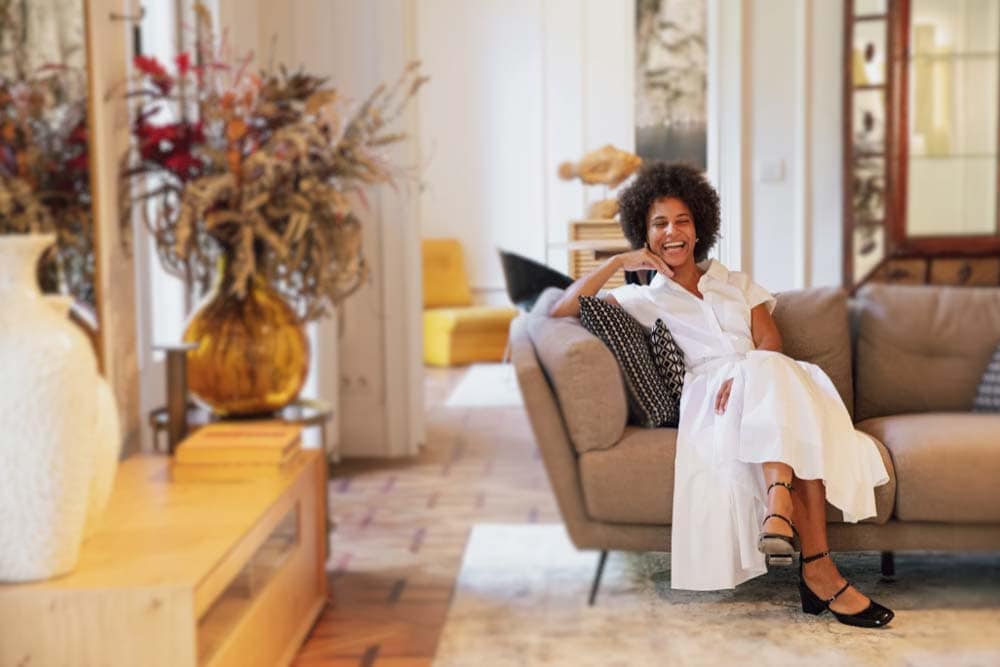
Once your brush size and intensity are set up, brush over the image where you want to add the blur effect. You will see a temporary purple mask showing the areas you have painted over. For example, I want to blur the woman slightly to bring more attention to the room and the foreground.
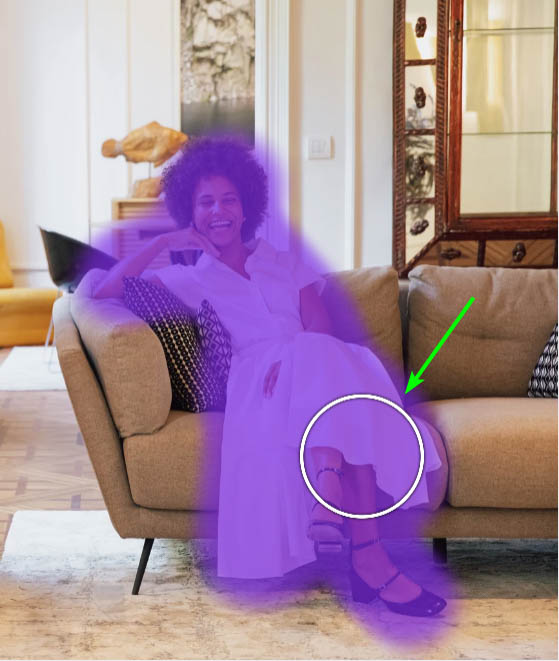
When you stop painting, Canva may take a few moments to process and add the blur effect. You can keep painting over more areas to complete the look you are going for. Click on the back arrow to exit the workspace.
Note: If you paint over a spot repeatedly, the blur effect will intensify. When re-adjusting the Intensity slider, it will only affect the blur amount for any new brush strokes and won’t affect the blur already added to the image.
How To Remove Blur From An Image In Canva
Step 1: Open The Brush Tab And Click On Remove
If you want to remove blur from an image, you can do this using the same Brush tab you used to add blur to parts of an image. This effect doesn’t remove existing blur from a picture but helps you edit the blur you have added using one of the two methods above.
For instance, if I want to blur the background of the image I used in the previous example and only keep the woman in focus, painting over the background will take too long. Instead, I can use the first method to blur the entire image, then remove the blur from the woman.
To do this, follow the first method, then open the Brush tab and click on Remove under Brush Type.
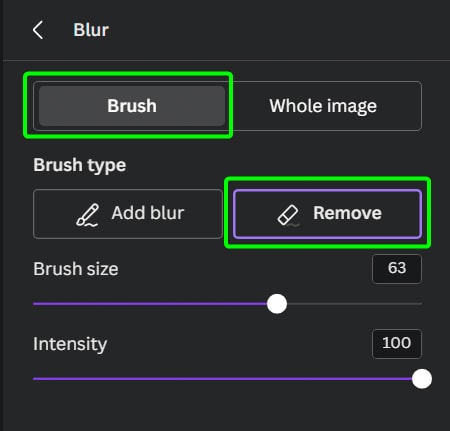
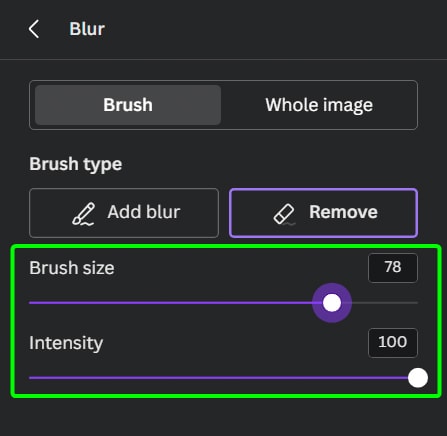
Step 2: Set The Brush Size And Intensity
Next, set the Brush Size and Intensity. Adjust the Brush Size to be slightly bigger than the object you are painting over, as the brush has a slight feather effect. Then, adjust the intensity slider as needed. To entirely remove the blur, set the Intensity to 100.
Step 3: Brush Over The Areas To Remove The Blur
Now, brush over the areas you want to remove the blur, and a purple mask will show the areas you have painted over.
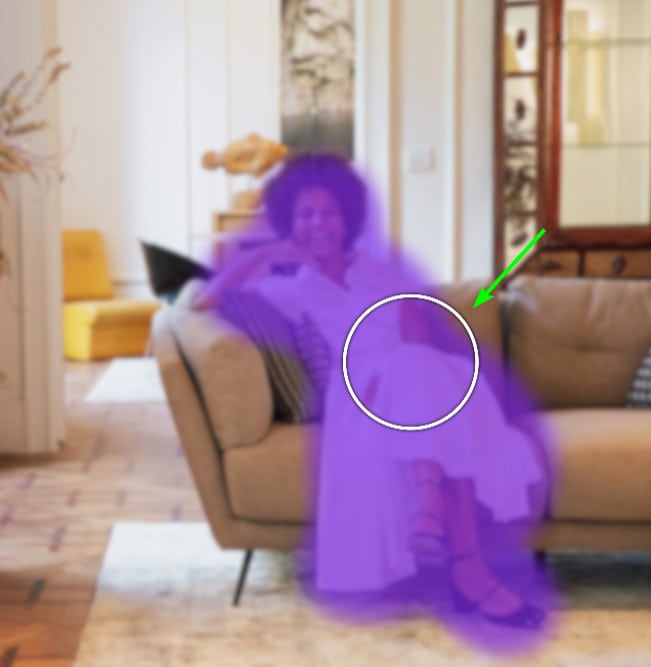
Keep painting until you are happy with the effect and have removed the blur in the desired areas.
Note: You can lower the Intensity to brush around the subject to create a more realistic blur effect that fades naturally into the blurred background.
Step 4: Click On Remove Blur To Delete The Entire Blur (Optional)
If you want to remove the blur effect from the entire image, to undo all the blur you have added, whether through painting blur on or adding to the whole picture, click on Remove Blur at the bottom of the panel. This will undo the blur effect. Click on the back arrow to exit the workspace.
How To Blur A Photo With Auto Focus In Canva
Step 1: Select The Image And Click On Edit Photo
The Auto Focus effect is another addition to Canva’s new Edit Photo effects. You can use Auto Focus to blur an image’s background automatically while controlling the focal point.
To use this method, select the image and click on Edit Photo.
Step 2: Select Auto Focus Under Effects
Ensure you are in the Effects tab, scroll down, and click on Auto Focus under the fx Effects section. This will open the image in the Auto Focus workspace.
Step 3: Select The Focus Position
First, use the Focus Position slider to add a mask to the area you want to keep in focus. As you move the slider, you will see a purple mask moving around your image. The mask shows where the photo will remain in focus, so adjust this until it sits over your subject or desired focal point.
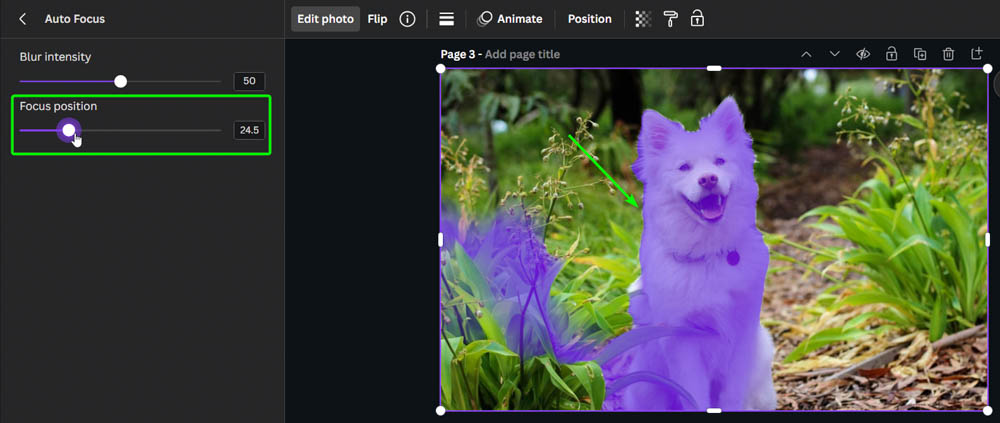
Step 4: Set The Blur Intensity
Now, you can move the Blur Intensity slider to add blur to all the areas outside the focal point you set. The higher you move the slider, the more intense the blur becomes.

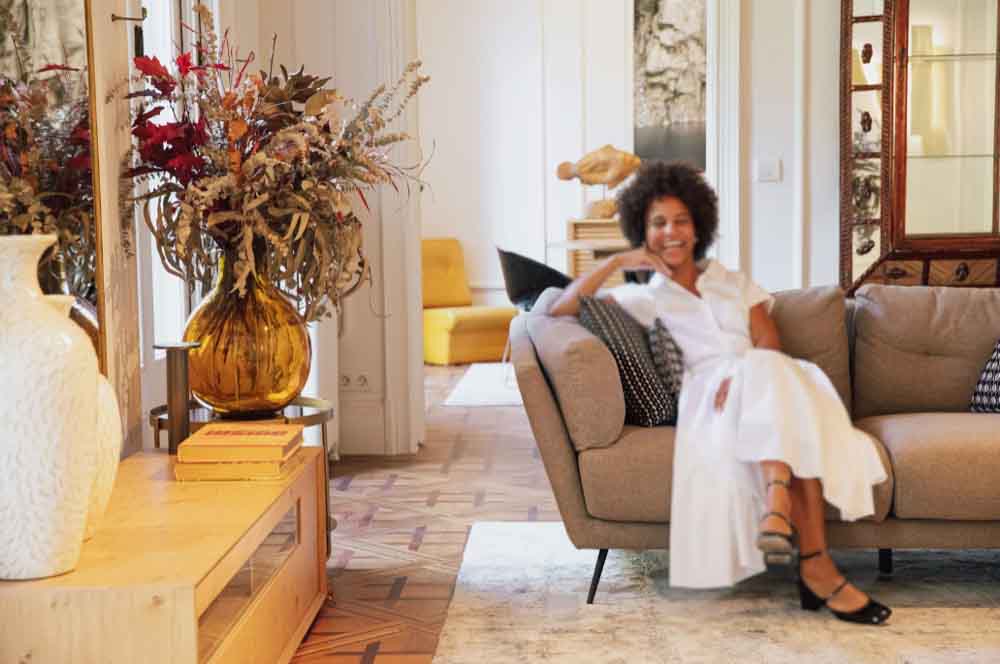
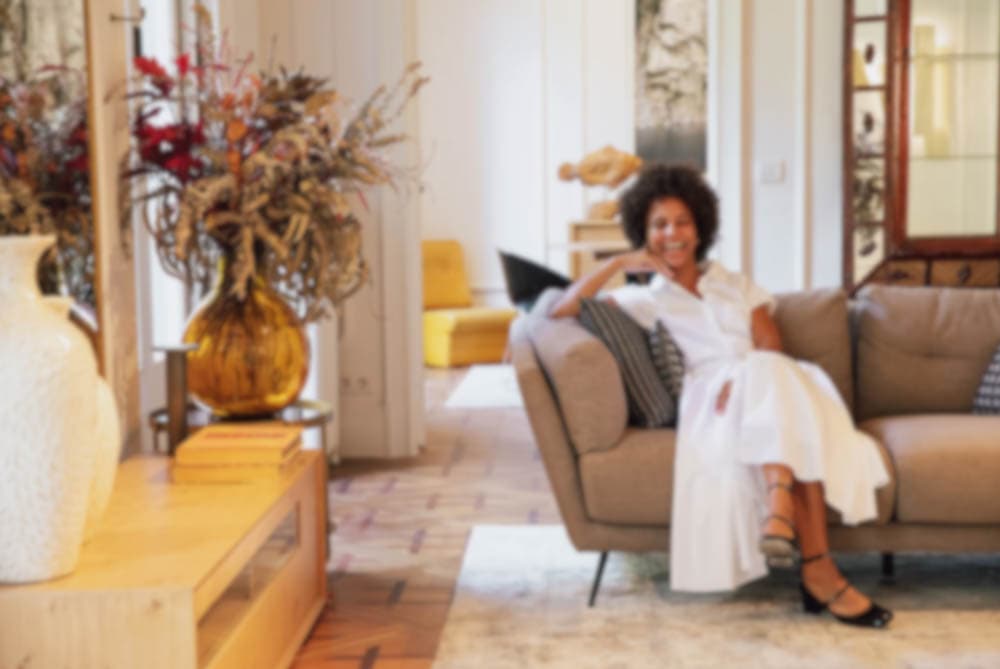
Adjust the slider until you are happy with the result, and you have added background blur to the image in just a few steps.

How To Blur Text In Canva
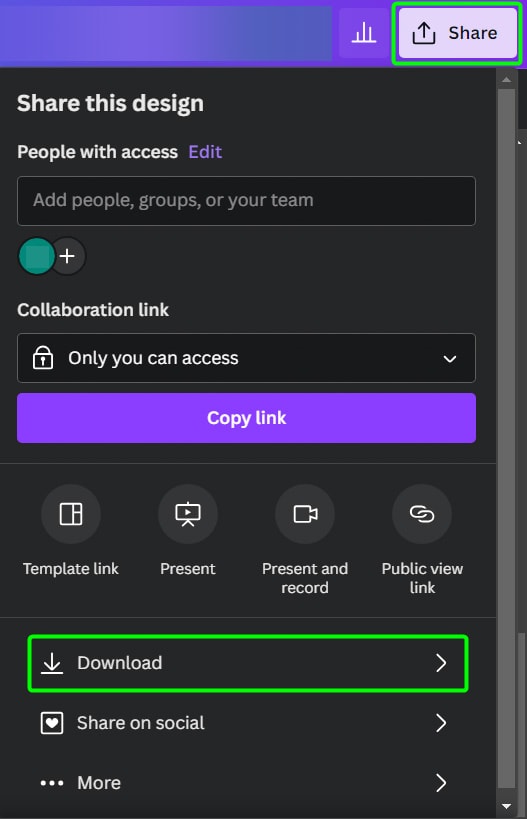
Step 1: Export The Page As A JPEG
Blurring text in Canva is more complicated as the Blur app is no longer available in the new updates. However, you can blur text with a workaround, which works for blurring graphics, too.

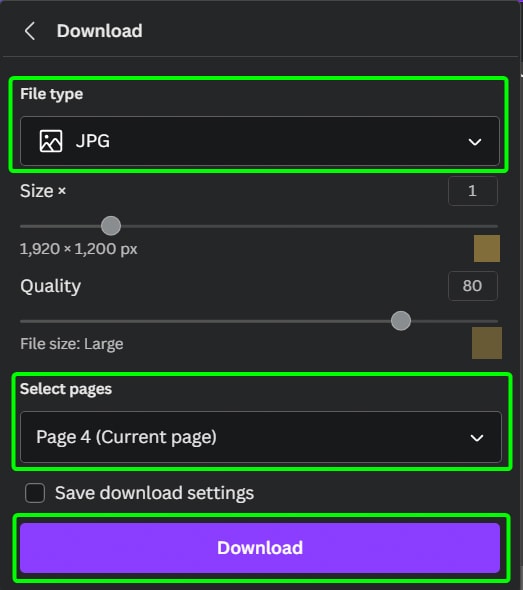
First, export the page containing the text you want to blur as a JPEG by going to Share. Then, click Download and adjust the settings. In the settings, ensure the correct page is selected, the format is set to JPG, then click Download.
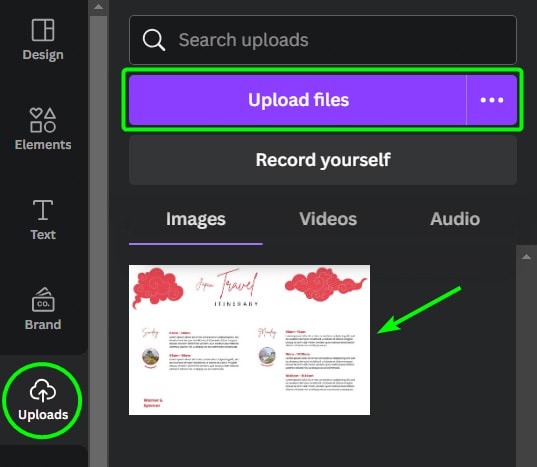
Step 2: Upload The Image To Canva
Next, you must upload the JPG you saved into Canva by clicking the Uploads tab. Then drag and drop the image or click Upload Files and find it on your device.
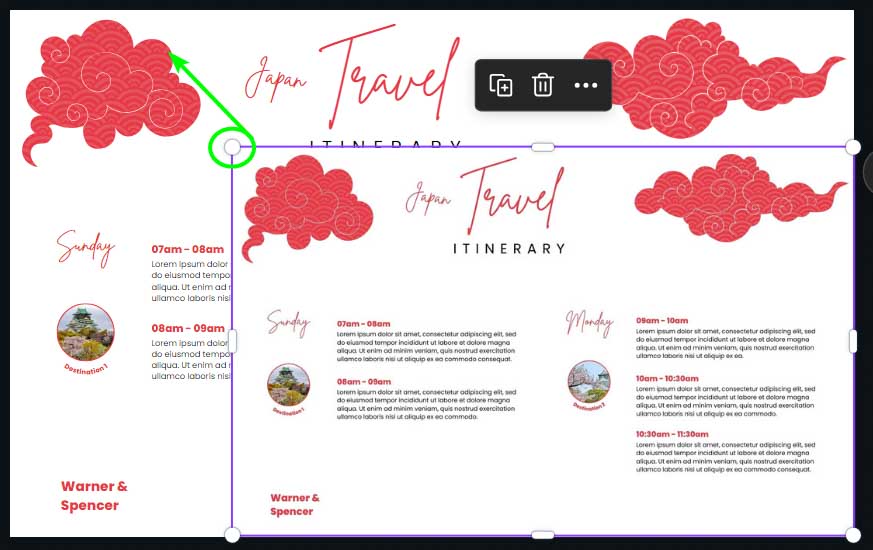
When the image appears in the Uploads section, click on it to add it to the page on top of the original text. Then, resize the image to fit the entire page again so the elements line up. To do this, drag the corner handles outward.
Step 3: Blur The Entire Image Using The Blur Effect
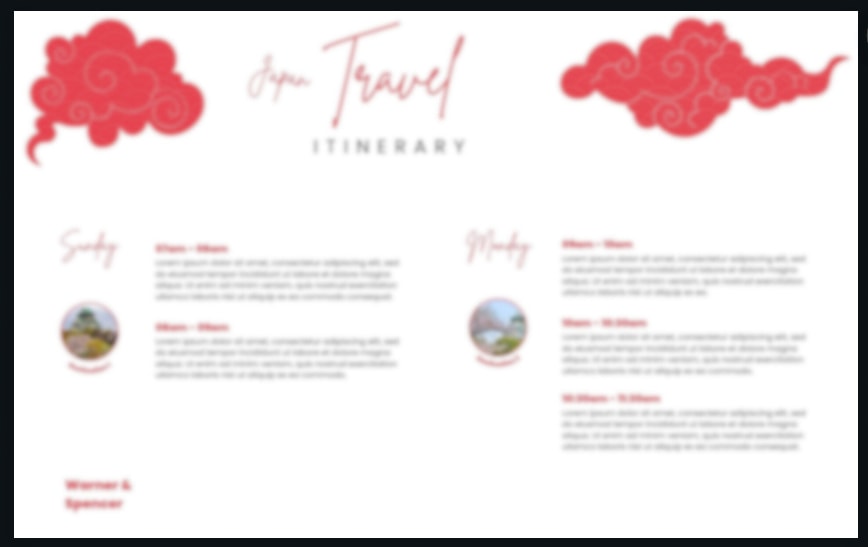
Now, follow the first method to blur the entire image you uploaded by selecting the image and going to Edit Photo. Then, select Blur under the fx Effects section, open the Whole Image tab, and adjust the Intensity slider as needed.
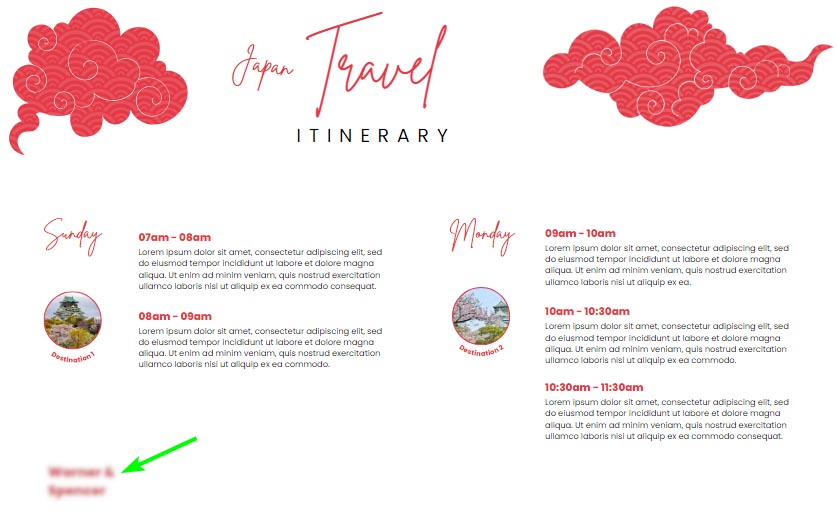
Your image will now be entirely blurred and cover the original document with the text.
Step 4: Crop The Image To Blur The Text Area
Since you don’t want the entire document blurred, you need to crop the image to only show the area you want blurred. To do this, select the image and drag the rectangular crop handles inward to crop the photo.
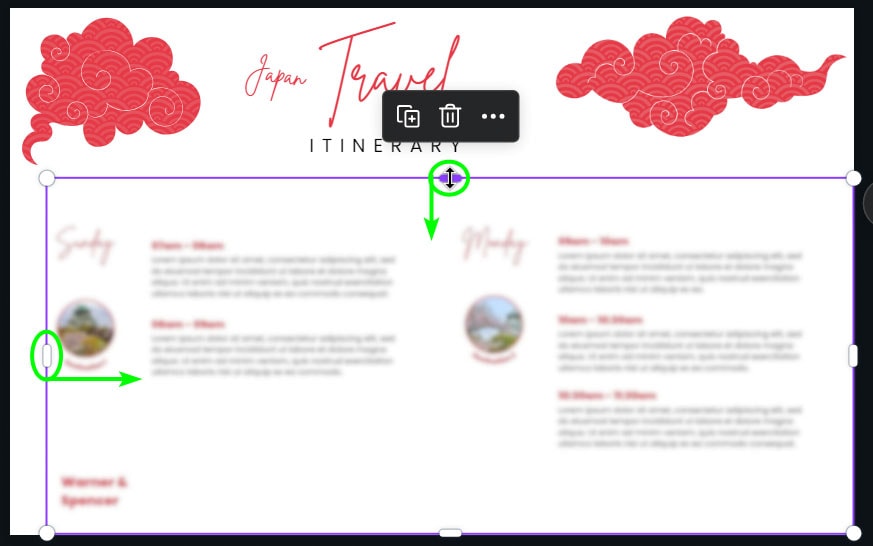
Crop the image until you are left with the area covering the text you want to blur.
Note: You can copy and crop the image in different areas if you want to blur multiple text areas.
Step 5: Use The Blur Brush To Blur Areas Of The Document (Optional)
Blurring the entire image, as mentioned above, results in a harsh blur effect, which sometimes works. However, if you want a more subtle blur, you can upload the image and edit it using the Blur brush as detailed in the second method of the article.
This will enable you to brush a soft blur effect over text areas. Although you won’t be able to edit the text in the document if you are using the entire photo, you can crop the image only to show the blurred areas and keep the original below to edit on.