
Adding creative effects to images in Photoshop is a great way to show off your photo editing skills. The stencil effect is an edit that turns a regular photo into an outlined image that can be used as a stencil for graffiti-like effects. Here you can learn how to make a stencil in Photoshop, from any image, in a few simple steps.
Once you learn the basics of using the stencil effect in Photoshop, you can continue to play around with the effect by changing the color and saving it for later use. These skills will help you elevate your editing techniques with creative flair.
Continue below to discover how to make a stencil and use it on your images.
How To Make A Stencil In Photoshop
Creating a stencil in Photoshop removes details from the image and converts it to black and white. This gives you a semi-outlined image that can be printed out and used as a stencil.
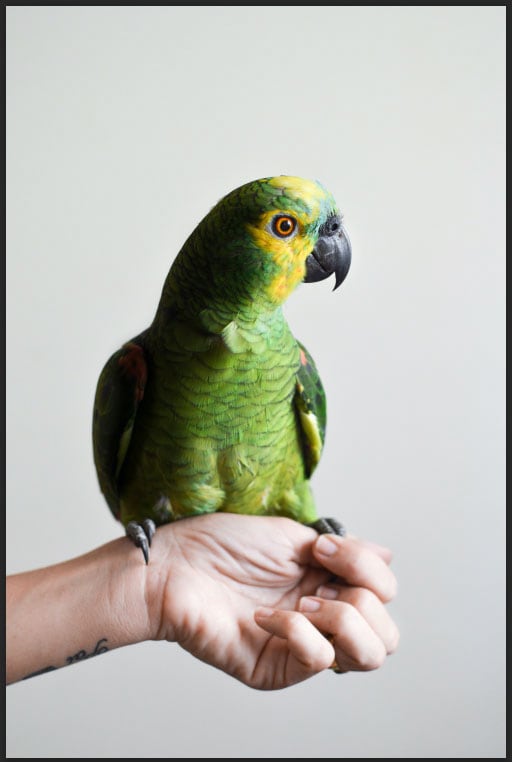
To create a stencil from an image, open the image in Photoshop by navigating to File > Open.
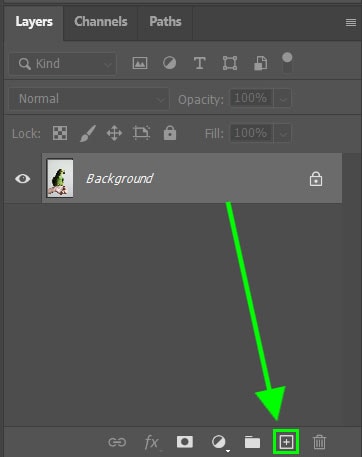
Once your image is open, duplicate the background layer by dragging the layer to the “add new layer” icon at the bottom of the Layers panel or press Control + J (Win) or Command + J (Mac). Creating a new layer allows you to edit the image non-destructively.
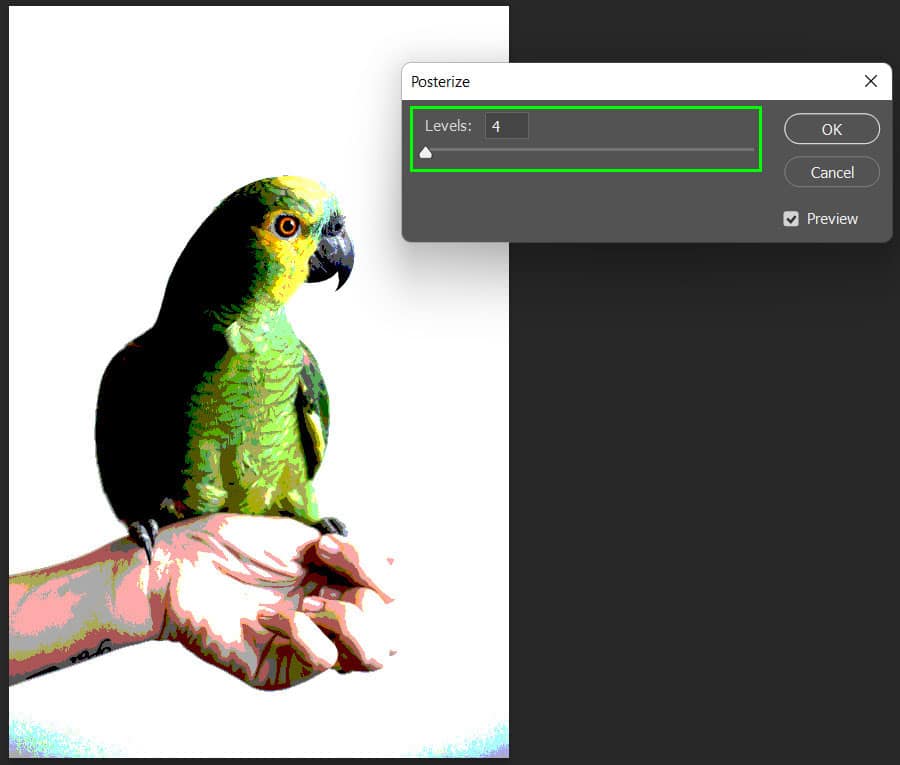
Next, select the new layer and navigate to Image > Adjustments > Posterize. This step will decrease the image’s bit depth, which flattens the colors.
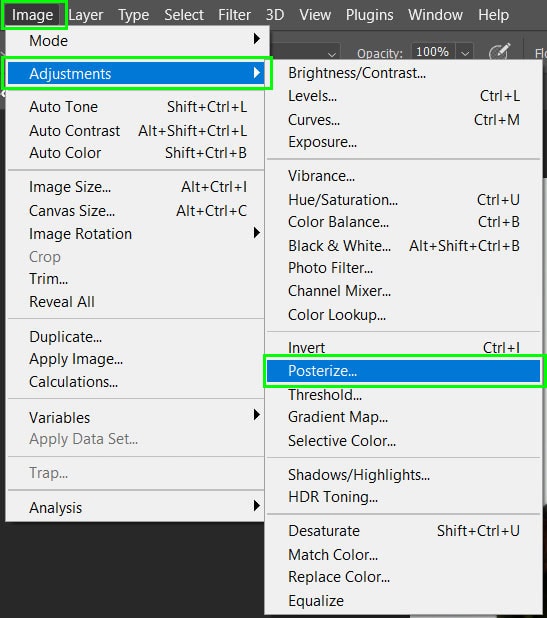
When the Posterize window opens, use the slider to set the Posterize level. Make sure the preview box is checked to see the changes on the image. Level 4 will flatten the colors enough for the stencil.
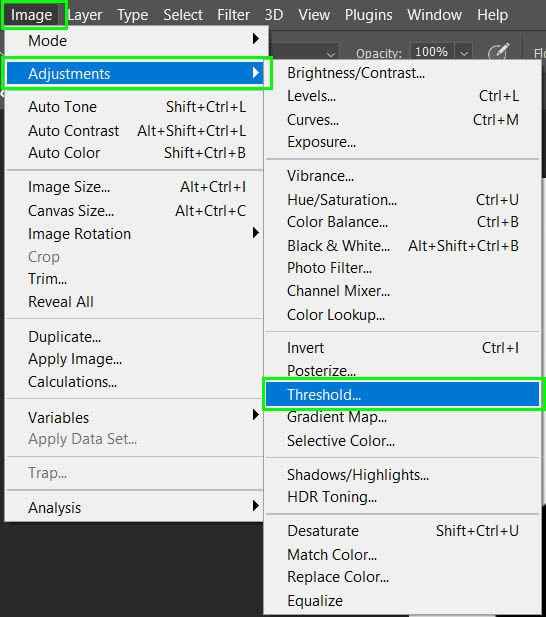
Once you have selected OK to posterize the layer, add a threshold effect to the image. To do this, navigate to Image > Adjustments > Threshold.
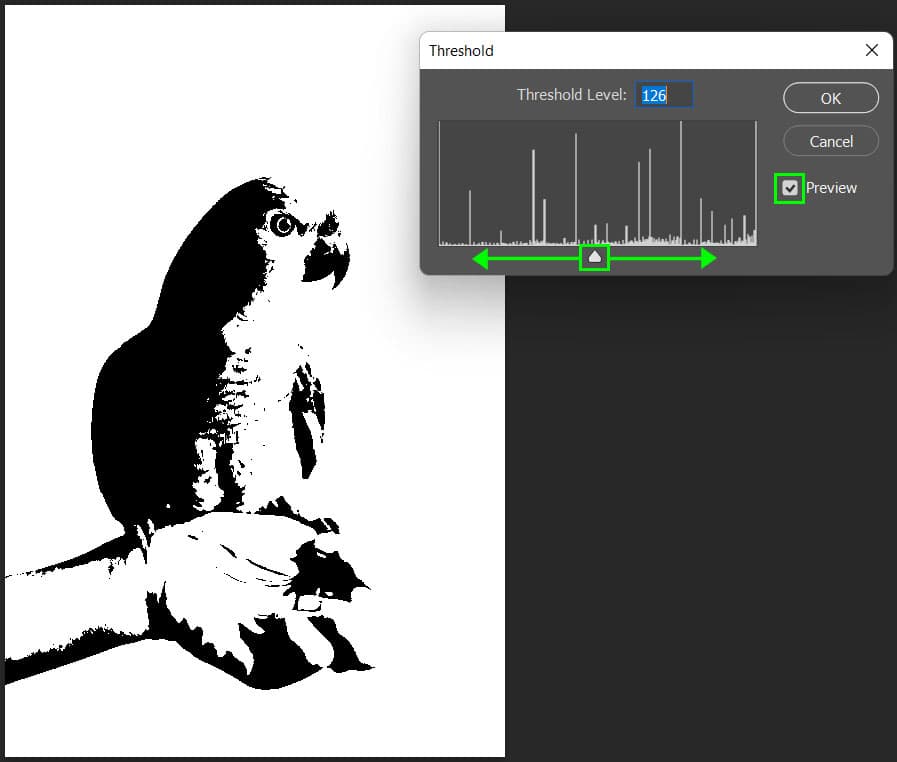
Once the adjustment is added the Threshold window will open. With the preview box checked, you can use the slider to set the threshold level for your image. Move the slider right or left to find the right threshold level. Select OK when you are happy with the level.
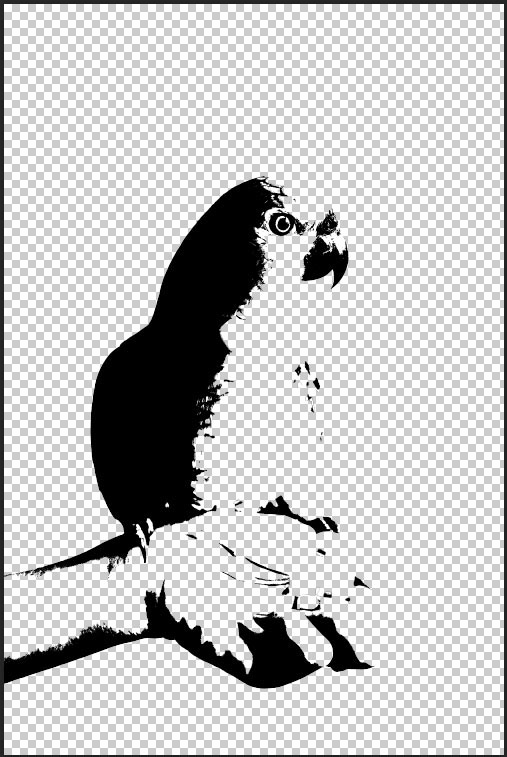
Now your stencil is created, although it is still attached to the background of the image. You can remove the background to place the stencil on any type of background you choose.
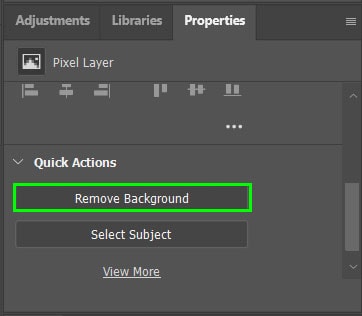
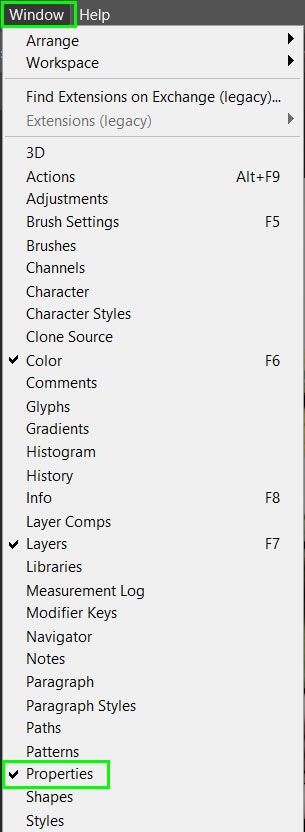
To remove the background of the image, scroll down in the Properties panel and select Remove Background. If the Properties panel is not visible navigate to Window > Properties to show the panel.
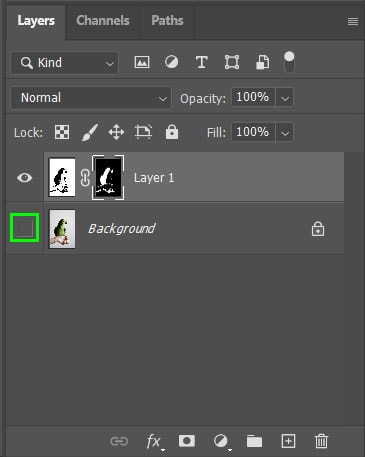
Make sure the background layer is hidden by deselecting the eye icon next to the layer thumbnail. This allows you to see the transparency behind the stencil.
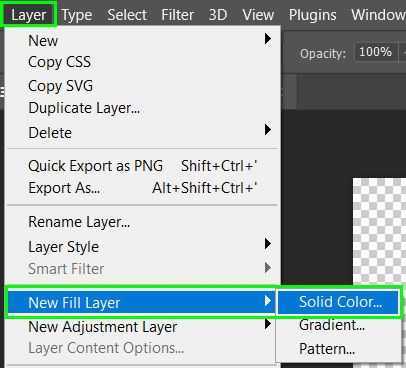
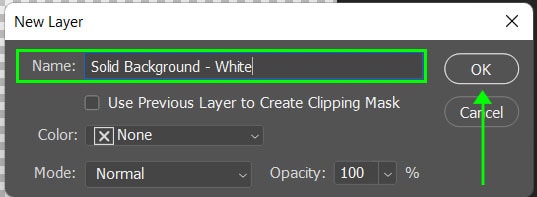
To add a new background that is separate from the stencil, navigate to Layer > New Fill Layer > Solid Color. Add a name to the new layer and select OK.
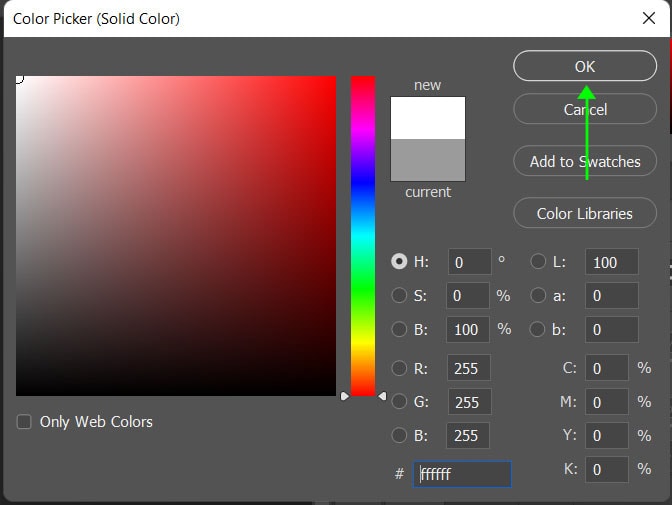
Once you have named the new layer, the Color Picker will open allowing you to select a color for the layer. Select OK once you have chosen a suitable color.
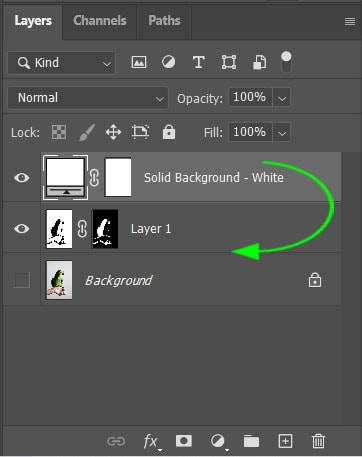
Since the new layer was created after the duplicate layer, drag the new fill layer below the threshold layer to place it at the back of the stencil.
How To Change The Color Of A Stencil
Once the stencil has been created, you can change the color of the stencil. A color overlay is one way to change the color of the stencil. To do this, you simply add the color onto the black areas of the stencil.
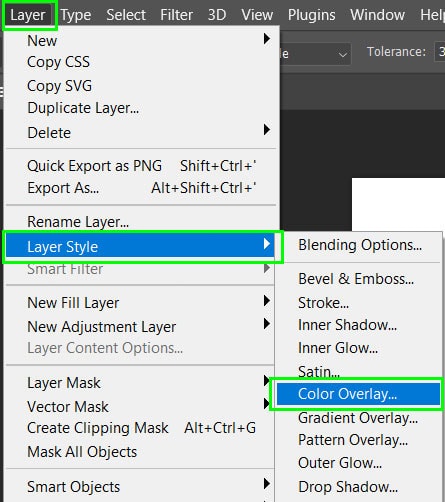
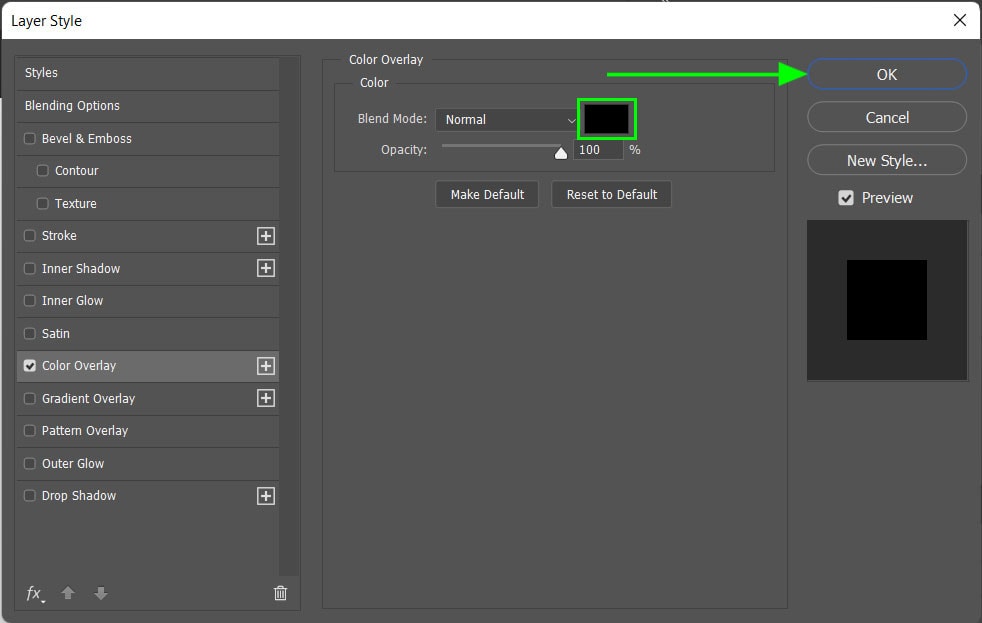
To add a color overlay, navigate to Layer > Layer Style > Color Overlay to open the Layer Style window.
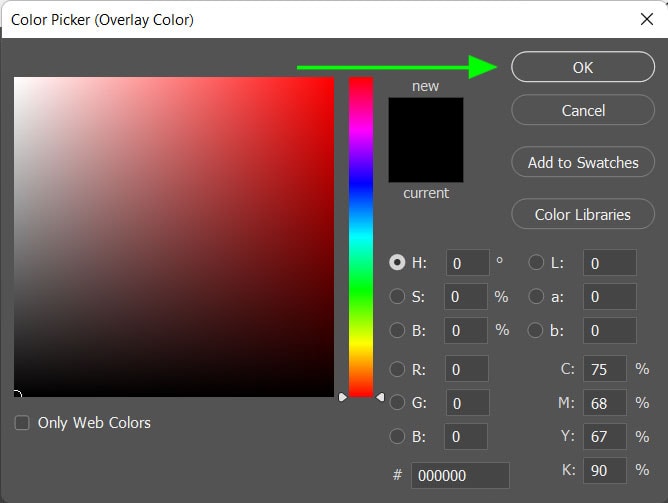
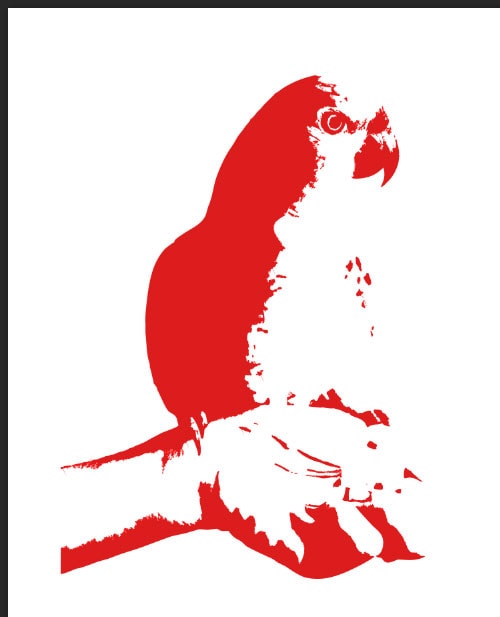
In the Layer Style window click on the color block to open the Color Picker. Here you can choose the color you want to change the stencil color to. Select OK on the Color Picker and the Layer Style window when you have the right color selected.
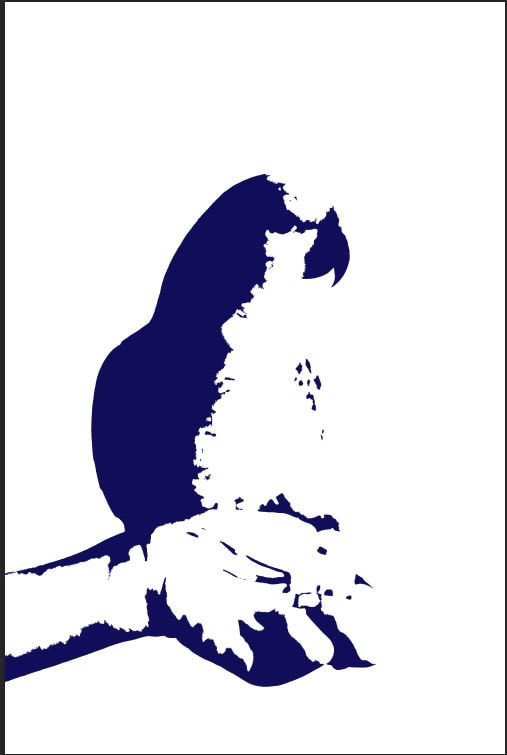
Once the color has been selected, the stencil will now be the new color you have chosen.
How To Save A Stencil As A Custom Shape
Once you have created your stencil, you can save it as a custom shape. This will allow you to create the stencil at any time using the custom shape tool. When creating the stencil using the shape tool, you can adjust the size, the stroke color, and the fill color, giving you more control over the stencil at a later stage.
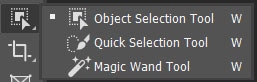
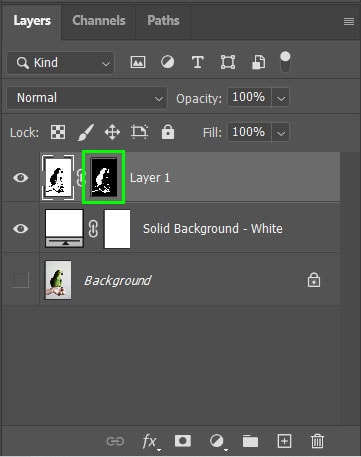
To create a custom shape tool, select the stencil using any of the quick selection tools or hold in Control (Win) or Command (Mac) while clicking on the layer mask of your stencil. The second method will automatically select all the parts of the stencil.
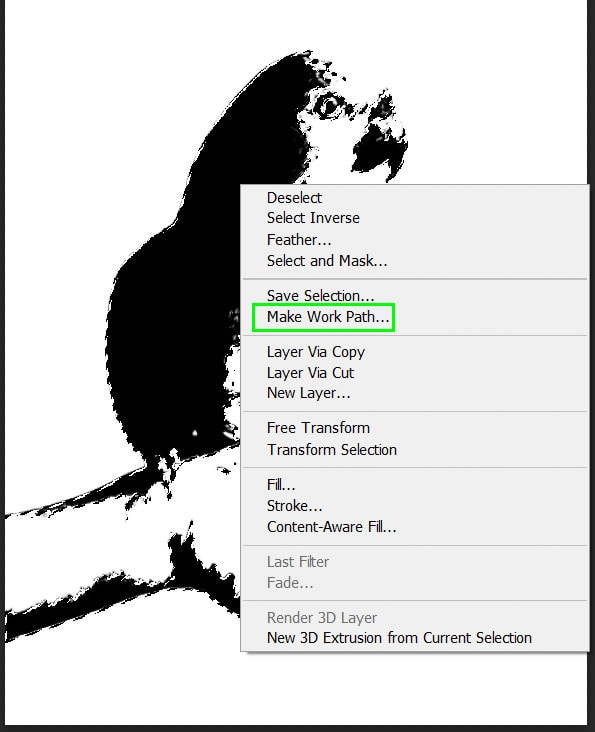
Once you have selected the stencil, make sure a selection tool is selected (it can be any of one of them) and right-click (Win) or Control + click (Mac) anywhere on the selection. Then select the Make Work Path option from the menu.
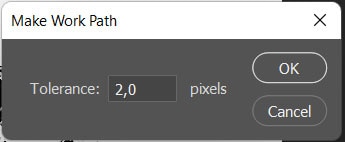
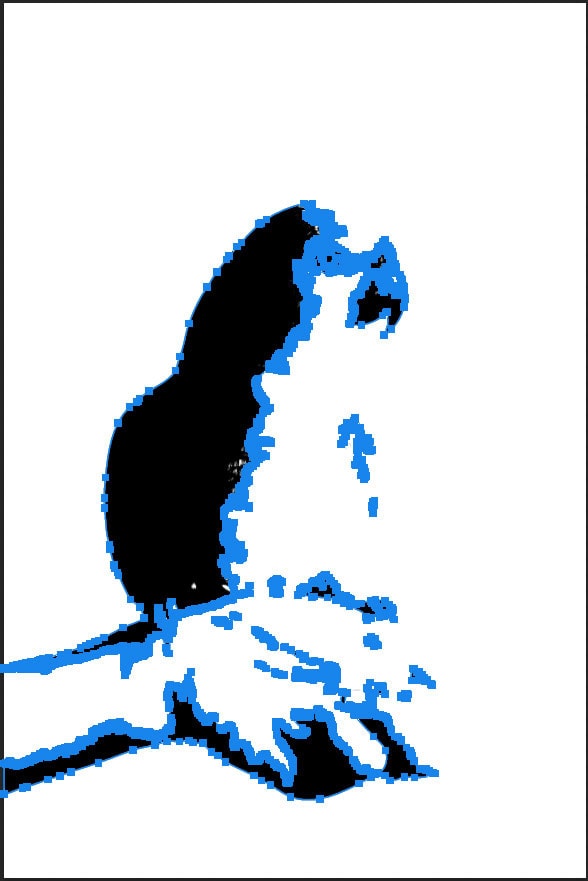
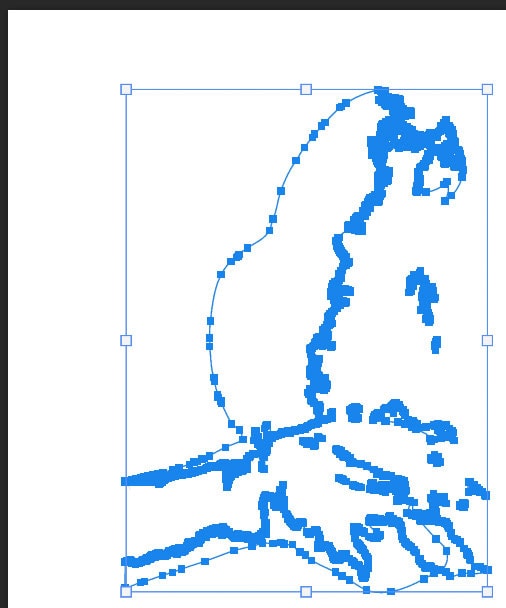
Once you have selected “make work path” a window will open allowing you to set the tolerance of the path. The higher the tolerance, the less detail will be shown in the shape but the curves will be smoother. Set the tolerance to 2,0 and select OK, your stencil will now have a blue path surrounding it.
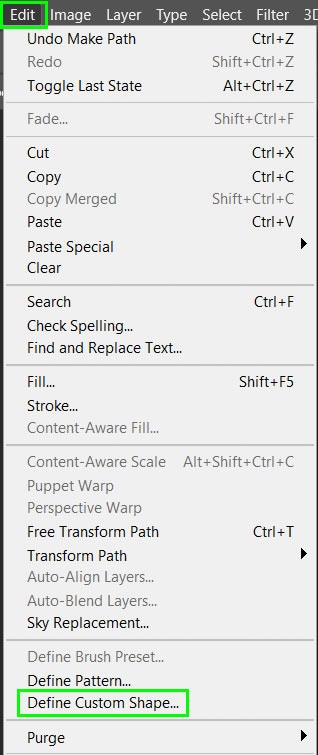
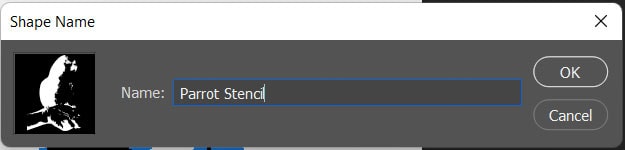
With the path still selected, navigate to Edit > Define Custom Shape. A window will open, add a name to the custom shape and select OK to create the shape.
Changing The Color Of A Custom Shape
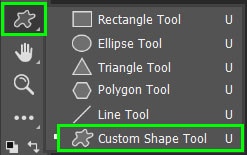
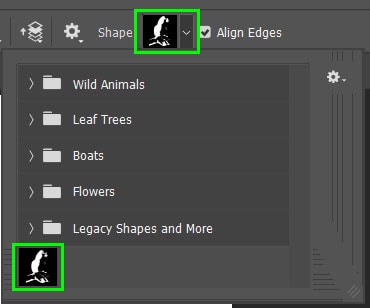
To find the custom shape at a later stage, select the Custom Shape tool from the toolbar. Then select the drop-down menu next to the shape in the Options bar. The new custom shape can be found at the bottom of the panel.
Select the shape and click and drag on your page to create the shape, hold in Shift to keep the original ratio of the shape. You can then change the fill and stroke color on the Options bar.

This method is useful to change the color of the stencil and go back to re-edit it at any time in the project.
Creating A Custom Brush From A Stencil
Another way to save your stencil to use in other projects is by creating a custom brush from the stencil. This will create a type of stamp that you can add to a project using the brush tool. When creating a custom brush, you won’t be able to customize the stencil as much as you would with the custom shape.
Note: Creating a custom brush won’t work if you have changed the selection to a work path as was done when saving the stencil as a custom shape.
To create a custom brush from a stencil select the stencil using a quick selection tool or by holding in Control (Win) or Command (Mac) while clicking on the layer mask in the Layers panel.
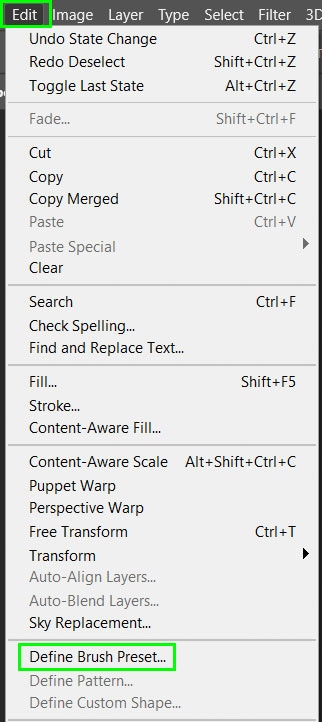
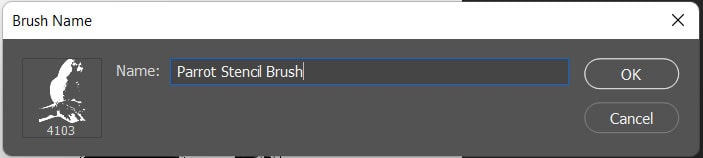
Once the stencil is selected, navigate to Edit > Define Brush Preset. Add a name in the window that appears and select OK.
Now when you select the brush tool, you will find the new stencil brush at the bottom of the brush panel on the Options bar.

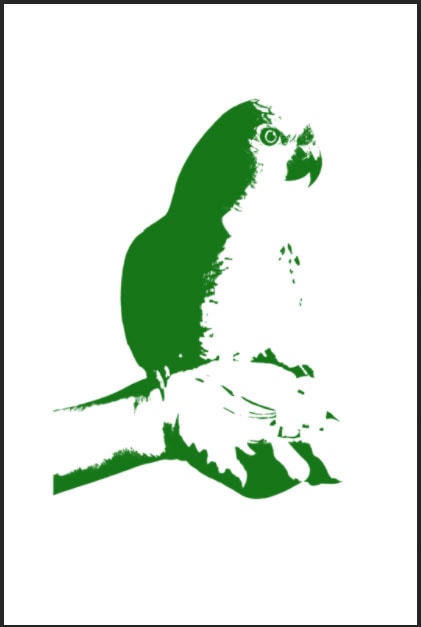
When you use the brush tool you can select any color for the stamp by changing the foreground color after selecting the stencil brush. However, you can only change the fill color and not the stroke color.
You can also change the size of the brush on the Options bar or by clicking [ to decrease the brush size and ] to increase the brush size. Then click on your page to create the stencil with one click.
Although creating a stencil from your image is pretty quick, putting in the added effort to define a custom shape or a custom brush makes your stencil easier to use in the future.
Happy Editing!


