

When you need to blend text or images into a texture or even create a texture from scratch, such as when creating a water reflection, a displacement map in Photoshop is your best friend.
This handy adjustment allows you to distort layers based on the contrast in an image to blend two layers in Photoshop professionally. By the end of this tutorial, you will know how to use one to blend an image seamlessly into a detailed background.


Video Tutorial
How To Make A Displacement Map In Photoshop
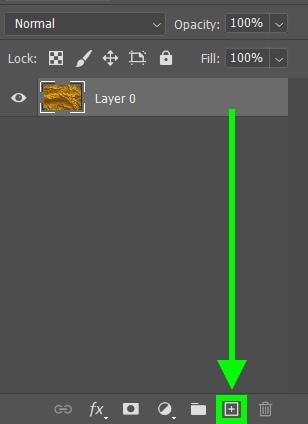
Step 1: Duplicate Your Background Image
Click and hold your layer and drag it to the Add A New Layer button. You can also press Control + J (Win) or Command + J (Mac).
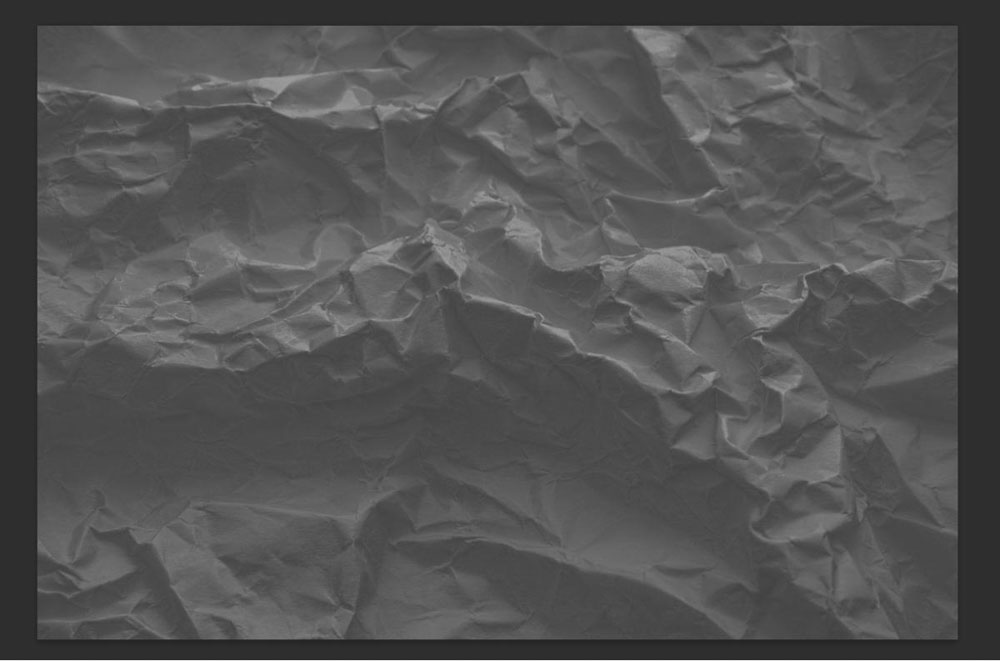
Step 2: Go To Image > Adjustments > Desaturate
Now, desaturate the duplicated layer by clicking on Image > Adjustments > Desaturate to turn your background image from color to black & white.
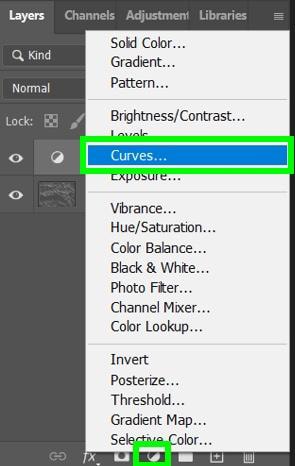
Step 3: Increase The Contrast Using A Curves Adjustment Layer
Select your desaturated image and click on the adjustment layer button in the Layers Panel. Choose Curves from the list.
In the Curves Panel, you want to make your dark colors darker and your light colors lighter. Every project is different, so you will have to experiment with how you adjust your curves to bring out the contrast of your background.
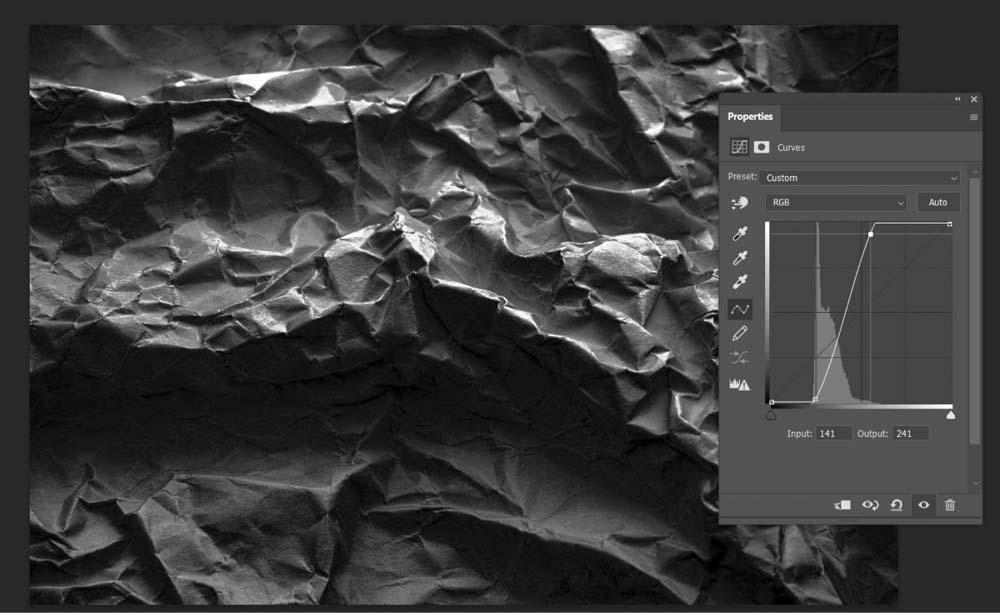
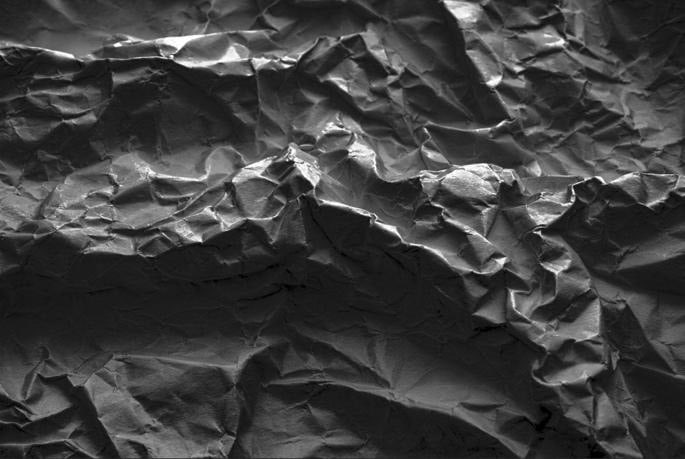
When you’re done adjusting your curves, there should be a significant difference in contrast between your original background image and your adjusted one.

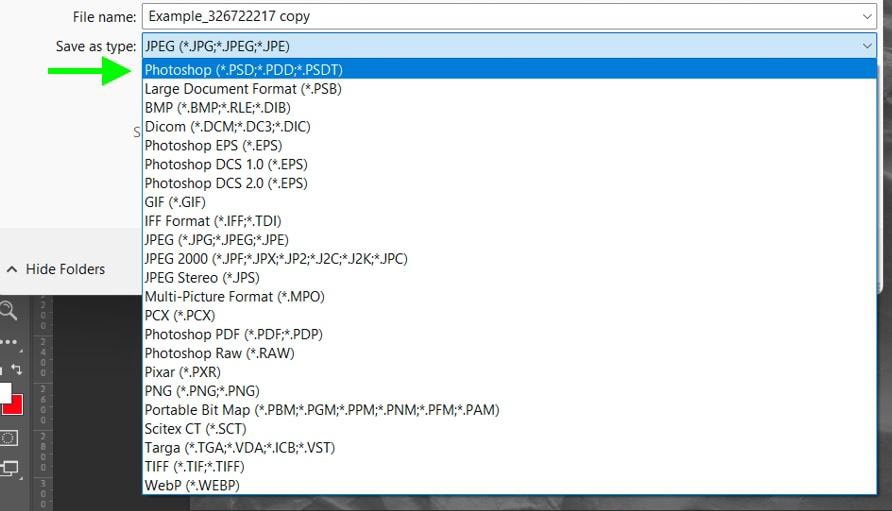
Step 4: Go To File > Save A Copy To Save Your Image As A PSD
Once you feel that your desaturated layer is ready, you will save it to your hard drive. To do this, go to File > Save A Copy. Then, choose PSD under Save As Type.
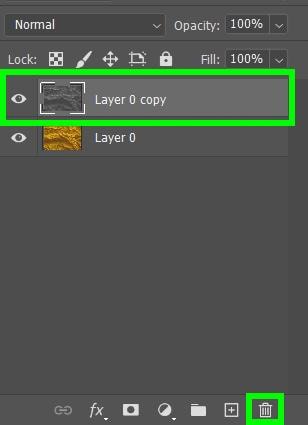
Once your saturated image is saved to your hard drive, delete the layer from the Layers Panel by clicking on the layer and then clicking on the Trash Can Icon.
Step 5: Import Your Image And Convert It To A Smart Object
Now it’s time to import your second image if it’s not already there. You can do this quickly by dragging the image from the Layers panel to the tab that contains your background image.
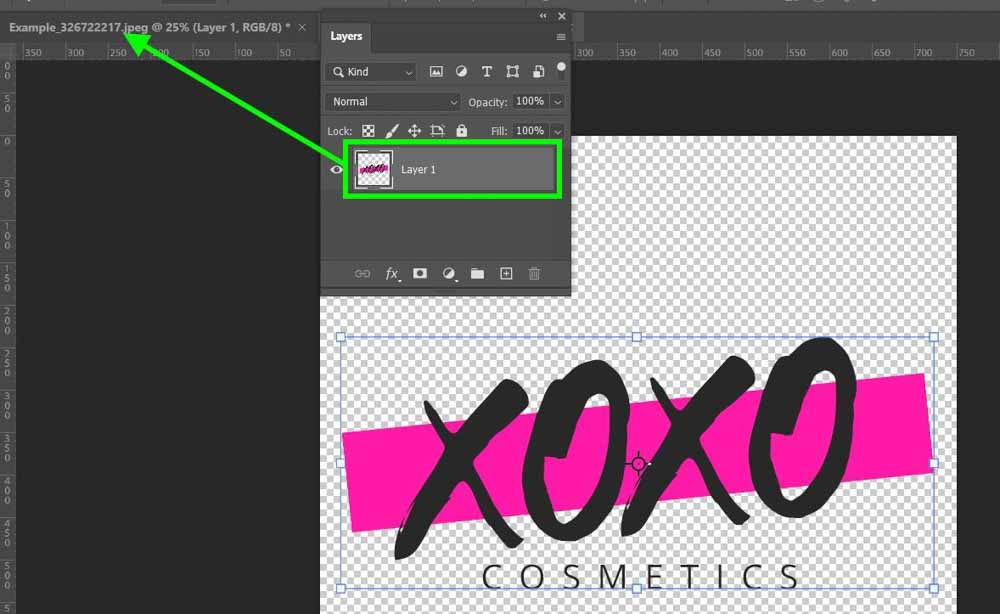
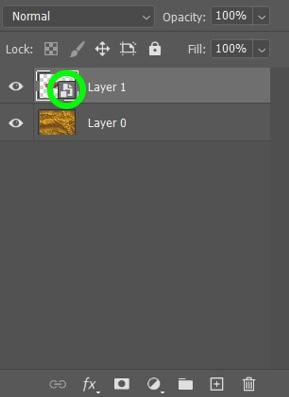
Right-click (Win) or Control + click (Mac) on the new layer and choose Convert To Smart Object from the list of options. You will know this works if there’s a symbol in the corner of the layer in the Layers panel.
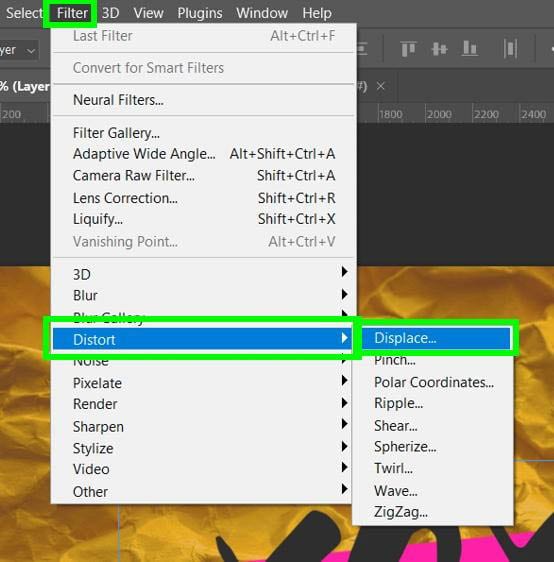
Step 6: Go To Filter > Distort > Displace
Now, to apply the displacement map, select your new layer, then go to Filter > Distort > Displace.
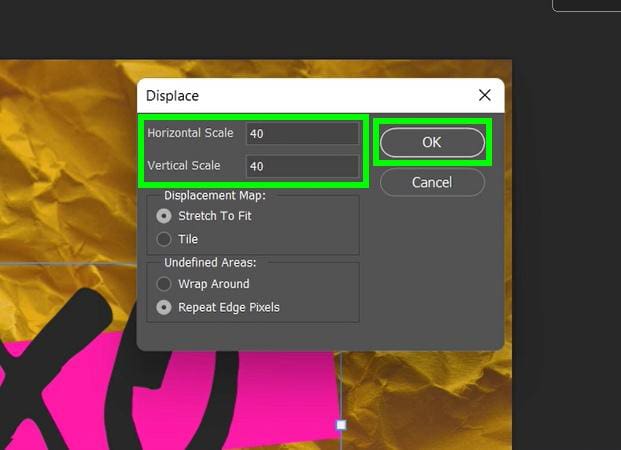
The Displace Options Menu will pop up with some options to pick from.
- Horizontal Scale / Vertical Scale: This option determines the magnitude of the displacement. The higher the numbers, the more stretched out your foreground image looks.
- Displacement Map: This option determines the size of the displacement map itself. You can either stretch your displacement map to the size of your image or Tile the displacement map so it is laid out in a repeating pattern.
- Undefined Areas: This option will determine how the AI fills in the voids that the Displace Filter creates.
A good baseline for these options is to make sure that under Displacement Map, pick Stretch to Fit, and under Undefined Areas, pick Repeat Edge Pixels. Experiment with these settings if you wish, of course.
However, ensure Embed File Data In Smart Object is checked, as this will attach the displacement map to your foreground layer.
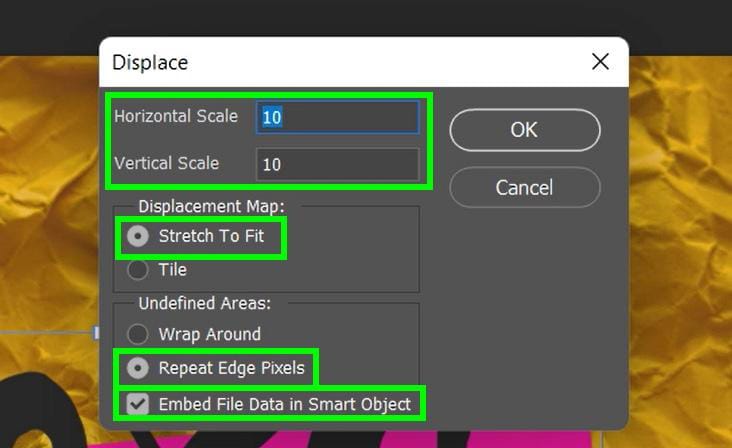
The most important option here is the Horizontal Scale and Vertical Scale. You need to experiment a few times with this option to make it work with your project. Try out different combinations: 10 x 10, 25 x 25, 20 x 40, or 40 x 40. This may take a while to do, but it will be worth it. Hit OK when you’re ready.
You will then be prompted to choose the displacement map you made earlier. Locate the PSD and click Open.
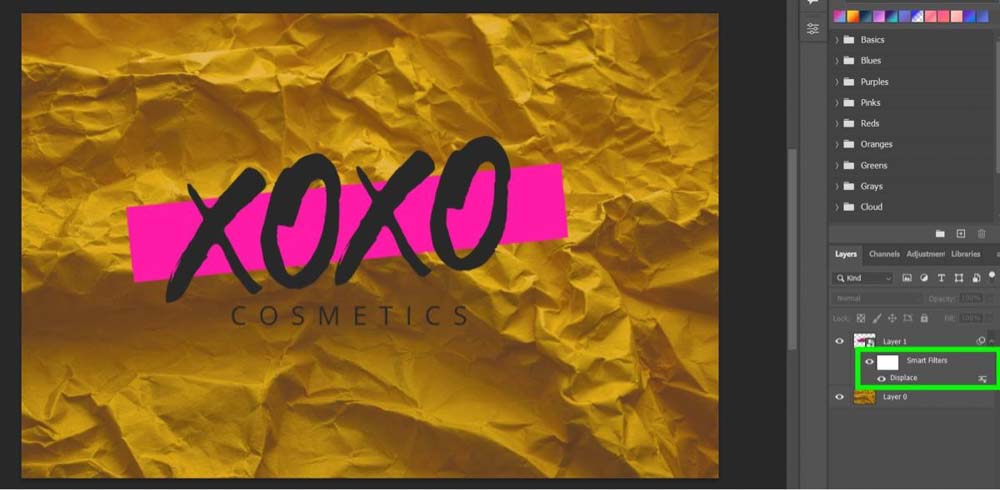
You will only notice a small change to your image, but there’s still more work to be done. You will also notice the Displace Filter added to the layer in the Layers panel.
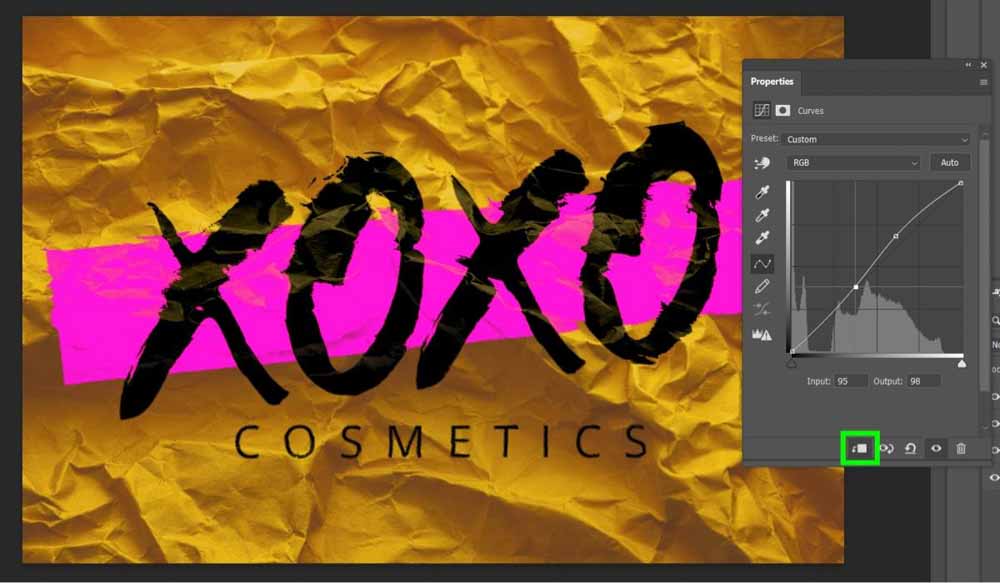
Step 7: Increase The Contrast Again Using The Curves Adjustment Layer
Select the background layer and apply a Curves Adjustment Layer by clicking the New Adjustment Layer button in the Layers Panel.
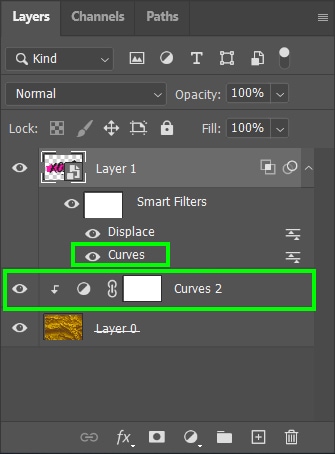
Focus on bringing out as much contrast as possible to make the textures pop. You can clip your curves adjustment layer to your background layer to only affect that layer and not the entire project. You can do this by clicking the Clip To Layer button in the Curves Adjustment Properties Panel.
When adding an adjustment layer to the Smart Object layer, navigate to Image > Adjustments > Curves to add the adjustment as a smart filter, which only affects the smart object.
Step 8: Blend The Two Layers Using Blend If
It’s possible that your image will look perfectly blended after you’ve made your curves adjustments. You should try Blend If to finish the job if it doesn’t.
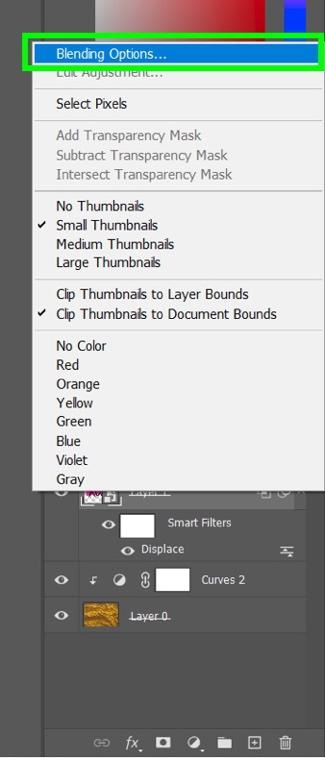
To start this process, right-click on the foreground layer and select Blending Options from the list. You can also double-click on the layer to bring up the Layer Style panel.
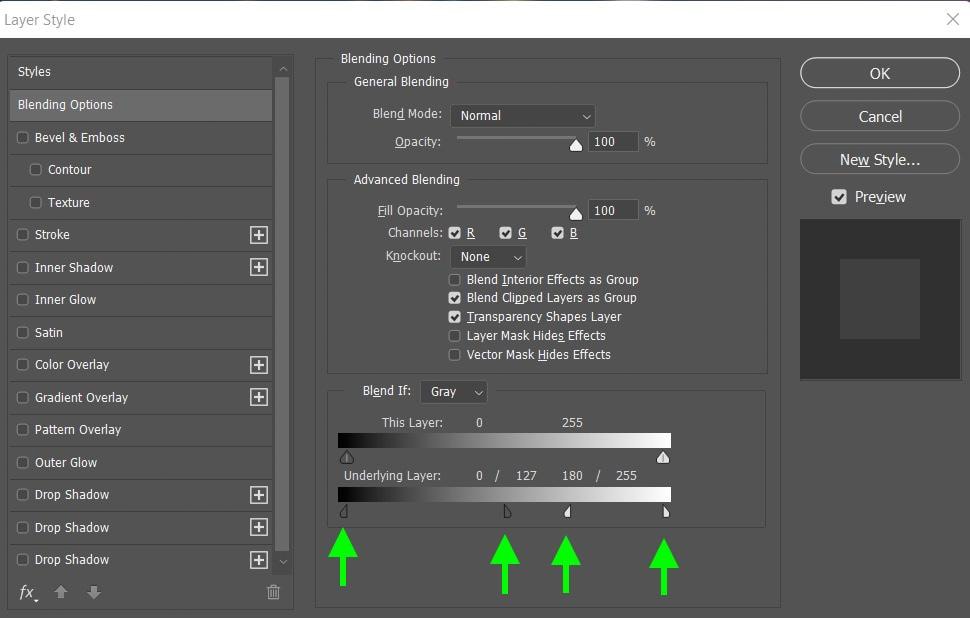
In the Layer Style panel, the slider you’re looking for is the Underlying Layer option. The black areas of the slider represent the shadows of the layer, and the white areas of the slider represent the highlights. If you move these sliders closer to the middle, you will notice your image distorting.
To feather the effect, hold down Alt (Win) or Option (Mac), click on one handle, and drag it. This will split the handle in half, allowing you to adjust each part of the handle individually, which adds a feather to the blend.
Your foreground layer should look blended into the texture of your background layer, almost as if your image was originally made that way.
Displacement maps can be finicky, but with some patience to experiment with the scale values, you can get some awesome results.
Happy Editing!
